12/7/11

One Cookie Four Ways

When we go to a potluck, I almost always volunteer to make a dessert. I love making dessert (and eating dessert!), but rarely make it just for us for the simple reason that the three of us don't need an entire batch of cookies, or a whole cake, etc. Far better to make something for a potluck and keep a reasonable amount for ourselves.

Awhile back, I saw an interesting recipe for Andes Mint Cookies. I've been wanting to try them, and our MOMS Club Holiday Party was the perfect occasion. Trevor and I followed the recipe exactly to make the dough. When the first batch came out of the oven, we topped each with 1/2 of an Andes Mint, waited a few minutes, swirled, then added holiday sprinkles. YUM.


Two of the party guests can't eat mint due to a drug interaction, so I wanted to make sure not all the cookies had mint. Time to experiment! I whipped up a quick frosting and dolloped that on the next tray of hot cookies. It melted almost immediately and Trevor added a heavy coat of sprinkles on top.

I dug around in the pantry to see what else we had. Aha- white chocolate chips! We put those on the third tray of hot cookies. After waiting a few minutes, I tried to spread them. Nope- they mooshed a little but basically held their shape. When they cooled slightly, they seized in that strange shape.  Since that was a failure, we added frosting over the top of the chocolate chips and hit it with more sprinkles.


We put a dollop of peanut butter on the fourth tray of cookies and sprinkled chopped nuts on top. We couldn't bring them to the potluck as all our events are nut-free; too bad, as they were delicious!!


For our fifth and final tray of cookies, we did a simple powdered sugar dusting. Simple, yet delicious.


                                              Andes Mint Cookies


                                         3/4 c. butter                                         1 1/2 c. brown sugar
                                         2 T. water                                              2 c. chocolate chips
                                         2 eggs                                                    2 3/4 c. flour
                                         1 1/4 tsp. baking soda                        1/2 tsp. salt
                                         Andes mints

Melt butter, brown sugar and water in a saucepan over medium heat. Add chocolate chips, stirring until completely melted. Cool for 10 minutes. Pour into a mixing bowl and beat in 2 eggs. Add flour, baking soda, and salt. Mix thoroughly. Cover and chill for about 45 minutes. Roll into 1 inch balls, flatten slightly, and place on cookie sheet. Bake at 350 for 10 minutes. When cookies come out of the oven, immediately place half an Andes mint on top of each cookie and allow to melt for a few minutes. Swirl the melted chocolate like icing. Allow to cool.

Makes about 100 cookies.

12/6/11

Wax-resist vs. Enamel Accents - Snowman Gift Tags

This post contains affiliate links. 

Last week I shared my Snowman Gift Tags. As you'll recall, I used black Enamel Accents for the face (a success) and initially used white Enamel Accents on the hats (definite failure). For the final product, I switched to Decorative Snow for the hats.

This led me thinking- how can I use white Enamel Accents? How about as snow? Worth a try!  

I took a plain white tag and put little dots of white Enamel Accents all over it, then set it aside to dry. Once the tag was dry, I rubbed blue ink over the top, then used sandpaper to reveal the white dots. Cute! I hand-cut an itty-bitty snow drift and snowman and glued them on. The finished tag:


I love everything about it except for the long drying time. I thought I might be able to achieve the same look using wax resist, which would have no drying time. I took a white crayon and put little dots all over a plain white tag. I covered it with blue ink and then scratched off the wax to reveal the white snow. I cut out another snowman and added it to the tag. Here's the wax-resist version:


Still cute, but not nearly as nice as the Enamel Accents. The 'snow' is quite irregular and I missed a bunch of spots.  While it was easy to see the little dots of Enamel Accents while I was working, it was very difficult to see where I'd dotted the crayon. And it was impossible to make consistently round dots.
 
If I were in a hurry, I'd definitely use the crayon version, but I think the Enamel Accents is the winner!

12/5/11

Crafting with a Warming Tray

Trevor and I are still hard at work making gift tags, but we're taking a break from heat embossing.  We're still using heat though... now we're moving on to the warming tray (affiliate link). 


I love this thing. Mine used to belong to my mom (probably a gift at my parents' wedding in 1970), but I don't remember her ever using it to warm food. I only remember using it to melt crayons onto paper, which I did often as a kid. When I was a teacher, I used to borrow it from Mom a couple of times a year for my students to use. Eventually, she must have gotten tired of me borrowing it so often and let me keep it.

I keep bags of broken, peeled crayons with the warmer. To use it, simply plug it in and wait about two minutes. It will get very warm, but not so hot that you can burn yourself unless you deliberately try. The first time Trevor used it at age 2, I put gloves on his hands so that if he touched the warm surface it wouldn't hurt him. I didn't bother with gloves once he turned 4 and his skin was less sensitive and he understood not to deliberately touch the surface.

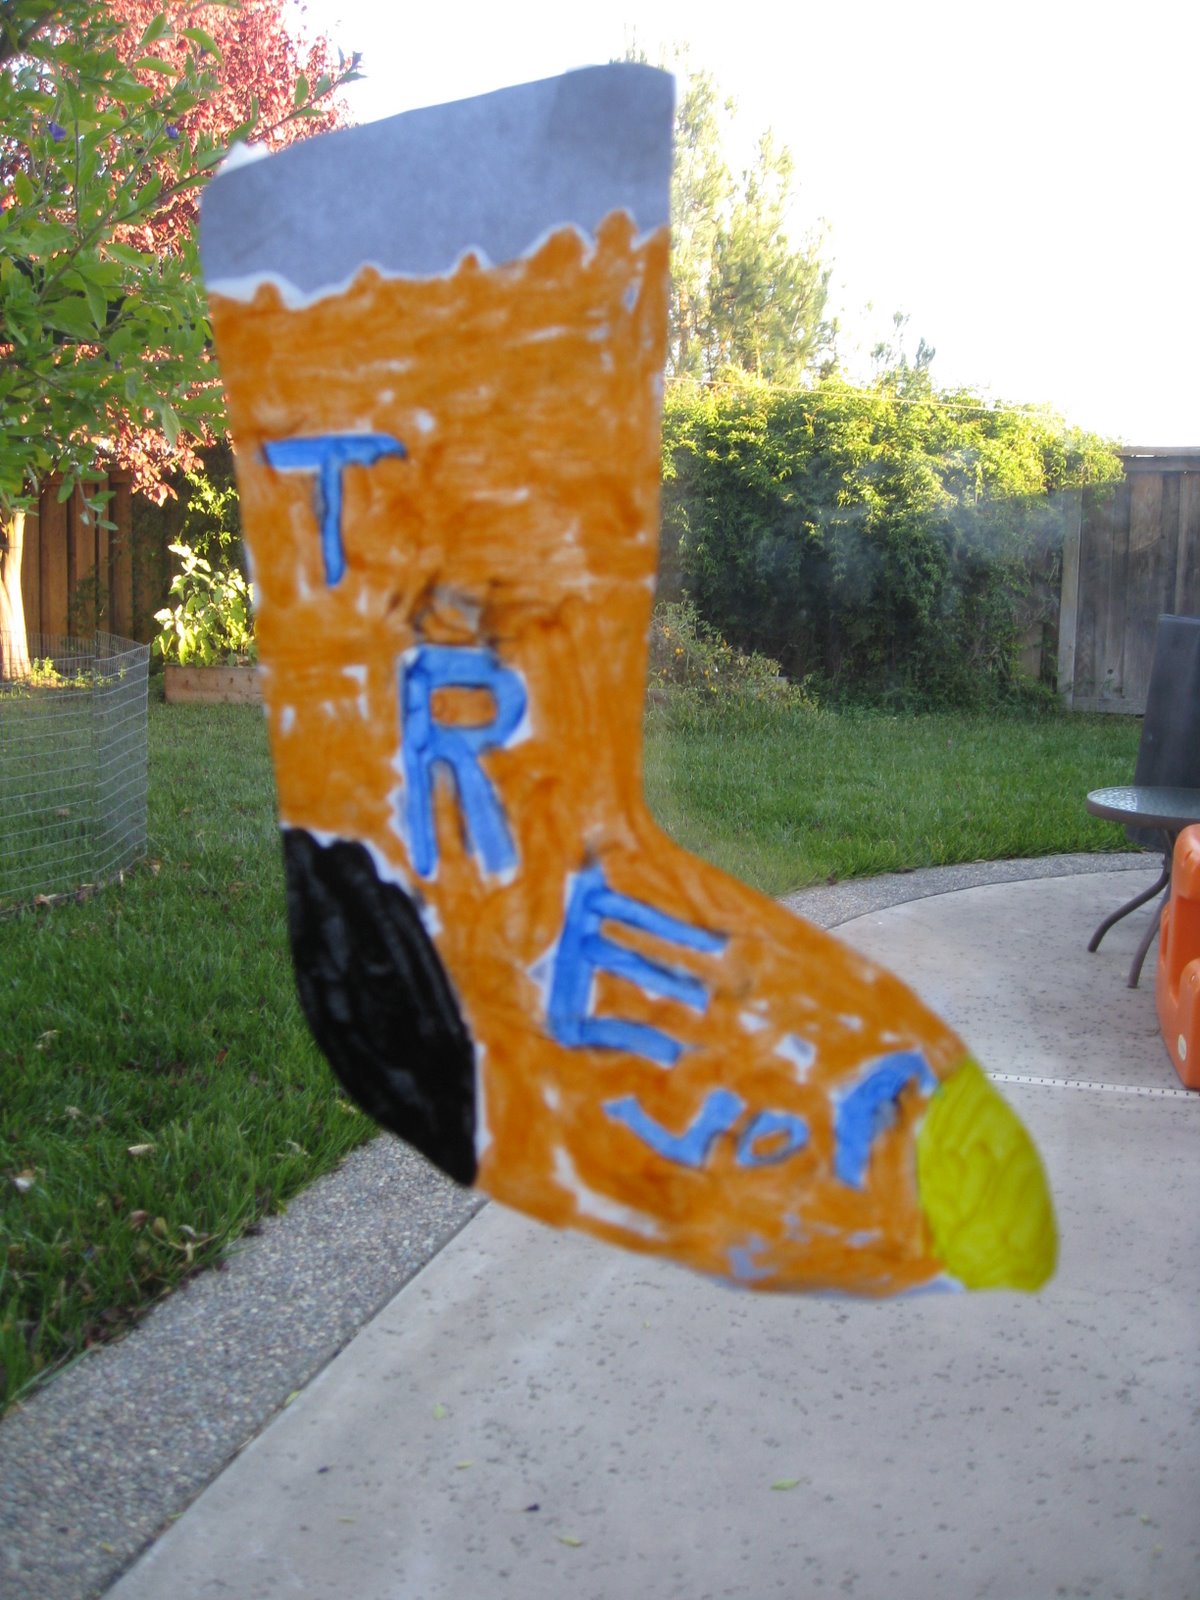
Once the tray is warm, put a piece of paper on top and draw with the crayons. The wax goes on creamy smooth and acts almost like paint. You can swirl, blend and layer the colors. When you remove the paper, the wax is instantly dry. 


Here's a stocking that Trevor made:  


And here's mine:


I made this tree too:


We also made a bunch of ornament-shaped gift tags by melting stripes and globs of color on a sheet of paper then punching out circles.


Here is a small sampling of our tags. I made the three on the top and Trevor made the three on the bottom:


And here's a close-up. The 'hanger' is a rectangle of silver cardstock and a piece of silver thread, glued to the back of the circle.  


Super cute and really fun! 

12/2/11

Even More Gift Tags

I'd forgotten how much fun heat embossing can be!  Trevor has announced that he and Daddy will be buying me more colors of embossing powder for Christmas so that we can make tags using all of my stamps.  (All?  Clearly he doesn't know how many stamps I have tucked away in my craft room.  It would take years!  Fortunately, I'm up for the challenge.)

While Trevor was finishing up his chalked tags yesterday, I whipped up a few others.  This week I've been hosting an online crop for the Fiskateers featuring challenges related to each of the 50 states.  In between my hosting duties, I've been trying to play along.

The Wisconsin challenge was inspired by the Green Bay Packers.  To participate, we needed to make something using green and gold and no other colors.  Here's what I made:

I started with a plain white tag.  I embossed the bird ornament in gold, then outlined the tag with a gold Prismacolor marker.  I masked the bird, then stamped the pine needles all over the tag.  I used green chalk to fill out the pine tree, then used a combination of yellow and brown chalk to create a gold-colored bird. 

West Virginia's challenge was to use their state colors (blue and gold) on a gift tag.  Perfect!  I already had the gold embossing powder out, so I embossed a sentiment and inked around it in blue.  It's very simple, but I like it.  It'll look even better with blue ribbon on a gold package.

I decided to make another one in red.  I tend to wrap more in red/green than blue.  Besides, you can never have too many gift tags on hand, right?

I am having so much fun making tags!  They are the perfect size to try out different techniques and just play!

12/1/11

Christmas Tags, Part 3

Trevor had so much fun with the heat embossed tags from yesterday that we made another batch of them.  Instead of using exactly the same techniques, I skipped the ink and Glimmer Mist and got out the chalks and some q-tips so he could try something new.  He loved the way the chalks gave him so much more control than the inks.

Here are our tags.  Trevor's are the two on the top and mine are the two on the bottom. 

We're both having so much fun with these tags!  Perhaps dry embossing next?  Or wax resist?  So many possibilities!