8/10/15

Project CAT - Challenge #6: Handprint Campfire

Hello! This is Trevor again! Welcome to Week 2 of Project CAT! Today is National S'mores Day! So we decided to make a handprint campfire with a roasting marshmallow.

This was our inspiration. We saw it at the fair. It was a preschooler who made it. We decided to make our own version. 


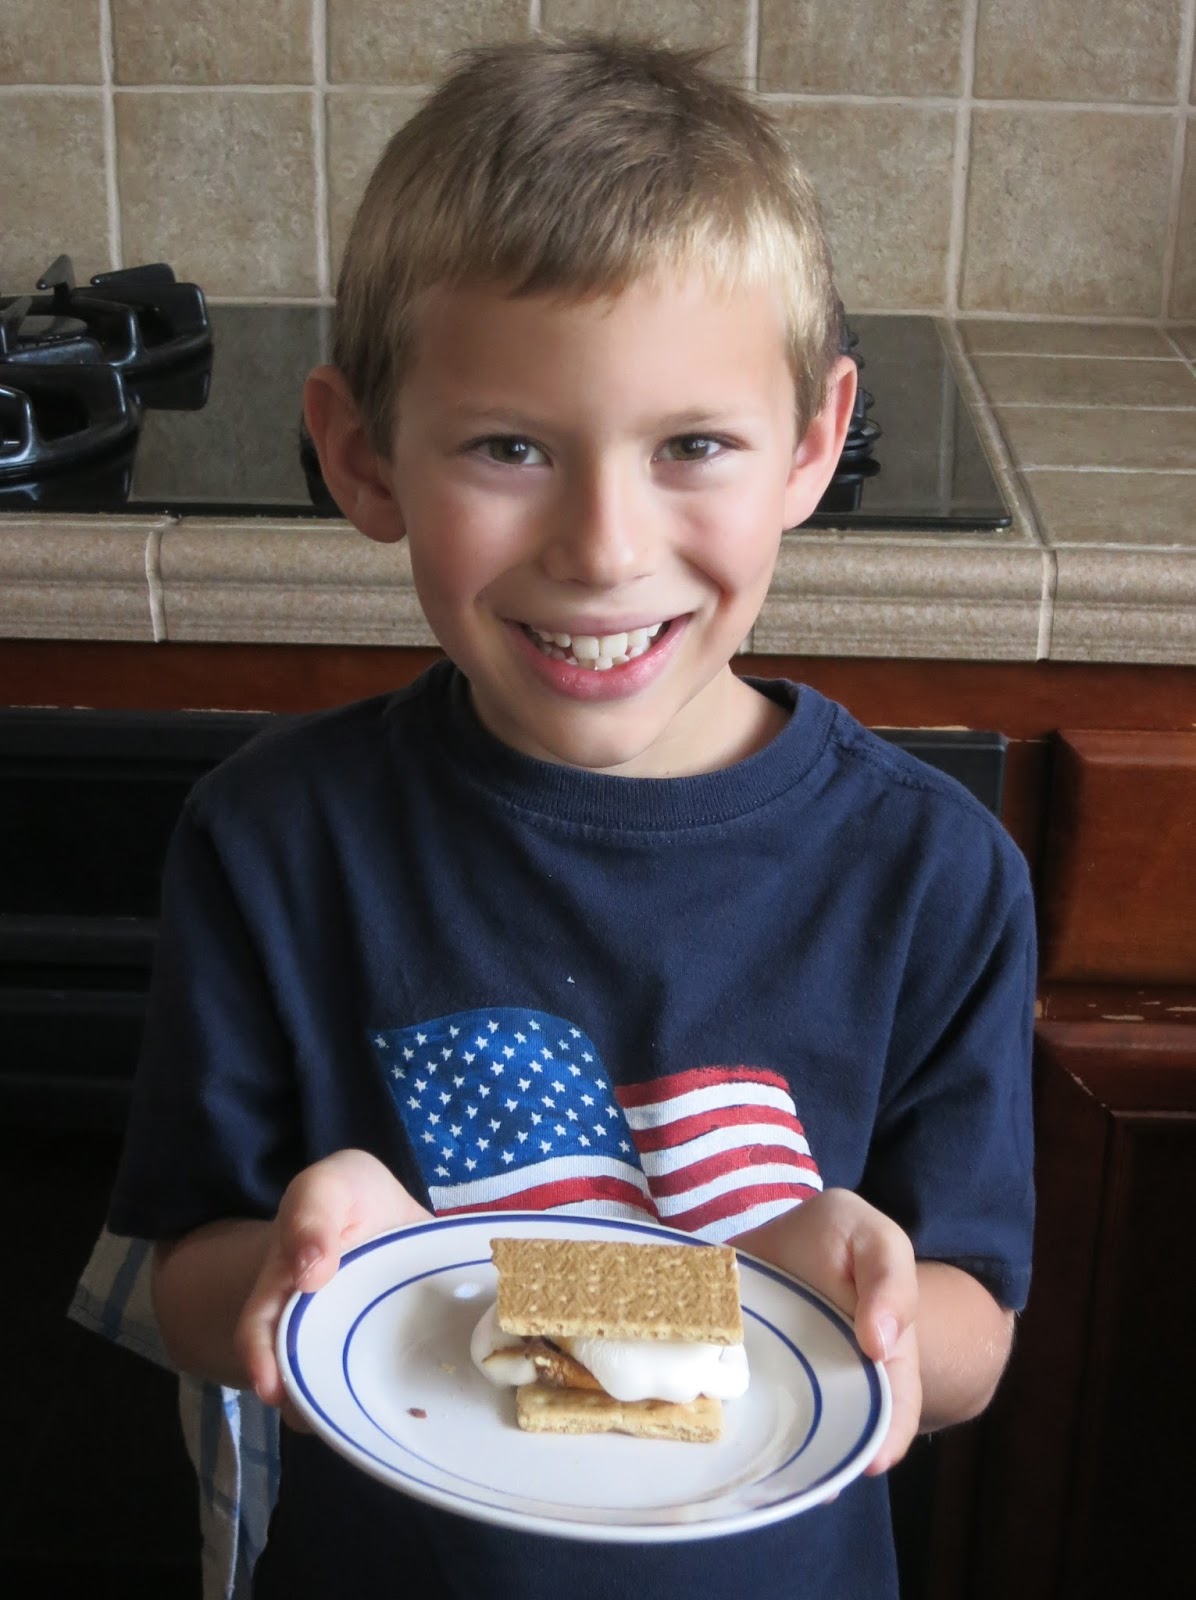
But before we got started, we ate s'mores. Did you know you can make them indoors? Just put a marshmallow on a skewer and put it over the stove! This is great for me because I cannot cook outside on a campfire because I am allergic to wood smoke and get really, really bad hives.


Yummy! Delicious! 

Now, it's time for the craft! This is what our version looks like:


Materials: white paper, craft sticks, brown color pencil, cotton ball, wooden skewer, glue, brown chalk, paint (yellow, orange and red), a foam brush and wire cutters. 

Step 1: Start by making your marshmallow. Using the chalk, color the marshmallow to make it look toasted. Then poke the skewer through the cotton ball. This might be a little bit hard. Add glue to the inside of the cotton ball so that the skewer stays in place. Set it aside.

Step 2: Color the craft sticks to make them look like logs. Add lines and circles to look like wood grain and knots.


Step 3: Paint your hand with yellow, orange and red paint. 


Step 4: Press your hand onto paper. If you want to, wiggle your fingers around to make it look more like a flame. (I did this.)


Step 5: Trim the skewer to make it even with the paper. We used wire cutters.

Step 6: Glue the skewer with the marshmallow on it and the craft sticks in place. You have a completed campfire!


Now it's your turn! Make a handprint campfire or something inspired by this handprint campfire. And have some s'mores, since it's National S'mores Day! Here are some recipes you might want to try:


8/7/15

Project CAT - Challenge #5: Sandpaper Sandcastle

Hello! Welcome back to Project CAT. This is Trevor again. Today we are making a sandpaper sandcastle. This is what it looks like:


Materials: sandpaper (medium grit, around 100), blue construction paper, scratch paper, pencil, scissors, glue, pop dots, toothpicks, and punches

Step 1:  Rip the sandpaper neatly hot dog way so the strip is about 2 inches wide. Glue the sandpaper to the blue paper.


Step 2: Using the pencil, draw three levels of a sandcastle on the scratch paper. Cut them out. 


Step 3: Trace the scratch paper patterns onto the back of the sandpaper. Cut them out.

Step 4: These are pop dots. They're little circles of foam that are sticky on both sides. Use pop dots to elevate the sandcastle off of the blue paper. Keep placing pop dots until each level of the castle is elevated. 


Step 5: Decorate your sandcastle with punched-out shapes, like clouds, leaves and birds. I used a leaf connected to a toothpick to make flags. Now you have a completed sandcastle!

This is my mom's sandcastle:


Now it's your turn! Make a sandpaper sandcastle or a something inspired by my sandpaper sandcastle. You could even make a real sandcastle! I'll be back on Monday with the next craft!


8/6/15

Project CAT - Challenge #4: Baseball Game

Hello! Welcome back to Project CAT. This is Trevor again. Today we are going to make a baseball game. I like to play baseball in the summer, so I decided to make a baseball game craft.

This is what we are making:


Materials: red Sharpie, ping pong ball, 1 yard green felt, large scratch paper or newspaper, scissors, craft stick, brown marker, masking tape, Dixie cups (four each of two colors), black Sharpie

If you do not have felt, I'll give you some other ideas later!

Step 1: Use a red Sharpie to draw two circles on the ping pong ball. Then draw arrows coming off each circle in opposite directions to make it look like a ping pong ball baseball.


Step 2: Use the large scratch paper to make a pattern that's shaped like a baseball field. You might need to tape more than one piece together. Lay the pattern on the green piece of felt. Cut the felt and recycle the pattern.


Step 3: Use masking tape to mark the baselines of the baseball diamond. Then, fold masking tape pieces to make bases. Roll a different piece of tape to stick each base onto the taped baselines. 


Step 4: Use masking tape to make quarter circles around each base and a large circle for home plate and the pitcher's mound. Make a rectangular base for the pitcher's mound and attach it.

Step 5: Use the black Sharpie to make 8 Dixie cup people.


Step 6: Make a bat out of the craft stick. Color it with the marker. You can use other colors to make it more detailed.


Step 7: Arrange one team in the outfield and the other team as the batters. Now you're ready to play!


How to play:
  • One person should arrange one Dixie cup player on the pitcher's mound and the other three beyond the baseball diamond. 
  • The person who is batting should bring one of his Dixie cup players to home plate. Bat the ball using the popsicle stick bat.
  • If the ball touches any of the fielders or leaves the felt field, you are out! Each team gets three outs per inning.
  • If the ball doesn't make it past the pitcher, that is one strike. 
  • If the ball gets past the pitcher but not to the outfield, the batter goes to first base.
  • Once there is a batter on the bases, he advances each time the ball is hit correctly.
  • If the ball goes outside the baseball diamond, the batter goes to second base.
  • If the ball stops right at the edge of the felt without going off, the batter goes to third base. 
  • To get a home run, the ball has to stop between the pitcher and second base (without touching the pitcher, because that is an out).

Or, you can make your own rules!


Don't worry if you don't have green felt. There are lots of other ways to make this craft. You can use paper that is taped together. You can put the masking tape directly on carpet. You can even put the tape on the lawn! Be creative! If you do not have the supplies I mentioned, you can use what you do have to make it work!


Now it's your turn! Make a baseball game craft that is like mine or make up your own. Take a picture of your craft and link it by Sunday, August 16 at noon Pacific for a chance to win.


8/5/15

Project CAT - Challenge #3: Peekaboo Garden

Hello! This is Trevor again. Today is Day 3 of Project CAT! Today we are making a peekaboo garden.

Here is what we are going to make. This is what it looks like....


... until you pull the vegetables up!


Materials: cardstock or construction paper (blue, brown, orange, pinkish, purplish, green), scissors, glue, color pencils, craft knife, Sharpie/pen 

Step 1: Cut out vegetables that grow underground. We used carrot, radish and beet. We used the computer to remind us what their leaves look like. Cut out the leaves and the stems.

Step 2: Detail the vegetables and the leaves using colored pencils. For example, the beet leaves have purple lines in them for veins. Same with the radish. 

Step 3: Glue the vegetable pieces together and set them aside. We will use them later.

Step 4: Take your brown paper and turn it vertically. Cut a piece of blue paper to make the sky and glue it in place.

Step 5: Use a craft knife to cut slits in the brown paper where you want your vegetables to go. Remember to make the slits the same as the widest part of the vegetables or they won't go in. You might want help from a parent on this step. If you do not have a craft knife, you can use scissors. 


Step 6: Slide the vegetables in place. Turn your brown paper over and cut pockets for your vegetables to go in so that they don't slide all the way out. Put glue only on three sides of the pocket. Remove the vegetable once you have arranged the pocket so it doesn't get glue on it.


Step 7: Write a message on the front of the brown paper. I chose, "Who am I?" and my mom's says, "What is growing in my garden?" Then write on each vegetable to tell what they are. 

Step 8: Slide the vegetables back in. And you are done!


This is my mom's:


Now it's your turn! Make a peekaboo garden or something inspired by this garden. You have until Sunday, August 16 at 12:00 Pacific. 


8/4/15

Project CAT - Challenge #2: Smiling Sun

Hello! It's Trevor again. Welcome back to Project CAT! It's Day 2 now. When I think of summer, I think of sun, so that's exactly what today's project is.

Materials: watercolor paper, pencil, crayons, black Sharpie, watercolor paints

This is what we are making!


Step 1: Draw a large circle in the middle of the paper. (We traced a roll of duct tape!) Then add the sun's rays. It needs to be an even number, around 20 or 22.


Step 2: With a yellow crayon, outline the sun and its rays. Draw designs inside of the sun's rays. We made a different pattern in each area! 


Step 3: Use the black Sharpie to draw sunglasses and a smile on the sun.


Step 4: Paint the sun and its rays yellow. Do not use too much water! You want the paint to be a bright yellow. Paint the areas in between the rays blue. The wax of the crayon should keep the paint in the proper area. 


Step 5: When the paint is dry, use the Sharpie to outline the sun and rays. Sharpie does not write well on crayon, so try to draw just outside the lines.

This is my mom's:


Now it's your turn! Make a smiling sun using my directions or your own ideas. Take a picture or scan it, then upload it below before Sunday, August 16 at noon Pacific for a chance to win!
