Showing posts with label campfire. Show all posts

4/6/21

S'mores Campfire Treat Centerpiece

Out of the 2600+ blog posts I've written, my one about the World's Best Classroom Birthday Treat remains my most popular of all time. Today's project uses the same "recipe" to fill this cute campfire treat centerpiece. Affiliate links below. 


S'mores Campfire Treat Centerpiece


Materials:


Steps: 


Cut 7 teardrop shapes of various sizes from the yellow cardstock to make the flames of the campfire. Shade the edges with orange color pencil. 

Cut 5 cylinders from brown cardstock. Use a dark brown color pencil to draw concentric circles on the ends to mimic the cut ends of logs. Draw knots and bark lines randomly along the length of the cylinders. Switch to a brownish-red pencil and draw more bark lines, then again with light brown. 

Glue the logs together with craft glue, then add flames behind them. Use the tape runner to apply adhesive to the bottom of the display case, then press the campfire against it. 

Add spots of adhesive to the top of the display case. Pull bits of cotton from a cotton ball, separating them until they are whispy. Stick the cotton to the adhesive to mimic the look of smoke. Continue until the top is mostly covered. In this picture, you can see that I've covered the top already and have a large pile of cotton left over. All of that is from a single cotton ball. 


Prepare the s'mores trail mix. 


Fill the display case with trail mix. Sprinkle additional trail mix on the clean tables around the display cases so that hungry guests don't destroy your centerpieces.  


This would be a really fun activity for a Cub Scout Blue & Gold or other Scouting event, as well as for a camping-themed birthday party.

10/10/16

Candy Melt Campfire

I've been thinking about creating edible campfires since making the orange candy melt popcorn last month. I finally made them and they turned out just like I'd hoped. They'd be a fun treat for a Scout event, a camping-themed party, or to enjoy with cocoa on a cold day. Affiliate links below. 


Candy Melt Campfire


Materials: 


Steps: 


Put a piece of parchment paper on your work surface. Melt the three colors of Candy Melts in separate bowls, following the directions on the package. Starting with the orange, put a glob of melted candy on the parchment. Add two smaller globs of red and two of yellow on top on top of the orange. For each campfire, I used approximately one ounce of candy total, but obviously you can make yours bigger or smaller.  


Use the toothpick to drag the color so that it marbles. Do not overmix and only drag up or down, not side to side. When the color looks good, finish by dragging the toothpick up to form thin flames at the top of the campfire.


Immediately put stick pretzels into the melted chocolate to form the logs of the campfire. Use a combination of whole and broken pretzels. Use small dots of melted candy to 'glue' the last few pretzels onto the rest. 


Make as many campfires as you need, then let them sit undisturbed on the parchment until they are set. Remove them from parchment and they're ready to enjoy!

8/10/15

Project CAT - Challenge #6: Handprint Campfire

Hello! This is Trevor again! Welcome to Week 2 of Project CAT! Today is National S'mores Day! So we decided to make a handprint campfire with a roasting marshmallow.

This was our inspiration. We saw it at the fair. It was a preschooler who made it. We decided to make our own version. 


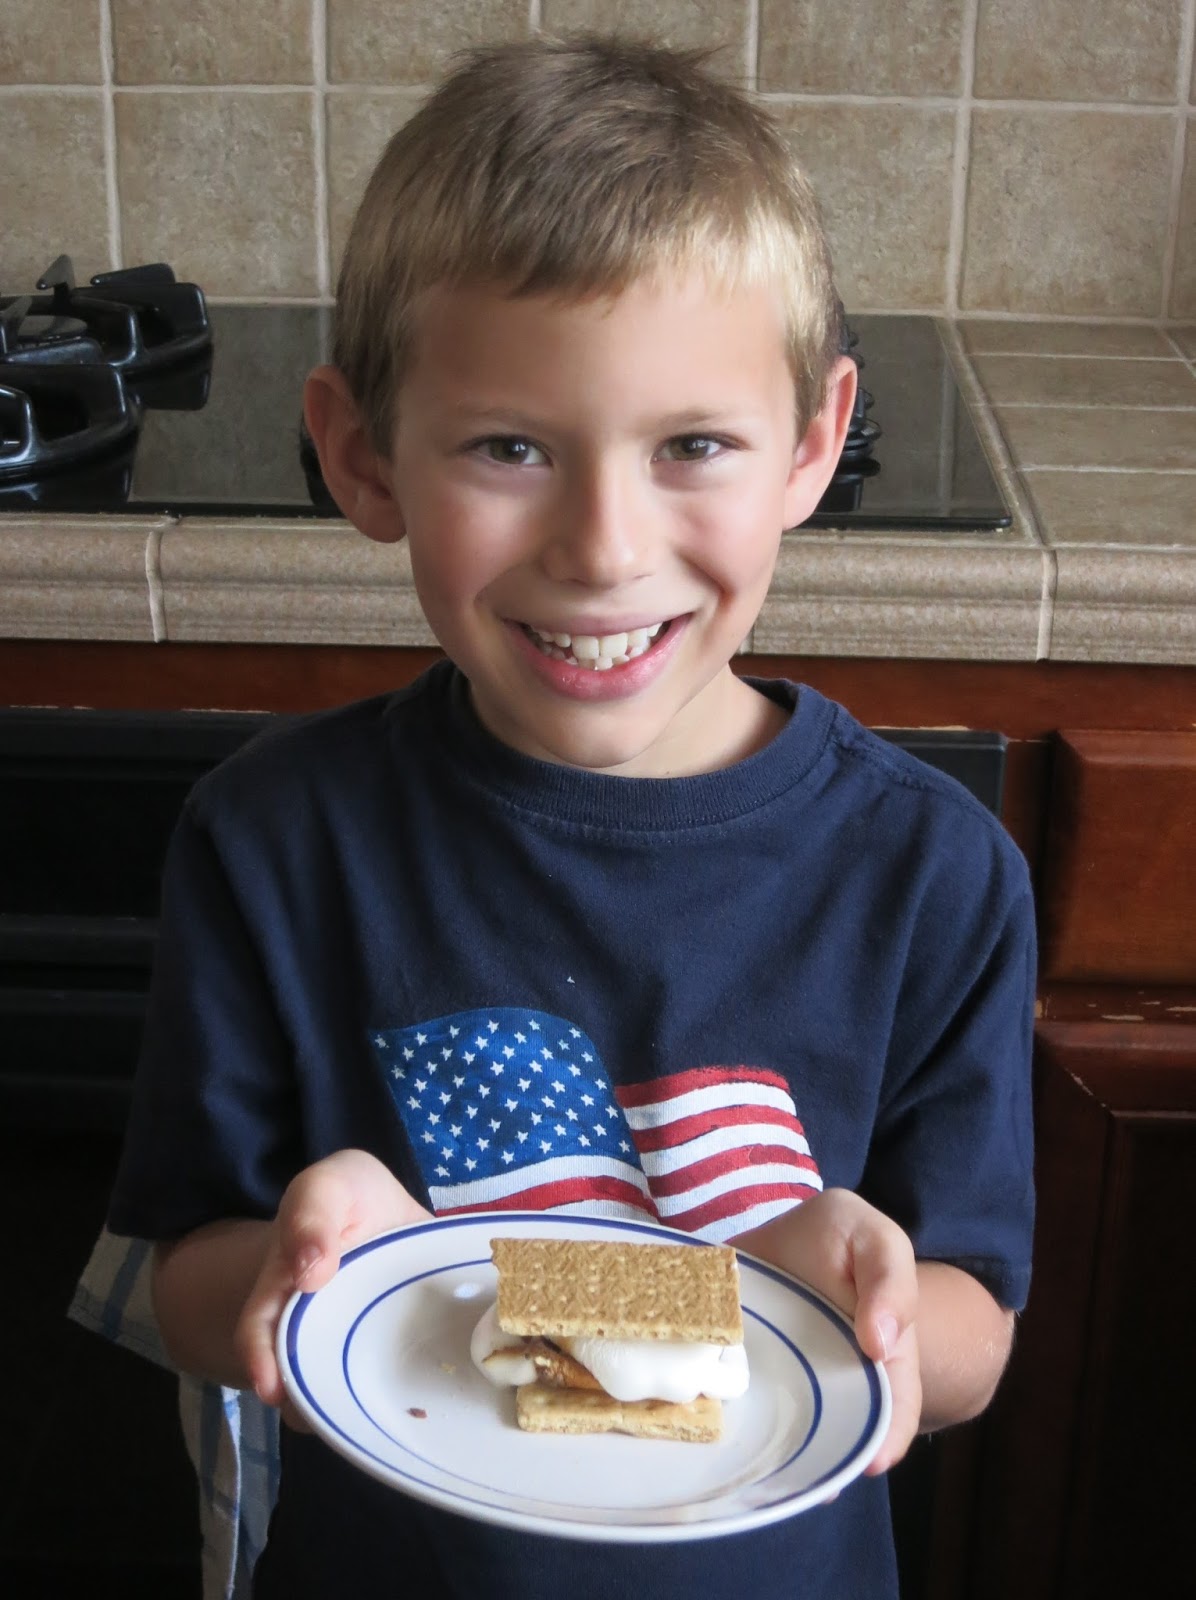
But before we got started, we ate s'mores. Did you know you can make them indoors? Just put a marshmallow on a skewer and put it over the stove! This is great for me because I cannot cook outside on a campfire because I am allergic to wood smoke and get really, really bad hives.


Yummy! Delicious! 


Now, it's time for the craft! This is what our version looks like:


Materials: white paper, craft sticks, brown color pencil, cotton ball, wooden skewer, glue, brown chalk, paint (yellow, orange and red), a foam brush and wire cutters. 

Step 1: Start by making your marshmallow. Using the chalk, color the marshmallow to make it look toasted. Then poke the skewer through the cotton ball. This might be a little bit hard. Add glue to the inside of the cotton ball so that the skewer stays in place. Set it aside.

Step 2: Color the craft sticks to make them look like logs. Add lines and circles to look like wood grain and knots.


Step 3: Paint your hand with yellow, orange and red paint. 


Step 4: Press your hand onto paper. If you want to, wiggle your fingers around to make it look more like a flame. (I did this.)


Step 5: Trim the skewer to make it even with the paper. We used wire cutters.

Step 6: Glue the skewer with the marshmallow on it and the craft sticks in place. You have a completed campfire!


Now it's your turn! Make a handprint campfire or something inspired by this handprint campfire. And have some s'mores, since it's National S'mores Day! Here are some recipes you might want to try:


9/26/11

Crafting While Camping

Our family went camping recently. Unfortunately, we had to cut the trip short when Trevor had a major allergic reaction to something, swelled up, and broke out in giant hives. Fortunately, we had already done our traditional scavenger hunt and treasure hunt before we left.

While Trevor did sand art (one of the prizes he won in the scavenger hunt), I did a different craft. I found an adorable campfire craft originally at Kaboose that I wanted to try. I brought along Elmer's glue, an old CD, and scraps of orange and yellow tissue paper. The rest of the materials came from our scavenger hunt.

I started by using my finger to rub an even layer of glue on the CD, stopping 1/2 inch from the edge.  I dropped it upside down on the ground, which gave it a nice even coat of sand. 

(The blue background is REI's Camp Time Roll-a-Table.  I can't say enough good things about this table.  
We use it for camping, parties, and any time we need an extra table.  It is awesome.) 

I used a generous amount of glue to adhere rocks around the outer edge.


I broke the sticks into small pieces and glued them in a pile.


I tore off small bits of tissue paper, added glue, and stuffed them down in between the sticks. 


I put the whole thing down on the ground and sprinkled more sand on top to cover any extra glue.


Here's my finished craft!  Isn't it cute?!