Showing posts with label Stabilo. Show all posts

8/5/25

Summer Creative Retreat: Pebbles and Petals

Back in 2022, I participated in an online art workshop called Sketchbook Party, hosted by The Pigeon Letters. I took 16 classes and had a fantastic time. Most of the classes were WAY outside my comfort zone (that's a good thing!) and I learned so much. 

The Pigeon Letters is currently hosting Summer Creative Retreat, a week packed with 60 live art workshops. I'm far too busy to take 60 classes in one week, or even 16, like I did last time. Instead, I started with just one class that looked fun and was as far outside my comfort zone as possible. This is what I made: 


The class was "Pebbles & Petals" by Esté MacLeod. MacLeod is a textile and surface pattern designer whose paintings appear on wallpaper, fabrics, homeware, puzzles, stationery, and much more. Her class focused on the idea of using pebbles and water soluble pencils to create a colorful flower. 

Here is the project MacLeod created during the session. 


We started by picking out a narrow palette of colors. I chose four of my Stabilo pencils: pink, purple, orange, and yellow. Then we placed a pebble on a piece of watercolor paper and used one of the pencils to push it around. (MacLeod used real rocks; I used glass ones.) By holding the pencil overhand, I was pushing instead of doing controlled drawing. We repeated the process with each of the colors, using a different size and shape pebble for each. 


Then we went in with a paintbrush to activate the colors.


I didn't get photos of my next steps because I ran out of daylight, but it's pretty easy to explain. I used my darkest color to trace large shapes around the pebbles in order to form petals. Then we used black to define the edges and add depth. We added more of the original colors to the petals and then accented them with dots and other interesting marks. 

I don't love my finished project, but I sure had fun making it! I'm calling that a win. 

9/26/24

50 State Quarters: Coloring Pages Using Stabilo Woody 3-in-1 Arty

I'm really enjoying the process of picking different art supplies to complete coloring pages featuring the 50 State Quarters. So far, I've colored with Ohuhu Kaala markers (Nevada, New Jersey, Oregon, and Wisconsin), used inks as a base and layered colored pencil on top (Connecticut, Idaho, Missouri, and Montana), "painted" with Flair pens (Delaware and Indiana), and colored with classic Sharpies (Maine and South Carolina). This time, I completed the pages using Stabilo Woody 3-in-1 Arty (affiliate link). 


I had fun playing with the Stabilos. I love the way I was able to get different shades from a single pencil on the purple mountains of Colorado. (You did know that America the Beautiful's "purple mountain majesties" is in Colorado, right?) Despite there being only 18 colors in the set, I didn't feel too limited by my palette. Part of that is because of the particular quarters I chose to color with the Stabilos. Overall, the Stabilos were fun on backgrounds and larger areas, but using them for details was rough. I found the finest paintbrush I own to try to fill in the letters, but it was really hard difficult to stay in the lines and equally challenging (for me, anyway) to get a consistent amount of pigment onto the brush. You can see that I gave up trying to paint in the tiny little E PLURIBUS UNUM spaces on the New Hampshire quarter after I messed up the first letter (M. I always paint right to left.)

One final comment: I'm glad the Old Man of the Mountain is forever immortalized on New Hampshire's quarter. It was believed to be approximately 12,000 years old when it collapsed in 2003, just three years after the quarter was issued. 

3/21/24

Cowboy Boot Craft for Kids

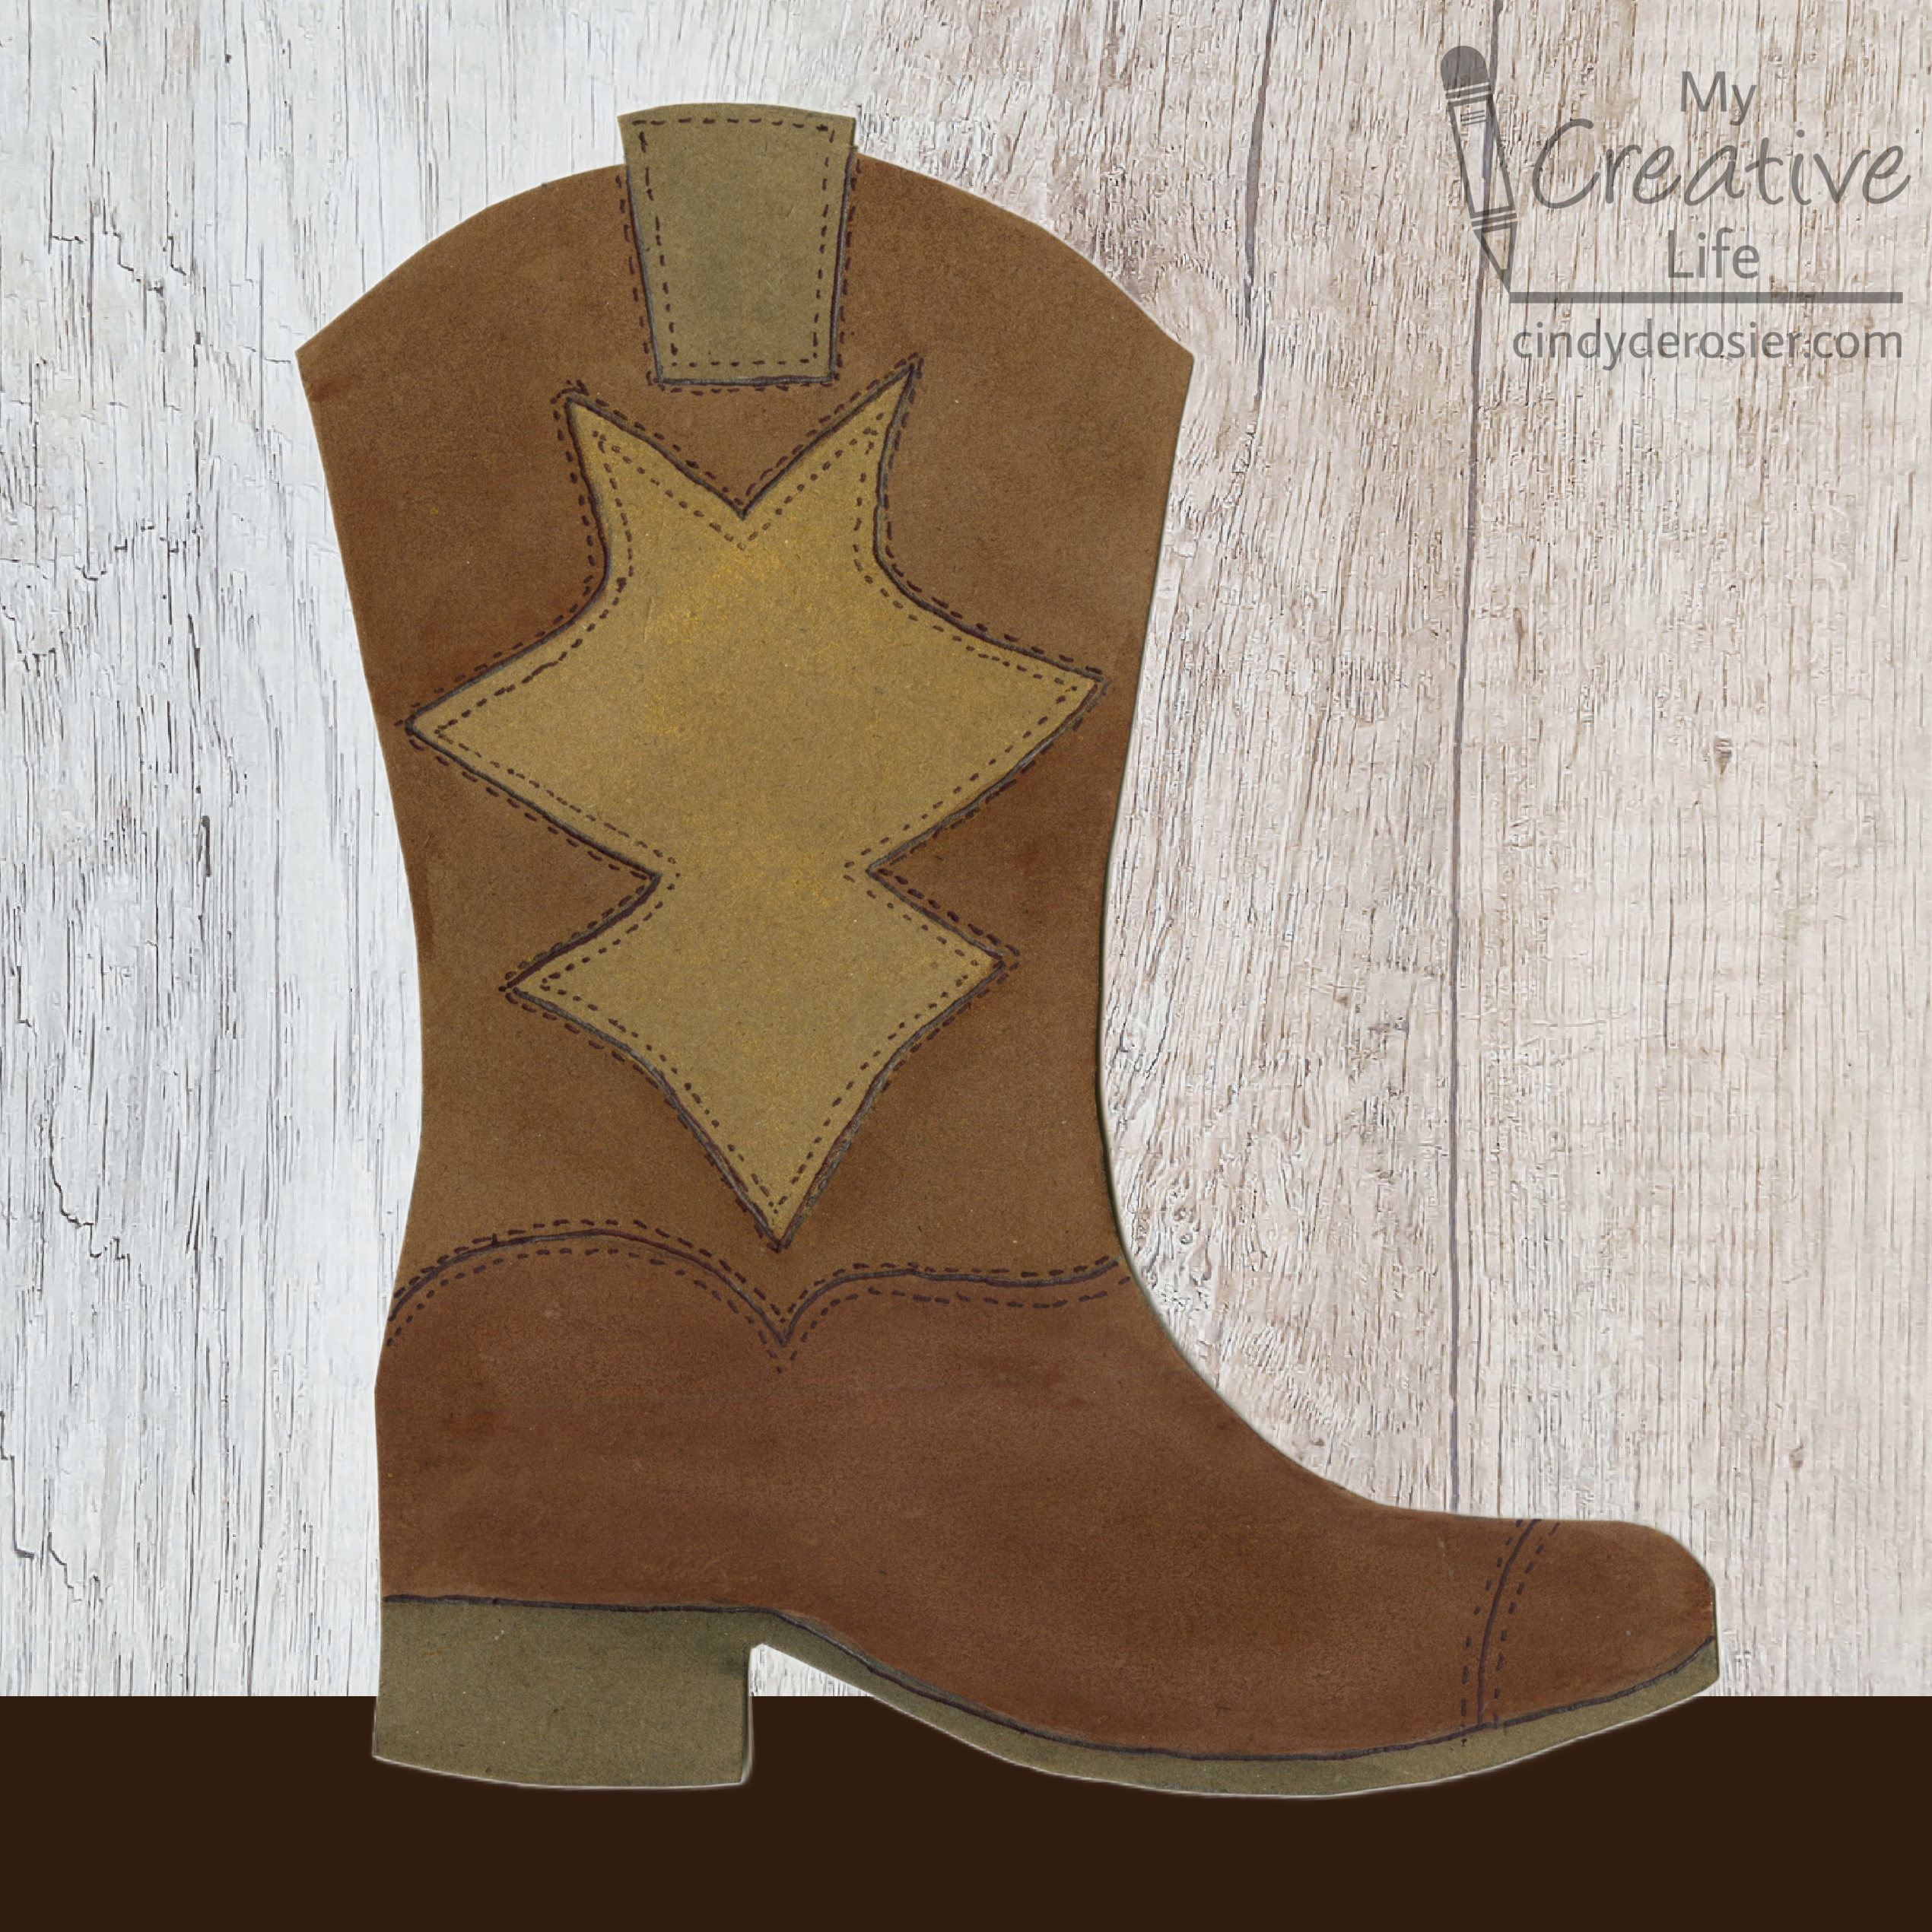
Check out this cool cowboy boot craft I made!  


I'm really happy with how it turned out. I'm surprised how much it looks like leather; it's actually chipboard colored with Stabilo's Woody 3-in-1 Multi-Talented Pencils (affilate link here and below). Yes, they're actually called Multi-Talented Pencils. 


As it turns out, one of their talents is mimicking leather!


---------


Cowboy Boot Craft


Materials:


Steps: 


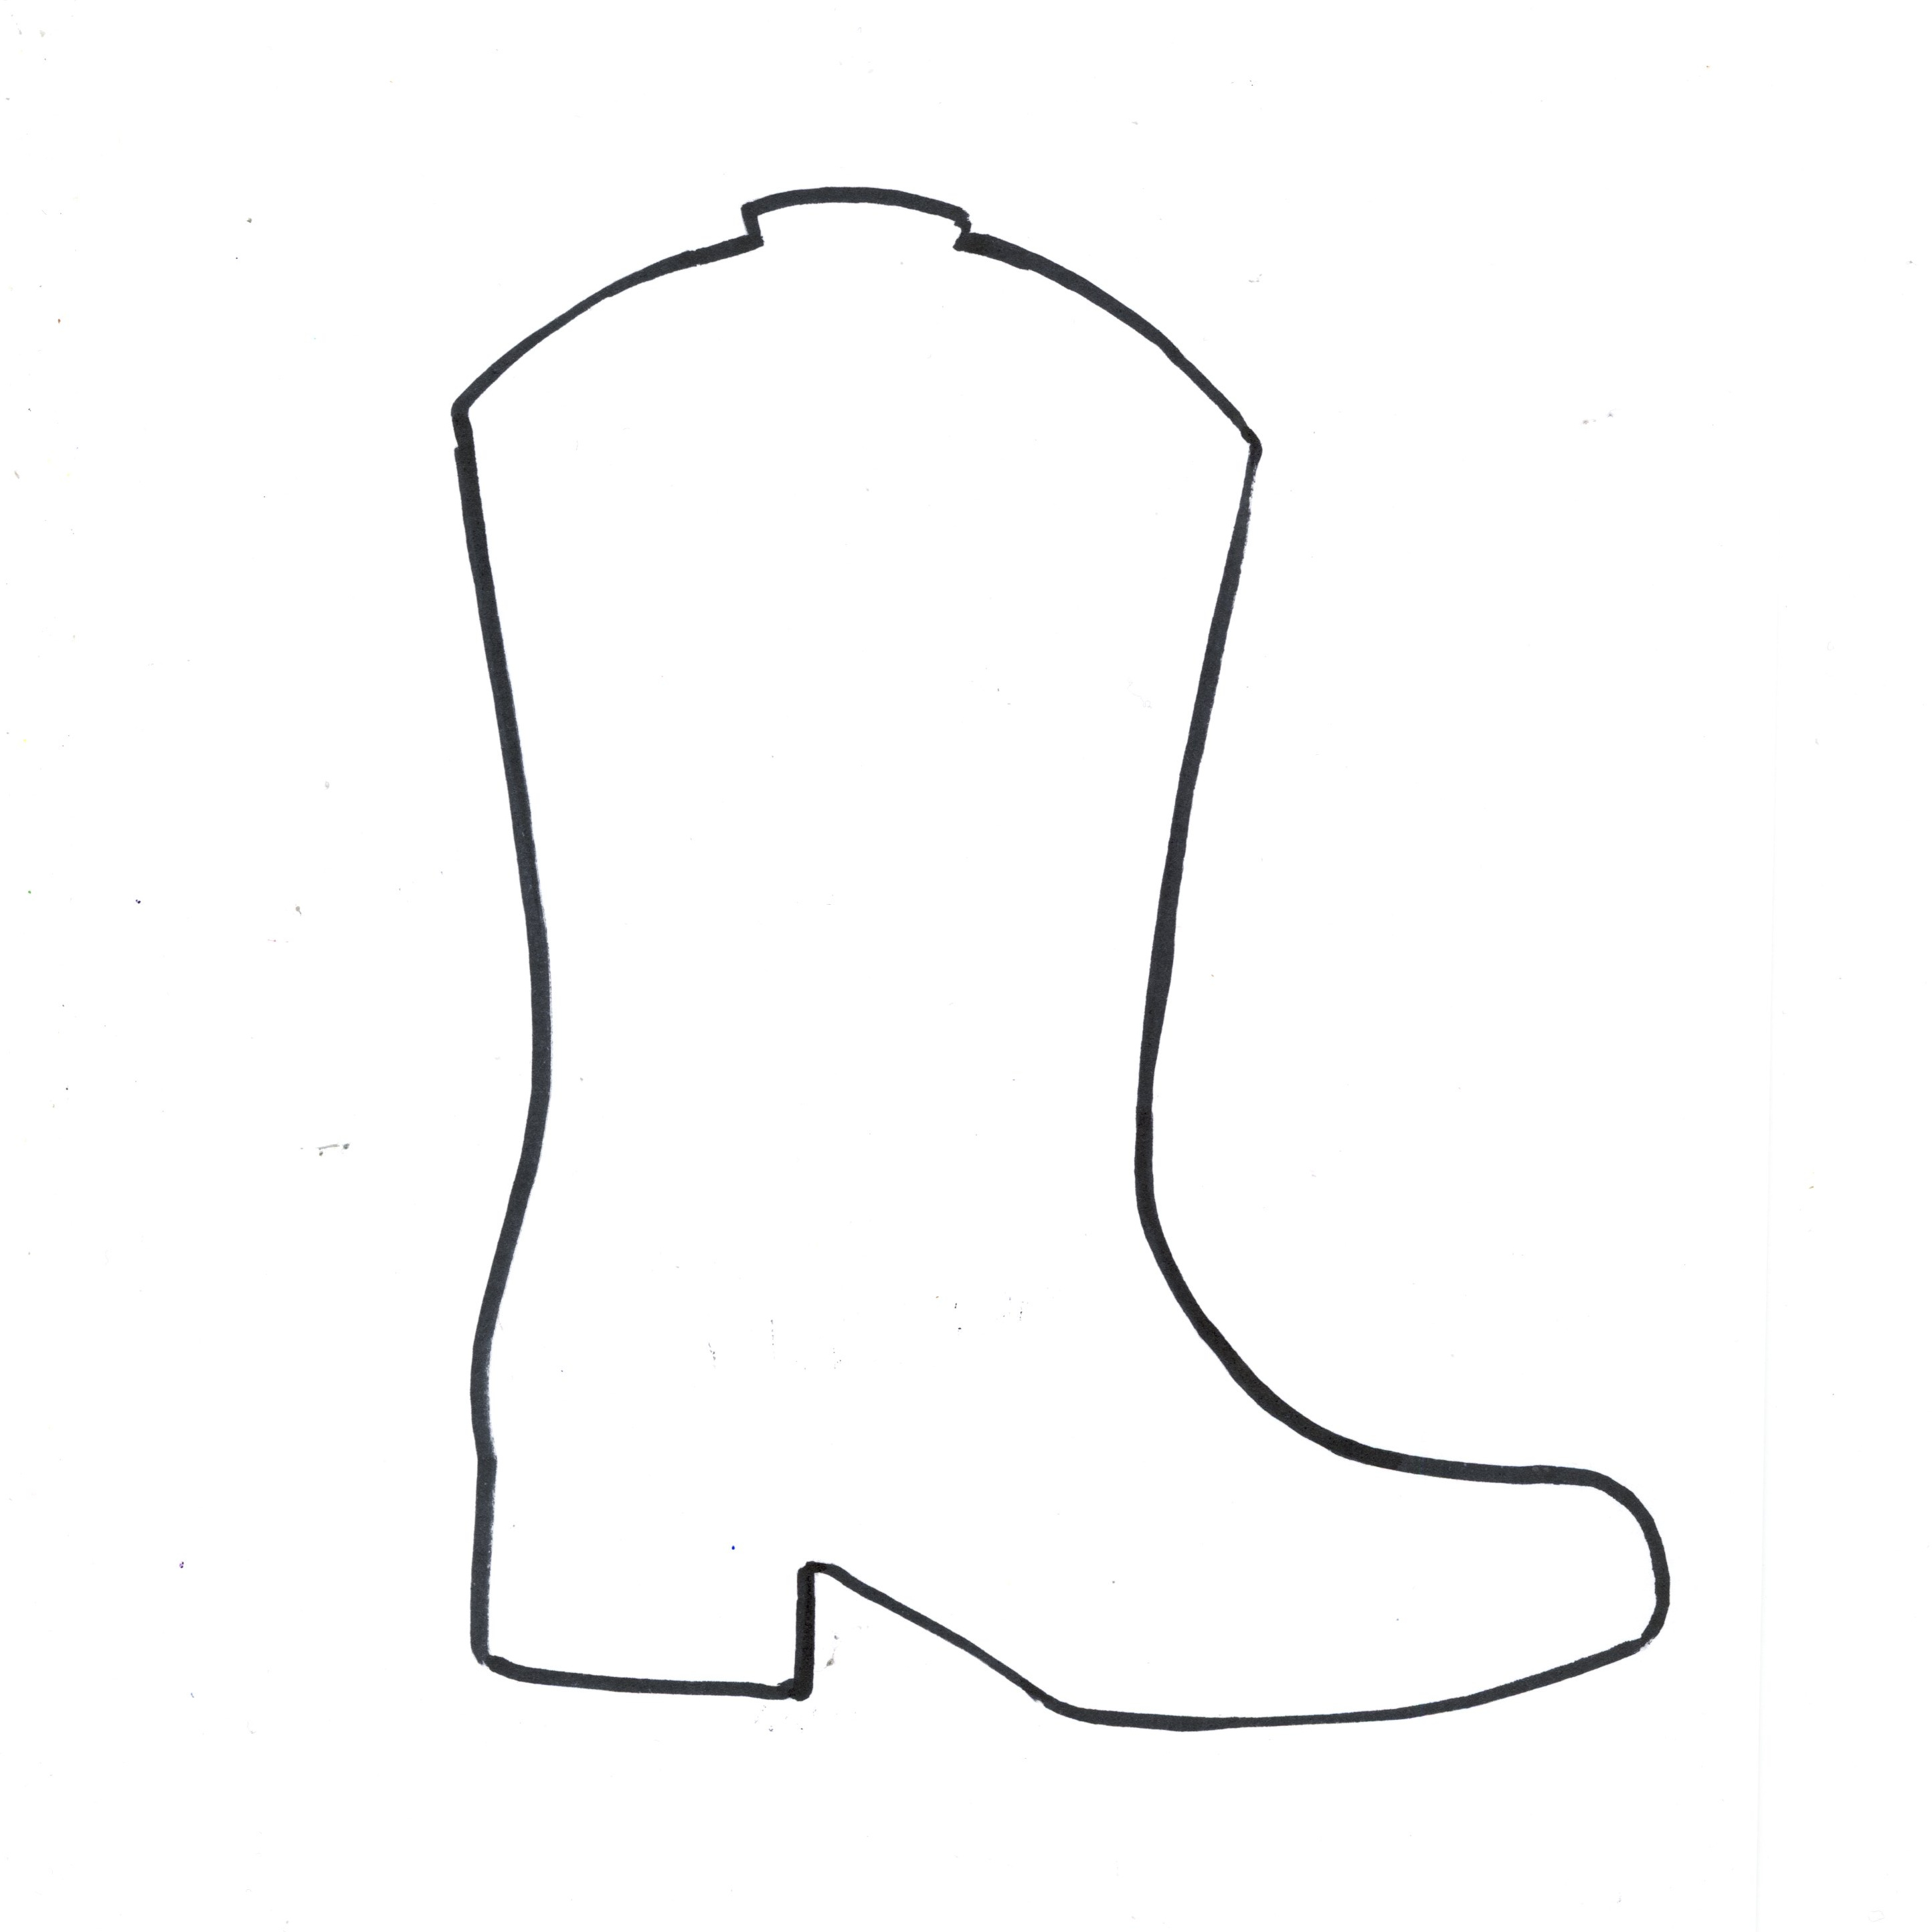
Make yourself a template of a cowboy boot on scratch paper (or print and use mine). 


Cut out the boot and trace it onto a piece of chipboard. Draw in the sole, heel, and pull strap. (I had to look that up. Miraculously, googling "grabber at the top of a cowboy boot" worked.)

Now decorate your book. You can draw freehand. If you want symmetrical decorations, like I did, I recommend cutting out a shape from a piece of folded scrap paper, then tracing that. 


Now paint the book using the Stabilo Woody 3 in 1 (brown, black, and gold). I held the pencil in my right hand and a paintbrush in my left. Dip the paintbrush in water, then rub it over the tip of the pencil to get pigment. Then start filling in the boot.  


Since this was my first time working with the Stabilos, I wasn't as consistent about how much pigment I put on the brush. Ultimately, it didn't matter. I just added extra layers until I was happy with the colors.  


When the boot was completely dry, I cut it out. Then I used the brown pen to add stitching. That made a big difference in making it look more realistic.


While making this project, I was thinking of the many cowboy-related places we've seen on our travels, like the National Cowboy and Western Heritage Museum and Stockyards City in Oklahoma, works by Cowboy Artist Charles M. Russell in Montana, the North Dakota Cowboy Hall of Fame, and the Fort Worth Stockyards National Historic District, just to name a few. I love that a simple craft like this can take me right back to places I loved to visit.