Showing posts with label calendar. Show all posts

2/27/25

What to Do with an Old Calendar: Frame Your Favorite Pictures!

Each year, I get Steve a bunny-themed wall calendar. At the end of the year, he gives me the old calendar to use for crafting. When I received the new Framed Effects Circle Surface from Plaid, I thought it would be perfect to display a cute spring photo of bunnies. Affiliate links here and below. 
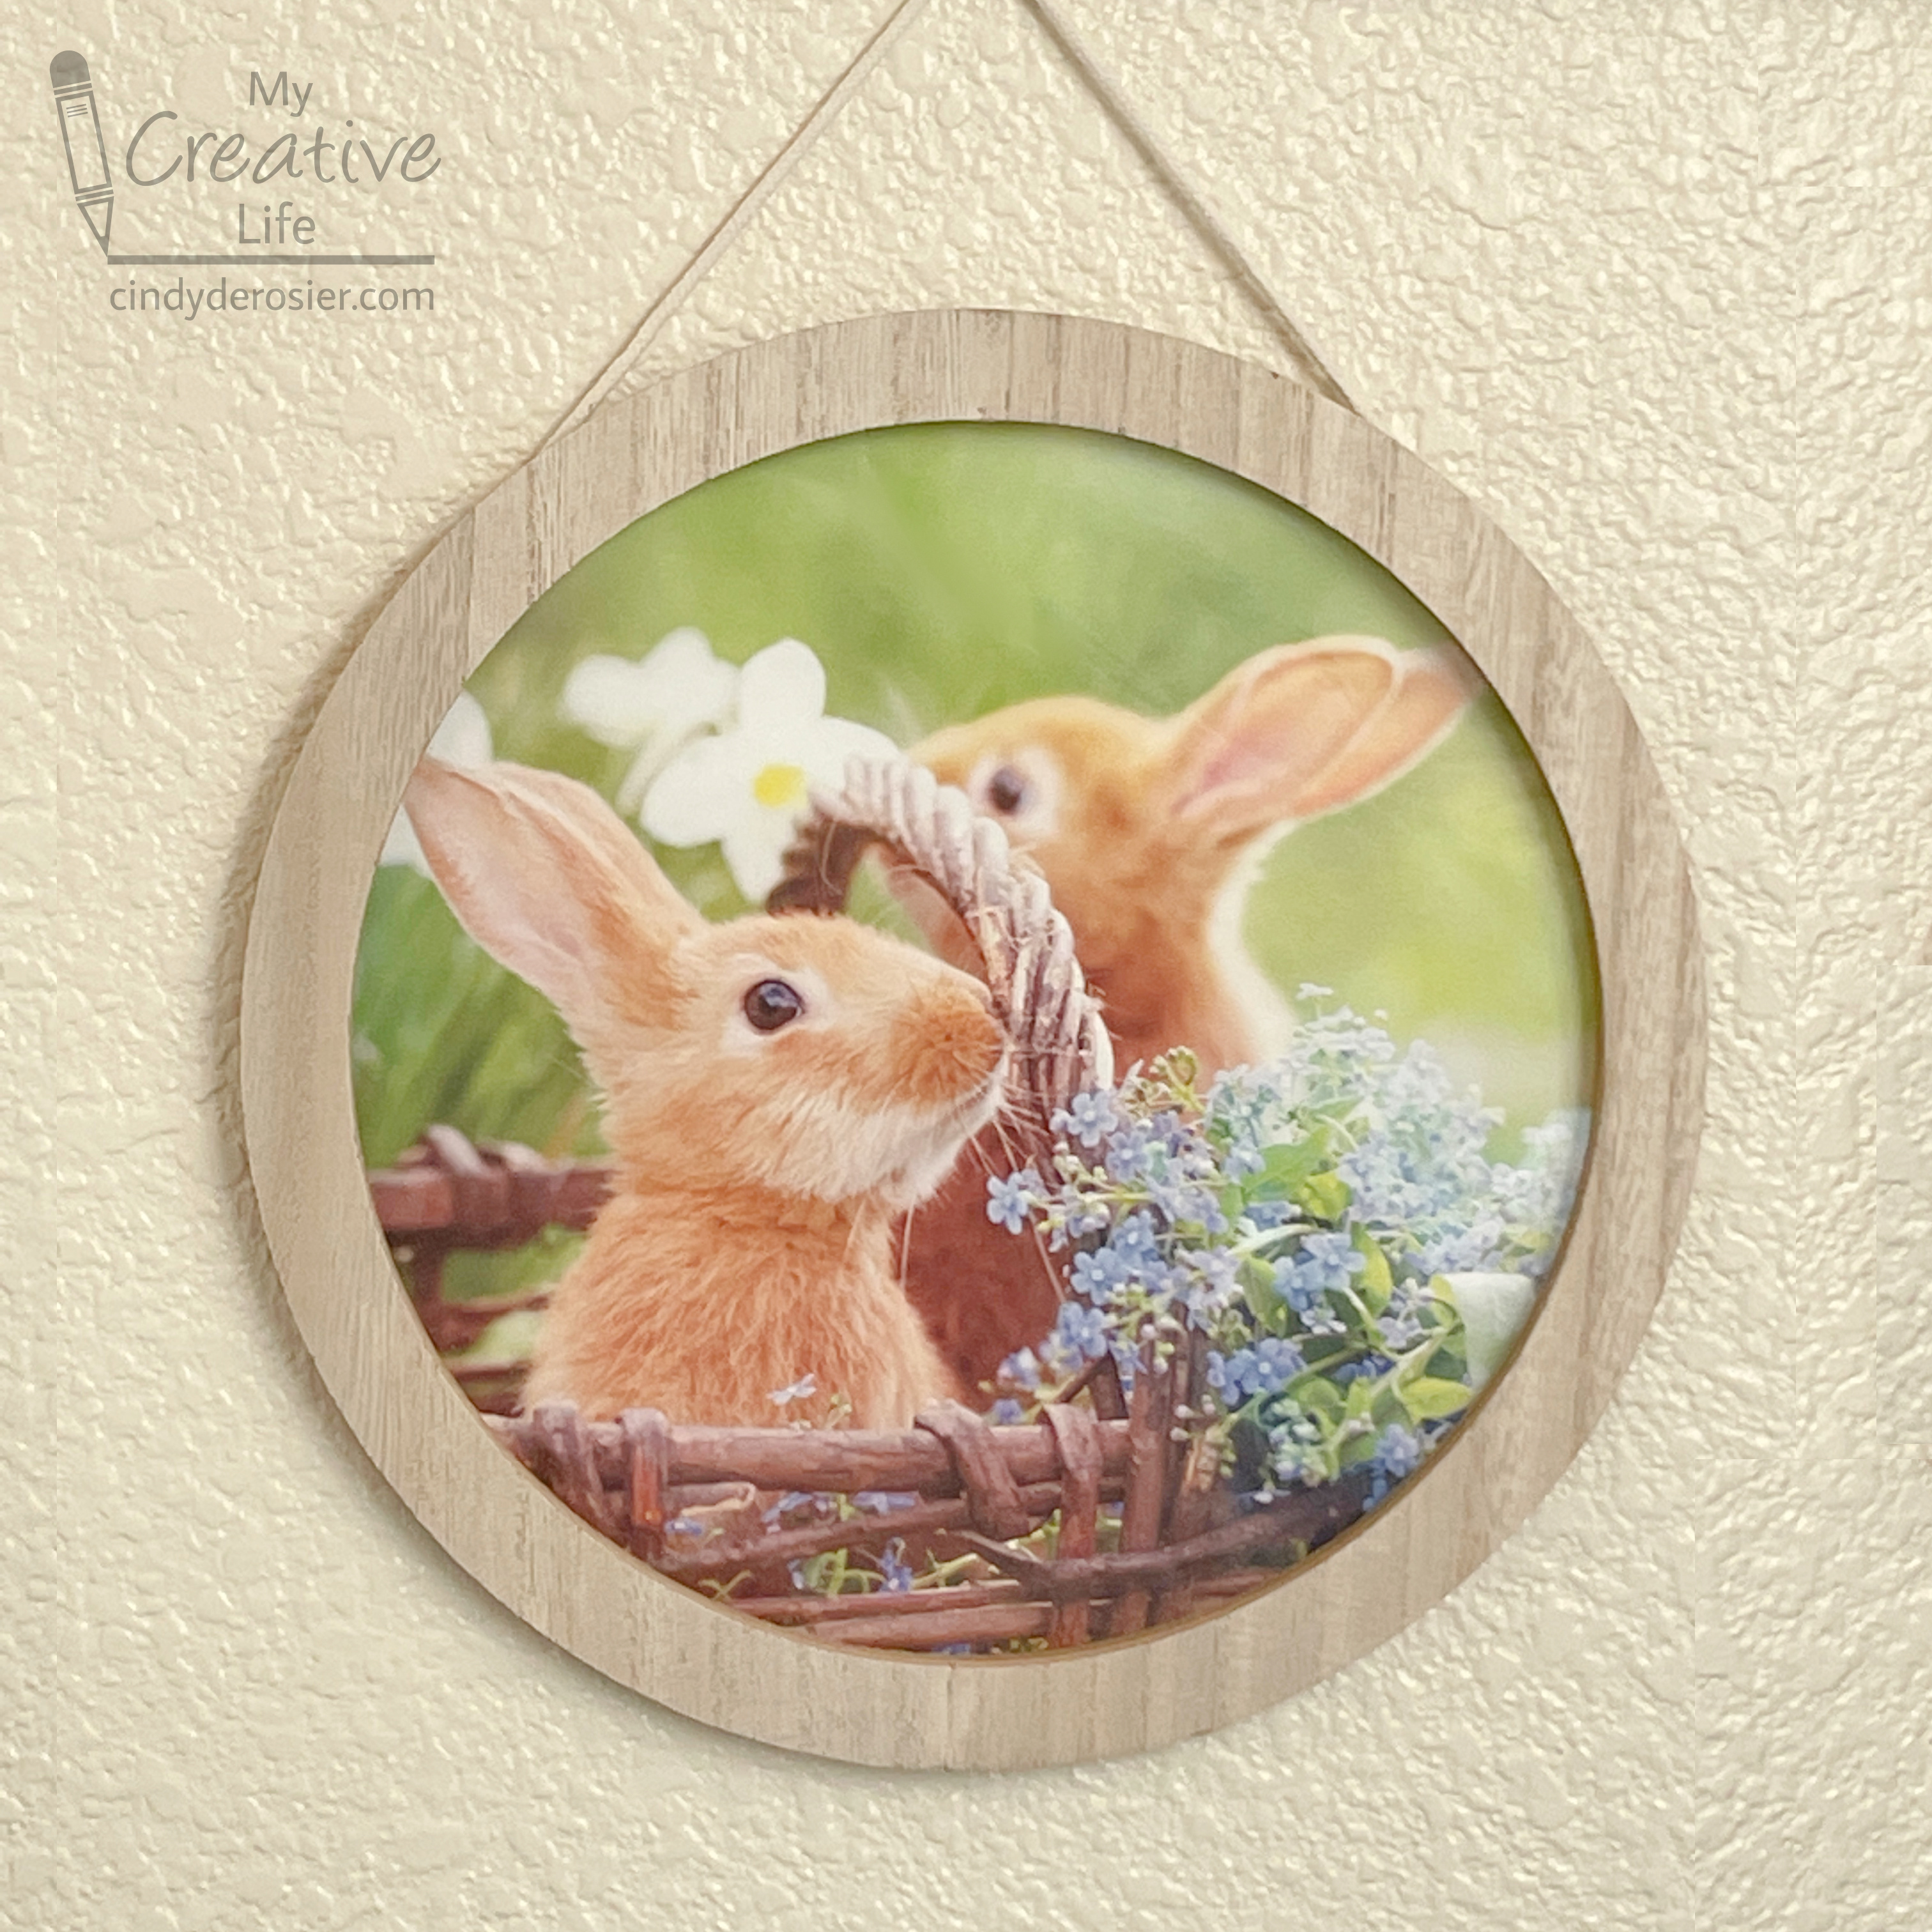

This project couldn't be easier. I started by using the frame to determine the cropping for the calendar image, then traced around the outside of the frame with a pen. 


I cut just inside the traced line, then used mini Glue Dots to adhere the bottom half of the image to the back of the frame. I chose to use Glue Dots because they're plenty strong to hold the calendar page in place, but still easy to remove when I want to change out the image. Finally, I cut flaps to expose hardware, then added Glue Dots to the top of the image. 


In just minutes, I was able to hang my framed calendar page. 


Obviously, I could have painted or stained the frame before adding the image. I like it as is. It's actually designed to be used for glass chip crafting, something I haven't tried yet. If you've tried it, let me know what you think and whether I should give it a go. 

2/23/23

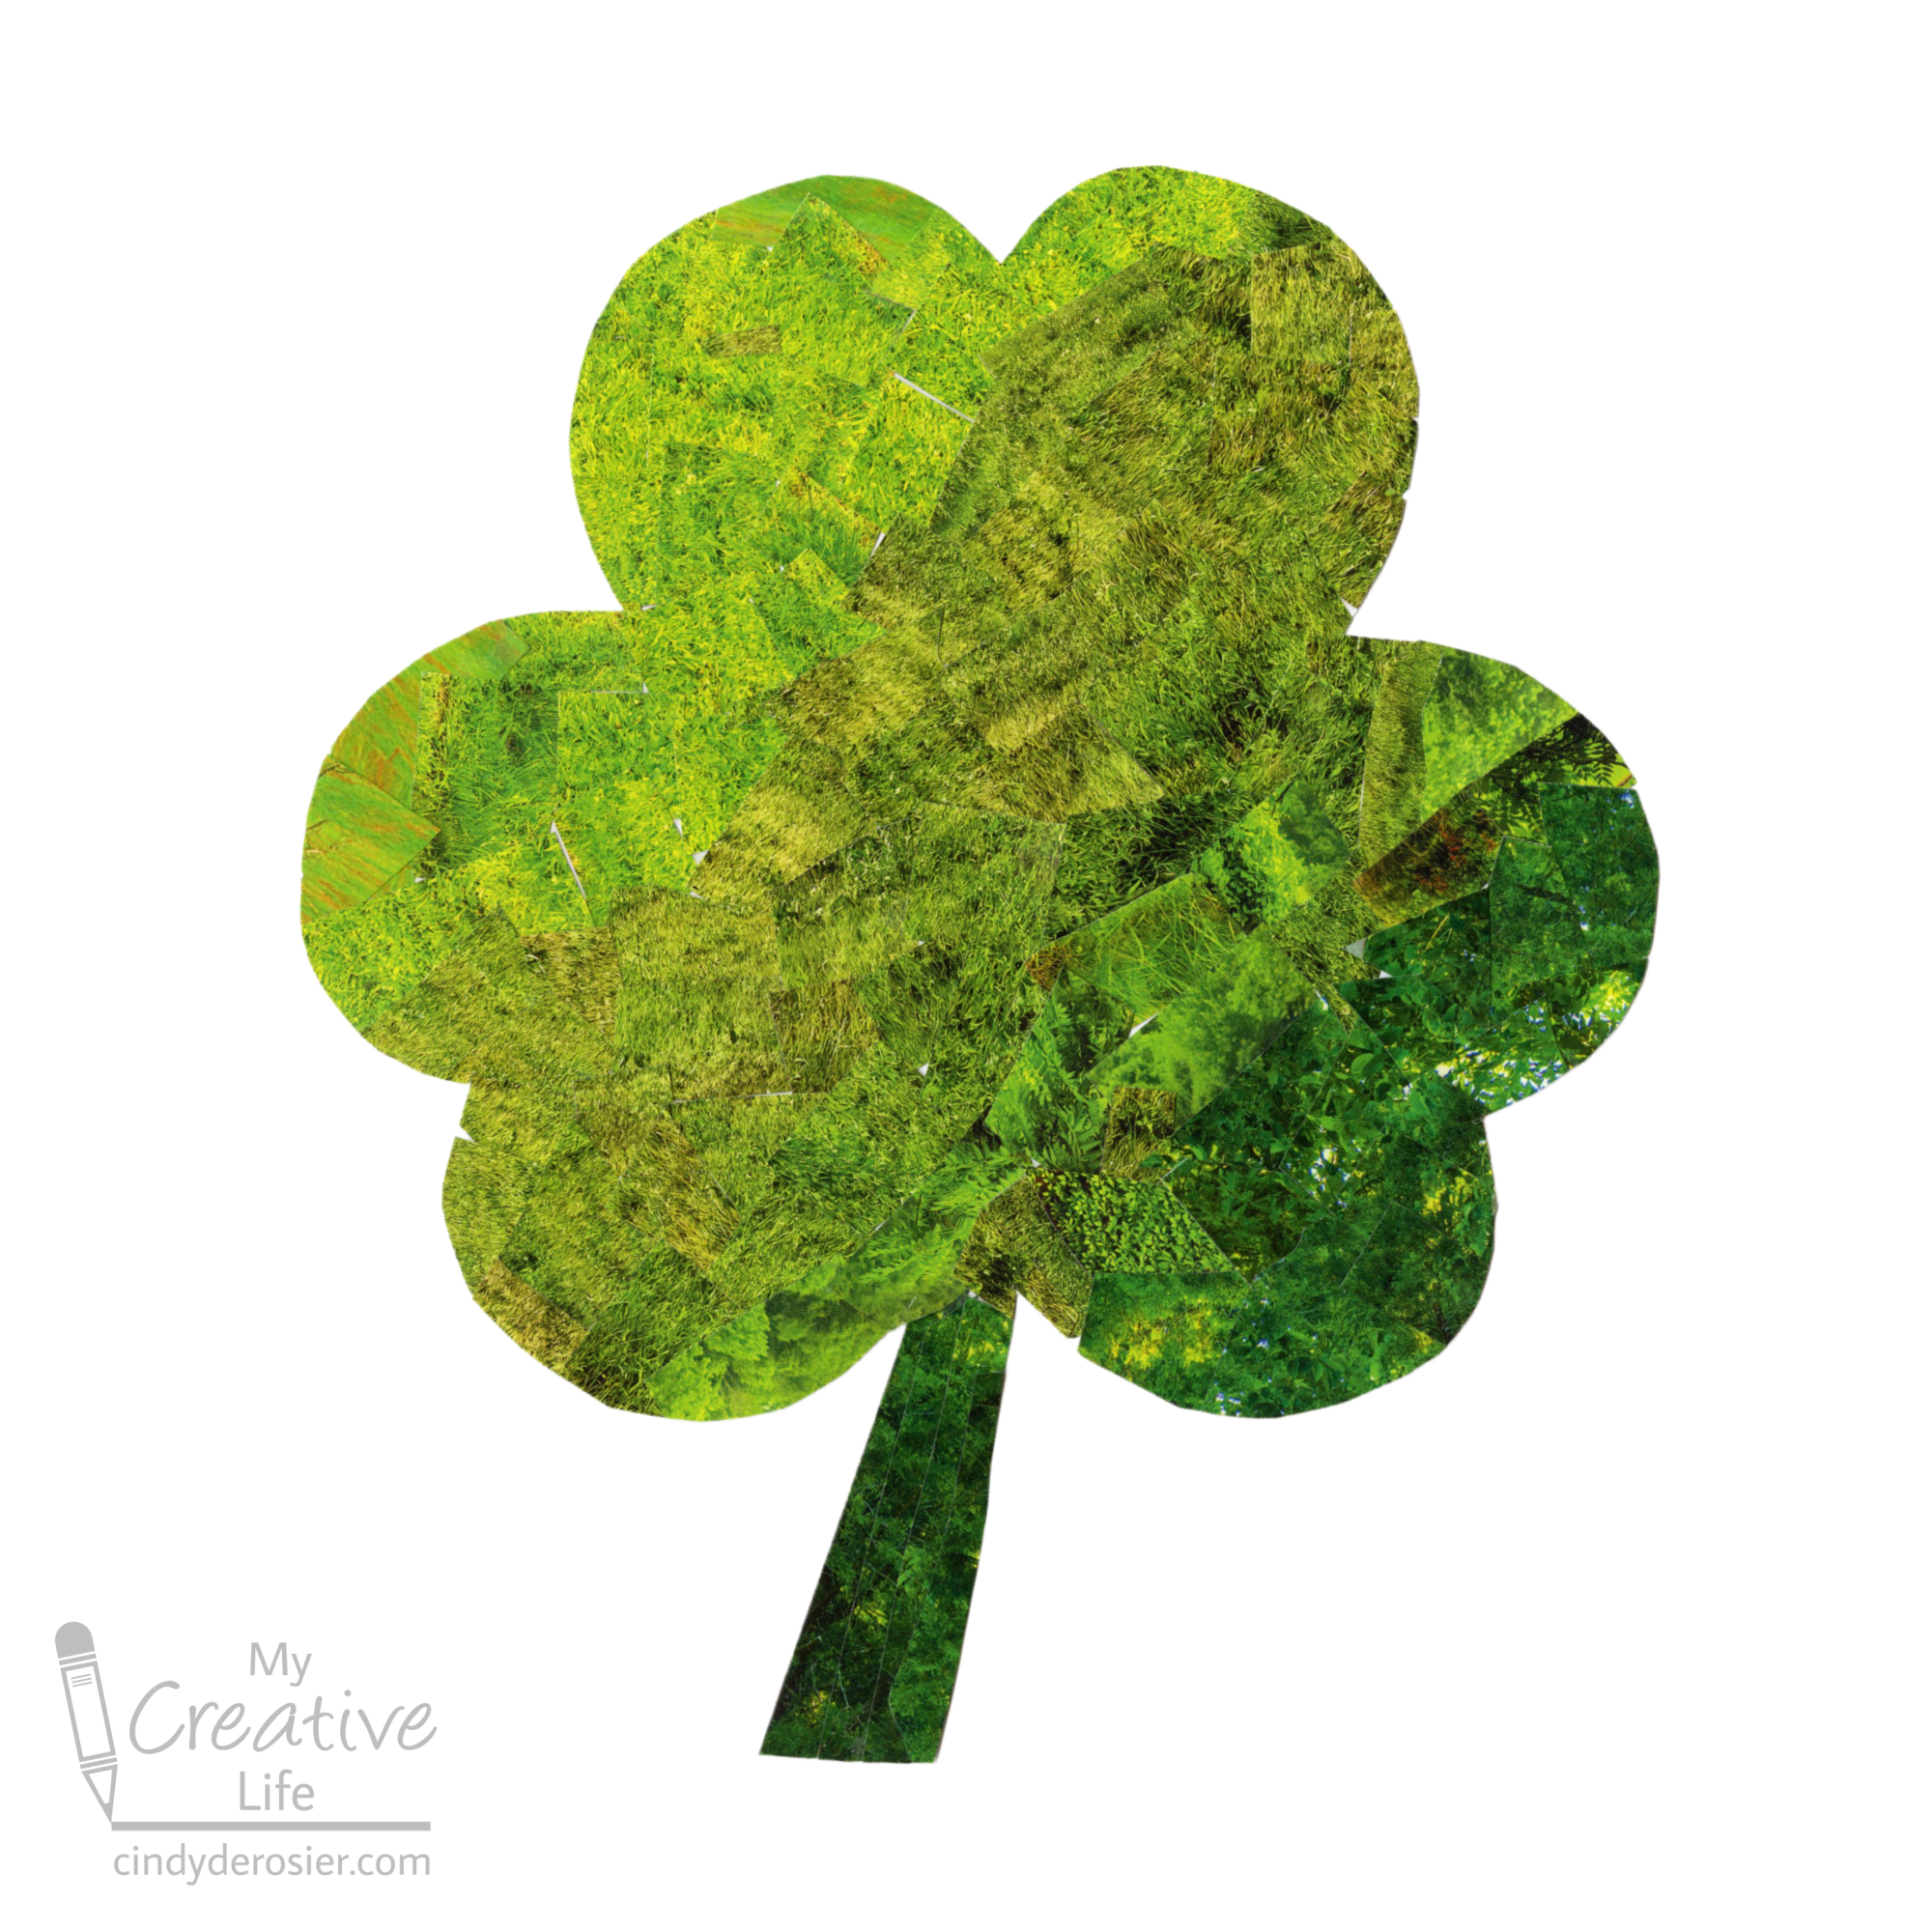
Recycled Calendar Shamrock

Last year's calendars make great craft supplies. I used Trevor's 2022 Americana-themed calendar to make this shamrock. 


It is a shamrock and not a clover. If you're not clear on the difference, this article does a great job of explaining the difference between shamrocks and clovers. It also explains why the Christian missionary St. Patrick is associated with shamrocks and not clovers. 

I started making my shamrock just before 5:00 pm. Steve was at work and Trevor had an online meeting, so I thought I'd have an uninterrupted hour to finish, which was more than enough time. (Spoiler: I'm a mom. A mom can never count on her time being uninterrupted.) I mention this because my step-out photos show it getting progressively darker in my craft room, until I finally realized I was crafting in the dark and turned on a light. (The story behind the story...). As much as I hate Daylight Savings Time, I do look forward to crafting with natural light in the evenings. 

The first thing I did was draw a shamrock on my paper. I cut it out and flipped the paper over, though that wasn't necessary. The calendar bits will cover pencil lines. 


I hadn't looked through the calendar before starting. I assumed there would be plenty of green. As it turns out, there was absolutely no green on January or February.


Fortunately, March and April both had a bunch. 


I went through the whole calendar harvesting green. There was not as much as I expected, but fortunately it was enough. 


I struggled to sort my green bits from lightest to darkest. That's when I realized I was working in the dark.  


Turning on the light helped a lot. I cut my lightest greens into small pieces. I decided that the light source on my shamrock would be from the upper left, so I started arranging the lightest greens there. I used Tacky Glue to adhere them. 


I continued moving diagonally toward the lower right, adding increasingly darker greens. 


Then I was interrupted. (See spoiler above.) I finished the rest of the project the next morning with natural light. 


The final step was trimming off the excess bits that hung over the edge of the shamrock. I love how it turned out. 


There are so many possibilities with a recycled calendar. Or any recyclables, for that matter. Definitely give your castoffs a second glance before you get rid of them!