Showing posts with label Trash to Treasure. Show all posts

2/27/25

What to Do with an Old Calendar: Frame Your Favorite Pictures!

Each year, I get Steve a bunny-themed wall calendar. At the end of the year, he gives me the old calendar to use for crafting. When I received the new Framed Effects Circle Surface from Plaid, I thought it would be perfect to display a cute spring photo of bunnies. Affiliate links here and below. 
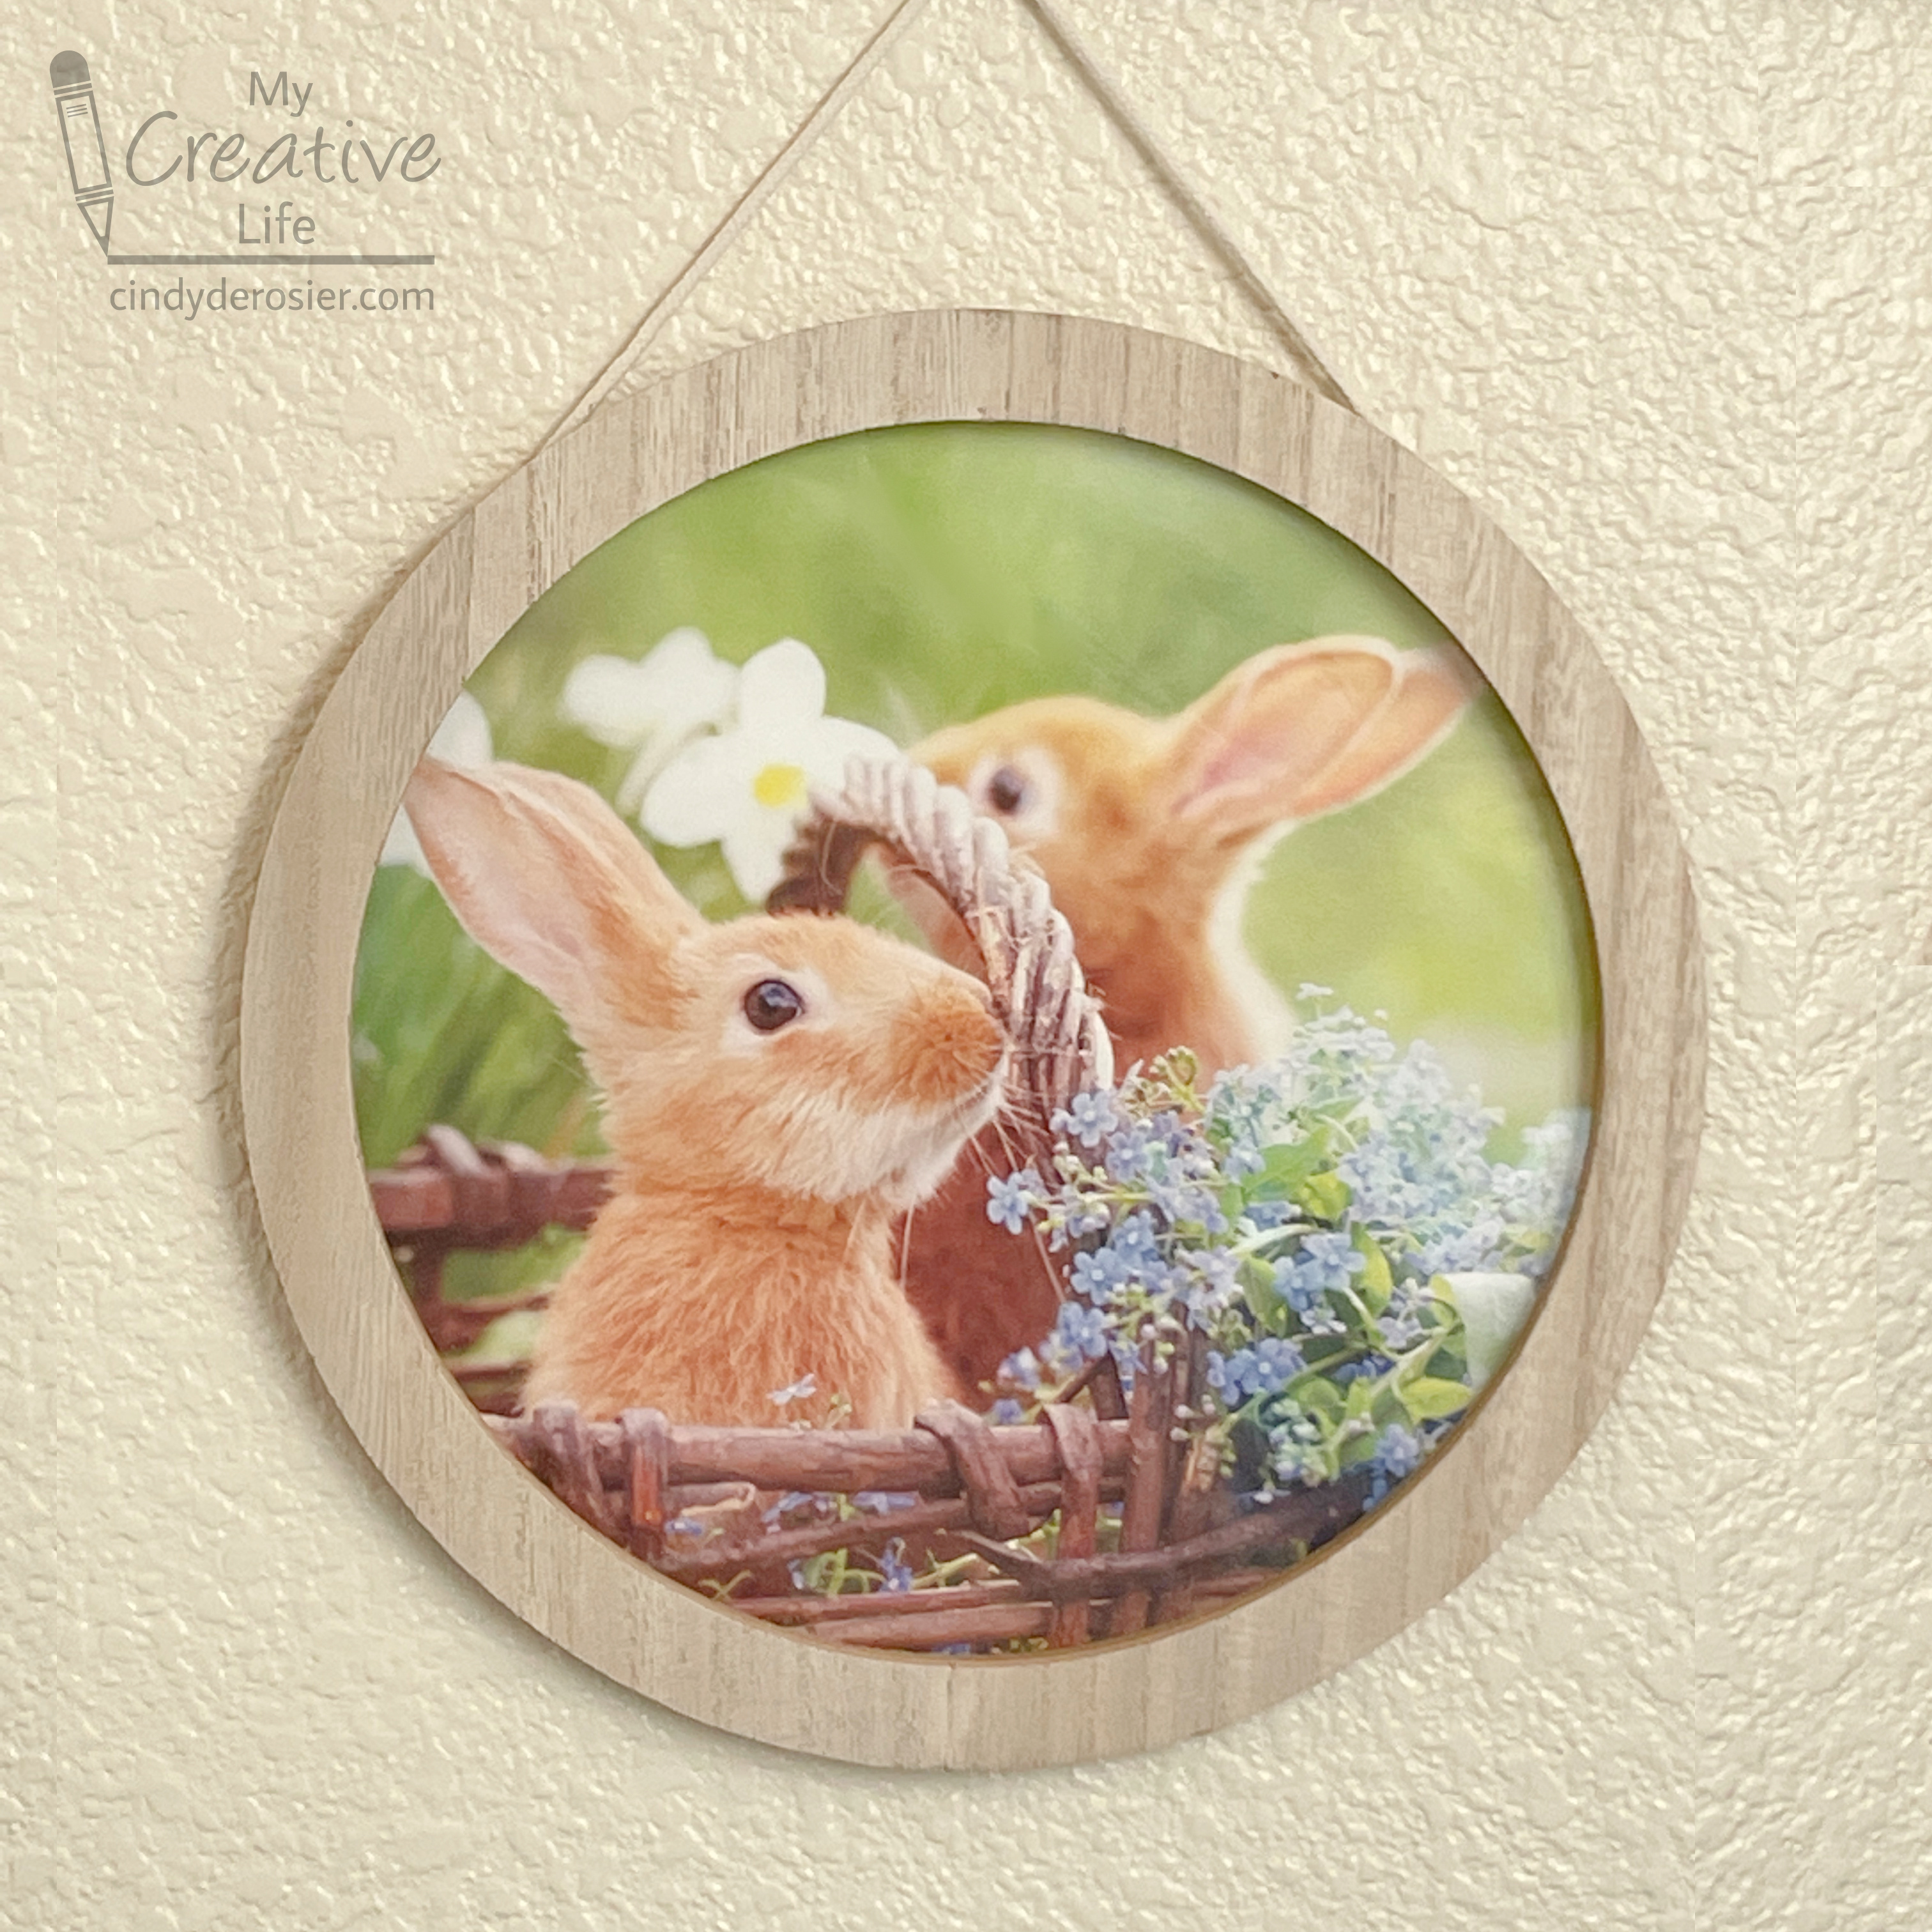

This project couldn't be easier. I started by using the frame to determine the cropping for the calendar image, then traced around the outside of the frame with a pen. 


I cut just inside the traced line, then used mini Glue Dots to adhere the bottom half of the image to the back of the frame. I chose to use Glue Dots because they're plenty strong to hold the calendar page in place, but still easy to remove when I want to change out the image. Finally, I cut flaps to expose hardware, then added Glue Dots to the top of the image. 


In just minutes, I was able to hang my framed calendar page. 


Obviously, I could have painted or stained the frame before adding the image. I like it as is. It's actually designed to be used for glass chip crafting, something I haven't tried yet. If you've tried it, let me know what you think and whether I should give it a go. 

6/26/23

What to Do with Dried Acrylic Paint - Make a Coaster!

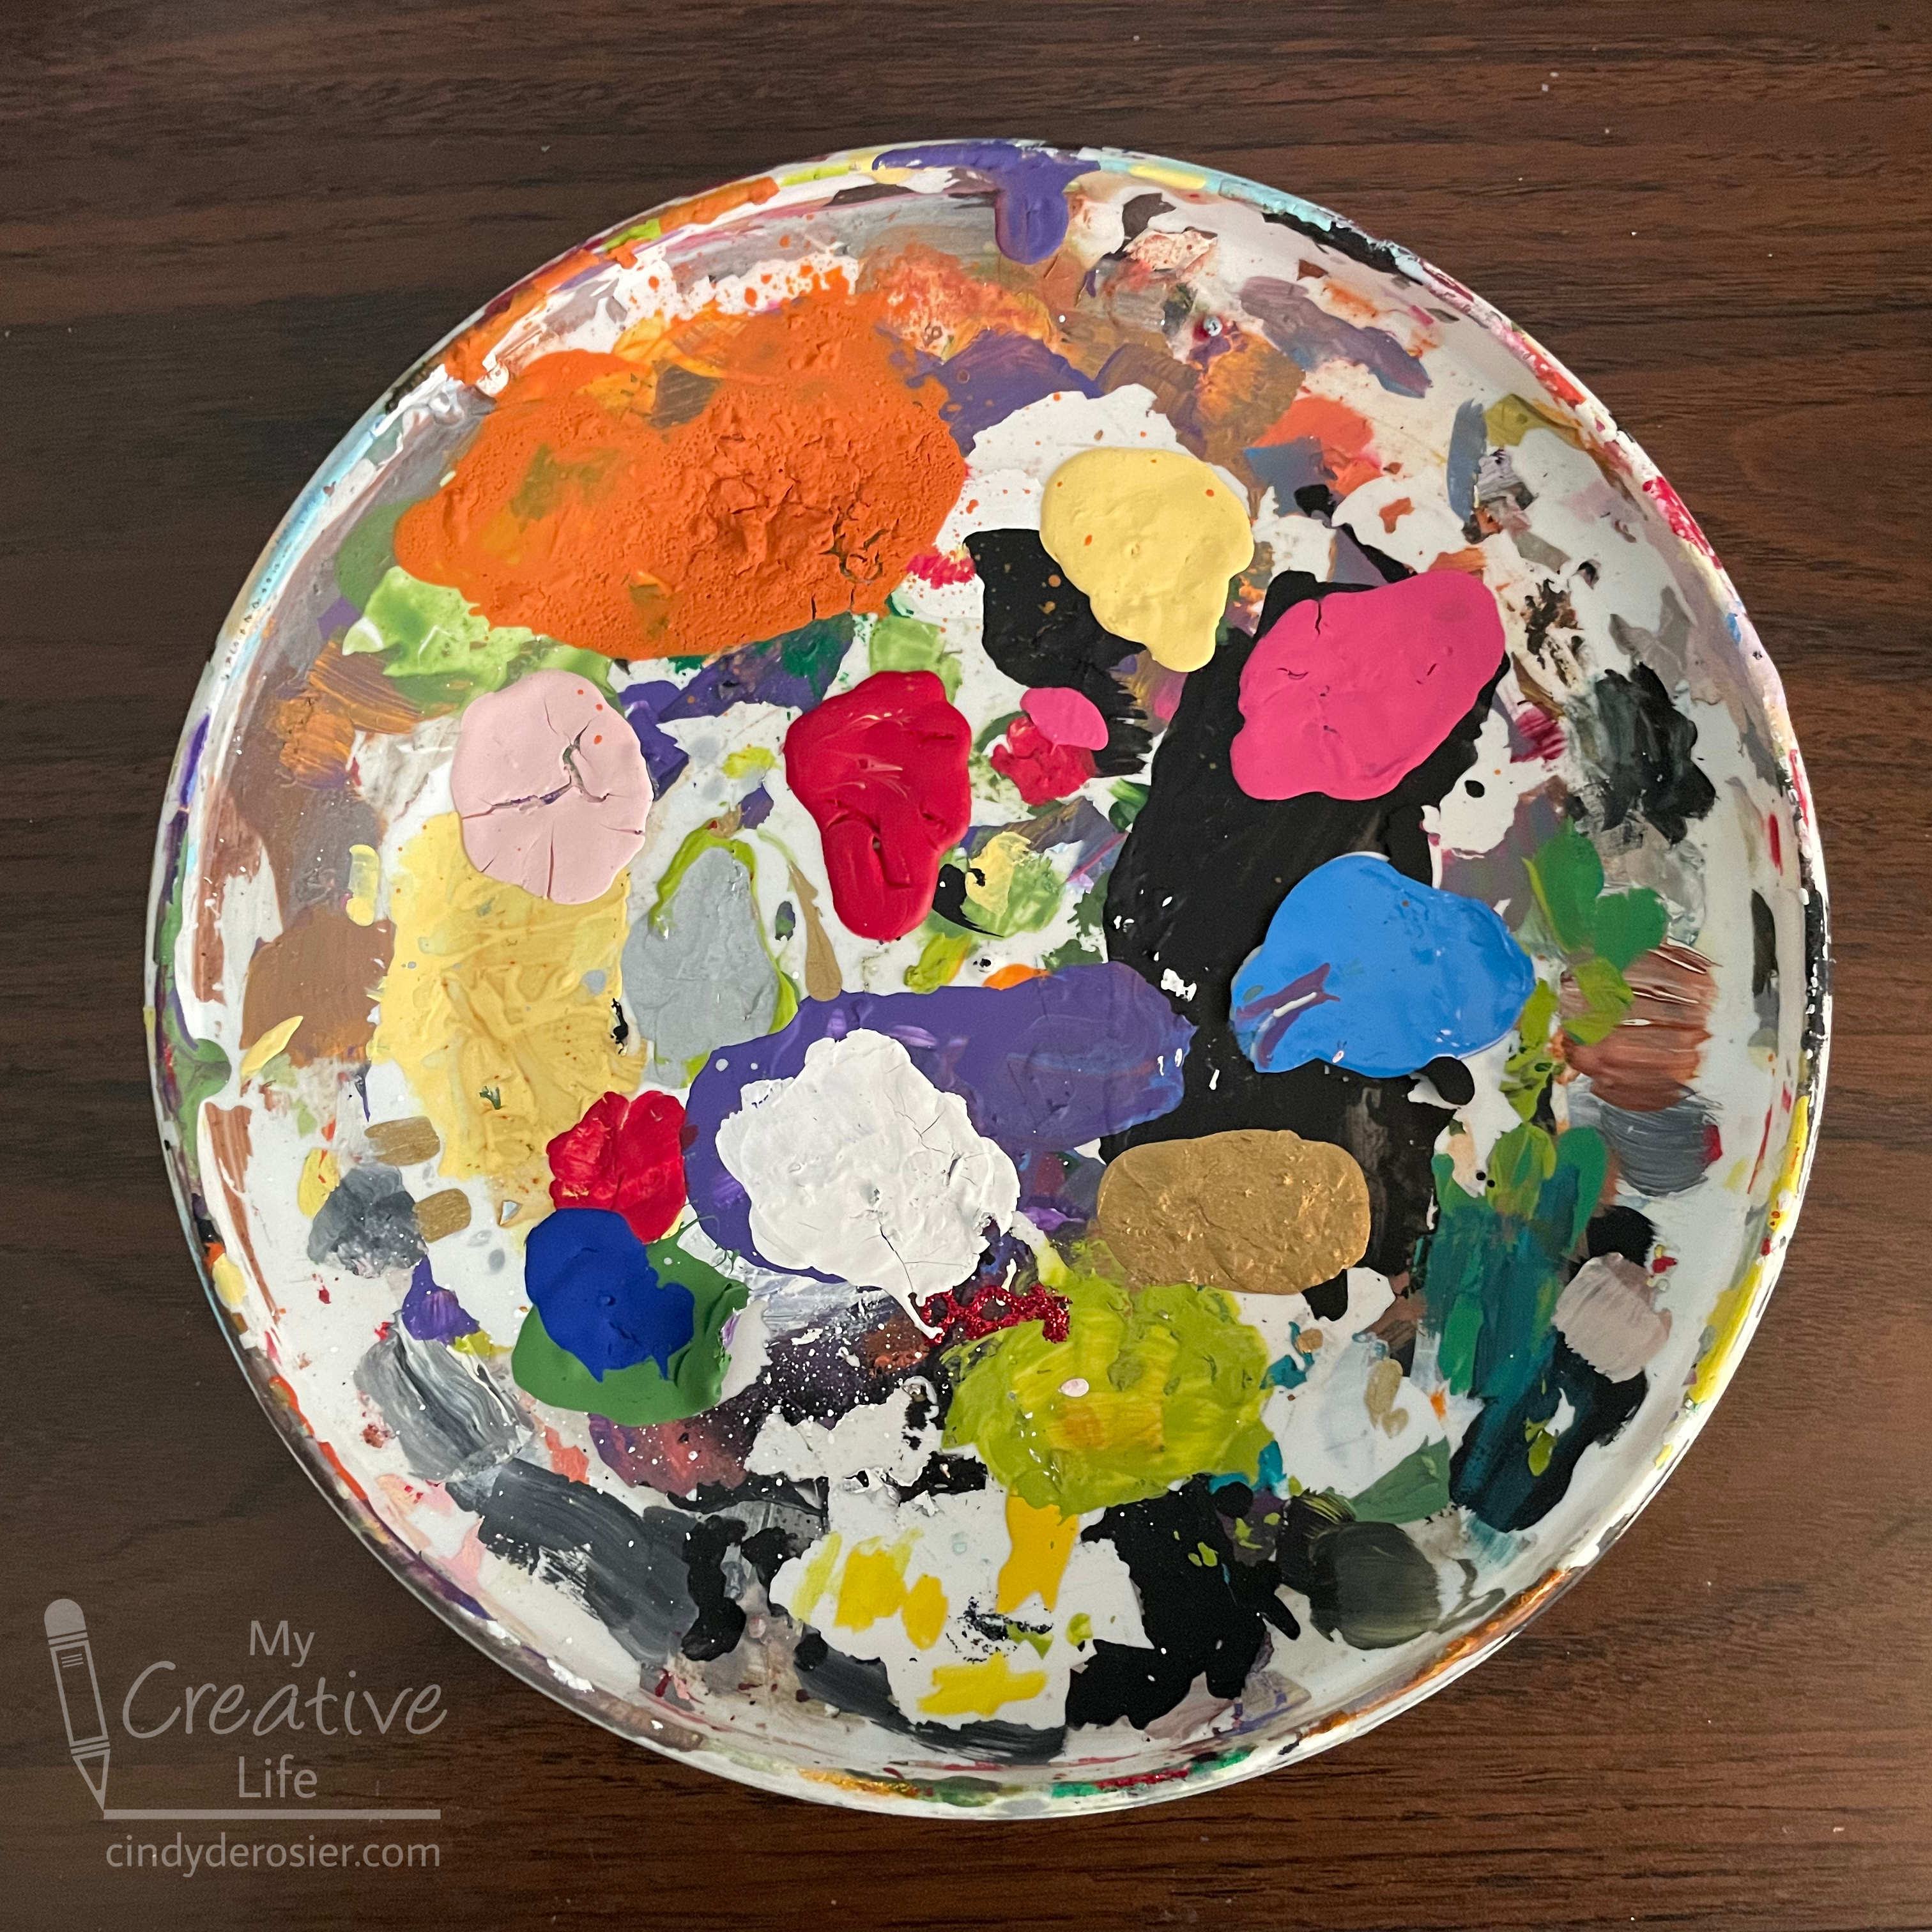
This is a coaster that lives in the craft room. I use it for normal coaster purposes (i.e. drinks), but also as a place to set a paint or glue bottle, a paintbrush, or other messy items. Affiliate links below. 


When it gets full, I don't wash it. I peel it. After the paint dries completely, it peels off in colorful chunks. It's extremely satisfying to see the pretty colors on the underside. 


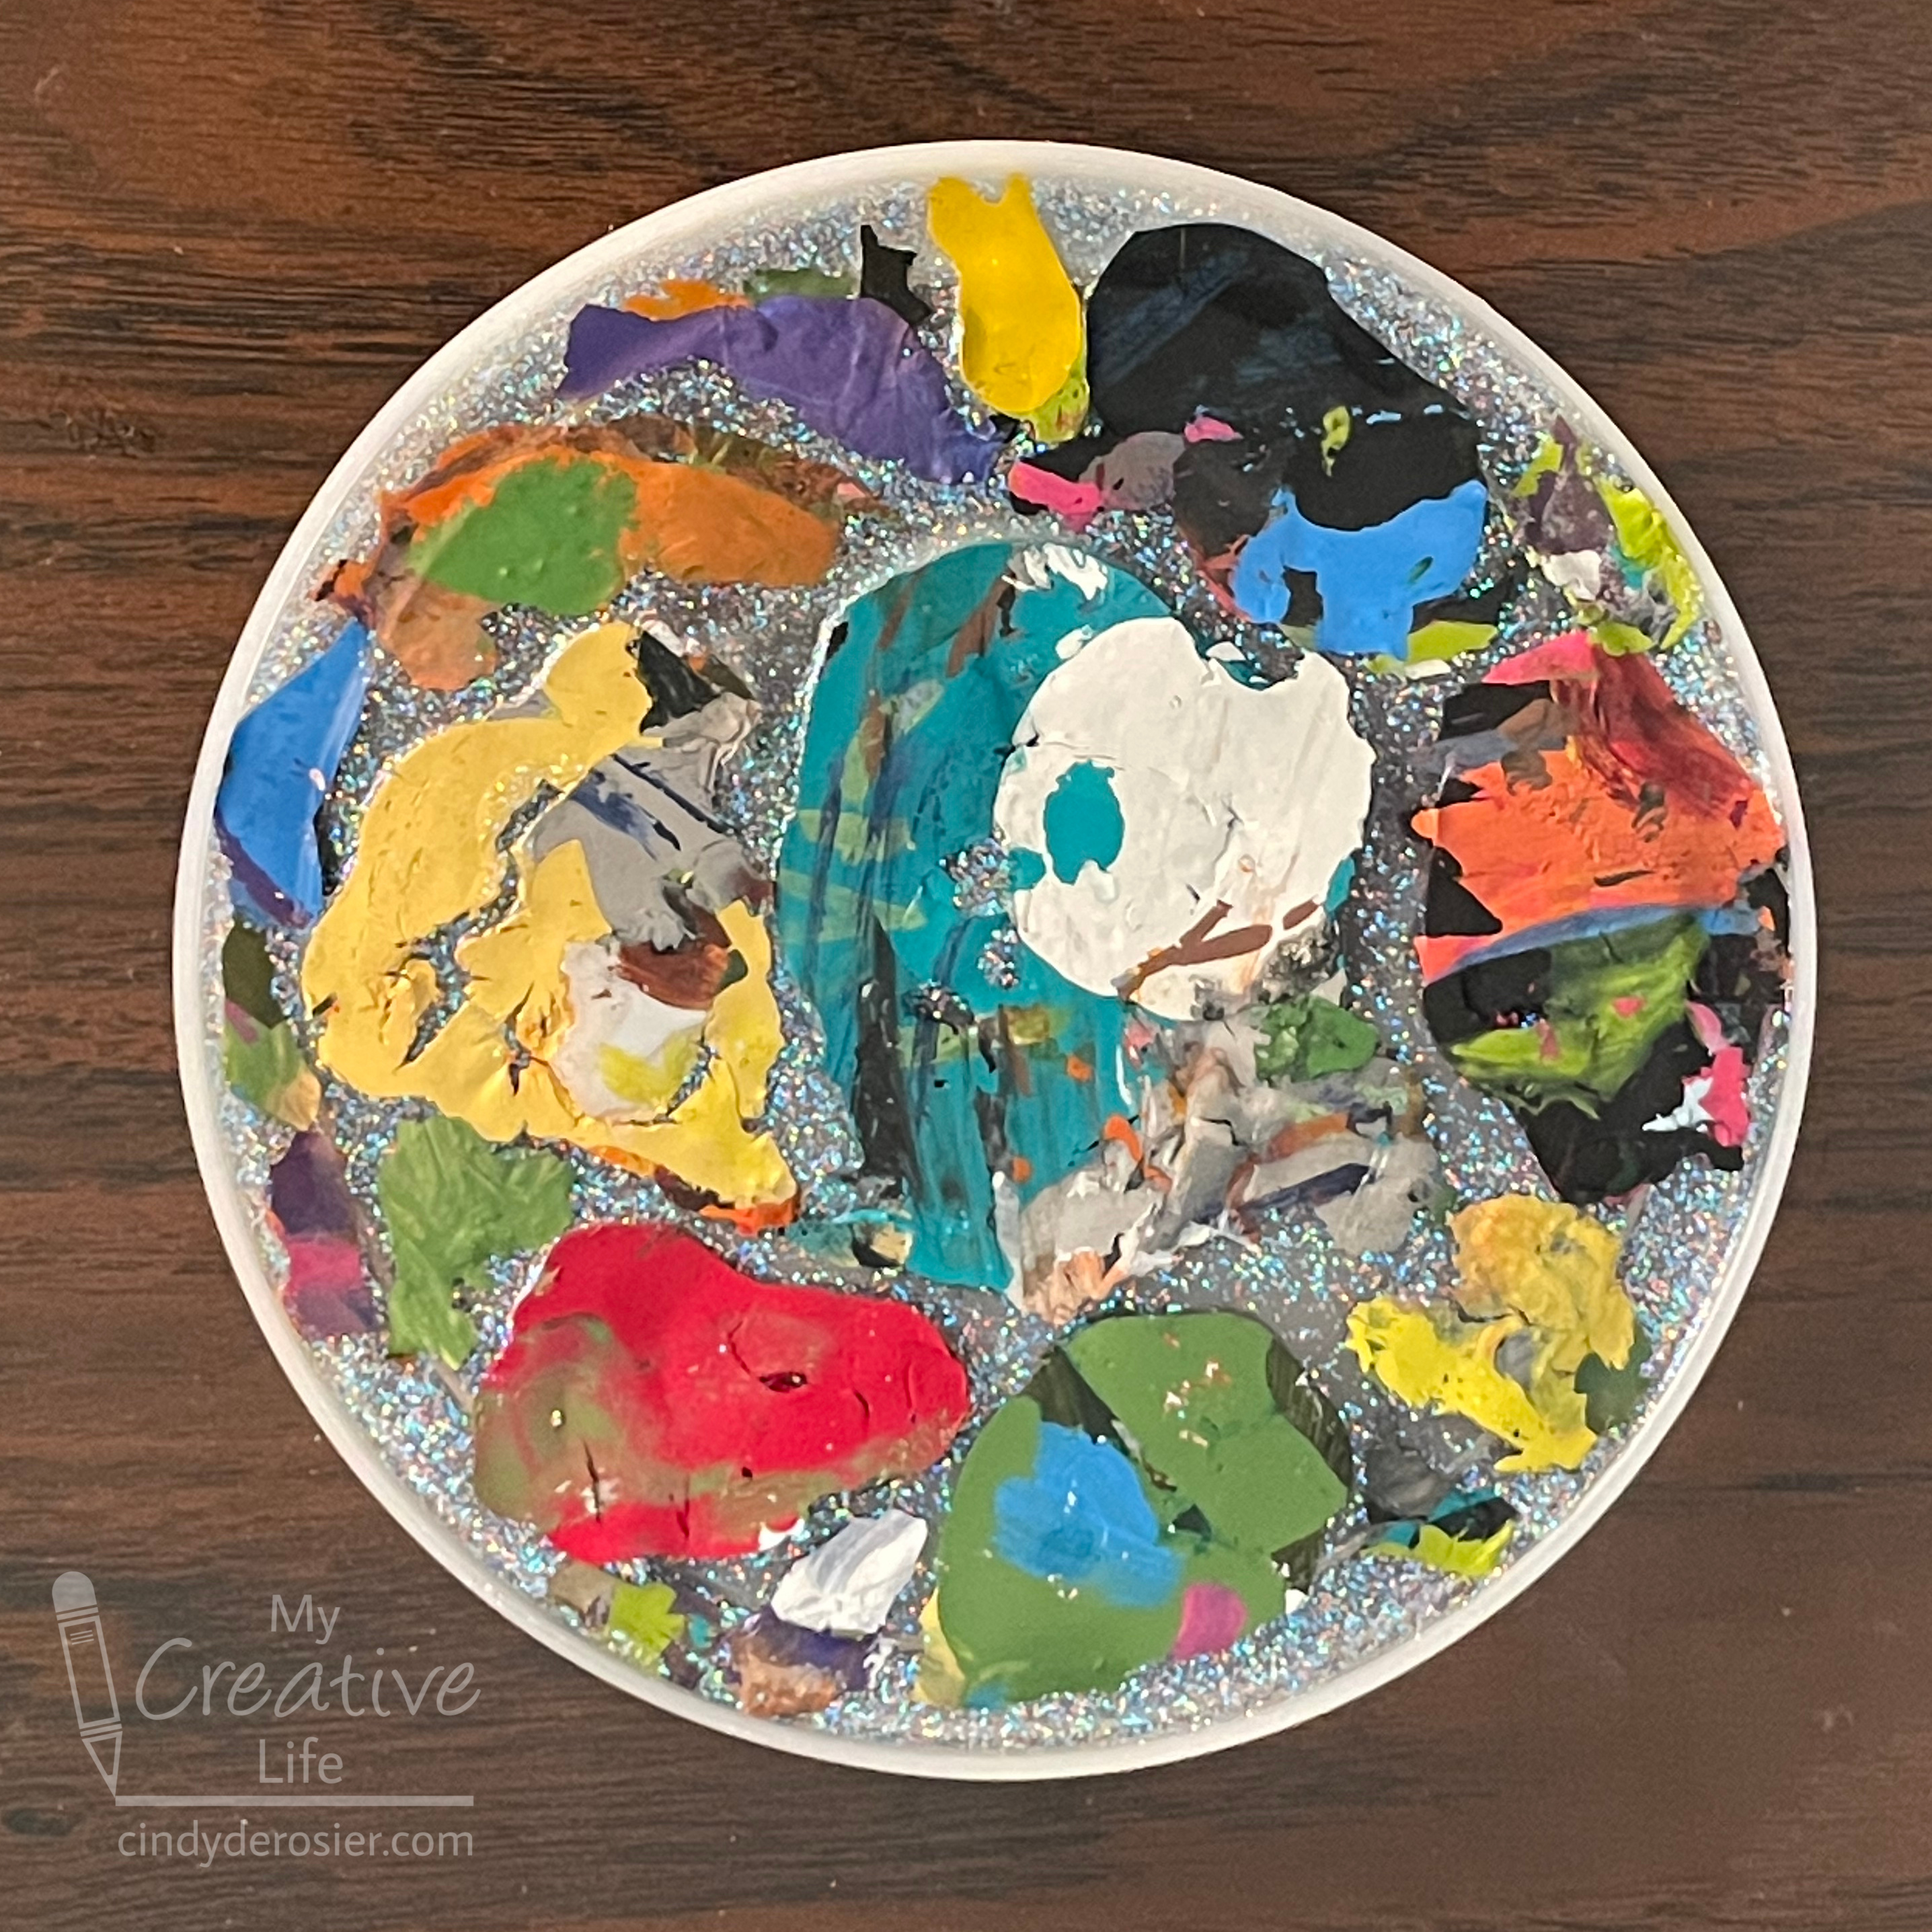
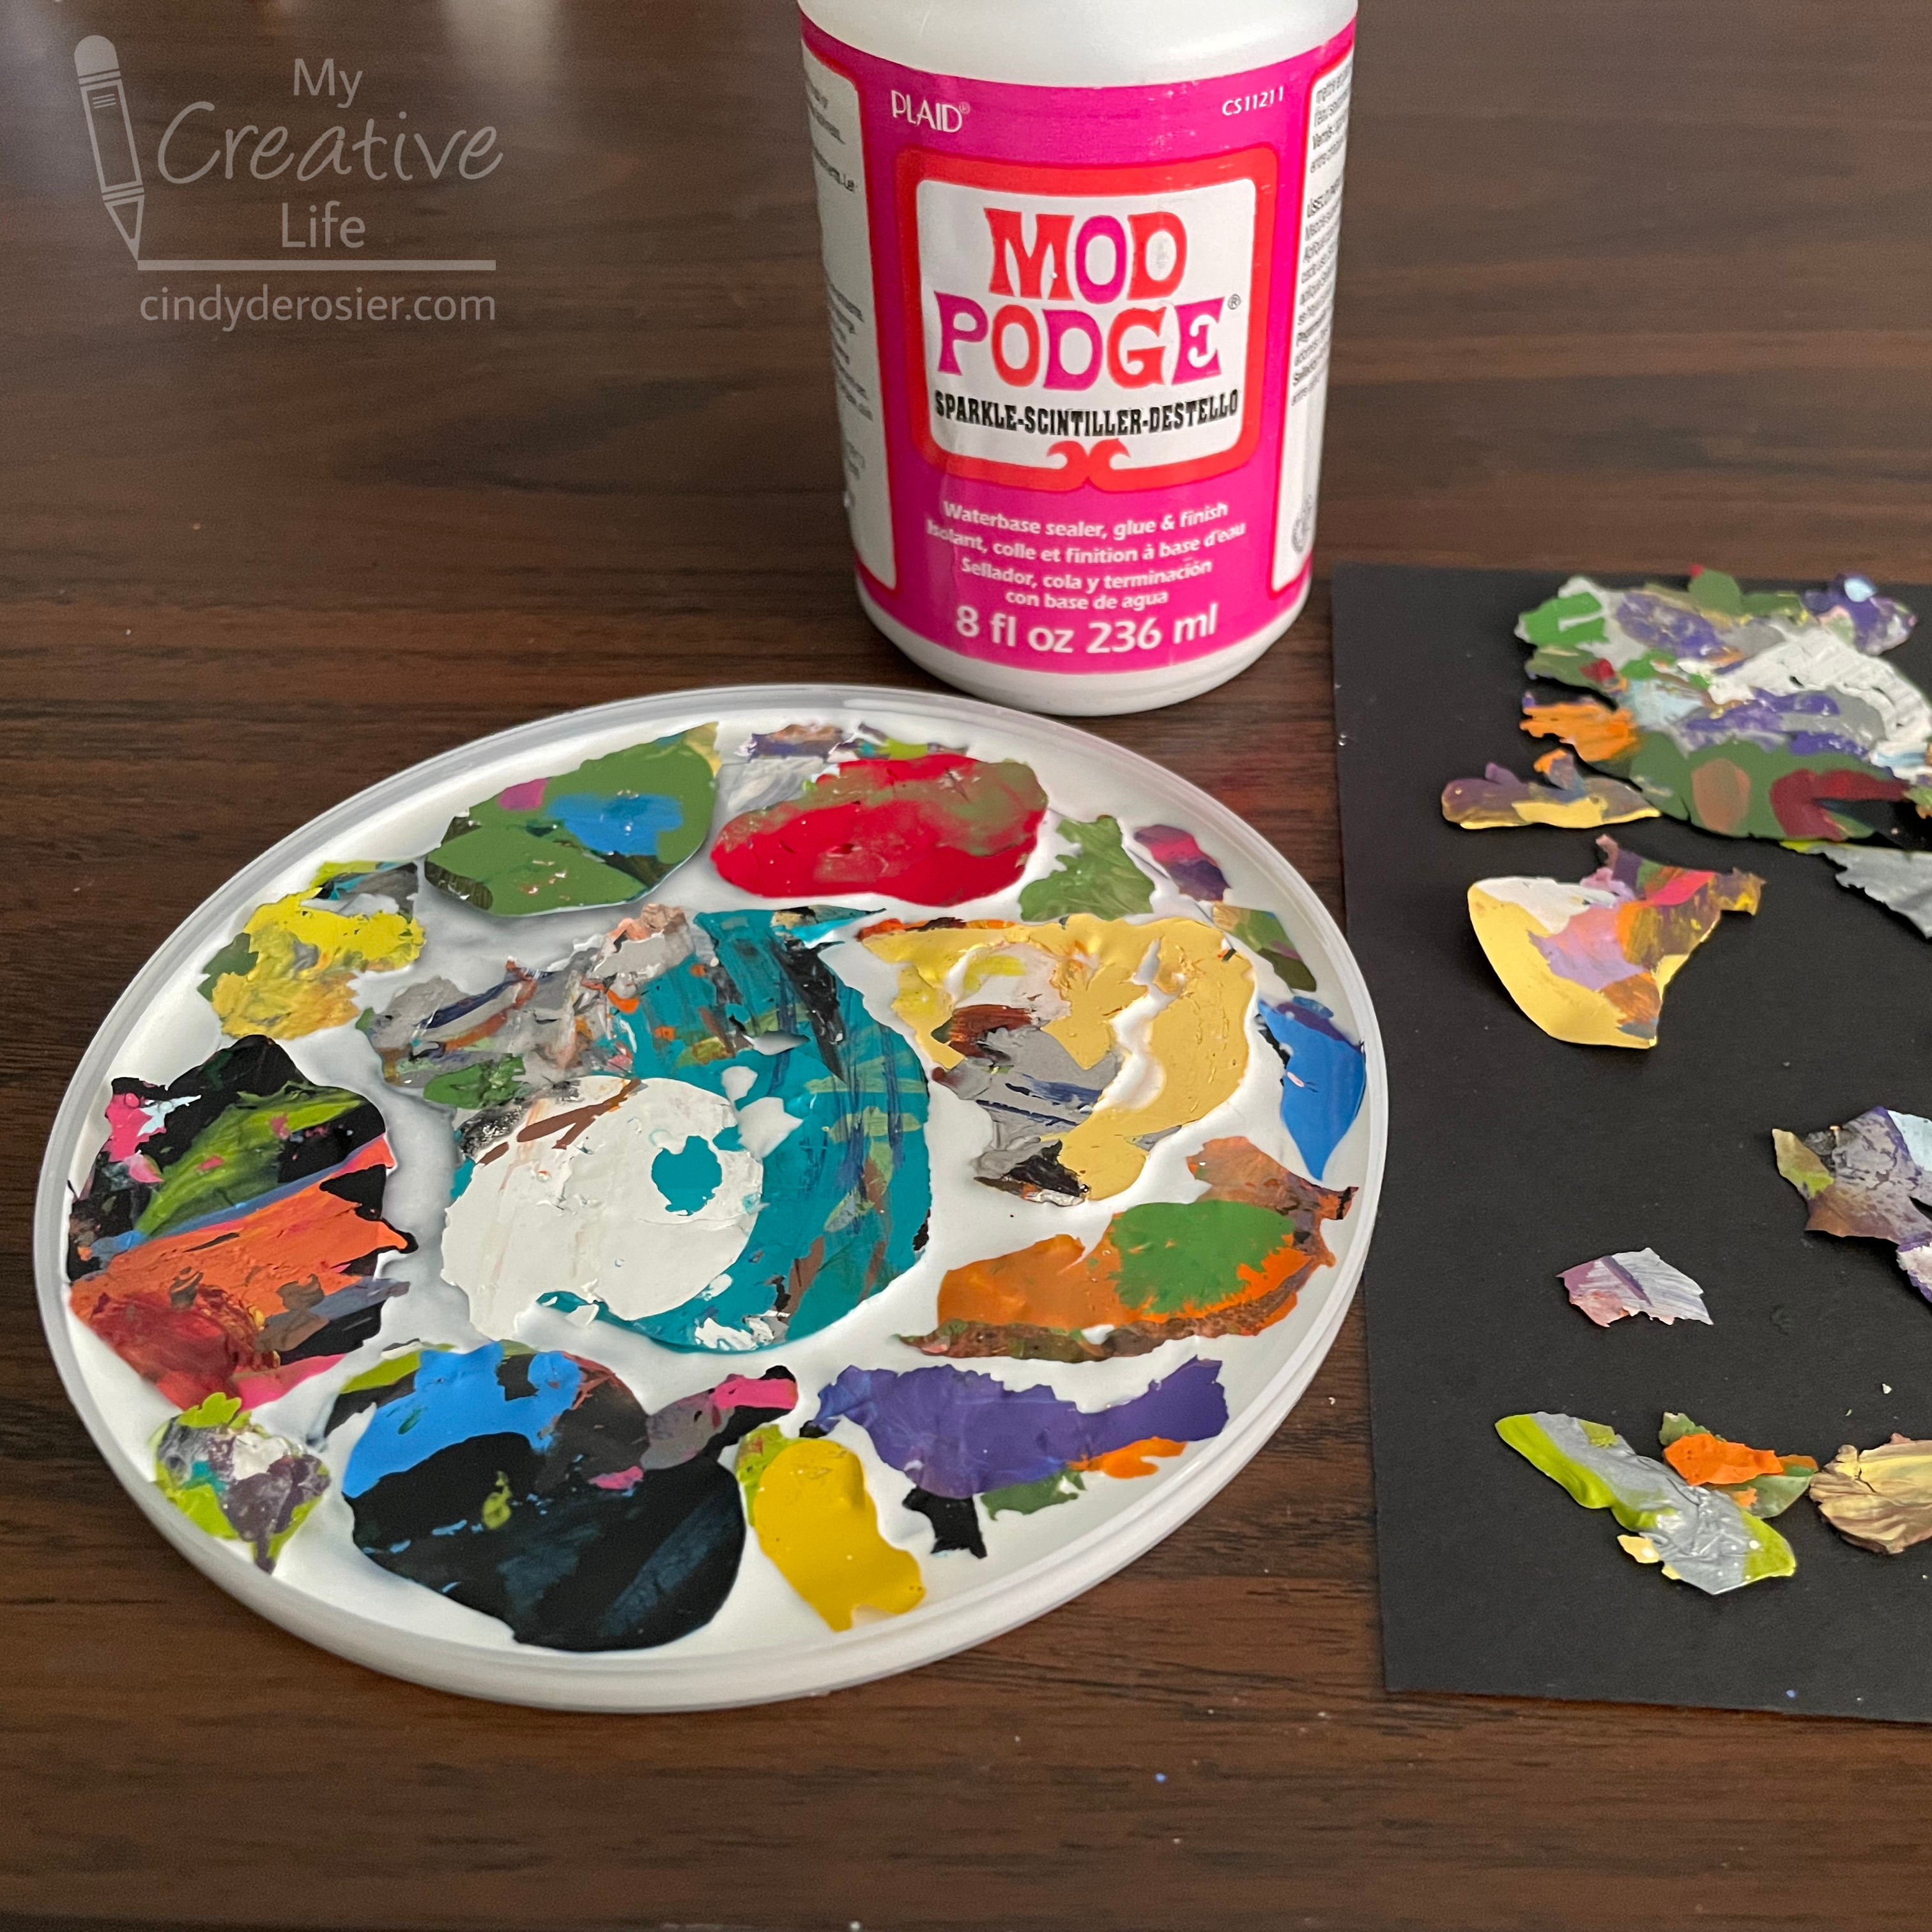
To make my coaster, I took an old plastic lid (off an oatmeal container) and filled it with a generous layer of Mod Podge Sparkle. I started arranging my paint bits in the Mod Podge. 


This is how it looked when I'd filled it in completely. Well, almost completely. I wanted the sparkly Mod Podge to show between the paint pieces. 


It took two full days to dry in a warm room before it was ready to use. I thought about adding a top coat of Mod Podge to seal it in and level the surface, but decided against it. The surface is almost perfectly level (good enough for my purposes) and I don't care if any drips of paint might get on the surface. 

Look at all the sparkle!


I love a functional trash-to-treasure project. Mine lives in the craft room like I said, but it could just as easily solve a problem in a different room. It would make a good plant saucer, for example. You could set condiment bottles on it at a BBQ so that mustard doesn't drip on your table. Lots of possibilities!

5/19/16

Pickle Jar Vase

We save pickle jars. Most of the other glass jars in our house get recycled immediately, but pickle jars get washed and go under the sink, awaiting their next purpose. Among the many uses for pickle jars? They are perfect for transforming into vases. Last time, I wrapped a pickle jar to make a gift card bouquet. This time, Trevor and I made a vase to hold flowers.


-------

Pickle Jar Vase

Materials: clean pickle jar, patterned paper or construction paper, paper trimmer, heart punch, Glue Dots, craft glue, rubber band and washi tape


1. Trim the scrapbook paper to fit around the jar with a slight overlap. Use Glue Dots to anchor just the ends of the paper to the jar.

2. Punch a heart from a contrasting color of paper. Add craft glue evenly all over the back and stick it to the patterned paper, opposite the side of the jar that has the paper seam. Wrap the rubber band over the heart and set the jar aside. This allows the punched shape to adhere completely to the curved surface. Remove the rubber band when the glue is completely dry.


3. Use strips of washi tape to seal the top and bottom of the patterned paper to the jar. Try to line it up so that half the width is on the paper and the other half is on the jar. Use another strip of washi tape to cover the seam in the patterned paper.  


It only takes a few minutes to decorate a pickle jar to make a pretty vase. It's very easy to change out the paper if it gets splashed with water or otherwise damaged as you use it. If you want the vase to be longer-lasting, apply a sealant over the paper to protect it before adding water and flowers to the vase.

3/25/15

Carved Bunny Stamps (Bunny Week, Day 3)

It's Day 3 of Bunny Week and I have another art idea to share!


Thanks for your help, Trouble, but this project doesn't require newspaper. Today's project is carved bunny stamps.


You will need: 2 small chunks of styrofoam, a pencil, a knife, paint, cardstock, and Sharpies. Use the pencil to sketch a circle about the size of a tennis ball on a chunk of styrofoam. This will be the rabbit's face. On a separate piece of styrofoam, draw an oval about the size of an egg. This will be split in two to make the rabbit's ears.

The next step is carving the stamps. Trevor has gone through knife safety training in Cub Scouts and is qualified to use a pocket knife. Occasions to practice his knife skills don't come up often, so I let him use his pocket knife for this project. A serrated plastic knife would work just as well, if not better. A pumpkin cutter would probably also work and would be even safer. Regardless of what knife you use, secure the styrofoam with your non-dominant hand, pencil sketch side up, and carve the circle shape down at an angle. Rotate the stamp and continue until the top of the styrofoam matches the pencil sketch. Do the same for the oval stamp, then cut down the center to form two matching ears. 


When you are happy with your stamps, apply a thick coat of acrylic paint to each of the three parts. Trevor discovered that the best method is to squeeze large blobs of paint directly onto the stamps (as shown below) and then gently spread it out with a brush to cover the whole stamp. Stamp the circle shape onto a piece of cardstock, then stamp the ears on top. The styrofoam gives it a fun texture. 

As you can see below, Trevor did some experimenting with different ear placement. By rotating the ears 180°, switching left with right, and changing the angles, he was able to create different looks.


Let the paint dry thoroughly. Because it is thick, overnight is best. When it is completely dry, use Sharpies to draw in facial features.


Trevor had a lot of fun experimenting with different paint colors. This was the last one he stamped. He loved the way the pinks, browns, blues and tans he'd used previously blended to create what he called a camouflage bunny.


Cute and fun!

3/23/15

Kool-Aid Bunny Craft (Bunny Week, Day 1)

Welcome to the 3rd annual Bunny Week here at My Creative Life! 


All week long, I'll be sharing rabbit-themed crafts and information. It's like Shark Week, only fuzzier. If you're a new reader this year, I'd recommend going back and reading previous years' Bunny Week posts. Or, you can see all my rabbit-themed crafts, scrapbook layouts, videos, foods, and more here.

Bunny Week 2013

Bunny Week 2014


OK, let's start Bunny Week 2015 off with a fun and easy kids' craft!


These cute bunnies started life as Kool-Aid containers! The wrapper slides right off, revealing an unmarked container. You can either make the bunny with a full container of Kool-Aid (like my pink rabbit above)....


... or, you can wash and dry the container and fill it with a treat. Trevor chose to put Kix in his bunny. The only other materials are white craft foam, pink craft foam, googly eyes, ribbon and a glue gun.

Start by cutting out white craft foam ears. You'll want a slanted base on each ear. Adjust the angle until you're happy with them. Cut a small triangle from pink craft foam for the nose. Glue each feature in place. Hold the ears upright for a few seconds until the glue sets. Finally, tie a ribbon around your bunny's neck. I opted to add a bow to my girl bunny. Cute, right?! And so easy.

.....

And, as promised, it's time to pick a winner for the "Rescue is My Favorite Breed" t-shirt, benefitting Contra Costa Rabbit Rescue! Random.org chose #12, so the lucky winner is Miriam! Congratulations! Send me your t-shirt size and address at cindy.derosier at gmail.com.

2/20/15

Kleenex Box Critters

Trevor came home from school the other day with an unusual square lump in his backpack. He'd brought home an empty Kleenex box and he couldn't wait to show it to me. "Mommy! I used the last Kleenex at school and decided to bring the box home instead of recycling it! I have a GREAT idea for a project!" He squirreled it away until he had collected two more, then announced it was time for me to learn how to make his projects (by then he had two ideas).

Materials: square Kleenex boxes, Sharpies, scissors, tape, Kleenex

Kleenex Box Bunny:


Select the Kleenex box with the color and pattern that best resembles a bunny. Draw eyes, nose, whiskers and mouth using Sharpies. Open up a different Kleenex box and use it to cut two long ovals to make the bunny's ears. Fold each ear about one inch from the end to create a flat surface to attach it to the main box. Next, take a clean tissue and wad it up to make the bunny's tail. Use a loop of scotch tape to attach it.


Kleenex Box Quail


Select a Kleenex box and draw eyes on it. Use the scraps from the bunny's ears to cut a triangular beak. Fold it in half and tape it in place. Then cut out two matching wings and a topknot for the quail. Tape them in place. Done!

I love it when Trevor teaches me how to do a craft.

11/11/14

Patriotic CD Craft

Last week I was doing some much-needed scraproom organizing and came across a pile of old CDs that I no longer need. Rather than toss them and continue with the organizing, I spread them out on my desk and started brainstorming craft possibilities and pulling supplies (some of which I had JUST put away). This is probably why the scraproom always looks the way it does...

I decided to make a patriotic wall decoration for Veterans Day. I started by wrapping a CD in painter's tape. 


I cut apart a few of those cheap party store bead necklaces, then cut lengths from a spool of pearls, and laid them out in an alternating pattern. I wrapped the ends with a chunk of painter's tape.


I taped the chunk of beads to the back of the CD using more painter's tape, then I punched a bunch of white stars and glued them to to the CD. Finally, I trimmed the beads and pearls to a length I liked and hung it on our front porch.


Here's a closer look:


Happy Veterans Day to all of our service men and women, past and present! Thank you so much for all you do.

7/31/14

For Izzy

If I made a list of all my friends, people who I count on, who support me, who care what's going on in my life, who make a point to keep in touch... at least half of them would be people I have never actually met in person. Some may think it's impossible to really be friends with someone you've never met, but there's no question in my mind that my friends who I haven't met (yet) are just as valuable and real as the friends I see in person. One of my haven't-yet-met friends is Izzy.

Izzy and I met years ago on Scrapbook.com. She's incredibly creative and makes beautiful scrapbook layouts, cards, and other stuff. Unfortunately, she hasn't been creating anything for the past few months, as she's been battling a very aggressive and rare cancer. Today is her sixth and final chemo treatment.

When a local friend has a serious illness or injury, there are lots of helpful things you can do: babysit her kids during treatments, bring a casserole so she doesn't have to cook, run her errands when she's unable to drive. But when the friend lives 2500+ miles away, those things aren't possible. Other than be there emotionally, there usually isn't much you can do.

A few weeks ago, Izzy asked her Facebook friends for a small favor. She wanted to celebrate her last chemo treatment with homemade "Last Chemo!" party hats, crowns, etc. for herself and her oncology nurses. She would then donate the items to the center for other patients to wear during their last treatment. I thought this was a wonderful idea. 

I decided to make a necklace. It needed to be durable, both for mailing and because it will be worn by multiple people. I gathered together the following items:


Yes, that is a juice lid. I saved the lids when we made Rhubarb Slush Punch, because they are really handy for crafts. I used the Crop-a-dile to punch the hole and it went through easily.

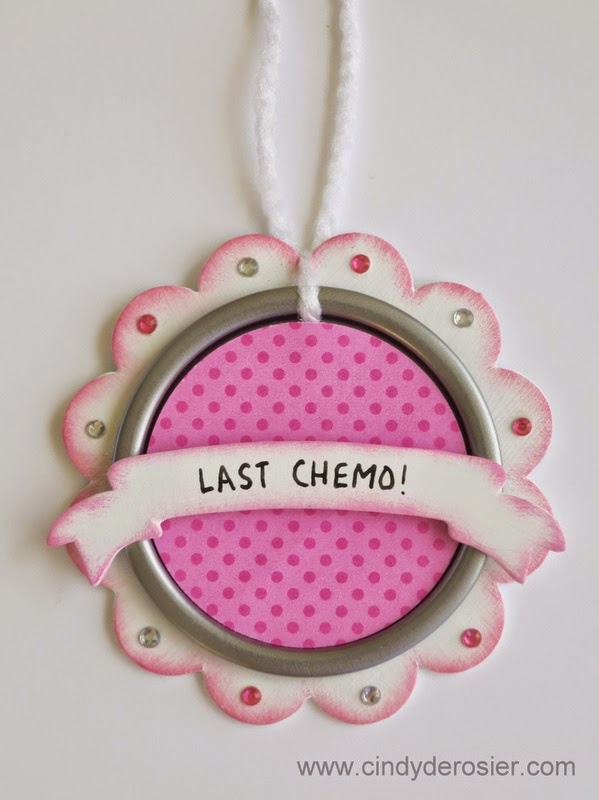
Here's the finished necklace:


I wrote a message on the back for Izzy and all future cancer patients who might wear it. I hope it brings them strength and helps them feel like the warriors they are.

4/3/14

Trash-to-Treasure Mouse

Remember the bunny I made from an empty Snapple Jelly Belly container?  As I passed by it one day, I realized it would make a really cute mouse.  


Materials: empty Snapple Jelly Belly container, grey and pink felt, monofilament, googly eyes, a Sharpie, scissors, a hot glue gun, and chocolate chips.

Cut ears, nose, and a tail from felt.  Draw a mouth with the Sharpie, then use the glue gun to attach the eyes, whiskers, nose, and tail in place.  Glue the ears to the cap of the container, making sure the container can still be opened.  Let the glue cool then add chocolate chips.

Fun, easy, fast, and cute!

12/27/13

Dollar Bill Dispenser #2

Now that the recipients have their gifts, I can begin sharing some of the homemade gifts I made! First up, a second version of a Dollar Bill Dispenser.

I have four boys ranging from 13-21 on my gift-giving list. I'm pretty sure that teenage boys are the most difficult people to shop for, unless you have a large budget and very specific instructions of what to buy. Since I had neither, the choices were: 
A) Choose something random and hope for the best
B) Gift card
C) Cash
I chose cash. The Dollar Bill Dispenser I gave Courteney for her birthday was such a hit that I decided each of the four boys would be getting a Dollar Bill Dispenser of his own. I went to the bank and got a bundle of ones.  


I made my cousin's son Ryan a red Dollar Bill Dispenser that was similar to the purple one that went to Courteney. I thought I took a picture of it before mailing it off to Spokane, but apparently I did not.  

For my sister-in-law's two boys, Ian and Sean, I decided to try a different style of Dispenser. I started by painting two empty square Kleenex boxes with a coat of gesso.  
  

When that was dry, I painted one box black and the other red.


While they were drying, I started taping dollar bills together, end to end. Then I rolled them up. I rubbed-banded the two bundles and set them aside.


Next, I covered the sides of each box with Christmas-themed patterned paper. I pushed one square of tissue paper down into the box and fluffed it to cover the top of the box. Then I stamped the word PULL onto a piece of white cardstock, used a border punch on the end, and taped it to the roll of dollars. I placed the roll down into the Kleenex box with the PULL tab protruding out of the tissue paper.

Here's the candy cane box for Sean.
 
And here is the snowman box for Ian. 
 
They were a hit. Both were a bit nervous to pull the tab, thinking it was going to explode or something. Once money came out, they kept pulling and pulling and pulling. I was really happy that this design worked as well as the cardboard tube style.  


On Monday I'll share the way I gave cash to my nephew Timothy. I had a LOT of fun putting it together and couldn't wait to see him unwrap it.

12/12/13

Cork Snowmen

Here's the last of our cork projects... cork snowmen!  


Mine
Materials: cork, white paint, black Glossy Accents (or black paint or a black pen), orange pipe cleaner, black felt, screw eye, clear filament, and ribbon.

I took a bunch of pictures of all the steps to make these snowmen, but I have no idea where the pictures went.  Frustrating.  Fortunately, they're not too difficult to make.  First, paint the cork white and let dry.  I used dots of Glossy Accents for eyes and mouth.  Trevor wasn't able to control the Glossy Accents to his satisfaction, so he used the back of two different sized paintbrushes dipped in black paint to make his eyes and mouth.  Sharpie would work too, with the benefit of no drying time required.     

Next, cut a small piece of orange pipe cleaner and bend to form a carrot shape.  Poke a hole in the cork, add glue, and insert the pipe cleaner.  Cut a circle of black felt to make the hat.  Poke a screw eye through the center of the felt and into the top of the cork.  Insert a piece of filament through the screw eye, then wrap a small rectangle of felt around it to form the hat. Glue a small circle of felt to the top to cover the screw eye and close the hat.  Finally, tie a piece of ribbon around the snowman's neck to make a scarf.  We used wired ribbon, but any ribbon will do.   


Trevor's

Trevor and I had a lot of fun crafting with corks.  Each of our projects was a collaboration, with one of us suggestion or trying something and the other springboarding off that idea.  I love when that happens.  I hope you're inspired to do some trash-to-treasure crafting of your own this winter!

12/11/13

Cork Reindeer

Here's the second (and easiest) of our three cork critters! 


Mine.
To make a cork reindeer, you need: a cork, brown paint, half of a brown pipe cleaner, wire snips, googly eyes, a red pom pom, and glue.  Paint the cork brown.  While that is drying, snip the pipe cleaner into half, then into half again.  Twist one piece around another to form each antler. Use the wire snips to poke a hole in the cork, add glue, and insert the antlers.  Glue the eyes and pom pom in place.  That's all there is to it!

To add a hanger, attach clear filament to the back.  Or simply perch your ornament on a shelf or on the tree.  The flat base allows it to stand up easily.


Trevor's.
One more cork project to go!

12/10/13

Cork Penguins

Remember the extra corks from yesterday's Cork Christmas Trees?  We used them to make three different ornaments.  First, a penguin.  Isn't he cute?


Mine.  

Materials: corks, black and white acrylic paint, screw eyes, black enamel paint, googly eyes, felt, and glue.

We started by painting the corks with a coat of white paint.  When they were dry, we added the black. 


They looked like this:


We weren't able to find black screw eyes, so we used enamel paint to make them black.  A broken cork held them securely in place so that we could paint both sides.

 
When the paint was dry, we screwed in the screw eye, glued googly eyes in place, and added felt beaks and wings.  

Trevor's.
 Add a simple black ribbon or cord to hang the penguin on the tree.  Inexpensive, easy, and totally adorable!  Tomorrow I'll share another of the cork ornaments we made.