Showing posts with label welcome. Show all posts

6/6/23

3-in-1 Rainbow Welcome Wreath

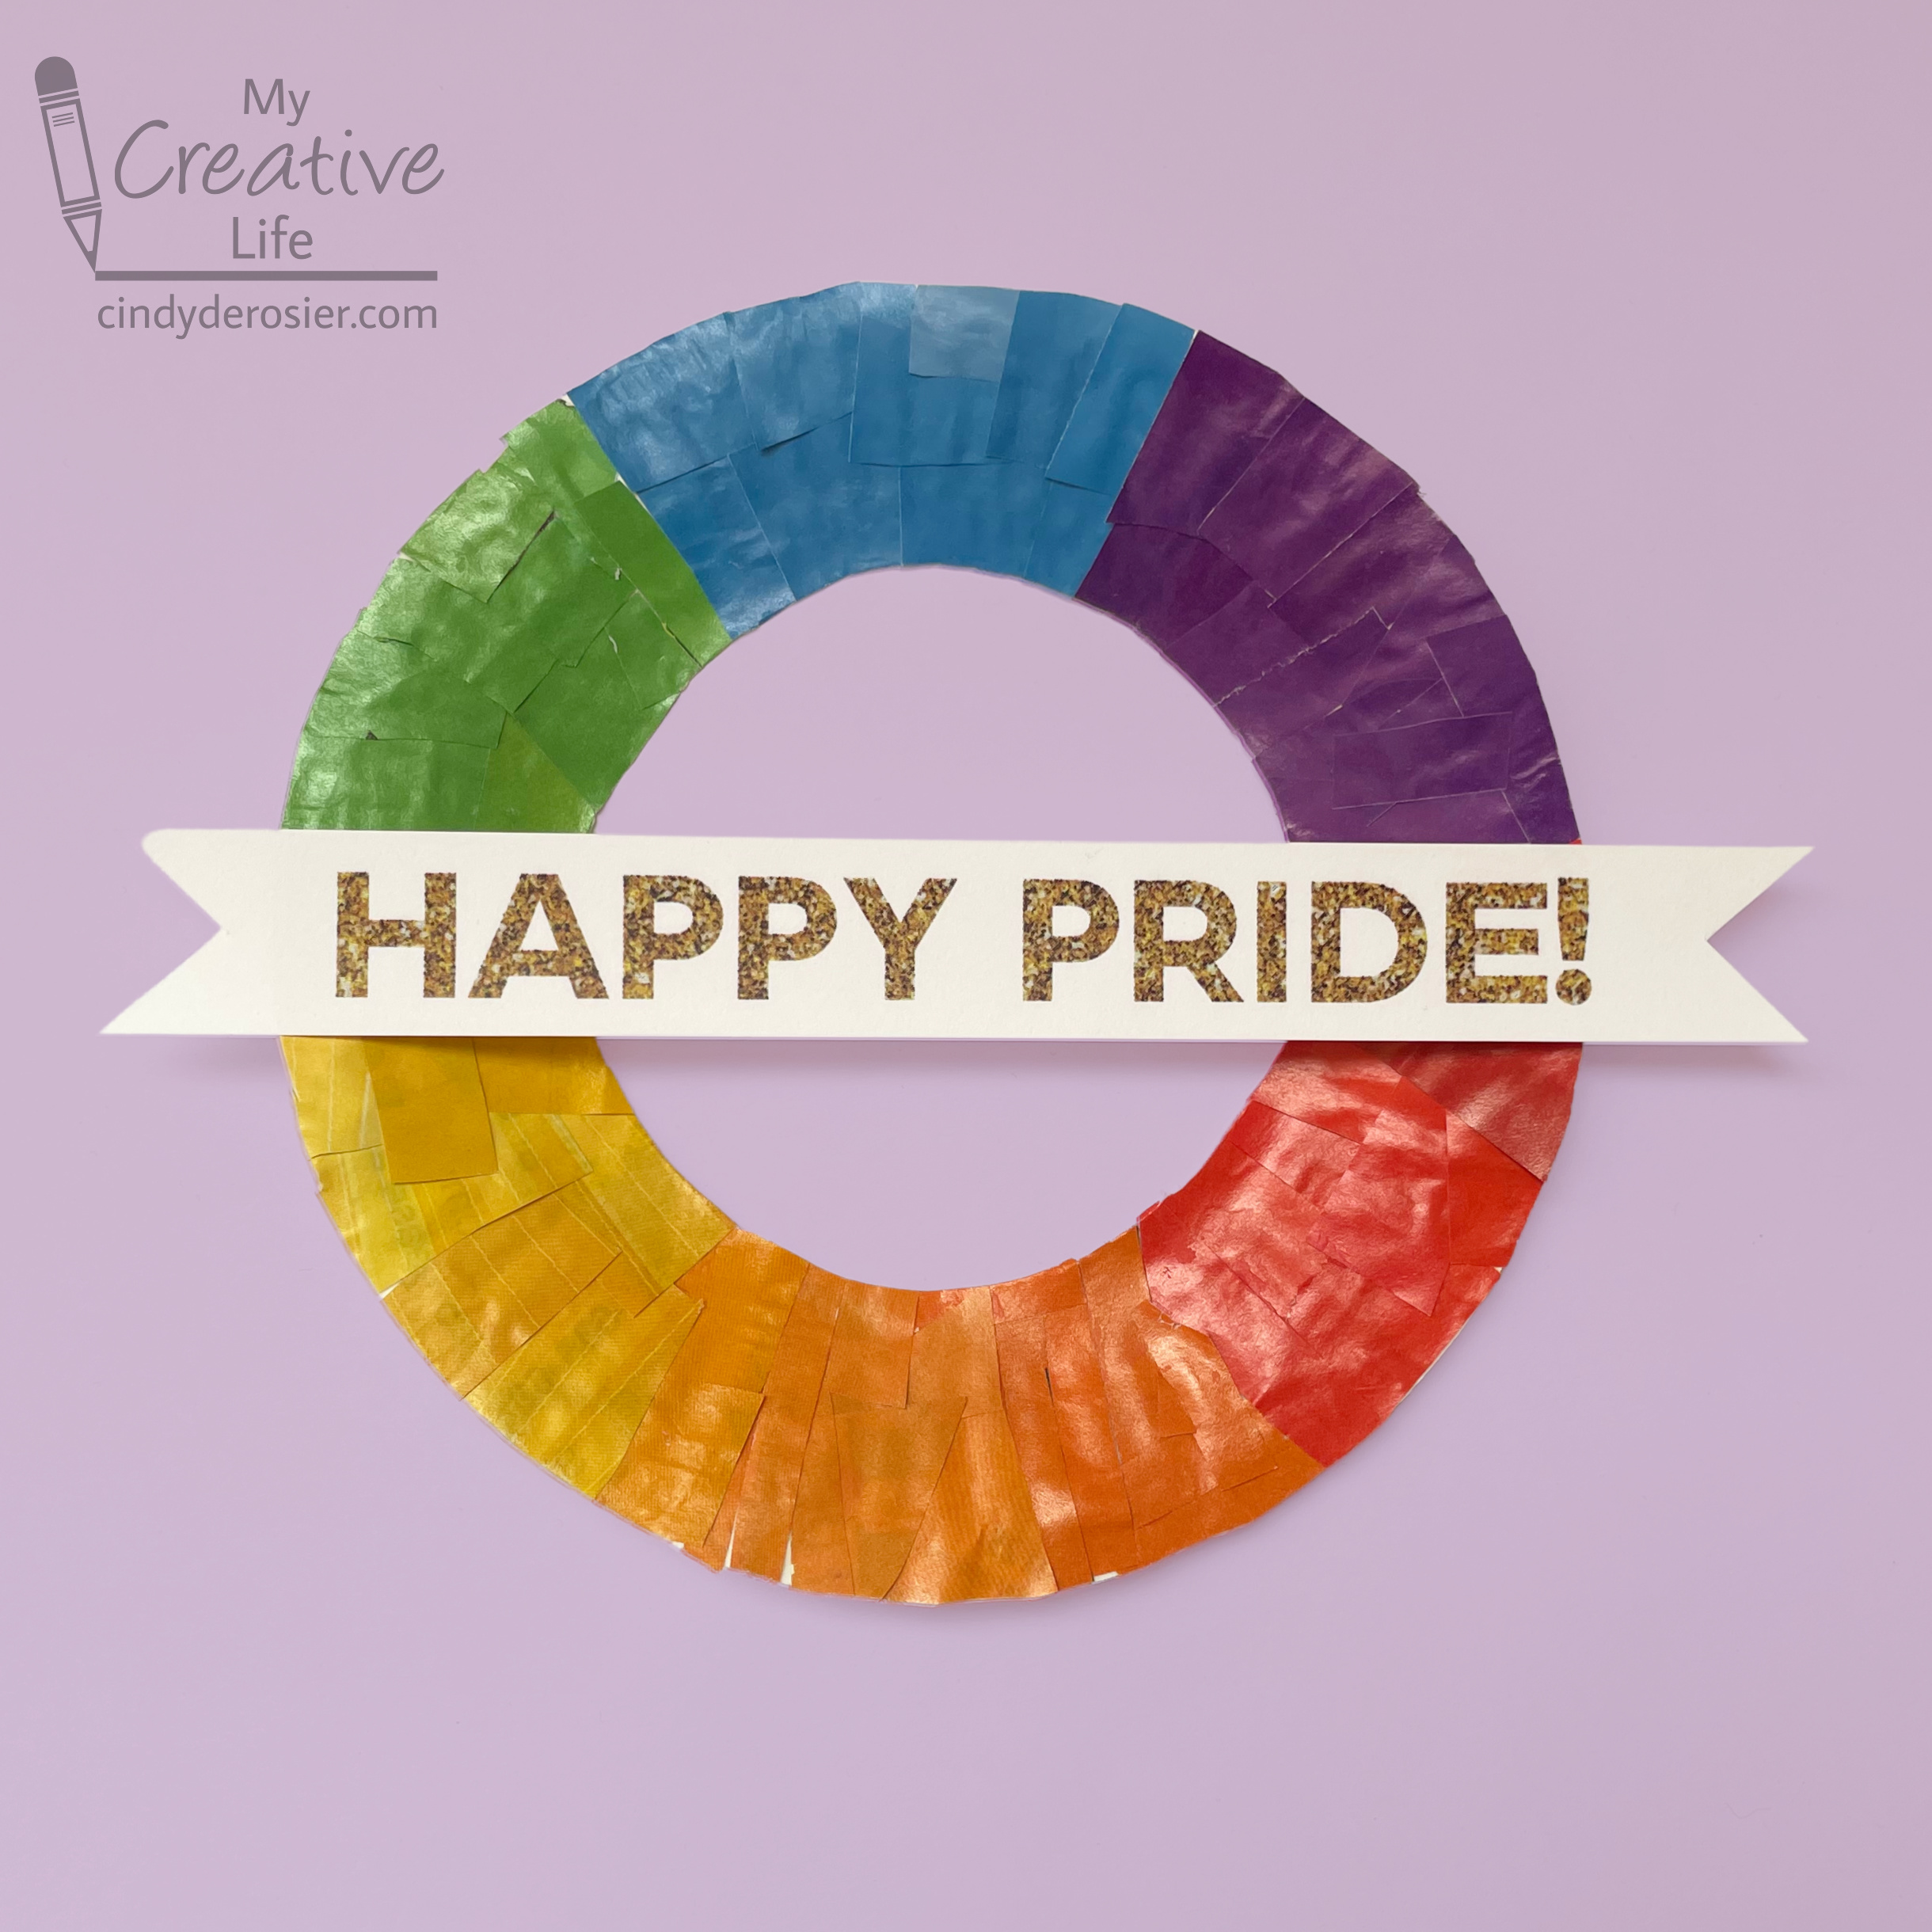
All the beautiful rainbows I'm seeing during June inspired me to make this 3-in-1 rainbow welcome wreath. 
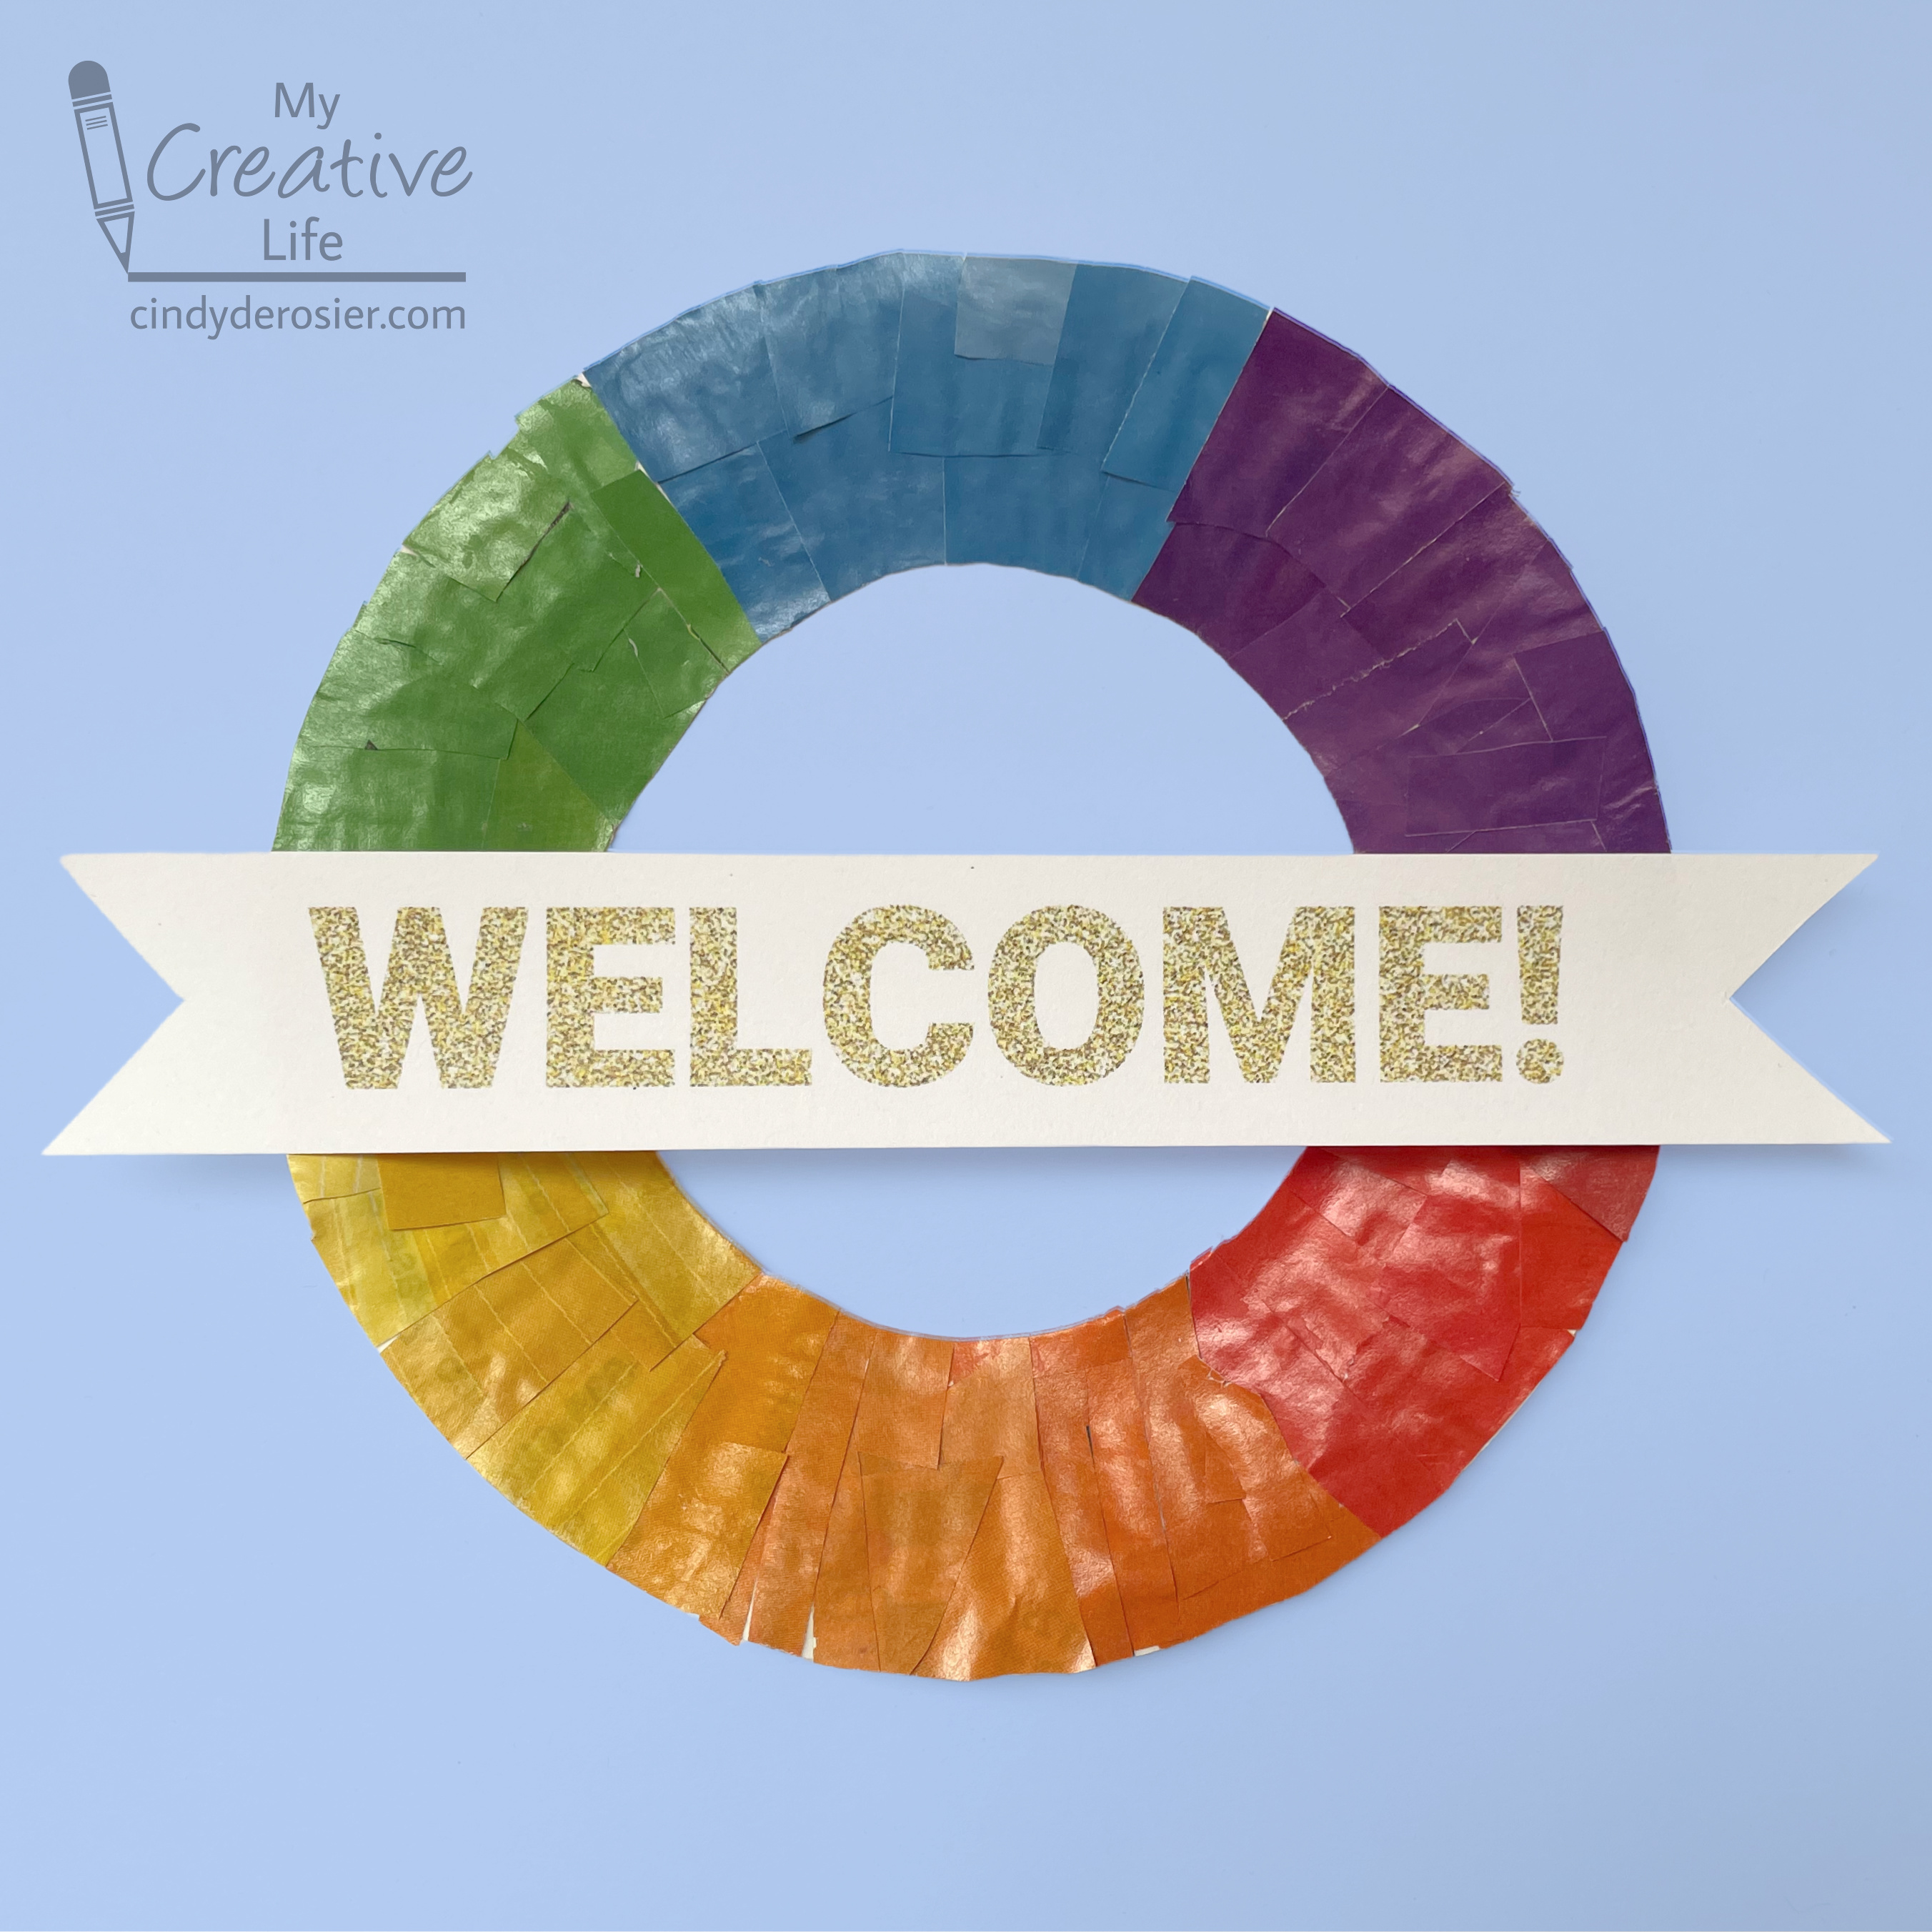

What makes it 3-in-1? I made the sentiment removable, so when June rolls around, you can switch out the more general "Welcome!" for this "Happy Pride!" version. 

This "Lucky" version is for March. Affiliate links below. 


3-in-1 Rainbow Welcome Wreath


Materials:


Steps: 


Cut the center out of a paper plate to make a wreath shape. I used a dessert-size plate, but you can use whatever size you want. 

Go through magazines and tear out pages with red, orange, yellow, green, blue, and purple on them. I used the monthly guide sent to us by the city, which is why you see information about recycling/waste and classes. 


Use a pen to draw lines marking roughly equal sixths on the paper plate. If you think of it like a clock, draw a line at 12:00 and 6:00 first, then lines at 2:00, 4:00, 8:00, and 10:00. This will give you an idea of how much space each color should take up. 

Starting with red, cut around any text or pictures until you have a good-sized pile of red pieces. Glue them into one of the six segments. Working clockwise, do the same with orange, yellow, green, blue, and purple. 


If you are going to be hanging your wreath outdoors, seal it with Outdoor Mod Podge. 


Write or print your sentiments onto white cardstock and trim the ends like banners. If the wreath will be exclusively indoors, you can leave cardstock as is. Otherwise, seal them with clear contact paper. Attach a sentiment to the wreath with poster putty. You should be able to remove it easily when it's time to switch sentiments. 

3/20/19

Scrabble Tile Hanging Welcome Sign

I love Scrabble. I have a huge bag of Scrabble tiles and racks that I got at a thrift store years ago (in addition to the 8 Scrabble boards I own) and was recently digging through them for a collaborative project I'm doing with a friend. After setting aside the letters I needed for that project, I decided to make a welcome sign. Affiliate links below. 


---------

Scrabble Tile Hanging Welcome Sign


Materials: 


Steps: 


Use the craft drill to bore holes 1/4" from each end of the rack. I put a piece of cork beneath the rack, then set it on top of a cardboard box. Oh, the horror stories I've heard about people using the craft drill on their dining room table! 


Paint the blank tile pink and set it aside to dry. Punch a star from the black cardstock. Arrange the Scrabble tile in the rack to spell WELCOME, centering them as best you can. Remove one tile, add Supertite glue, then replace it. Do this for the remaining tiles. 


Thread the ends of the twine down through the two holes on the rack. Tie a knot in each end. Tie another knot at what will be the top of the hanger to form a loop. Now it's time for glue. Put a dab of glue above the two end knots, then pull snugly against the rack. Add a very small amount of glue to the top of the rack directly to the left of the W and to the right of the E. Press the twine to the glue. This will help it hang upright without tilting. Finally, fold the loop over to make a bow shape and glue it in place.  


Glue the black star to the front of the now-pink tile, then glue the tile to the wooden bead.

When everything is dry, it's time to hang your sign. I originally planned to hang the wooden bead on a nail, then hang the welcome sign on that. It worked fine, but I ended up preferring to use a small picture hanger. I put the sign up first, then added the bead to the hanger. 


It occurred to me while I was writing the post that I could have added a second rack that hangs below the first to create WELCOME FRIENDS. My sign is already glued in place, but if I ever make another I'm going to do it that way. 

I'd planned to end my post after the last sentence, but I couldn't get the WELCOME FRIENDS idea out of my head, so I make a really quick digital mock-up. 


I like it. I just might have to make one.