Showing posts with label St. Patrick's Day. Show all posts

6/6/23

3-in-1 Rainbow Welcome Wreath

All the beautiful rainbows I'm seeing during June inspired me to make this 3-in-1 rainbow welcome wreath. 


What makes it 3-in-1? I made the sentiment removable, so when June rolls around, you can switch out the more general "Welcome!" for this "Happy Pride!" version. 
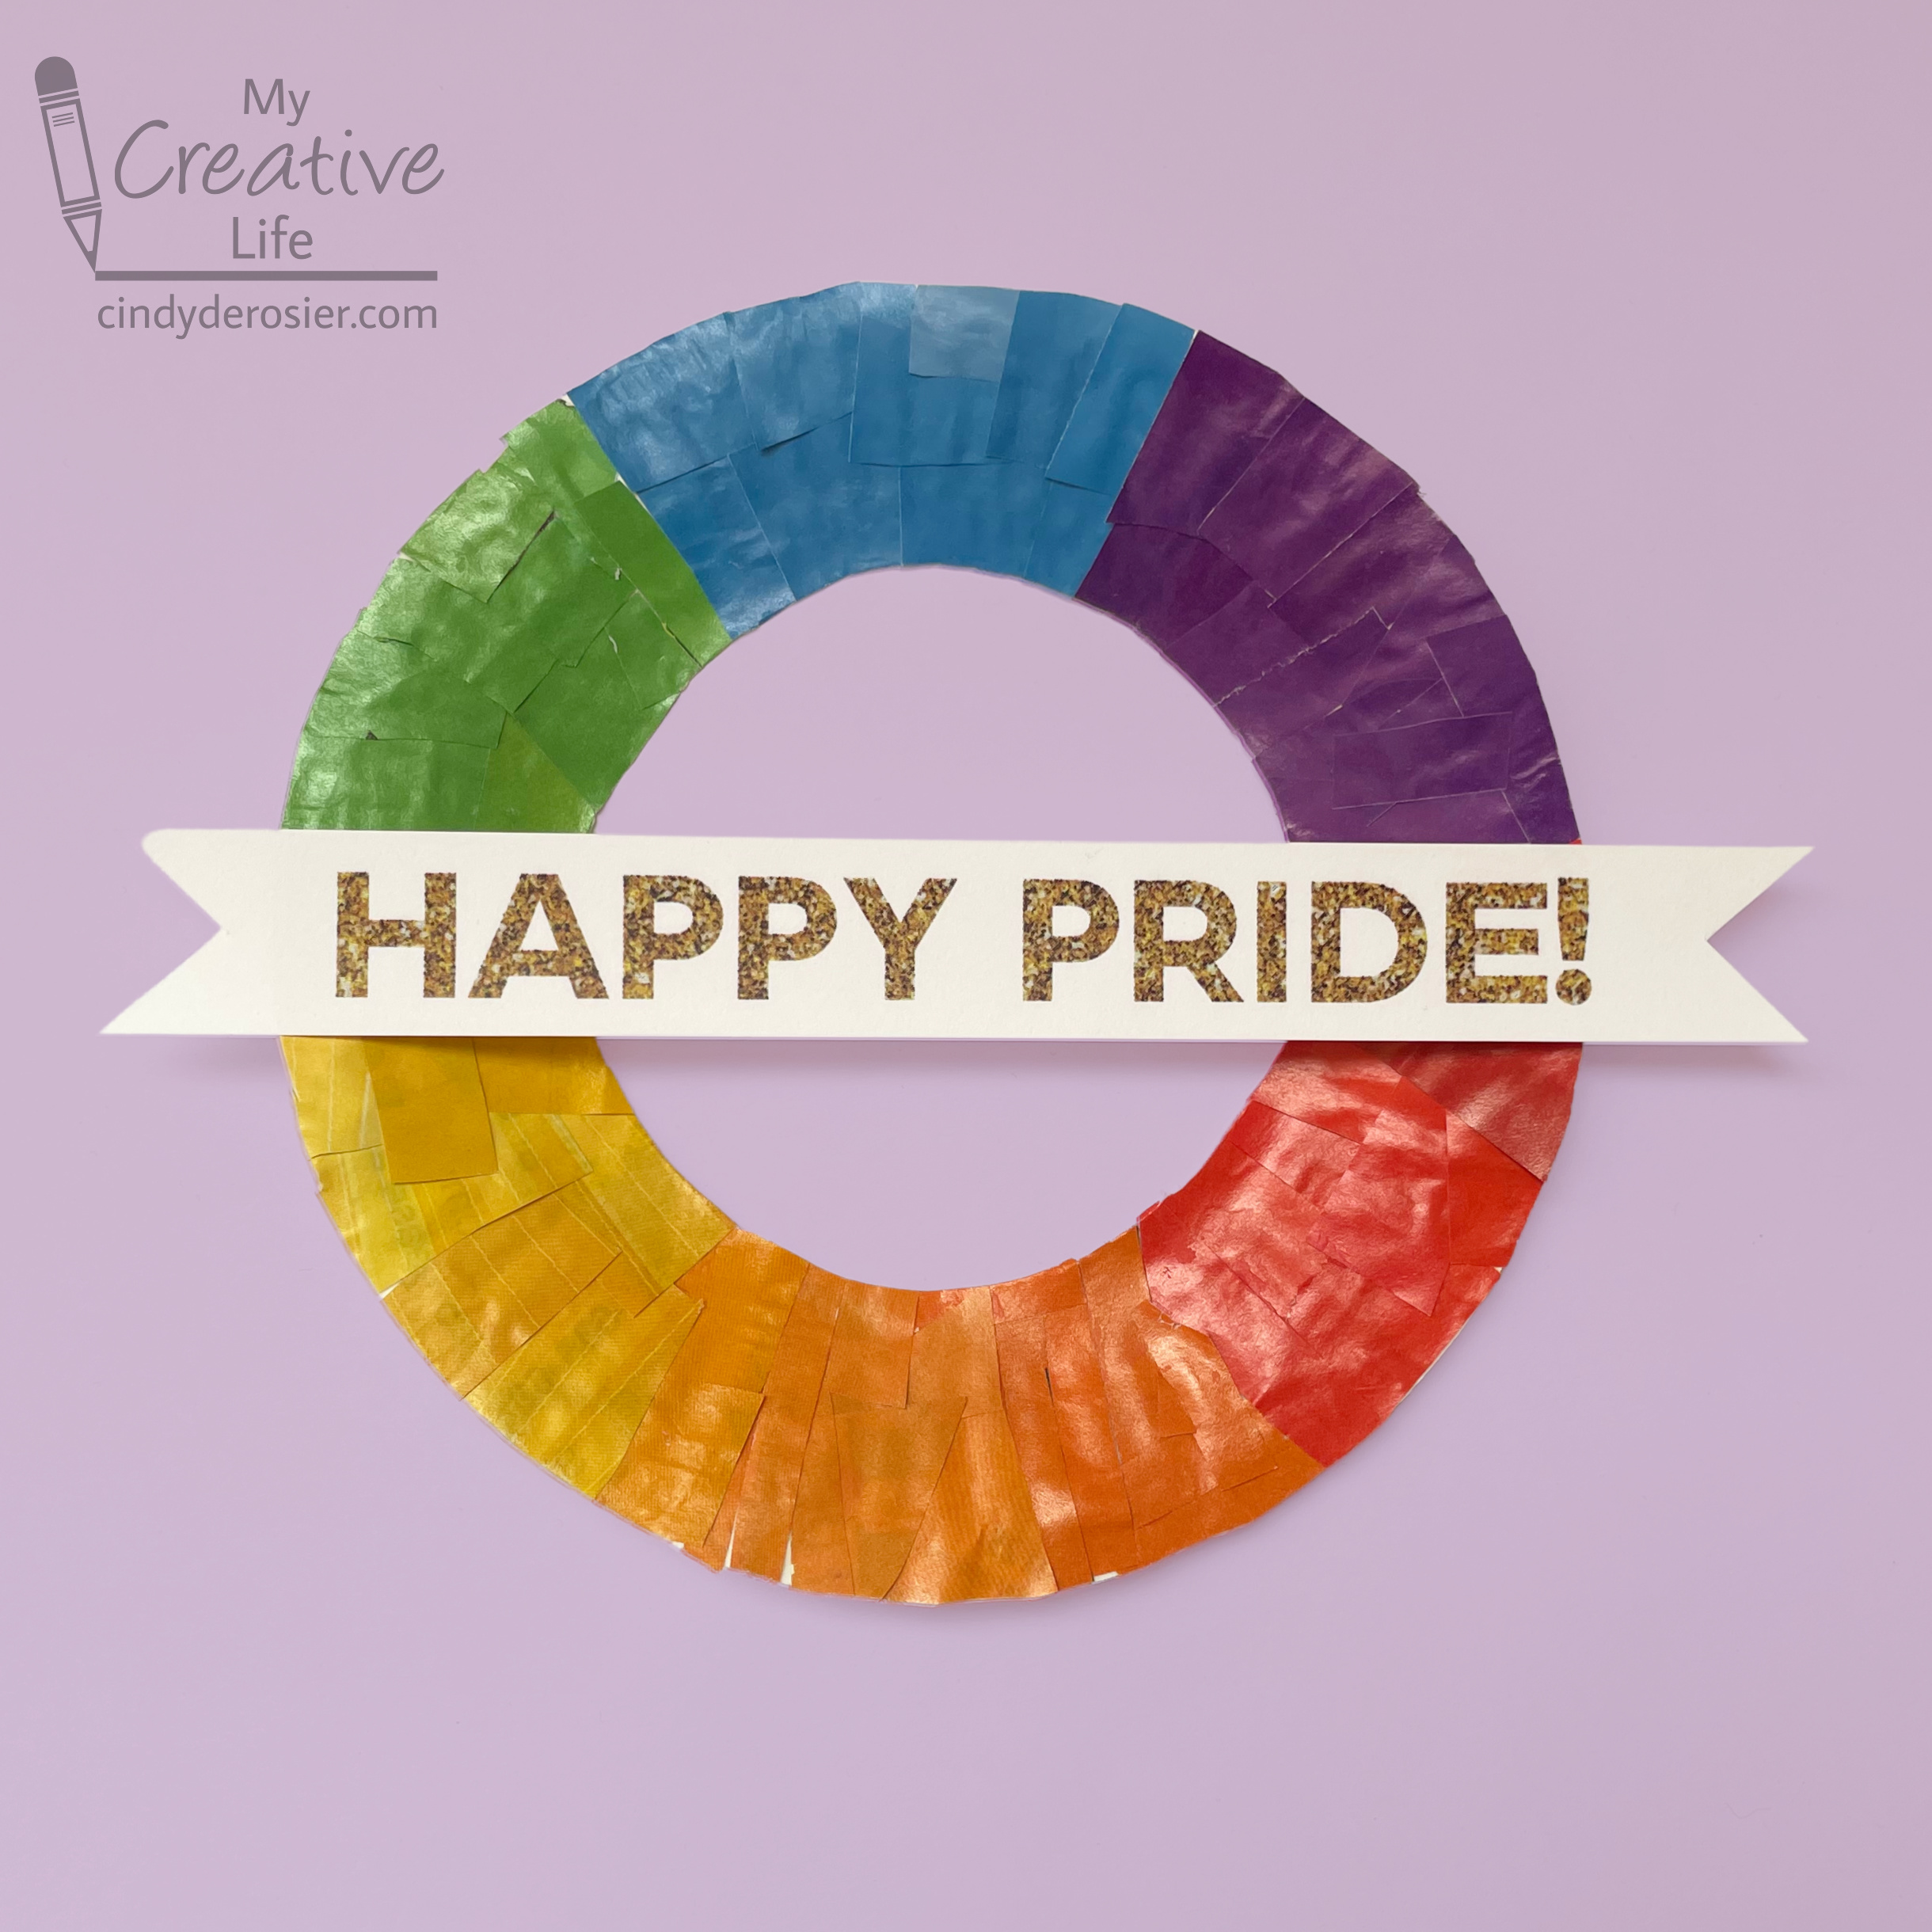

This "Lucky" version is for March. Affiliate links below. 


3-in-1 Rainbow Welcome Wreath


Materials:


Steps: 


Cut the center out of a paper plate to make a wreath shape. I used a dessert-size plate, but you can use whatever size you want. 

Go through magazines and tear out pages with red, orange, yellow, green, blue, and purple on them. I used the monthly guide sent to us by the city, which is why you see information about recycling/waste and classes. 


Use a pen to draw lines marking roughly equal sixths on the paper plate. If you think of it like a clock, draw a line at 12:00 and 6:00 first, then lines at 2:00, 4:00, 8:00, and 10:00. This will give you an idea of how much space each color should take up. 

Starting with red, cut around any text or pictures until you have a good-sized pile of red pieces. Glue them into one of the six segments. Working clockwise, do the same with orange, yellow, green, blue, and purple. 


If you are going to be hanging your wreath outdoors, seal it with Outdoor Mod Podge. 


Write or print your sentiments onto white cardstock and trim the ends like banners. If the wreath will be exclusively indoors, you can leave cardstock as is. Otherwise, seal them with clear contact paper. Attach a sentiment to the wreath with poster putty. You should be able to remove it easily when it's time to switch sentiments. 

2/14/20

Festive Holiday Sweater Cookies

My grocery store has a small alcove where they put clearance items. Most people walk right by it, as it looks like an employee-only area. It's the best place to find all sorts of amazing bargains, particularly after holidays. My latest find? This!


The Best Before date was still four months away. The kit wasn't damaged. There was literally nothing wrong with it except for that people don't decorate cookies to look like sweaters after December. But why not? It's still sweater weather, there are holidays coming up, and decorating cookies is always fun! Besides, it cost something like $2, which would be worth it even if I threw everything else out and kept the sprinkles for next Christmas. Of course I bought it!

The kit had six large cookies (3 bags of 2 cookies each, about the size of my hand), three tubes of fine-tip icing (red, white, and green), a package of white icing, and two bags of Christmas sprinkles. Definitely worth $2!


I put away the Christmas sprinkles and got out the giant collection of sprinkles I keep on hand. (You never know when a sprinkle emergency will arise. Plus, I get a lot of sprinkle samples as a blogger.) I tested the various icings on the first two cookies and discovered that the bag of frosting was a bit too thick for much other than eating, but that the fine-tipped icings were awesome. Once I got the hang of them, I decorated the remaining cookies with four upcoming (potentially) sweater-weather holidays: Valentine's Day, Mardi Gras, Pi Day, and St. Patrick's Day. I thought it would be really limiting only having green, red, and white icing with a very fine tip, but that just forced me to be creative. Check out my festive sweater cookies!


Happily, the cookies are delicious and surprisingly fresh-tasting. The icing is yummy, too. And I had a lot of fun decorating them.

I've linked some of my favorite cookie decorating supplies below, along with the exact same Ugly Sweater Cookie Kit as mine, but branded differently. I hope I've inspired you to extend your cookie decorating beyond Christmas and throughout the year!