Showing posts with label rainbow. Show all posts

6/5/26

Pride Heart Keychain

Happy Pride Month to all of my LGBTQIA+ friends! 

I am proud to belong to a church that welcomes everyone. That includes people of all sexual orientations, gender identities, and gender expressions. Literally everyone is welcome. One of the ways in which our congregation is celebrating Pride is with a keychain craft. I'll be leading that after church on June 14. My sample is based on the rainbow flag, but attendees can switch out the colors to make a different flag if they wish. Affiliate links below. 


Pride Heart Keychain


Materials:


Steps: 


Place one purple bead in the center of the bottom row of the pegboard. Put three purple beads centered in the next row up, then five on the next row. Add a row of 7 blue beads and then 9 blue beads. The next row up has 11 green beads, then 13 green beads. 

Add two rows of 13 yellow beads immediately above the row of greens. Add two rows of 13 orange beads above the yellows. The next row up is red: skip a space, add 5 beads, skip a space, add 5 beads, skip a space. The top row has two sets of 3 red beads, centered on the previous row of red. 


Follow the directions that came with the pegboard to fuse the beads. I suggest fusing the beads more than you might ordinarily, since you want your keychain to be very sturdy. 

Use the paper piercer to enlarge the hole where the keychain will attach to the heart. Open a jump ring and thread it through the hole. Continue adding jump rings until it is the length you want it, then attach the key ring.

6/13/23

All You Need is Love

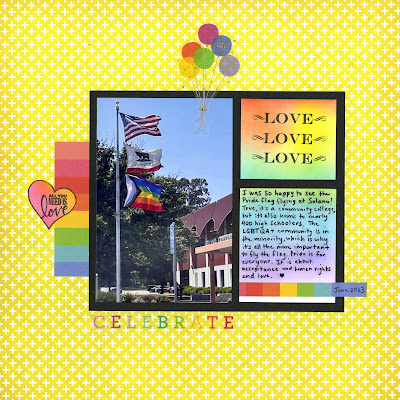
I was really happy to see a Pride flag flying at Solano. It's a community college, but it's also high school for nearly 400 students. I don't know how many LGBTQIA+ teenagers have a Pride flag flying at their school, but since it's not 100%, it's not enough. And for the majority of students who aren't members of that community, it's a reminder to accept and care about others as they are. 

All You Need is Love (affiliate link)

I had so much fun making this layout! I love all the color. I stamped LOVE LOVE LOVE and All You Need is Love on white cardstock, did my journaling on white cardstock, and then used my new blending brushes to add the rainbow of colors. The balloon and CELEBRATE stickers, from the Celebrate sticker book by MAMBI, added the perfect final touch. 

I'm counting this layout for the Stamps square on my BASH-O card. 


One more layout until I get my first BASH-O. Expect a project using punches soon!

6/6/23

3-in-1 Rainbow Welcome Wreath

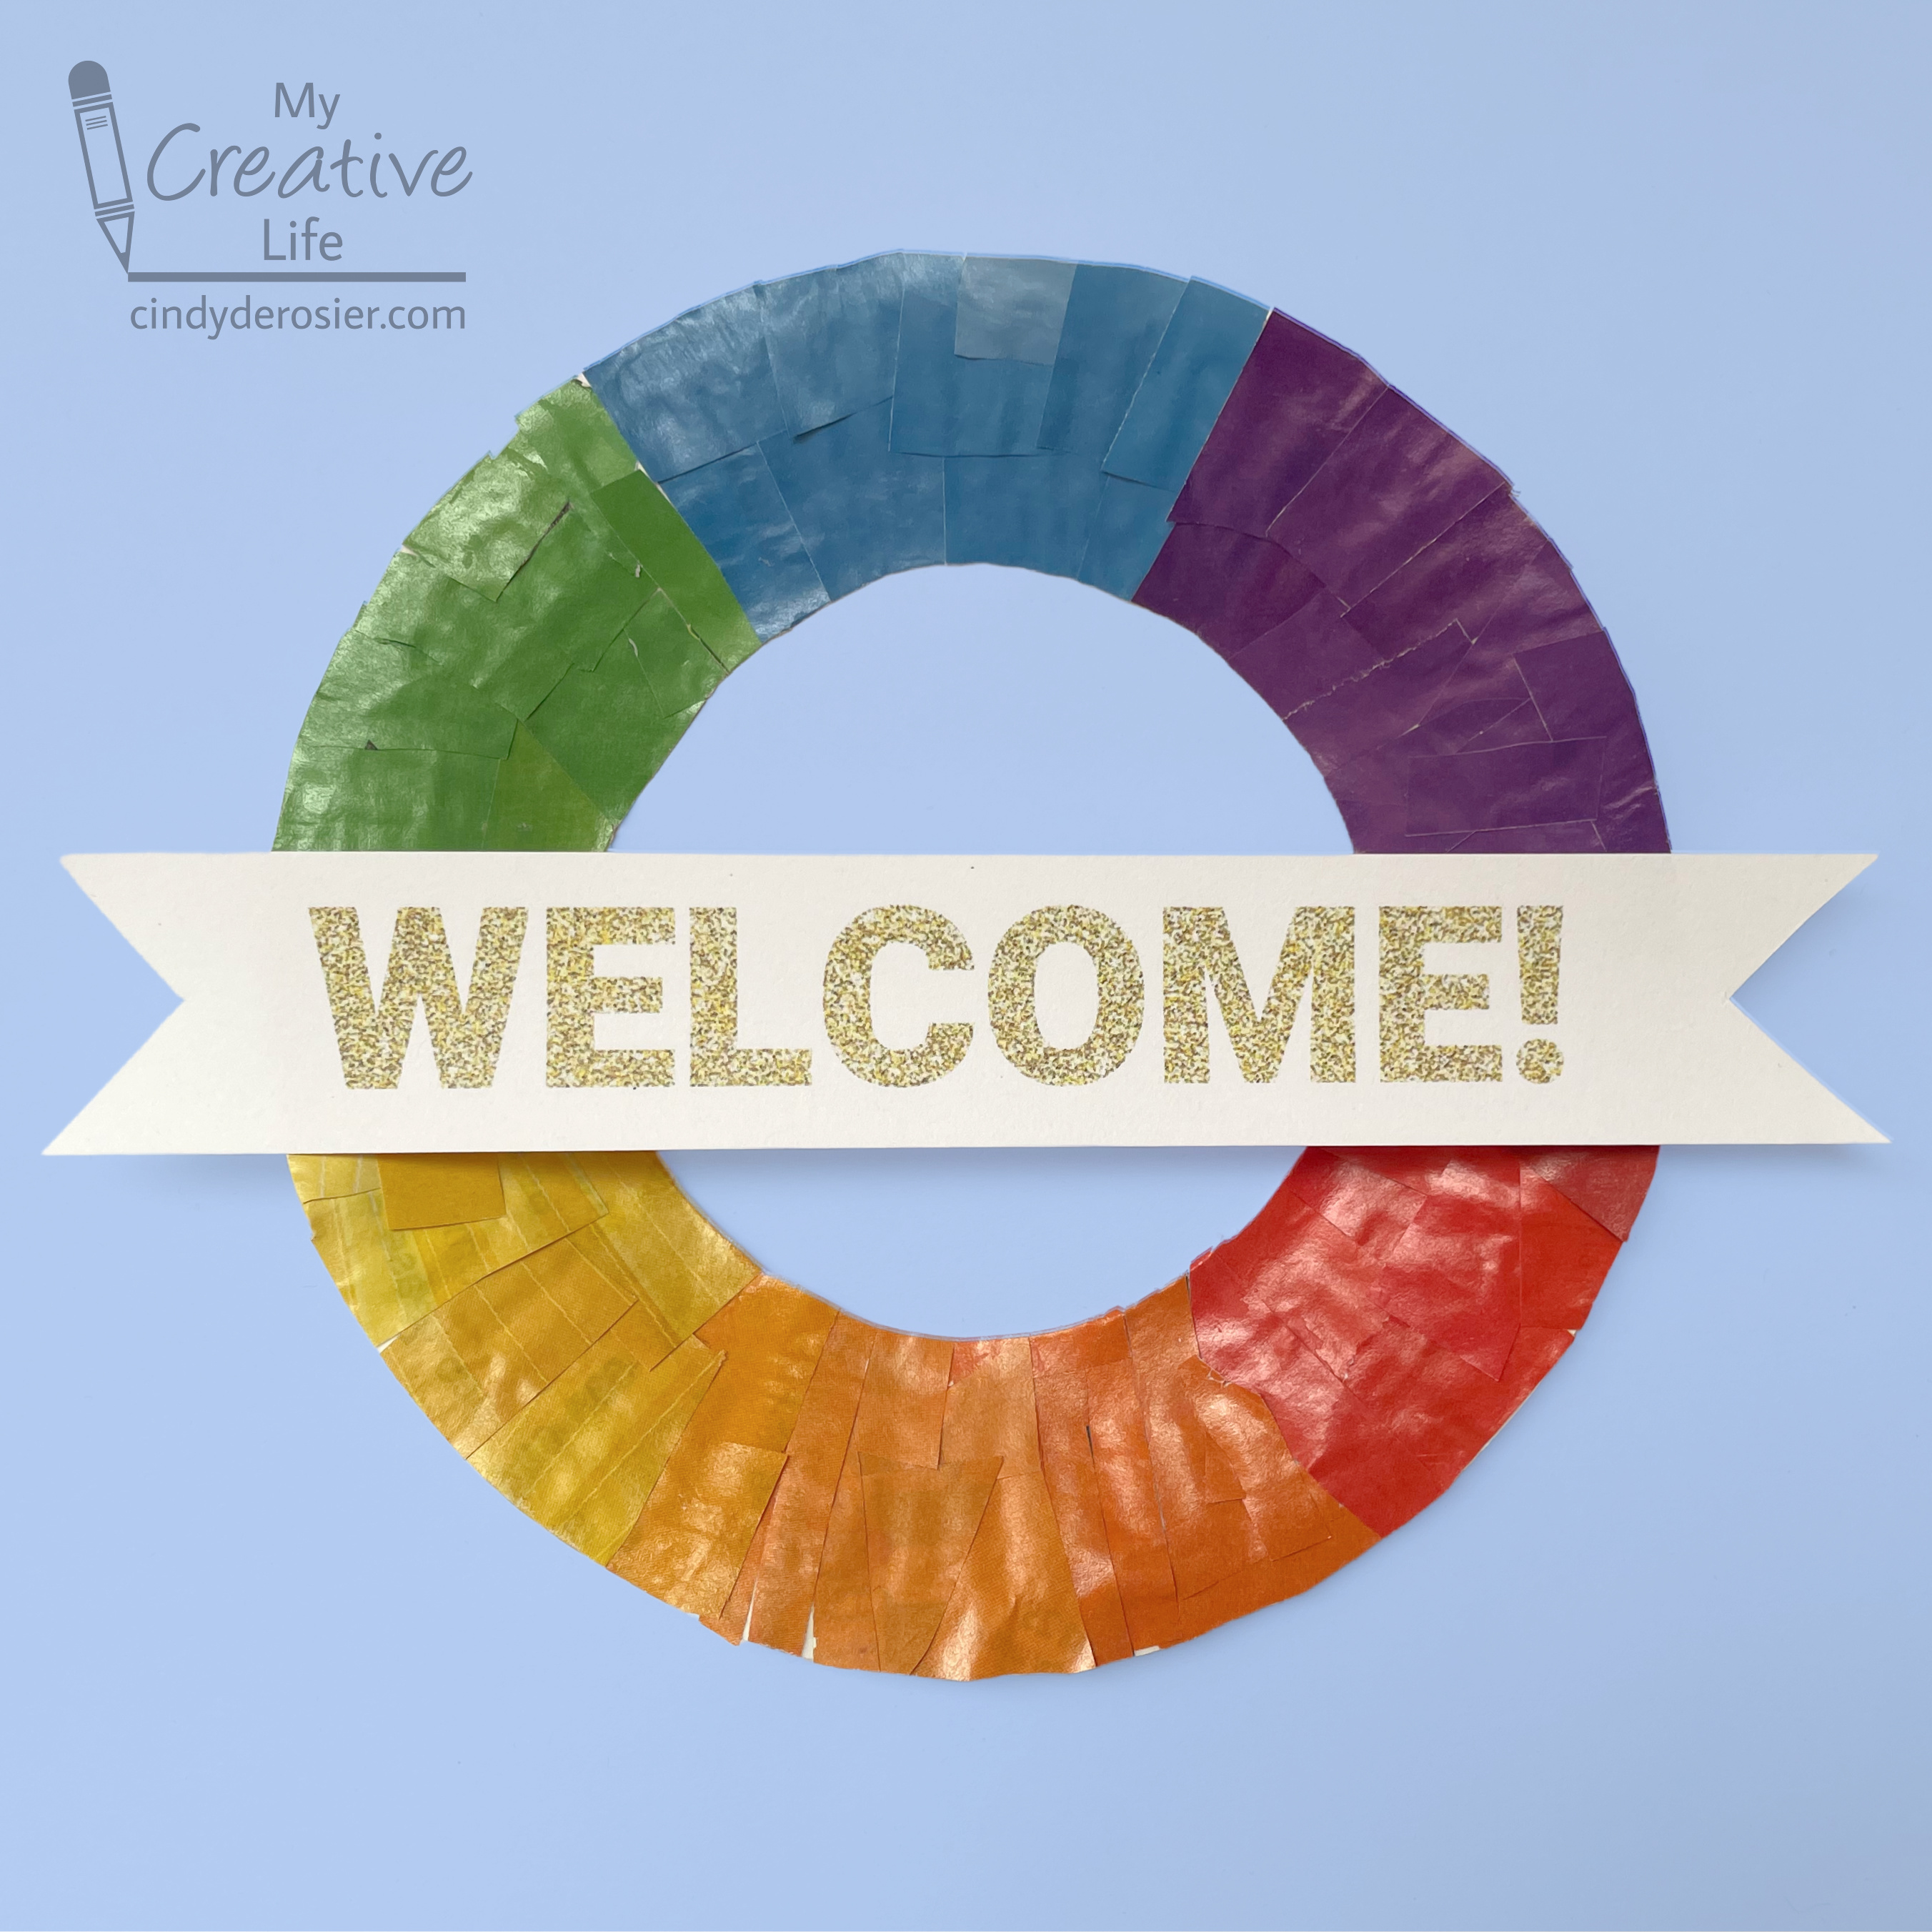
All the beautiful rainbows I'm seeing during June inspired me to make this 3-in-1 rainbow welcome wreath. 


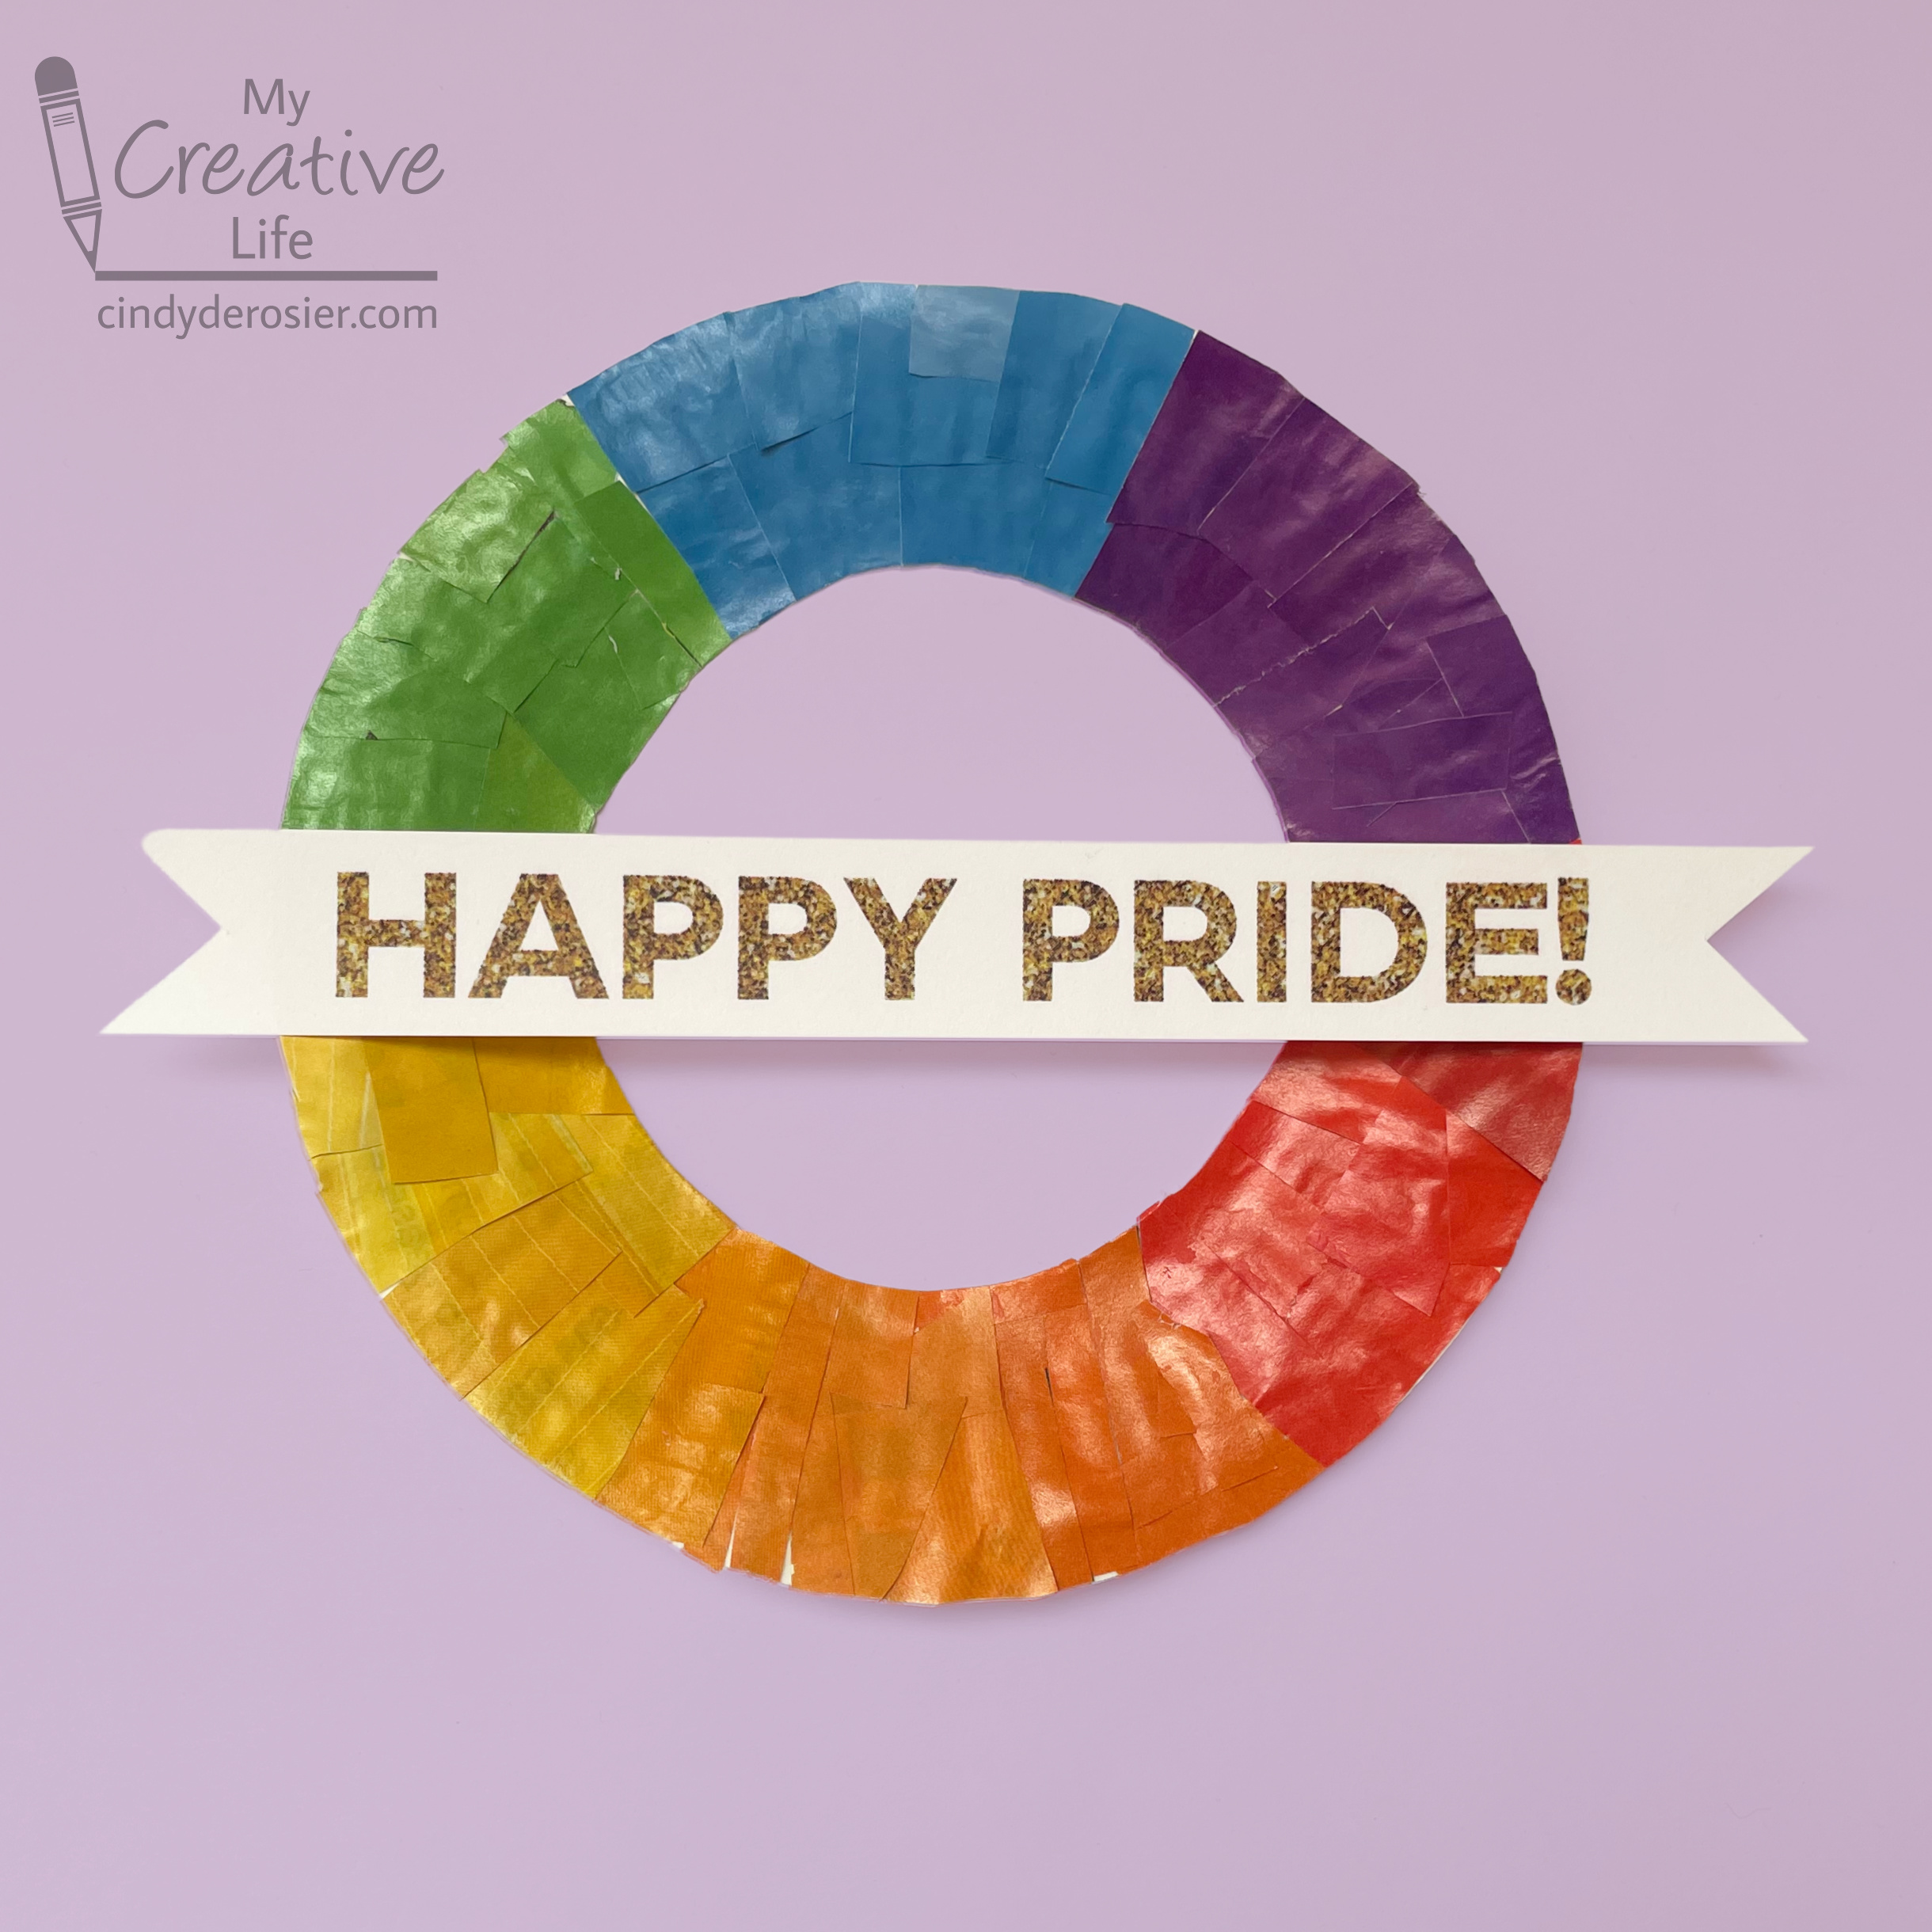
What makes it 3-in-1? I made the sentiment removable, so when June rolls around, you can switch out the more general "Welcome!" for this "Happy Pride!" version. 


This "Lucky" version is for March. Affiliate links below. 


3-in-1 Rainbow Welcome Wreath


Materials:


Steps: 


Cut the center out of a paper plate to make a wreath shape. I used a dessert-size plate, but you can use whatever size you want. 

Go through magazines and tear out pages with red, orange, yellow, green, blue, and purple on them. I used the monthly guide sent to us by the city, which is why you see information about recycling/waste and classes. 


Use a pen to draw lines marking roughly equal sixths on the paper plate. If you think of it like a clock, draw a line at 12:00 and 6:00 first, then lines at 2:00, 4:00, 8:00, and 10:00. This will give you an idea of how much space each color should take up. 

Starting with red, cut around any text or pictures until you have a good-sized pile of red pieces. Glue them into one of the six segments. Working clockwise, do the same with orange, yellow, green, blue, and purple. 


If you are going to be hanging your wreath outdoors, seal it with Outdoor Mod Podge. 


Write or print your sentiments onto white cardstock and trim the ends like banners. If the wreath will be exclusively indoors, you can leave cardstock as is. Otherwise, seal them with clear contact paper. Attach a sentiment to the wreath with poster putty. You should be able to remove it easily when it's time to switch sentiments. 

5/2/22

Plastic Wrap Rainbow Painting

I painted this rainbow trivet using plastic wrap. It was really fun to do and only took a few minutes.  


Rarely is a craft truly appropriate for ALL ages, but this one is! Toddlers and preschoolers will enjoy the interesting feel of the paint under the plastic wrap (and their parents will appreciate that there's no mess). School-age kids can explore color blending as they paint the trivet. Even teens and adults will find this project fun to do! 

I did my plastic wrap painting on a 6" square of wood to use as a trivet, but you could use a different size to make coasters or a wall hanging, or switch up the materials and paint a canvas or any other substrate. Affiliate links below. 


Plastic Wrap Rainbow Painting


Materials: 


Steps: 

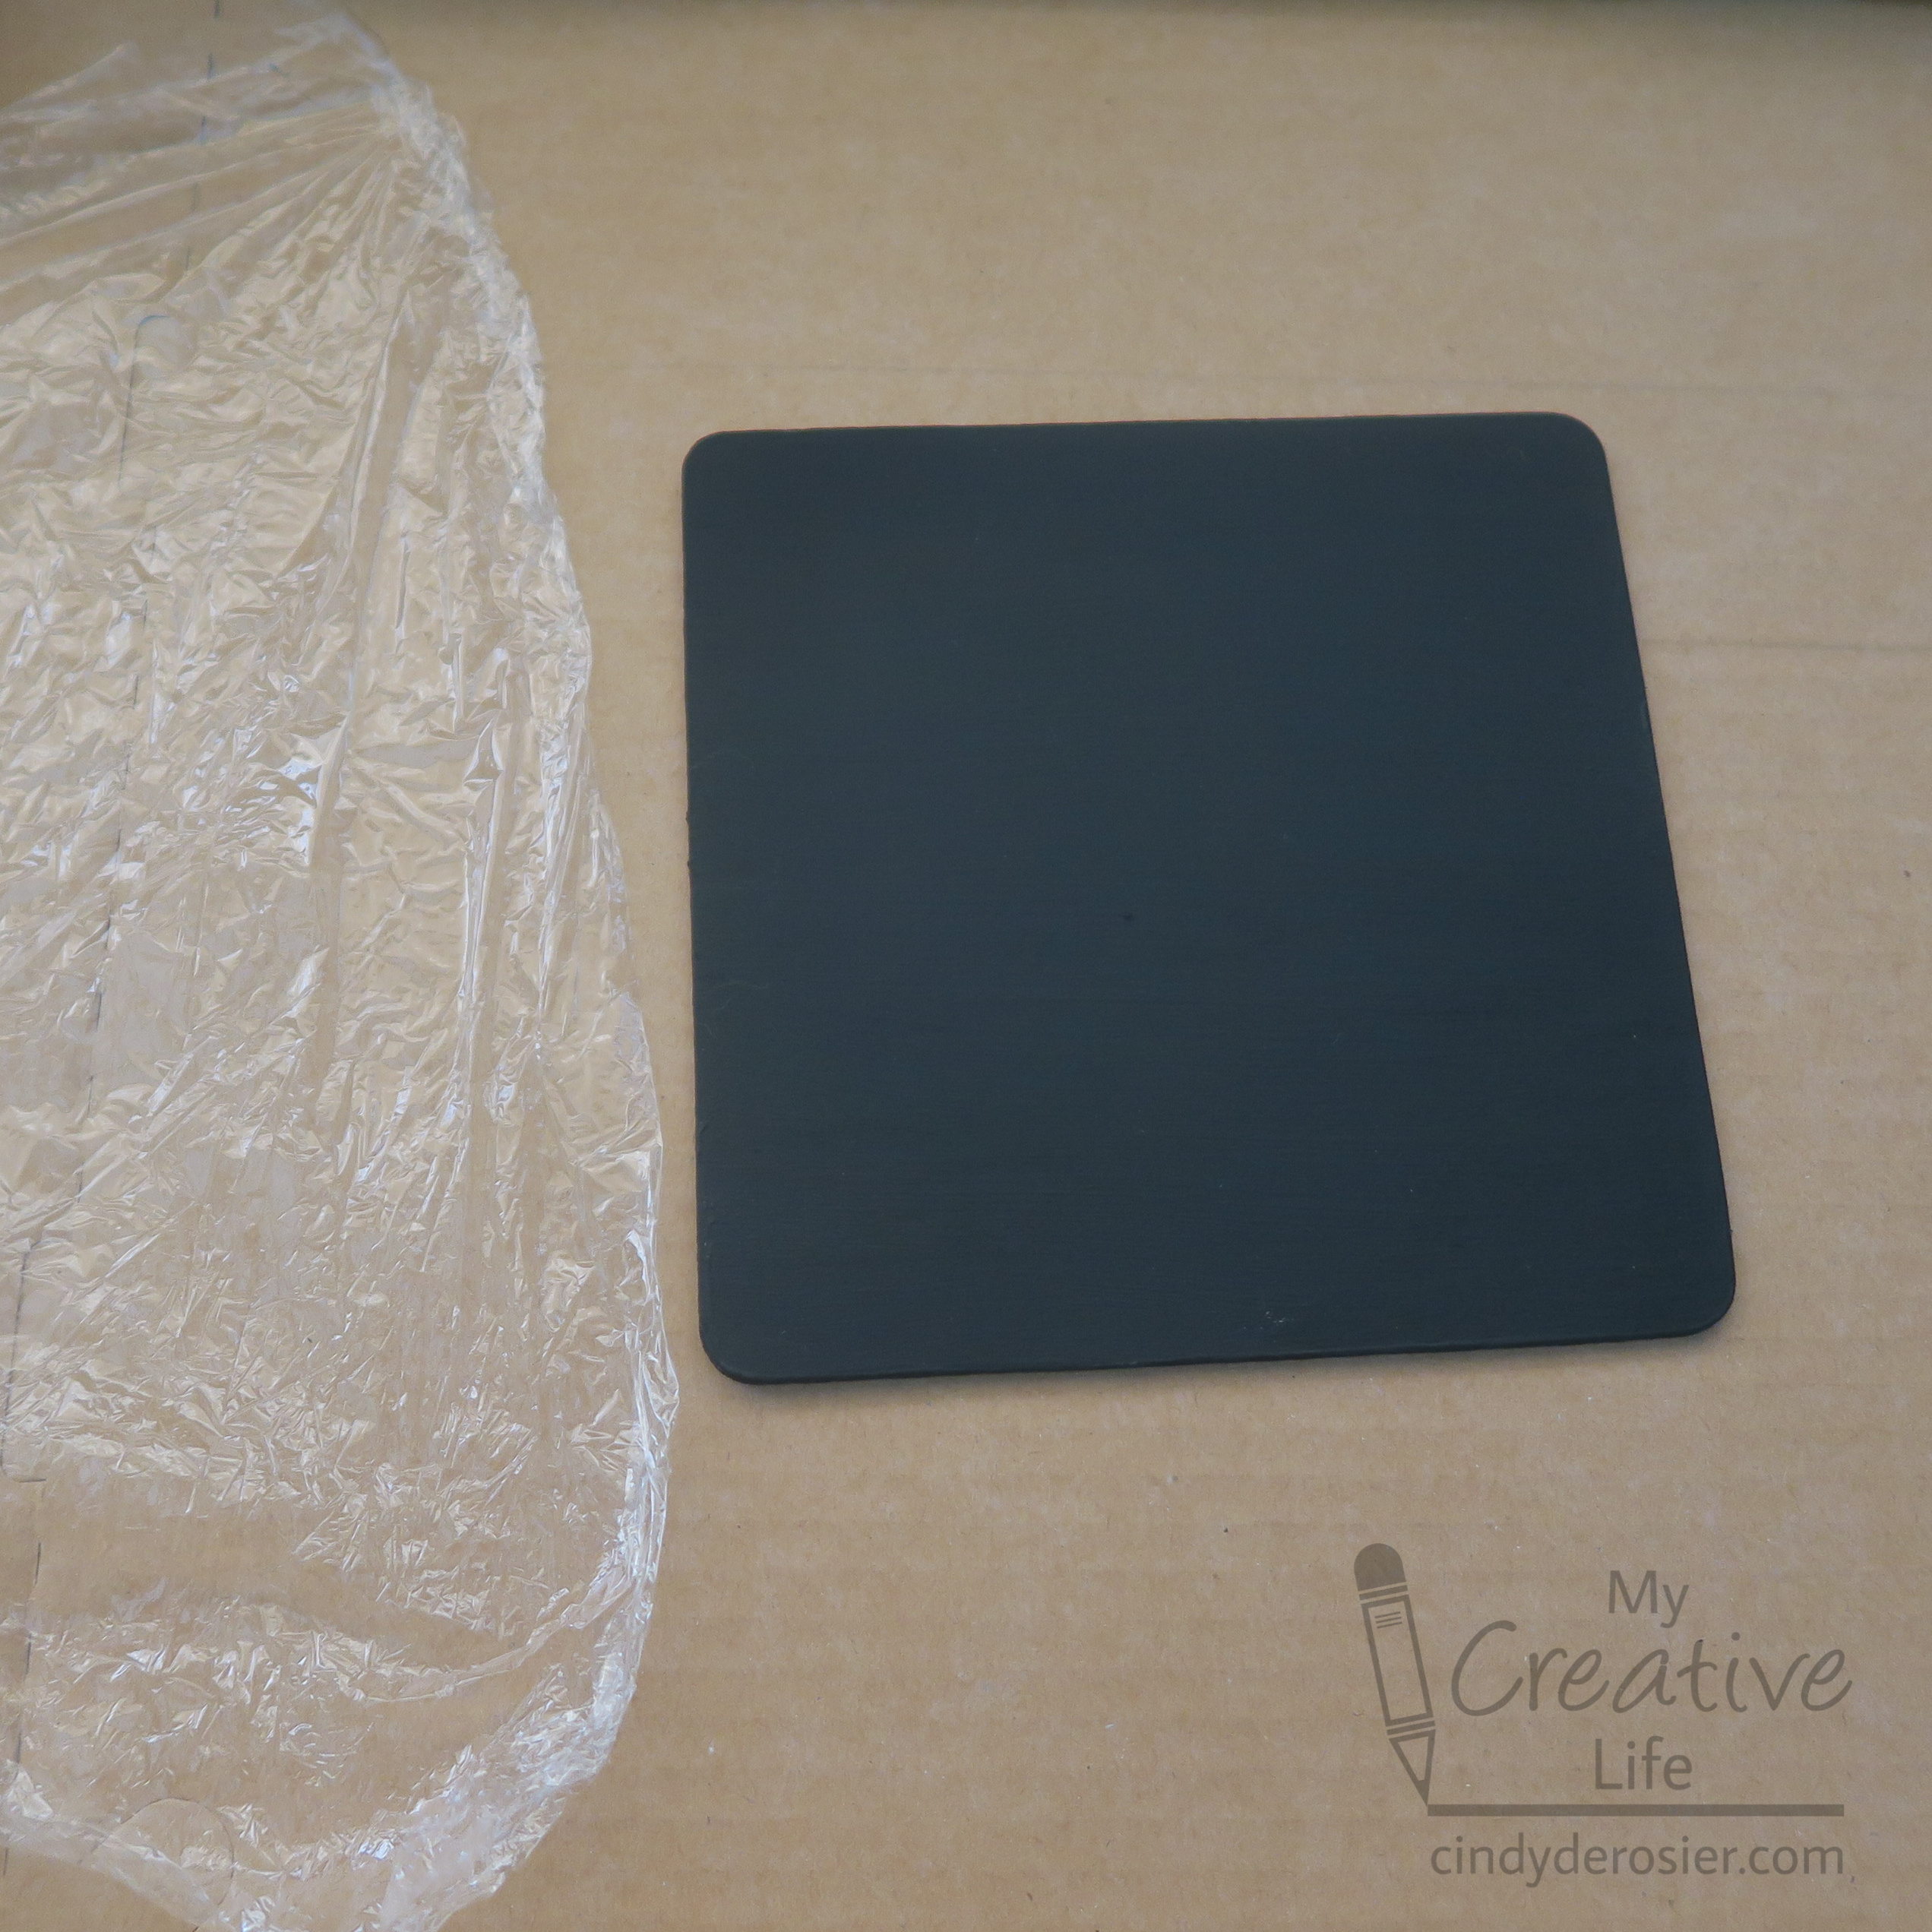
Protect your work surface with cardboard or newspapers, then prepare your substrate as desired. I put a black base coat on mine. Cut a square of plastic wrap that is a few inches larger than what you're painting. 


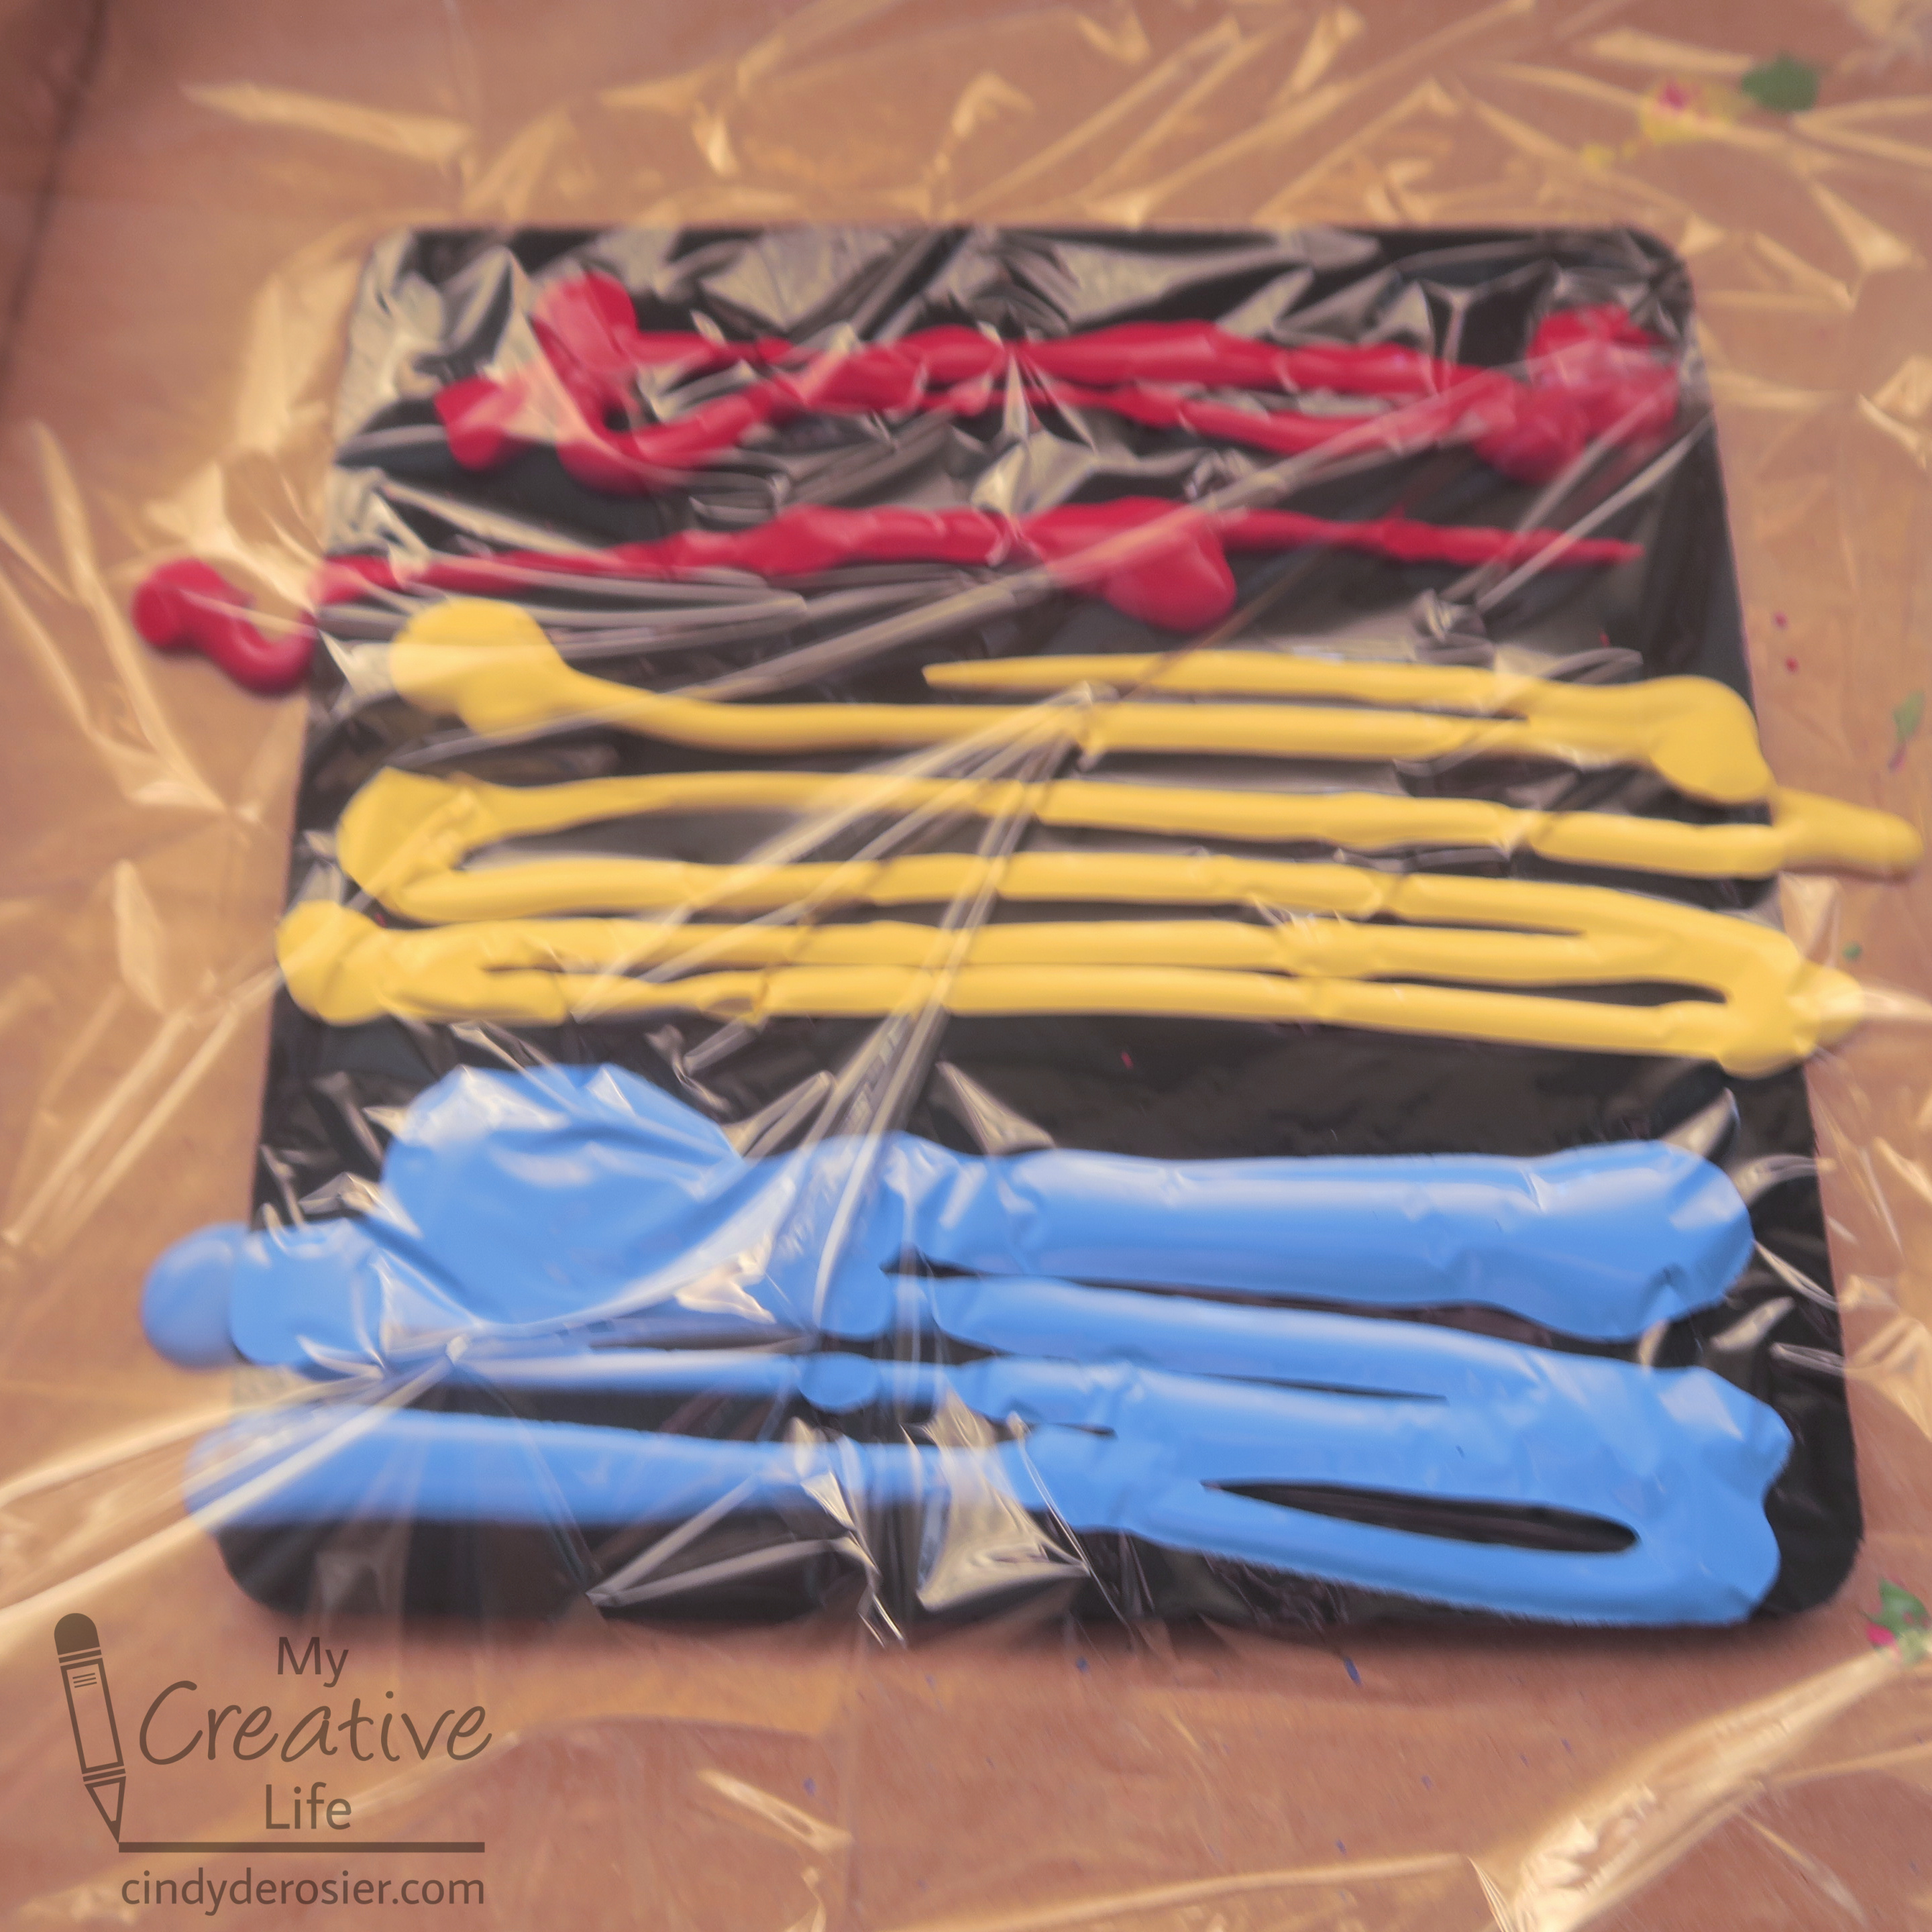
Squirt red, yellow, and blue acrylic paint onto the surface, then cover it with plastic wrap. Apply a generous amount of paint, but leave gaps between the colors as shown. 


Press and squish the paint around through the plastic wrap. It's a neat feeling. As you move the paint, the primaries should mix to make orange and green. Mine don't show up well in this photo because of the weird lighting, but they're there. 


Peel away the plastic wrap to reveal the design. Let the paint dry completely. 


In better light, my orange is iffy, but you can definitely see green. 


If you'll be using your project as a trivet or a coaster, you'll want to seal it with Mod Podge and add felt to the back. If it's hanging on the wall, that won't be necessary. 

In retrospect, I should have used truer primary colors in order to get good secondary colors, but I'm happy with how it turned out. Part of the fun is that no two are ever quite the same.

3/1/22

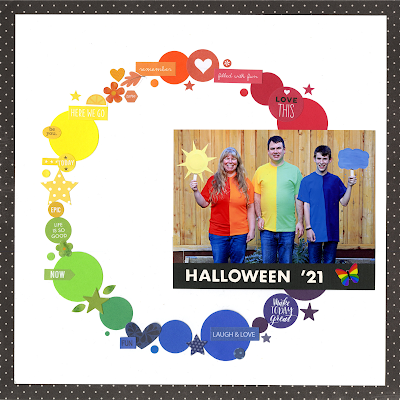
Bash Bowl 2022: The Rainbow Costume (Halloween 2021)

Sadly, Bash Bowl 2022 has come to an end. I've had so much fun challenging myself with each week's Playbook. This is my second (and final) layout from Week 4: 
This page, about our three-person rainbow Halloween costume, was so much fun to make! I started by tracing a circle onto white cardstock, then placed punched circles to define the space for each color. Then it was just a matter of finding stickers, punches, and other doodads to fill in the space. 

Here's the before picture: 


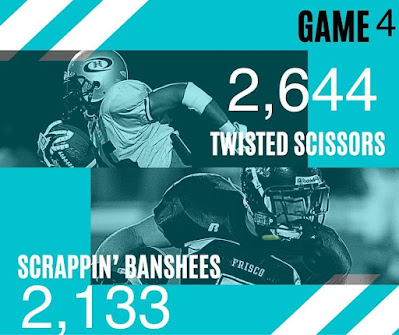
I earned 4 points for Team Twisted Scissors: 1 for the dotted paper, 2 for the clusters (I consider each color to be its own cluster), and one for the completed page. Again, it would have been really easy to add brads and get the extra point, but it was more important to me to keep my page flat. I thought about working triangles into the page, but since they had to be at least 1", they didn't play well with my other elements. Ultimately, being happy with the page is more important than scoring points, and I am very happy with this page. 

My lack of brads and triangles ultimately didn't matter. Twisted Scissors claimed the victory for Game 4 and overall!


I'm thrilled with how many pages I made during Bash Bowl 2022 and definitely plan to make this an annual tradition. 

11/2/21

Rainbow Halloween Costume for Three

For Halloween, our family of three dressed as a rainbow. 
 

Even though I am completely incompetent with the sewing machine, this costume was easy enough that it only took me a few hours to make. I made some mistakes along the way, so you get to benefit by learning from my errors.

The biggest error? That image above is a lie. I digitally flipped it to get the colors in ROYGBIV order. The actual photo has us in VIBGYOR order. Even though I actually thought about how to get the colors with red at the left and purple at the right, I still messed it up. Sigh. Affiliate links below. 


Rainbow Halloween Costume for Three


Materials:


Steps:


Fold each t-shirt in half as precisely as you are able. Mark the center with clips or pins, then carefully cut the each shirt in half. 


After all the shirts are cut, pair them together red-orange, yellow-green, and blue-purple. Here's where I went wrong. I chose the wrong half of each shirt. I should have red and yellow on the left sides, and orange and green on the right sides.  


I strongly recommend you lay out all the shirts in order to make sure you are using the correct sides. You might luck out and get a t-shirt brand where the front and back are symmetrical, but ours had a dip in the front with a very high back that would have been weird to wear backwards. 

When you are sure you have the correct order, it's time to sew. Carefully match the fronts of the shirts together and clip one of the sides in place. 


Sew that seam, being sure to backstitch at the hem and the neck to secure the seam. Clip the second seam together. Sew that seam, then turn the shirt right-side out. Repeat the process for the other two shirts. 

To make the rain cloud, cut a cloud shape from chipboard and paint it grey. Glue it to a jumbo craft stick. Tie glow beads onto pieces of silver thread and tape them to the back of the cloud so that they dangle like raindrops. 


To make the sun, cut 8 triangles of chipboard to make the sun's rays. Paint them and the backs of two paper plates yellow. Glue one plate to the craft stick, then glue the rays to the front of that plate. Glue the second plate on top to sandwich the rays between the two plates. 


Then you just have to make sure you stand next to each other in the correct order through the entire costumed celebration! 

This was a fun costume and so easy. Half of each shirt is leftover, so in theory I could either sew up the correct rainbow, mix-and-match the colors to make random two-tone shirts (opposites on the color wheel?), or come up with other way to use the fabric. I'm open to suggestions!


I hope you all had a wonderful Halloween!

2/15/21

Paper Plate Rainbow Craft

Kids of all ages are fascinated by rainbows. Start with a science experiment to see firsthand how light passing through water makes a rainbow, then create this cute paper plate craft as a reminder that rainbows only appear in the sky when it's sunny and rainy at the same time! Affiliate links below. 


Paper Plate Rainbow Craft


Materials:


Steps:


Cut one paper plate in half. Remove half of the center of a second paper plate. Cut out clouds and raindrops from grey construction paper. 


Paint the half paper plate yellow, then paint a rainbow on the 'handle' of the second paper plate. When the paint is dry, glue the two plates together, securing them with binder clips while the glue dries. Paint the sun's face. 


Cut a length of yarn long enough to go from the sun, up to the clouds, and then back to the sun. Glue the center of this piece of yarn onto the craft stick. Cut six lengths of yarn and glue raindrops to each. Glue the other end of the yarn to the craft stick. 


Glue the two loose yarn ends to either side of the rainbow. Finally, glue the clouds over the craft stick to cover it.


When the glue is dry, your paper plate rainbow craft is ready to hang!

1/12/21

Money Gift Idea: A Rainbow of Hidden Gift Cards

I have another money gift idea for you. Instead of cash, this one uses gift cards. Five, to be exact. Do you see them? 


If you guessed that the rainbow is made up of gift cards, you're right! 

It felt really weird selecting gift cards based on their color. I can't say I've ever done that before! I ended up choosing AMC Theatres (a particularly lame gift during the pandemic, but I liked the red), Amazon (orange), Subway (yellow), Target (blue), and iTunes (looks pink below, but is more purple above). Affiliate links here and throughout the post. 


The first step to making the gift was to stack all the gift cards to create a rainbow. I turned each gift card to get the widest strip of uninterrupted color, which in most cases meant they were upside down. I attached each gift card to the next with a Glue Dot


I used blue cardstock to make a card front, turned it face down, then traced around the gift card stack to see how large of a window I would need. I used my favorite craft knife to cut a window inside of my traced lines, then tested the fit. (Always cut less than you need, as you can always cut more but you can't add cut material back.) I decorated the front with punched clouds, a cake die-cut, and sentiment stickers, then used a pair of Glue Dots to attach the stack of gift cards. Because the gift cards were in a sloped stack, I needed a way to adhere the card front to the base that wouldn't have big gaps. I solved that problem by adding strips of foam adhesive around the perimeter of the card front before attaching it to the card base. Add a message inside the card and it's ready to go!

This would make a wonderful gift for a teen, a friend, a teacher, or pretty much anyone else who likes gift cards (in other words, anyone who is old enough to know what a gift card is - sorry toddlers). I suspect I'll be playing with this idea again in the future because I see a lot of possibilities! 

7/4/19

Be the Rainbow in Someone's Cloud

Maya Angelou said to, "Be a rainbow in someone else's cloud." So simple, and such a good way to live your life. When I saw a version of this quote in a coloring book, I decided to experiment with putting it on a canvas. I don't mean the quote - I mean the actual coloring page. Could I transfer the coloring page to a canvas and still use it for its intended purpose of coloring it in? Answer: Yes! This project also answers a question I get asked ALL THE TIME: "What can I do with my extra Diamond Dotz?" Affiliate links below. 


---------


'Be the Rainbow in Someone's Cloud' Coloring Page Canvas


Materials: 


Steps: 


Because this was experimental, I did some things in what turned out to be a strange order. I'll do my best to tell you how I'd go about making it now that I know what I know. 

I started with a canvas that already had paint on it (a project I started and never finished - you can see the pinks and yellows on the edges in the first two photographs below). If you're starting with a new canvas, I'd apply a base coat of grey (which I mixed myself with black and white). Let it dry completely.

Trim the coloring page to remove the copyright info and to even up the margins. Add an even layer of Mod Podge to the canvas and center the coloring page on top of it. Use the smoothing tool to make it perfectly flat. Add a second coat of Mod Podge on top of the coloring page and smooth it down. Let it dry completely. 

Mix equal parts Mod Podge and grey paint and put a thin coat on top of the coloring page. You should still be able to see the lines on the coloring page. Let it dry completely. 


Use the Sharpie to trace the lines of the design. 


Dry brush some blue horizontally onto the top of the canvas. Paint the cloud white. Fill in the rainbow with paint. 


Add a second coat of white on the cloud, touch up the rainbow as needed, and paint the edges of the canvas black. 


I traced the letters with Sharpie a second time, then filled them in with paint. This was unnecessary. If you have a steady hand, just paint the letters.


Add a coat of Extreme Glitter to each color of the rainbow. When that is dry, paint black dividing lines between the colors in the rainbow. 

Place dots of craft glue along the red band of the rainbow. Use the stylus that comes with Diamond Art kits to place red Dotz on the glue. 


Repeat the process with the other colors of the rainbow. 


Now display your canvas where you will be inspired. 


Now that I know how easy it is to put coloring pages onto canvases and paint over them, I'm definitely going to do this again. And I love how much the sparkly Dotz add to the finished design. 

3/13/17

'We Are All God's Children' Rainbow Handprint

Why do just one rainbow handprint craft when you can do two? Affiliate links below. 


'We Are All God's Children' Rainbow Handprint Craft


Materials: 


Steps:


Squirt craft paint onto your hand in rainbow order, starting with red at your fingertips and ending with purple on your thumb and lower palm. Use a foam brush to spread the paint evenly, taking care not to mix the colors too much. 

Stamp your hand onto the center of a piece of white cardstock. Wash your hands and let the paint dry completely.


When the paint is dry, trim the white cardstock so that it has an even margin around the handprint. Use the blue cardstock to make a mat. 


Punch a heart from the scraps of white cardstock and write your message on it. You can use the same message I wrote or something else.