9/8/21

Fall Colors Bookmark

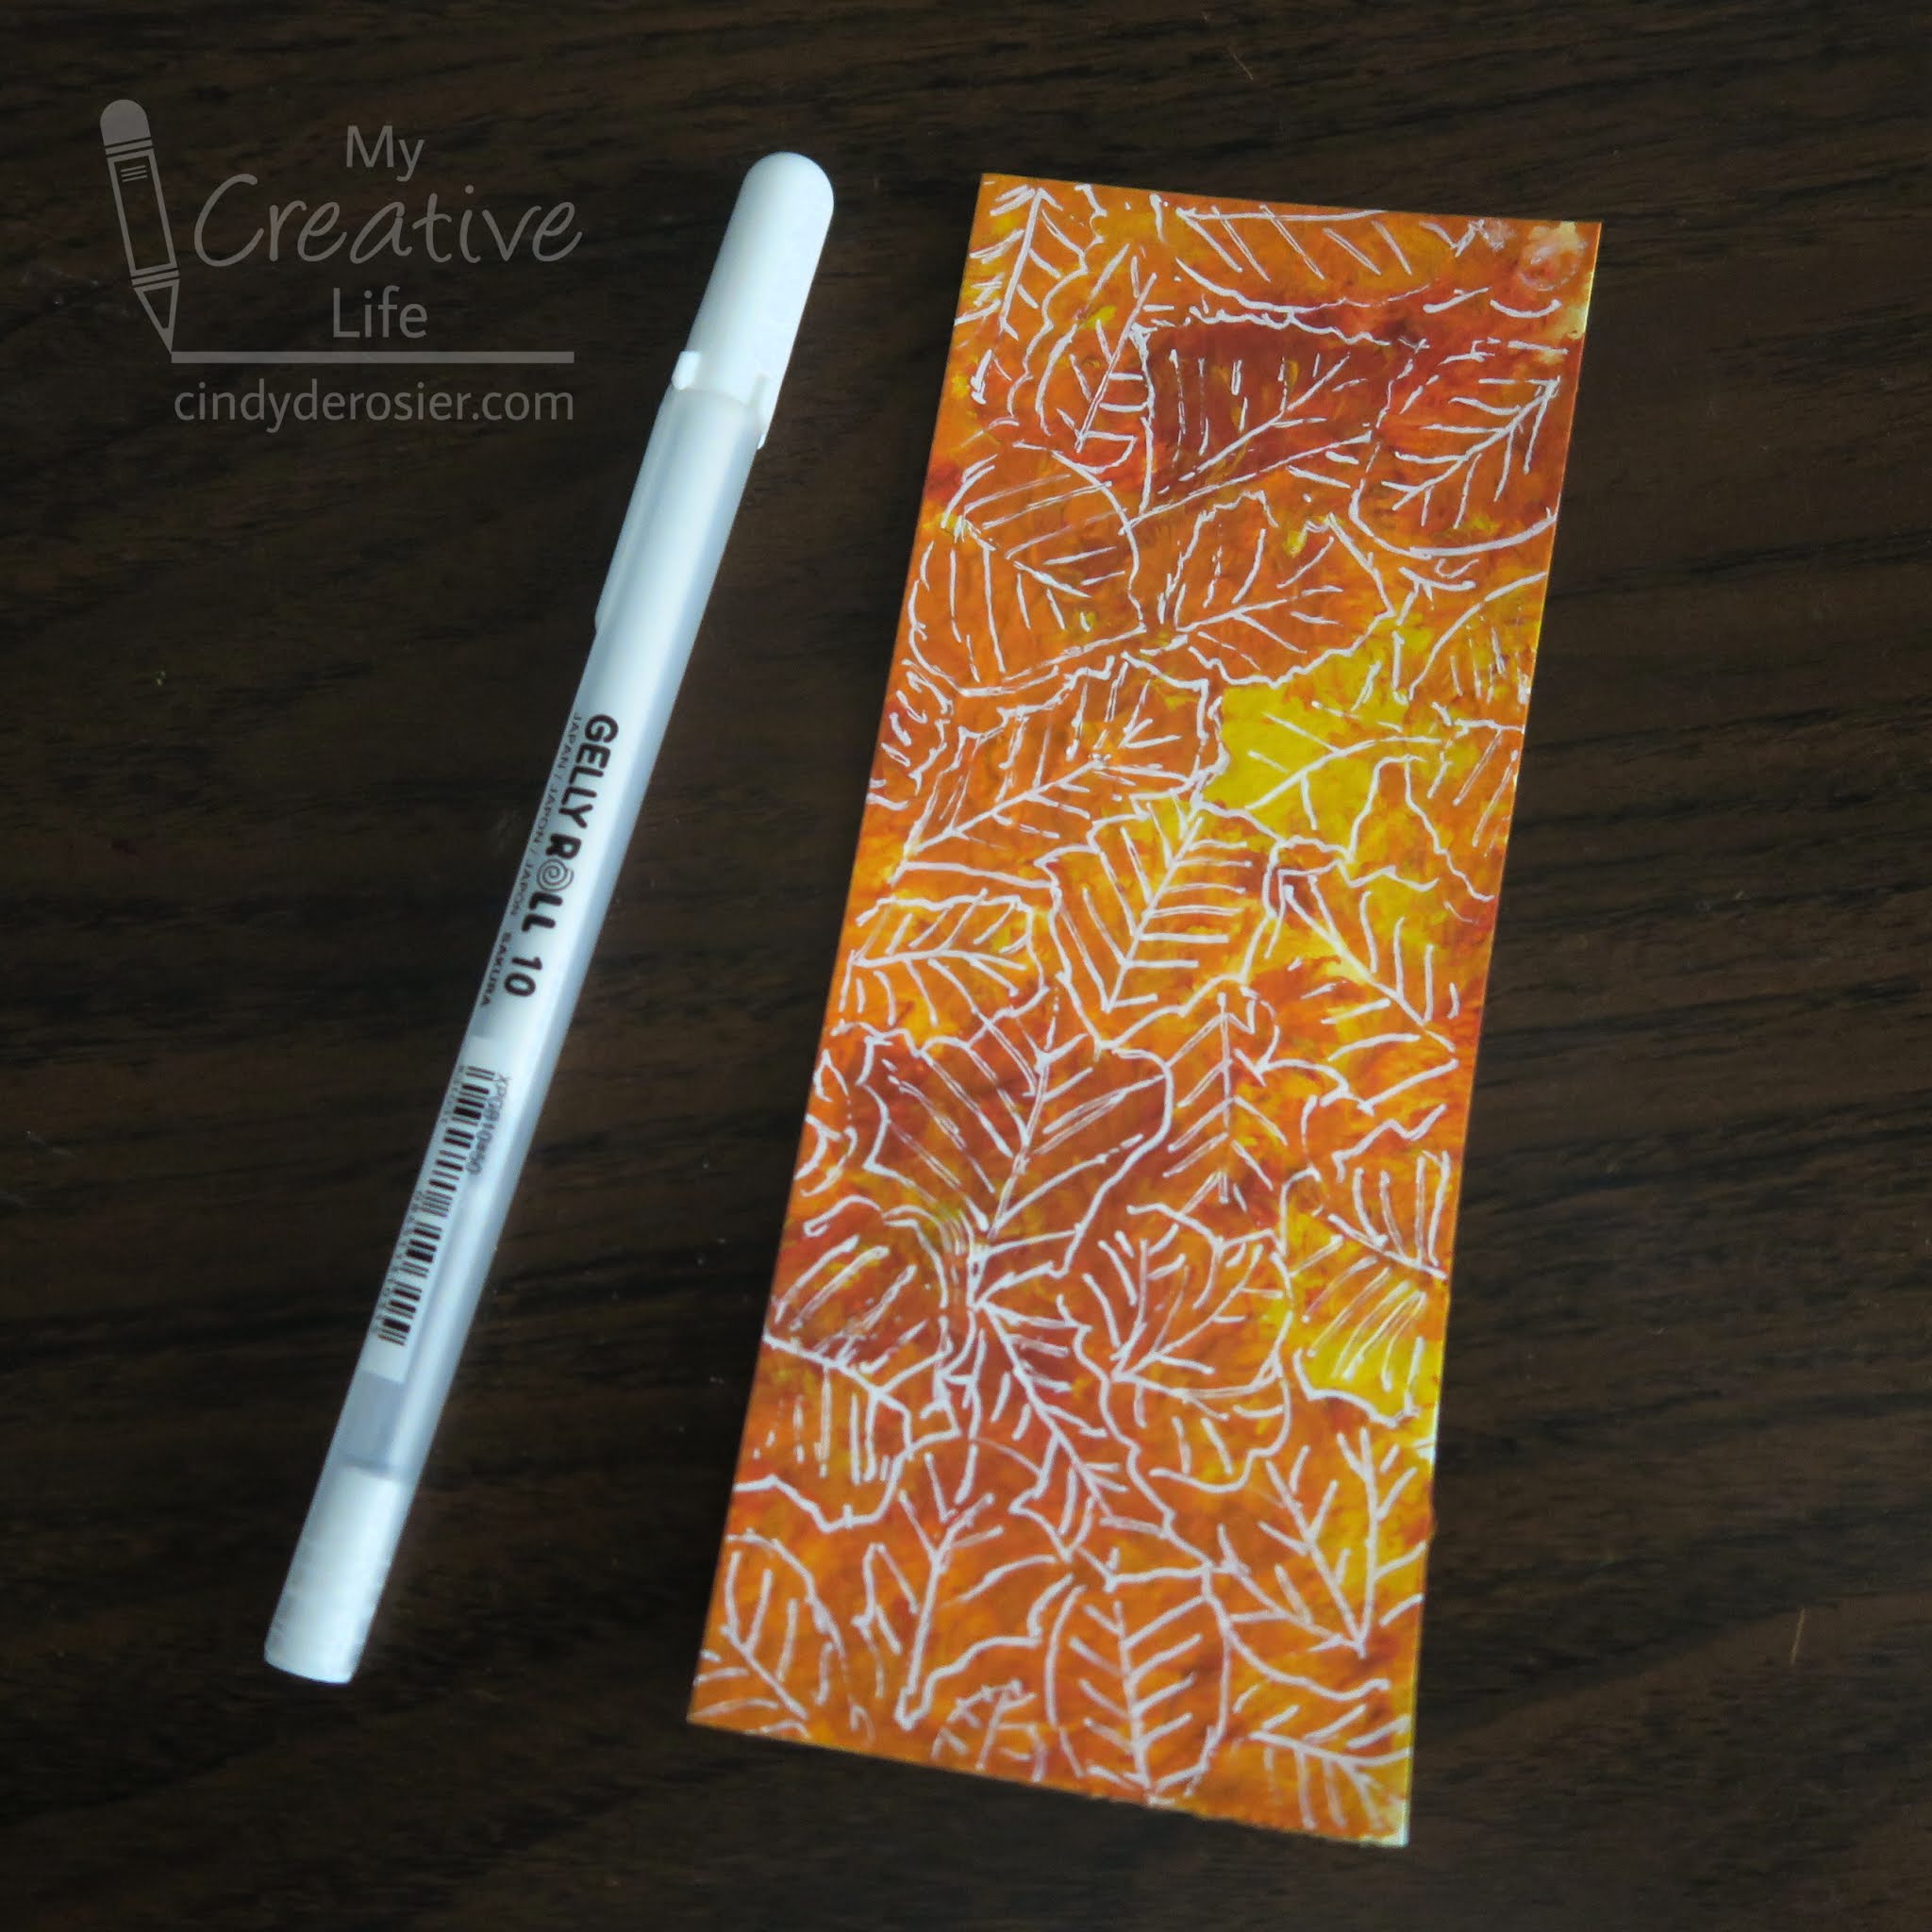
Check out my new bookmark, inspired by fall leaves. 


I made it to answer two questions: 
  • Does a white gel pen write over acrylic paint? (Yes.)
  • Does using a tassel maker improve the tassel-making process? (Yes.)

I like trying new techniques on a bookmark because you really can't mess it up. Worse case, you paint over it and try again. Or you live with an ugly (but still functional) bookmark. Fortunately, this turned out exactly as I'd hoped. Affiliate links below. 


---------


Fall Colors Bookmark


Materials:


Steps:


Dot a generous amount of yellow and orange acrylic paints on a piece of watercolor paper. Gently spread them with a pouncing motion until you are happy with the colors. The surface should be smooth, without lumps of paint. Let the paper dry completely. 


Cut off a piece the size you want your bookmark to be. Doodle leaf patterns in different directions using the gelly roll pen. 

Use the Crop-a-Dile to punch a hole at the top of the bookmark. 

Follow the directions on the tassel maker to make a 3" tassel, then attach it to the bookmark. The folks at Plaid sent me the tassel maker to try. I wasn't sure that I needed it, as I usually just use my right hand to wrap the yarn for the tassel. But I discovered that the tool does indeed make the process easier. It's no surprise that using both hands to tie off the tassel is easier than having one hand literally tied up during the process! 


Tomorrow I'll show you what I made with the paper that was left after I cut off a strip for my bookmark. 

9/7/21

Paper Bag Bison

As promised, here is the bison project I made. The entire thing is made with a single paper bag. Affiliate links below. 


Paper Bag Bison


Materials:


Steps:


Carefully open a paper lunch bag. You should be able to peel it open without cutting it. I'm reusing one I got from the store when I bought bagels. It's wrinkled, but that totally doesn't matter because you'll be adding even more wrinkles!


Use scissors to cut out the bison's body from an edge of the paper bag. Then remove the head from the template and use it to cut an extra head. Cut the remaining portion of the paper bag into two long rectangles. 


Trim the horns and beard off the full-body bison. Crumple and then flatten each piece, as shown below. 


Paint one large rectangle with light blue, then add streaks of white to make the sky. Paint the other rectangle golden. Paint the back half of the bison's body light brown and the front half (including the head) dark brown. Paint the horns white. 


When all the paint is dry, glue the pieces together. 


I'm really happy with my bison project! 


9/6/21

How to Draw a Bison

What do you call this animal?


Most of the time, I call it a buffalo. I'm trying to get into the habit of calling it a bison. The American Bison, while commonly called a buffalo, is not technically a buffalo. 

This is a buffalo. 


The American Bison is the national mammal of the United States, as well as the state animal of Kansas, Oklahoma, and Wyoming. Bison nearly went extinct in the late 1800's following hunting (and slaughter) by settlers during the Westward Expansion. Fortunately, recovery efforts have brought the wild bison population up to around 31,000 individuals.

I had a bison craft in mind, but I needed to make myself a template first. As I was drawing my bison, I realized I should share the steps I took in the form of a tutorial. As always, I drew in Sharpie for the tutorial so that the photos would show up well. There are several places where you'll need to erase foundation lines, so you should sketch lightly in pencil. 


How to Draw a Bison


Start by drawing the bison's body in the center of the paper. That's its hump on the upper right. 


Add the bison's head. It is positioned slightly lower than the hump and is basically teardrop-shaped. Draw horns and a beard.


Now draw the legs in the foreground. The front leg is quite shaggy, so give it some extra width. 


Draw the other two legs, then add a tail, eyes, and a nose. 


Tomorrow I'll show you what I did with my bison template. 


9/3/21

Paper Plate Washing Machine Craft

A big part of my job at Fun Family Crafts is scouring the internet to find clever and creative craft tutorials to feature. Because we only publish crafts that include tutorials, I can't feature a craft that doesn't have a materials list and an explanation of the steps to make it. When I come across a craft without a tutorial, I first attempt to contact the creator and convince them to add a tutorial. Unfortunately, this is rarely successful, particularly if the post is old and/or in a foreign language. When that happens, I make my own version of the project and write up a tutorial. 

Such is the case for this clever paper plate washing machine craft. The post is in Korean; I hoped when I ran it through a translator there would be a tutorial, but there wasn't. So I took the idea and put a fall twist on it. 


Paper Plate Washing Machine Craft


Materials:

  • 9" plain paper plate
  • markers
  • 11" x 14" drawing paper
  • tacky glue


Steps: 


Draw and color articles of clothing on the non-eating side of the paper plate. (I know it looks like I used the eating side, but it's an optical illusion.) 


Outline the edge of the plate and the center section with black. Add a black half-circle handle and some black motion lines. Then color the area behind the clothes with blue to indicate moving water. 


Set the paper plate on a piece of drawing paper and draw the washing machine around it. I started with a large square that was slightly bigger than the plate, then added the feet and then the vent at the bottom right. Then I added a rectangle on top with the various dials and knobs. The final step is to glue the paper plate to the drawing paper. 


I drew fall-themed clothes, but you can adapt this for any season or holiday. It would be really cute with Santa and the elves' clothes at Christmas, or swimsuits and towels during the summer. There are a lot of fun possibilities!

Shop!

9/2/21

The Making of Harry Potter

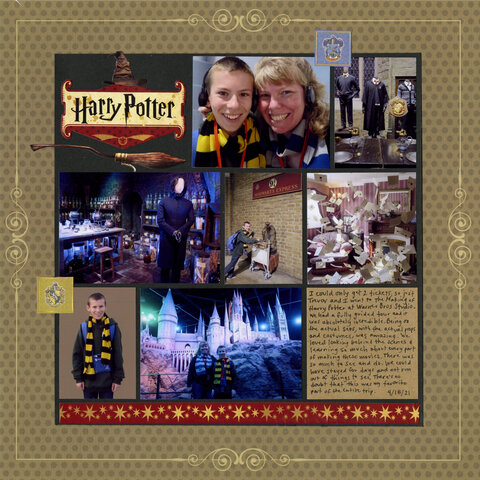
In April 2019, Trevor and I experienced The Making of Harry Potter at Warner Bros. Studio in London. It was absolutely incredible. We loved every minute. I'd go back in a heartbeat. 

The Making of Harry Potter (affiliate link)

As usual, I really struggled trying to decide which pictures to include on the scrapbook layout. I used 75+ photos for the blog post about the visit, so you can imagine how hard it was to narrow those down to the seven I used!

Once I picked my photos, the layout came together easily. I made my photo grid, constructed the title using three stickers, added a journaling box, and anchored the layout with the sticker strip across the bottom. The last touch was adding the Hufflepuff sticker next to Trevor and the Ravenclaw sticker by me. 

I'm so happy with this layout and thrilled to have it in the album. Only two more pages to go before I've finished scrapping our 2019 Europe trip