Showing posts with label mammal. Show all posts

3/30/26

Harbor Seal Easter Egg

I enjoy coming up with creative ways to decorate Easter eggs. This year, I'm challenging myself to decorate my eggs using state symbols. First up, a harbor seal. 

In 2016, the harbor seal was adopted as the official state marine mammal of Rhode Island. Did you know that harbor seals can weigh up to 300 pounds and live up to 30 years? Females give birth to a single baby between March and May. Babies weigh around 20 pounds at birth and can swim and dive within hours of birth. They gain almost a pound a day during the 4-6 weeks their mothers nurse them. Harbor seals eat a variety of seafood; they will swim more than a hundred miles upstream in large rivers in search of migrating fish. Affiliate links below. 


Harbor Seal Easter Egg


Materials:


Steps: 

Paint the egg grey. When the paint has dried completely, orient the egg with the pointy end facing you. Rub some chalk on your finger (or on a cotton ball) and apply it to where the seal's eyes and cheeks will be. 

Use a black paint pen to draw the seal's eyes, nose, and mouth. Add random spots around the body, then add lots of tiny dots where the whiskers go.  

Cut six (or more) short pieces of fishing line for the seal's whiskers. Add dots of glue and press the whiskers in place. You'll need to hold them for 30 seconds or so while the glue sets up. 

3/5/26

Decoupage Tissue Paper Dolphin

I'm going to go out on a limb and guess that you like dolphins. Everyone likes dolphins, right? Three states like dolphins enough to have named them as their official State Saltwater Mammal (Florida), State Water Mammal (Mississippi), and State Marine Mammal (South Carolina). Read on for how to make a cool dolphin craft using tissue paper. Affiliate links below. 


Tissue Paper Dolphin


Materials:


Steps: 


Prepare the Bristol vellum. You will need a total of two sheets: a full sheet for the light blue and a half-sheet each for the dark blue and silver. 

Cut or tear a piece of light blue tissue paper so that it is slightly larger than the full sheet. Set it aside. Tear thin strips of dark blue tissue paper. Don't cut them; you want them to be irregular to mimic the movement of the ocean. (Remember - tissue paper has a grain!) Cut a piece of silver tissue paper that is slightly larger than the half-sheet of paper. 

Pour some Mod Podge into a cup and dilute it with a little bit of water (about 3 parts Mod Podge to 1 part water). Spread a coat of the watered-down Mod Podge onto a half-sheet of paper. You want it to be moist but not puddly. It is important that it is completely covered. Carefully lay the silver tissue paper onto the moist paper. Load the brush with more Mod Podge and paint a coat over the top of the tissue paper. Use the brush to smooth any wrinkles as best you can. Don't worry about any overhanging tissue paper. 

Use the same technique to apply the light blue tissue paper to the full sheet of paper. Wrinkles are probably going to happen; gently smooth them out if possible. Don't overwork the tissue paper or you'll risk tearing it. 

To make the water, it is easiest to work on one area at a time. Paint a coat of Mod Podge onto the bottom inch of the paper, lay down a strip of tissue paper, then paint over that to seal it. Again, don't worry about overhanging tissue paper. Add Mod Podge to the next section of the paper, then add the tissue paper, slightly overlapping the previous piece. Seal it. Repeat until you've covered the entire half-sheet. 

When all three colors are completely dry, use scissors to trim the excess tissue paper from all four sides of the light blue and from three of the four sides of the dark blue. Tear or cut the fourth side in the shape of waves. Glue the dark blue paper onto the light blue. (I trimmed mine down to a square because I like squares, but you don't have to do that.)

Draw or trace a dolphin on the back of the silver paper, then carefully cut it out. Make a dot for its eye. Apply foam mounting squares to the back of the dolphin, then position it onto the paper. 

5/21/25

Standing White-Tailed Deer

Native to North, Central, and South America, the white-tailed deer is one of the most widely distributed land mammals in the world. They are crepuscular, consume a wide variety of plant materials, and are highly adaptable to different habitats. White-tailed deer can sprint at speeds of 40 miles per hour, sustain speeds up to 30 miles an hour, and jump 9 feet high and 30 feet forward. 

The white-tailed deer is culturally important in the US (and beyond). It is the state animal of Arkansas, Georgia, Illinois, Michigan, Mississippi, Nebraska, New Hampshire, Ohio, Pennsylvania, and South Carolina, the state game animal of Oklahoma, and the wildlife symbol of Wisconsin. It appears on the flag of Vermont and is the mascot of the Milwaukee Bucks. Bambi is a white-tailed deer (in the Disney movie - in the Austrian book that inspired the film, Bambi is a roe deer.)

Read on to learn how to make a family of white-tailed deer that stand on their own. Affiliate links below. 


Standing White-Tailed Deer


Materials:


Steps:

You will need four basic shapes to make an adult male white-tailed deer: a body, legs (2), ears (2), and antlers (2). If you want to make an adult female or a baby, you don't need the antlers. Cut the body parts from cardstock, then use colored pencil to add details: a black nose, a black eye, black hooves, black shading on one ear, and white shading around the nose, under the belly, under the tail, and inside the ear. If you are making a fawn, add white dots all over its back. 


For the adult make, fold the legs in half, then glue them to the back of the deer's body. Adjust them until the deer can stand on its own. Glue one ear to the front of the deer and one to the back, then glue the antlers in place. Use the same steps, minus the antlers, for an adult female or a fawn. 

4/14/25

Panda Easter Egg

Dyeing Easter eggs is so much fun, but there are a lot of other ways to decorate eggs that are just as fun. I used a black paint pen to turn an egg into an adorable panda. Affiliate links below. 


Panda Easter Egg


Materials:


Steps: 


Paint the clay pot and the toothpicks green. Set them aside to dry. 

Put the egg onto something to stabilize it. (I used a ring cut from a cardboard tube.) Use the paint pen to draw the panda's eyes, nose, and mouth. 


Cut a pair of ears from black felt and set them aside. Cut 12 skinny leaves from green felt. 

When the paint is dry, glue the ears to the egg and the leaves to the toothpicks. Then glue the toothpicks to the clay pot. Rest the panda inside the pot. 

5/12/23

Cat Painted Rock

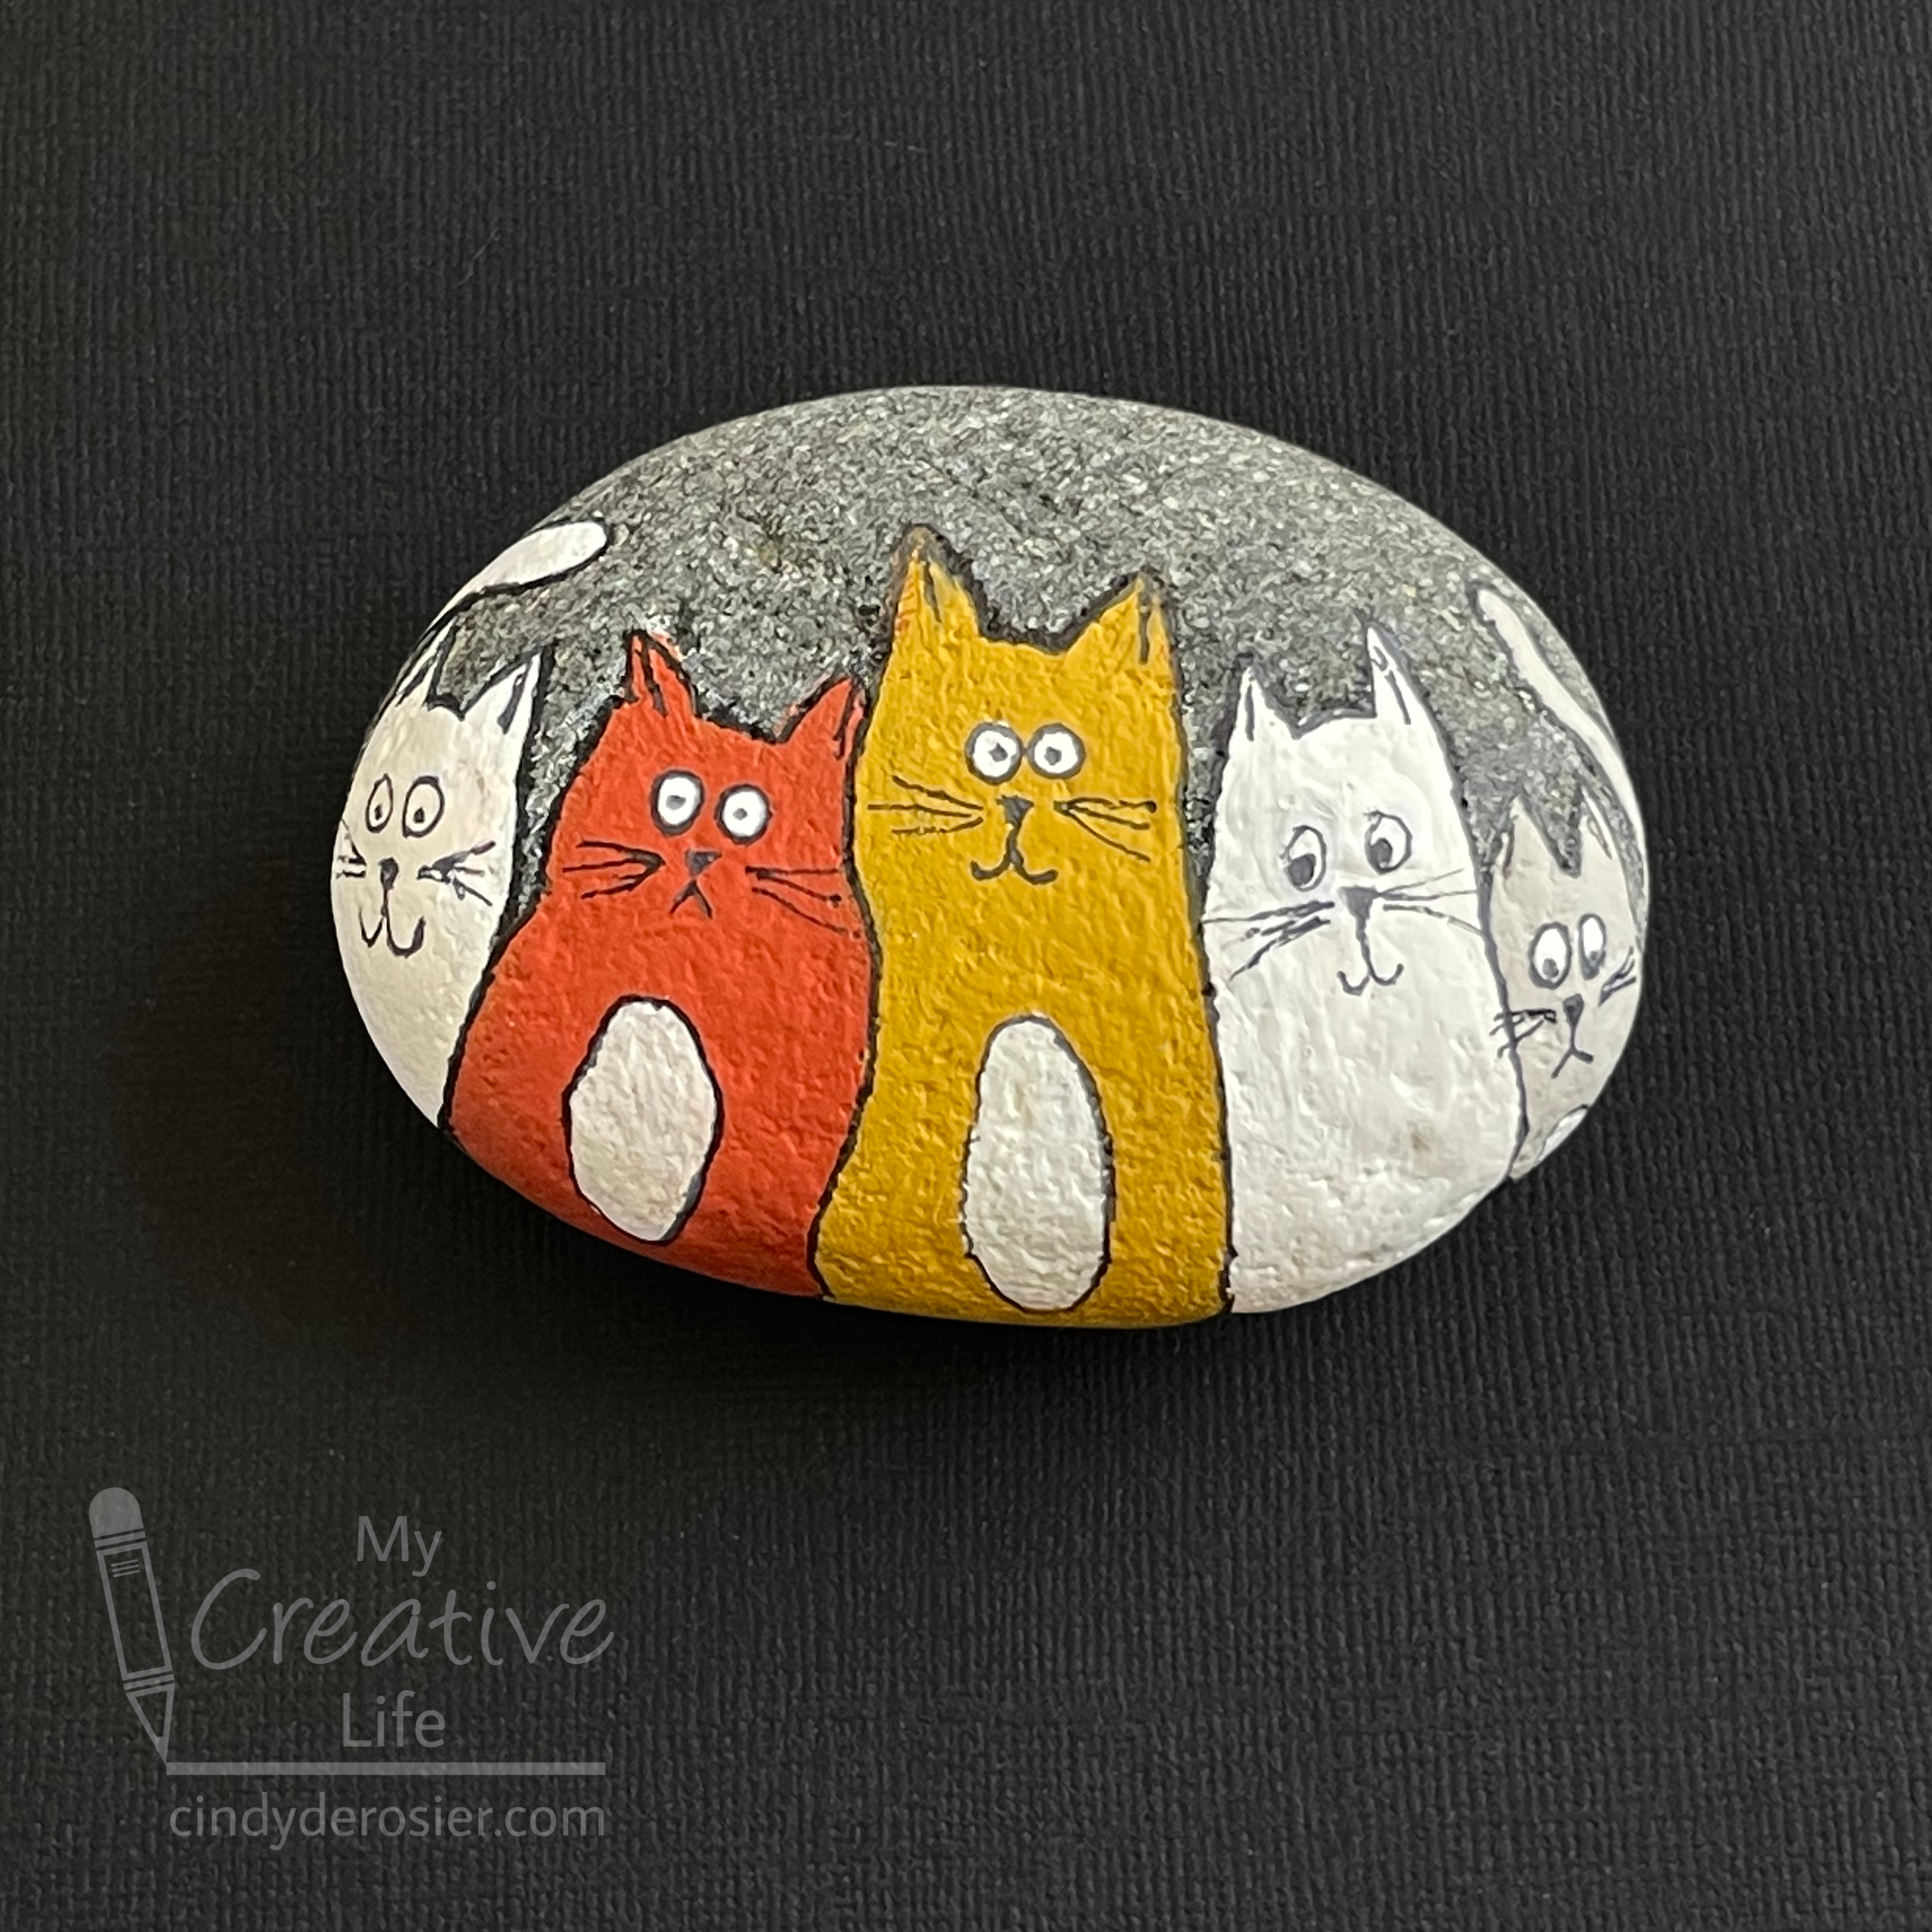
In over 12 years as a craft blogger, I've only shared a painted rock craft once. Time for another! Here is a cat painted rock. To clarify, it's not a cat-painted rock. I painted it. I don't even have a cat, let alone one who paints. Affiliate links below. 


Cat Painted Rock


Materials:


Steps:


Use the white colored pencil to lightly sketch the shape of your cats. I started with what would become the gold cat and worked my way outward. No details - just the oval shape of the cat with ears on top. 

Paint the cats whatever color you want. When the paint is dry, add white bellies (if desired) and white eyes (kinda necessary). When that paint is dry, use the Sharpie to outline the cats and add their facial features, including pupils. 

Spray the rock with Mod Podge Ultra to seal it.

4/10/23

Bat Flyout Scene in Ink

One of the coolest things I've ever done was witnessing a bat flyout. We live about 30 minutes from the Yolo Causeway, one of the top ten places in the world to see a bat flyout. We recently drove home from Sacramento at just the right time to be driving over the Causeway when hundreds of thousands of bats came pouring out from beneath us. Well, not pouring. They were flying. Hence "flyout" and not "pourout." It was spectacular and incredibly awesome because we totally weren't expecting it. 

I'm always happy to see bats, wherever I am. Every bat I see feasting means fewer mosquitos biting. Bats live all over the world, in a wide variety of habitats. You can find different bat species in forests, deserts, and everything in between. Today's project honors these nocturnal helpers. As a bonus, it gave me the chance to test out my new blending brushes. Affiliate links below. 


Bat Flyout Scene In Ink


Materials:


Steps: 


Apply black ink to a blending brush, then add the ink to the cardstock. Use a light hand. You want some small areas of black, but mostly gray with white peeking through. You can see my example in the upper left. Ignore the other backgrounds; I was testing out different ink pads to see how they worked with the brushes. By the way, I LOVE my new blending brushes. They're super comfortable, have great control, and hold just the right amount of ink. 


Punch a circle from some scrap cardstock to make a template for the moon. Blend yellow and orange ink into the open space. 


Use a straight edge to draw tree trunks. To keep them looking natural, keep the spacing irregular and don't have all of them be perfectly vertical. 


Use quick, upward swoops to draw branches and twigs on the trees. As you go, thicken the trunks of a few trees to add variety. 


Now add bats! Start with a central blob and add short wings to each side. You can add as many or as few bats as you want. Finish by adding the ground to anchor your project. 


It's a shame that bats are typically only associated with Halloween. These wonderful creatures deserve to be celebrated year-round.
 

12/8/22

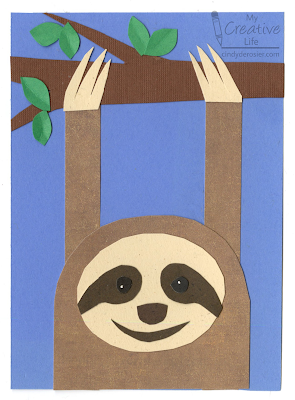
Paper-Pieced Sloth Card

I love sloths. I've seen them at zoos, of course, but I've also seen them in the wild in Costa Rica. They're awesome and the subject of my sixth project in my series based on crowd-sourced responses to ten questions. 

Sloth tied with kangaroo and giraffe for "Name an interesting animal." Giraffe crafts are common; we have a bunch on Fun Family Crafts, four of which are mine. We don't have any sloth or kangaroo crafts, so I checked other places. I found that kangaroo crafts are easier to find than sloth crafts, so I went with the sloth. 


Paper-Pieced Sloth Card


Materials:

  • cardstock or construction paper (white, blue, green, black, tans and browns)
  • scissors
  • glue

Steps: 


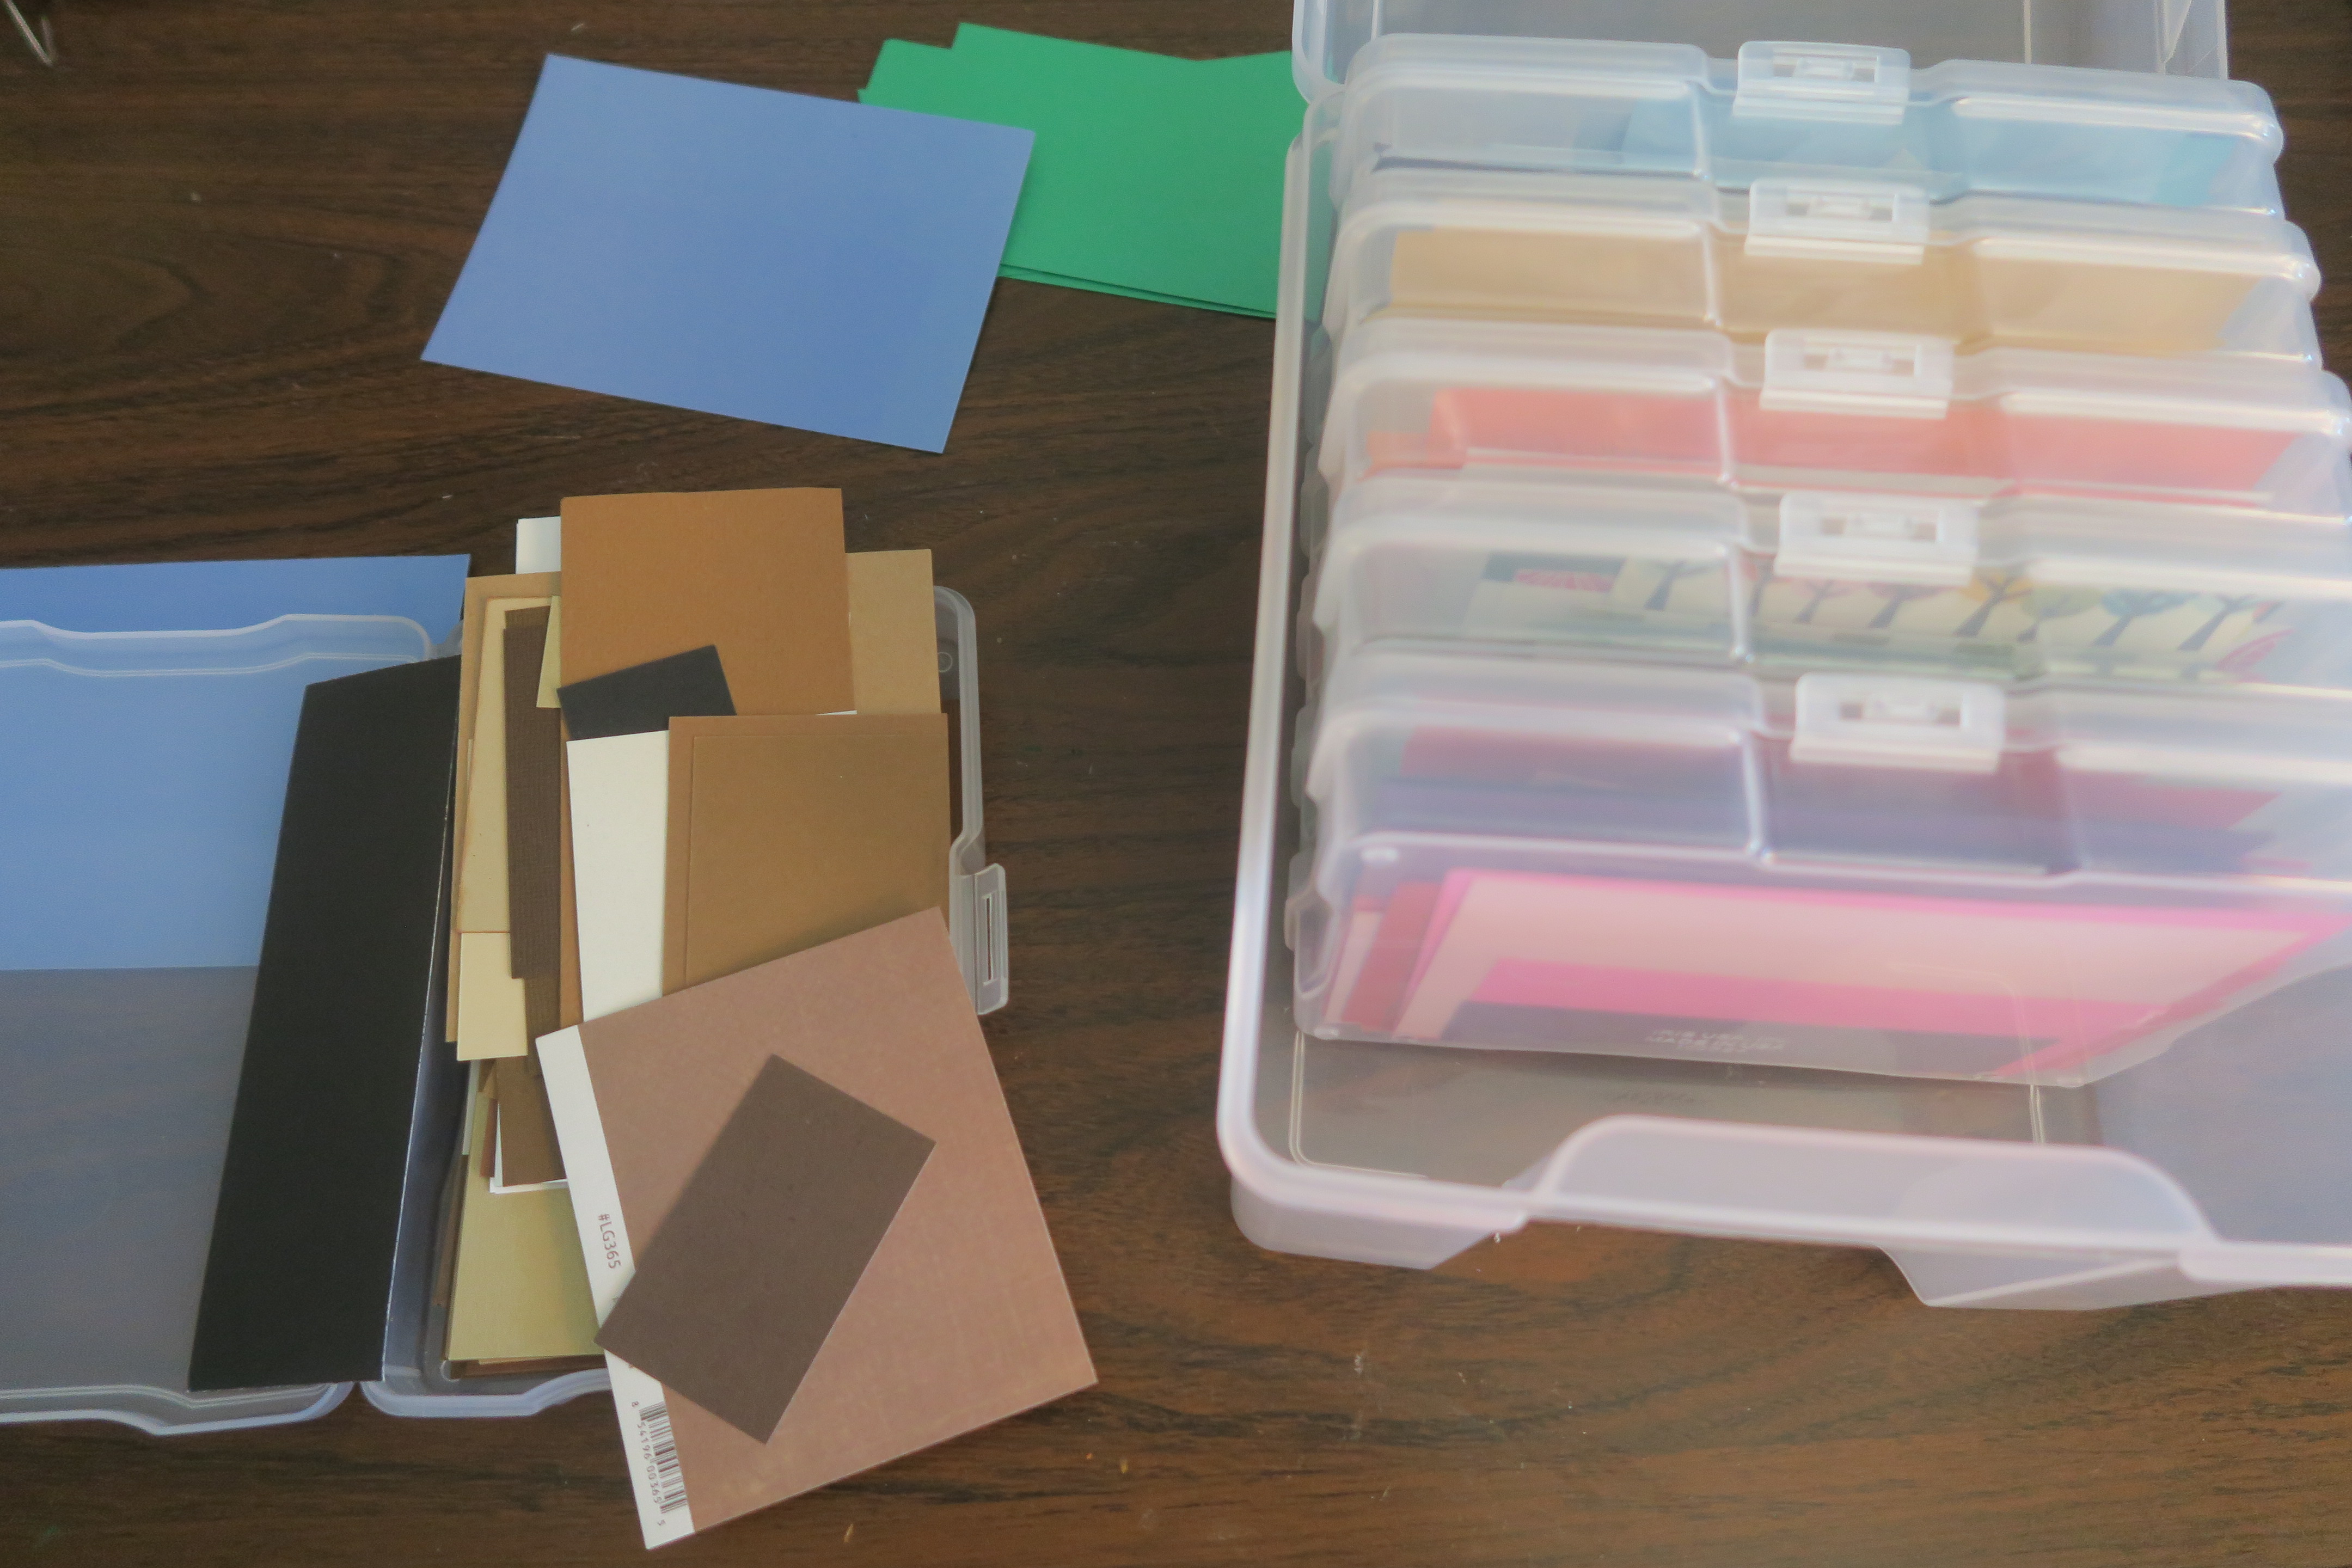
I started by making a white card base, then set it aside. I cut blue cardstock to make the card front, then went through my scraps to find green for the leaves and different browns and creams for the sloth and the branch. 


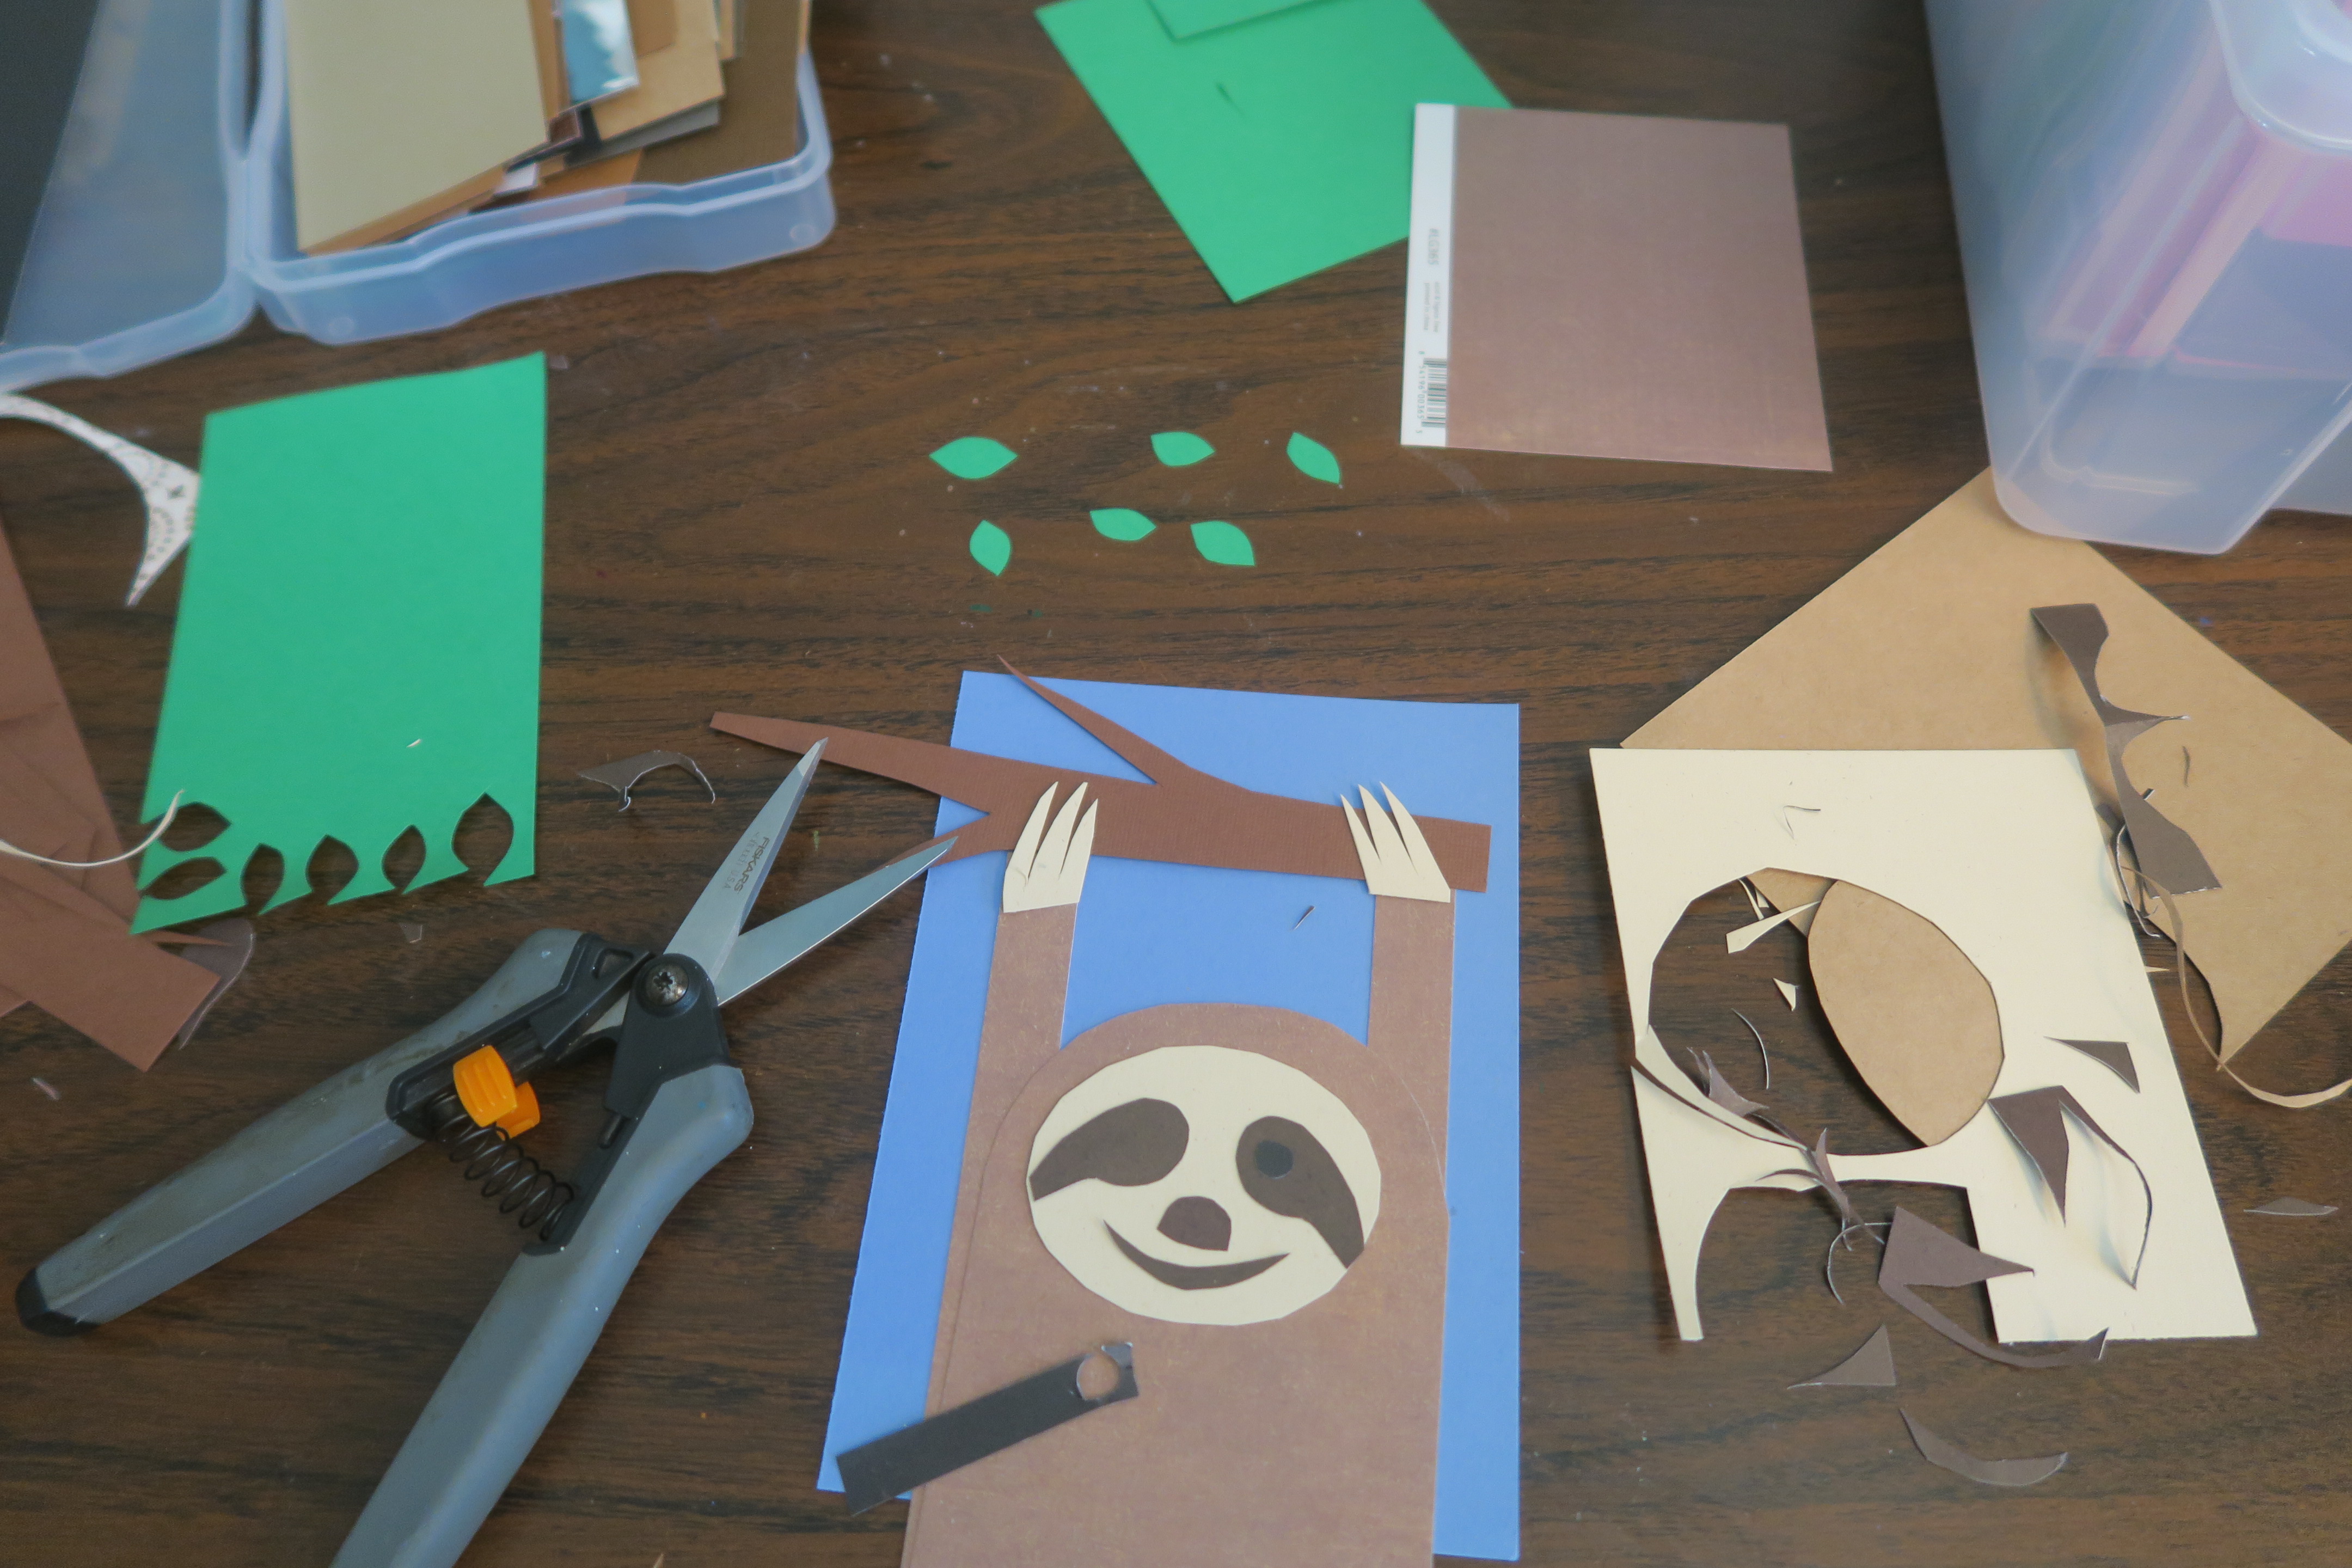
I picked a medium brown rectangle and cut two thin rectangles off the long side for the arms. I rounded off one end of the remaining piece to make the sloth's head. Then I chose a darker brown and cut a branch. I cut out some green leaves, then tackled the sloth's claws (3 on each arm).


I used these National Geographic photos (specifically #4) for my reference. Following the photo, I cut a cream-colored face, then comma-shaped eye markings, a nose, and a mouth from dark brown. I added black eyes.


Once everything was cut, it was time to assemble. I glued all the face pieces in place, then used a white gel pen to add tiny catchlights to the eyes. I glued the face to the body, then moved the body out of the way so that I could glue the tree, arms, and claws. Then I added the body. I trimmed off the excess that hung off the edges, then folded the leaves in half to give them dimension and glued them to the branch. Finally, I glued the card front to the base. 


I haven't added a sentiment to my card yet, but there are lots of possibilities. Send a "Hang in there" card to someone who is struggling, or a "Sorry I was so slow..." card for a belated birthday. Anyone would appreciate "Keep Smiling." For someone who is working toward a goal, remind them that "Great things take time."

8/31/22

California Sea Lion Watercolor, Adapted from "Draw, Paint, Sparkle"

I've been following Patty Palmer's blog, Deep Space Sparkle, for years. Her kid-friendly art tutorials are wonderful. I finally got a chance to check out her book, Draw, Paint, Sparkle (affiliate link here and below) and it is just as fabulous as I expected. 

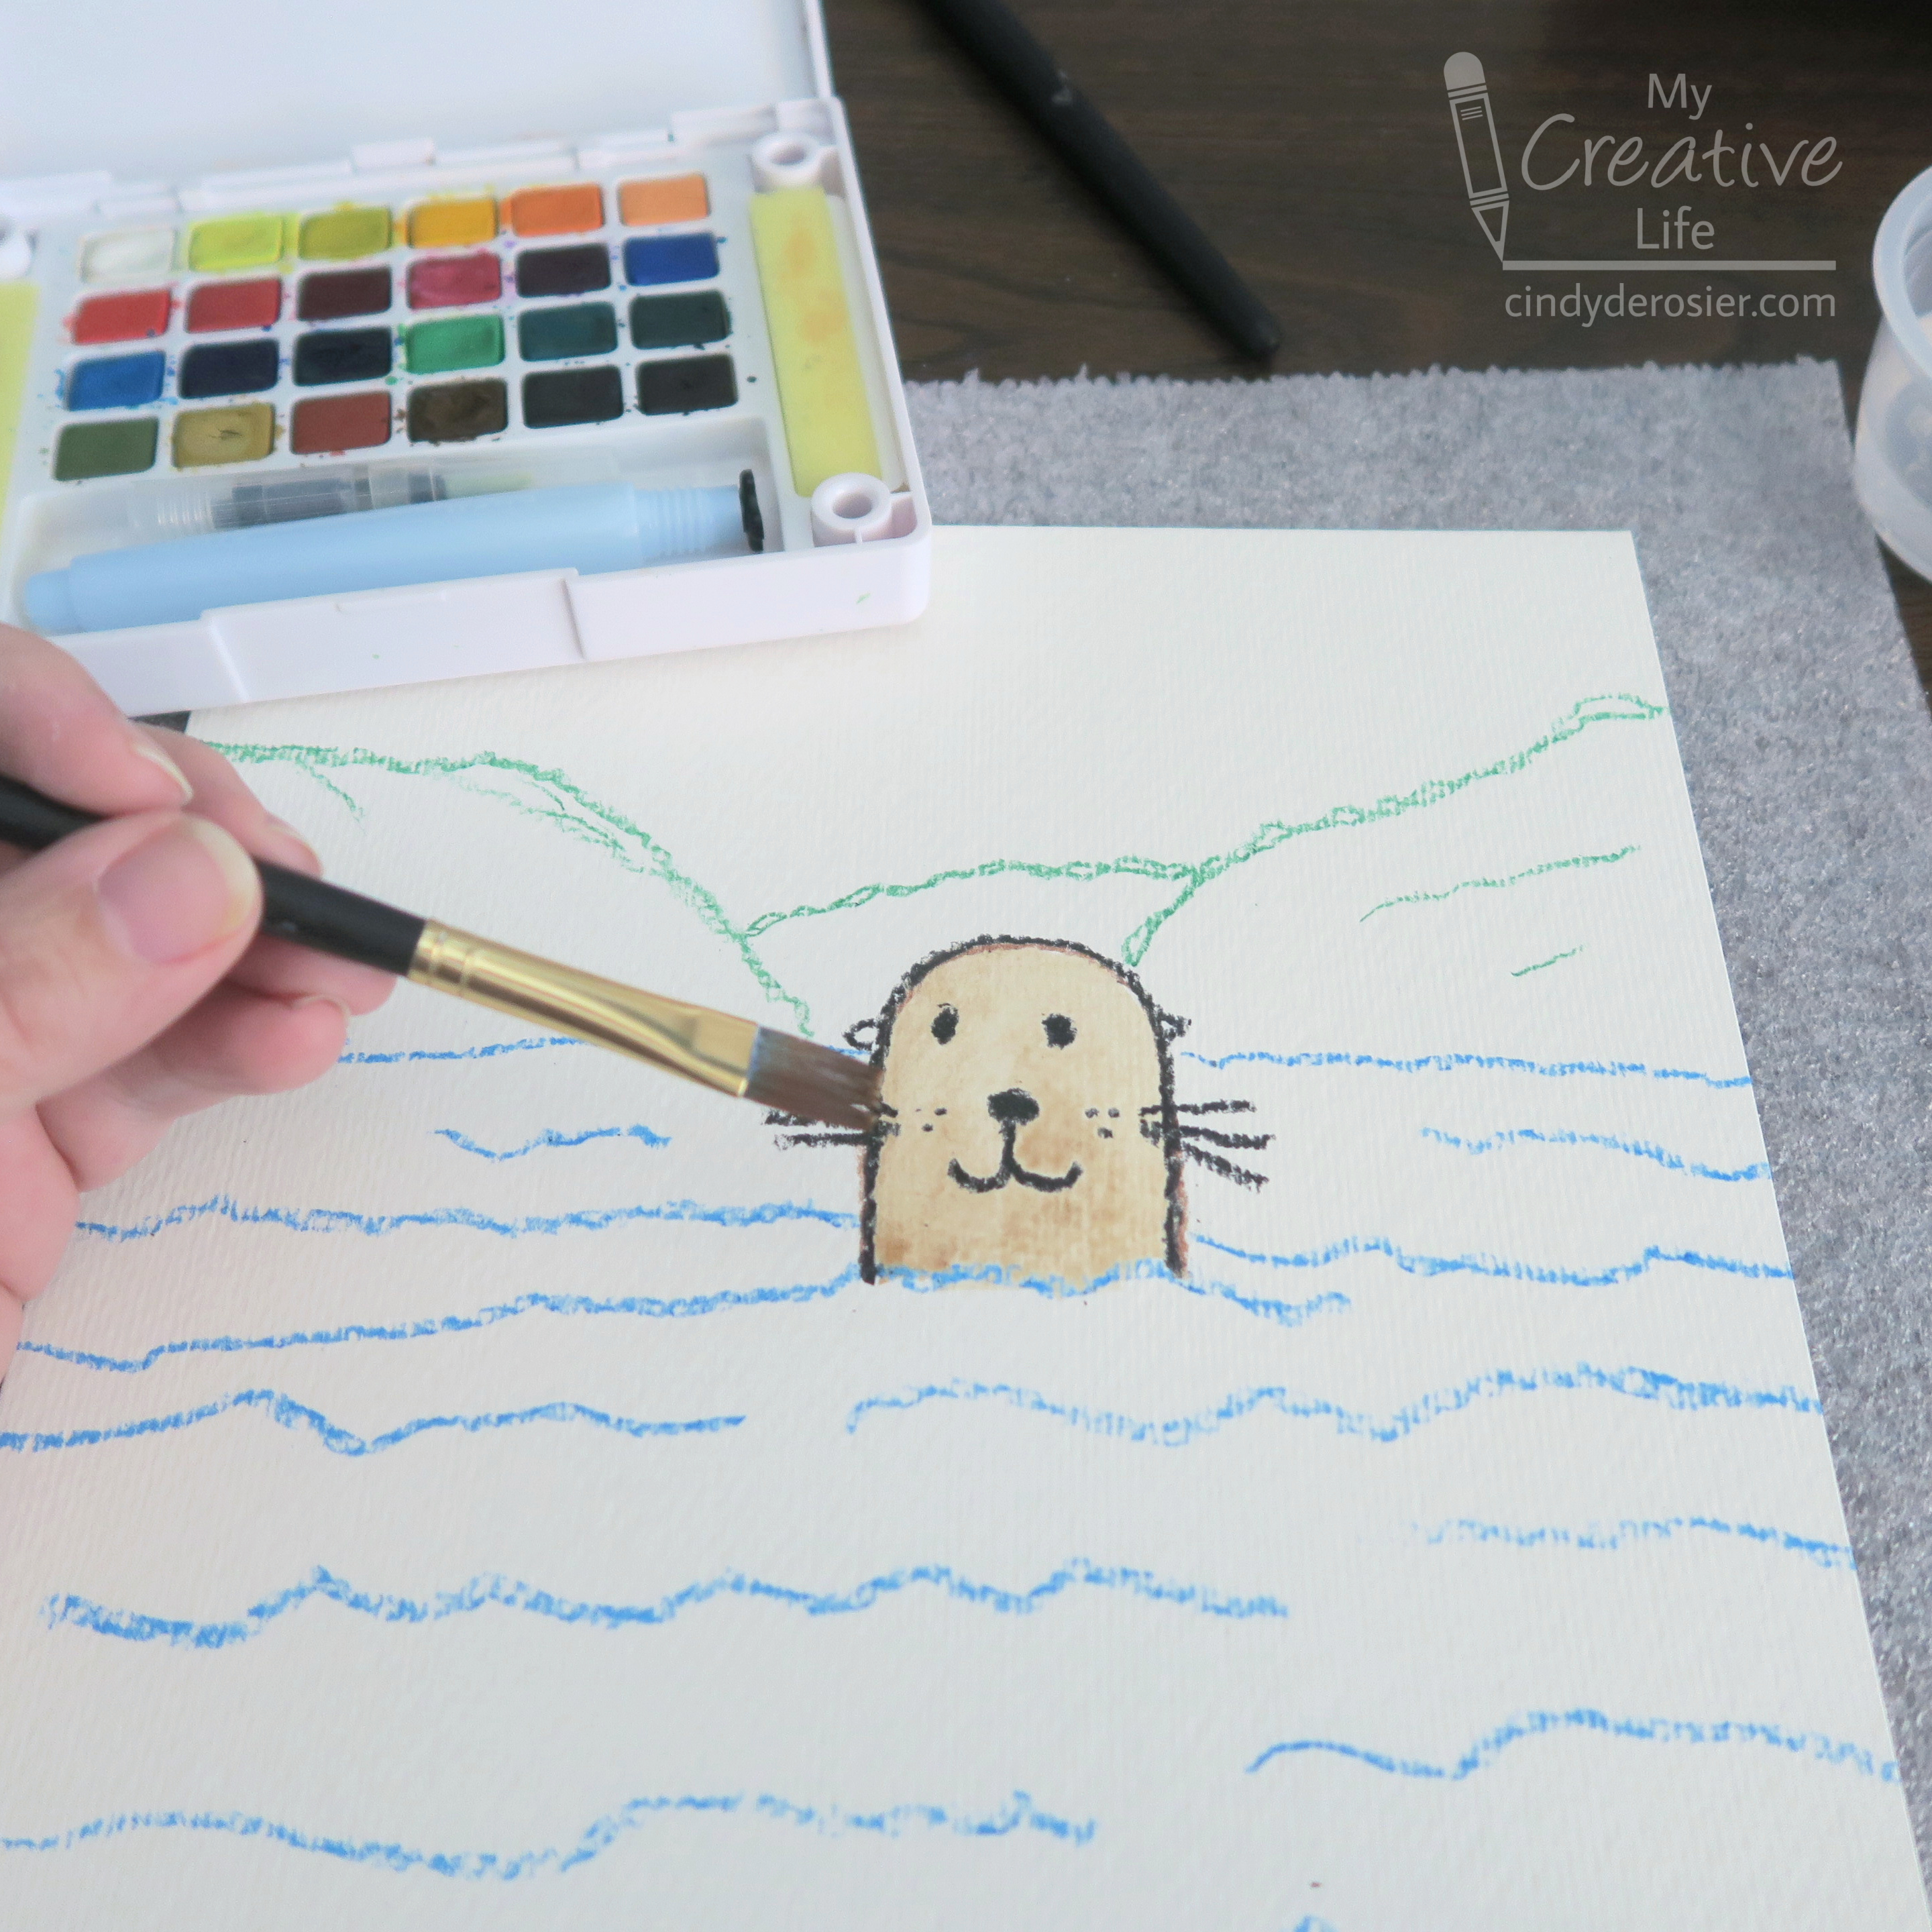
The first part of the book talks about Patty's approach to art, the materials she recommends for use with children, and the value of holding art shows that feature children's work. The second part of the book has instructions to make 25 inspiring projects. They are divided into three categories: Beginnings, Inspired by the Masters, and Inspired by Nature. I chose her Watercolor Seal project to make, but gave it my own twist. While her project uses pastels and liquid watercolor to paint a seal, I used crayons and pan watercolors to make a California sea lion.  


I'm a big fan of sea lions. We see them almost every time we go to San Francisco. They're playful, intelligent... and noisy! You can tell that I've painted a sea lion (rather than a seal) because of the visible ear flaps. You can also tell that I've painted either an adult female or a juvenile, as they are slim and tan in color. Adult males are larger and darker in color.  


California Sea Lion Watercolor


Materials: 


Steps: 


Use a black crayon to draw two eyes near the middle of the page. Add a nose and a mouth, then draw an upside down U to make the head. Add freckles, whiskers, and ear flaps (just noticed I took the photo below before drawing the ear flaps). 

With the blue crayon, draw a horizon line. Stop when you get to the seal lion, lift the crayon, and resume on the other side of the head. Draw lines for waves beneath the horizon line. 

Use the green (or golden) crayon to draw gentle hills in the background. 


Paint the sea lion brown. The crayon lines should help keep the paint from spreading into the other sections.  


Paint the sky next; this will give the sea lion a few moments to dry. Paint the ocean, then the hills. California's hills are a sage green during the winter and golden during the summer. My hills are green, so this is a wintertime painting. 


Like I said, this is just one of 25 fabulous projects in the book Draw, Paint, Sparkle. I definitely recommend it for kids or for the parents/teachers who do art with kids!

5/24/22

Kitten Tooth Fairy Pillow

When Trevor was a baby, a friend introduced me to the concept of a Tooth Fairy Pillow. Instead of putting a lost tooth under your sleeping pillow, you put your tooth into the little pocket of a stuffed animal, which you set beside your bed. This makes it much easier for the Tooth Fairy to get the tooth without waking the sleeping child. Genius! Affiliate links below. 


Kitten Tooth Fairy Pillow


Materials:


Steps:


Use a piece of scratch paper to make a pattern the size and shape you want your kitten to be. Fold a piece of grey felt in half and place the pattern onto the felt so that the bottom of the pattern is along the fold. Cut out the felt. Then cut a semi-circle of white felt for the cat's tummy. 


Thread your needle with two strands of white embroidery floss. Place the white felt directly onto the fold line, then open up the grey felt. Pin the white in place if necessary. Use a backstitch to sew the white felt to the grey, leaving the top open so there's space to put a tooth or money. 


Sew the googly eyes in place. Thread four strands of pink floss onto your needle. Use a single stitch to tack the pom pom nose into place, then continue with a backstitch to make the cat's mouth. Add a dot of Fabric Fuse behind each eye and the nose to secure them. 


Thread the needle with a single strand of white floss. Tie a knot in the end, then poke the needle from the back to the front to make a whisker. Snip the floss at the desired length, then repeat. I like three whiskers on each side. 


Flip the cat upside down and put a drop of Fabric Fuse on the knot of each whisker to prevent them from pulling through. Let the glue dry completely before continuing. 

Thread the needle with all six strands of grey embroidery floss. (This is where the embroidery needle makes things easier.) Refold the kitten, then whipstitch around the outside, leaving a small opening for stuffing. Add the fiber fill, pushing it into the ears and distributing it evenly. Sew the opening closed. 


You can use this same idea to create a pillow to hold a gift of jewelry, or as a place to put little notes for someone special. It can also hold a good luck charm. Lots of possibilities!

3/22/22

Torn Newspaper Giraffe

The fourth animal in my series made with painted and torn newspaper is a giraffe. Click to see the tiger, monkey, and lion


Painted Newspaper Giraffe


Materials: 

  • newspaper
  • acrylic paint (yellow, brown, black)
  • glue

Steps: 


Find three newspaper pages that have small text, like sports scores, stock information, or classifieds. Use a single coat of paint to color one sheet of newspaper yellow. Do not rinse your brush. Color a second sheet with brown. The yellow left on your brush will make a light brown. As the yellow runs out, you'll get a true brown. Paint half of a sheet black and leave the other half unpainted. 

When the paint is dry, tear out the giraffe's face from yellow. The basic shape is like a footprint. Tear slowly and carefully because newspaper tends to want to rip in just one direction. 

Tear the giraffe's muzzle from light brown, then glue it to the face. Tear two nostrils and a smile from black and glue them in place. 

Tear two outer ears, two ossicones, and some spots from the light brown. Then tear two inner ears and a mane from dark brown. To make the mane, I tore a rectangle, then carefully tore one short end into strips, leaving the other end intact to make it easier to glue.  

Finally, tear two eyes from the unpainted newspaper and two black pupils. Glue everything together. 


2/1/22

Painted Newspaper Tiger

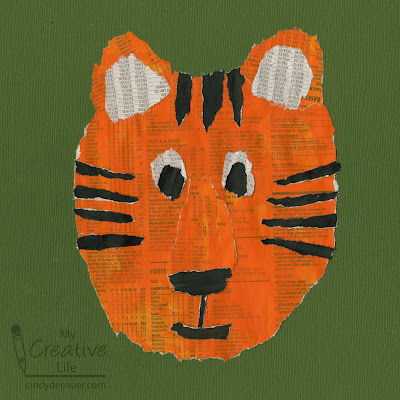
2022 is the Year of the Tiger! Here's a craft I think you'll enjoy, whether you need a project for Chinese New Year, as an activity for your 1st grade Cub Scouts, as decorations for a zoo-themed party, or to accompany a study of tigers. It starts with a pile of newspaper and is a great way to develop fine motor skills.     


Painted Newspaper Tiger


Materials: 

  • newspaper
  • acrylic paint (orange, black)
  • glue

Steps: 

For each tiger, paint one sheet of newspaper orange and one sheet black.  Leave one sheet white. You won't need that much, but it's better to prepare extra. Try to pick a page with just text, like the sports scores, stock information, or classifieds. Just add one coat of paint - part of the charm of the project is seeing the text showing through. 

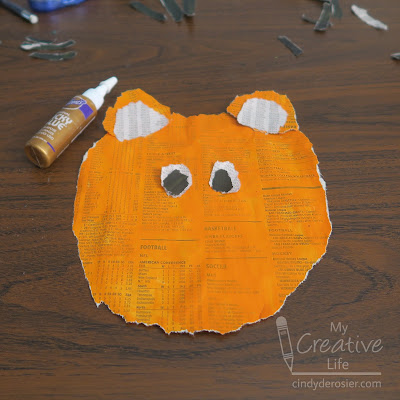
When the paint is dry, tear out a large circle for the tiger's face and two small circles for the tiger's ears. Tear slowly and carefully; newspaper tends to want to rip in just one direction, so you'll have to direct it the way you want it to go. If you mess up, no problem. That's why you painted extra. 

Tear two inner ears and two eyes from white, then two small pupils from black. 


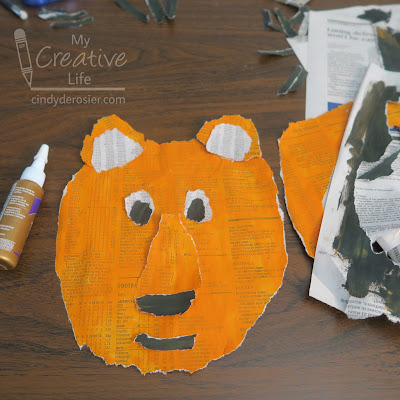
Add a triangular orange muzzle, and a black nose and smile. Glue all the facial features into place. 


Tear strips of black to make the tiger's stripes. I used three thicker stripes along the top of his heat and four thinner stripes on each side of his face. Glue them in place. Add one very thin stripe to connect the nose to the mouth.  You can hang your tiger as is, or mount it onto contrasting paper like I did. 


Obviously, you can use this technique to make all sorts of animals. I may just do exactly that!


11/22/21

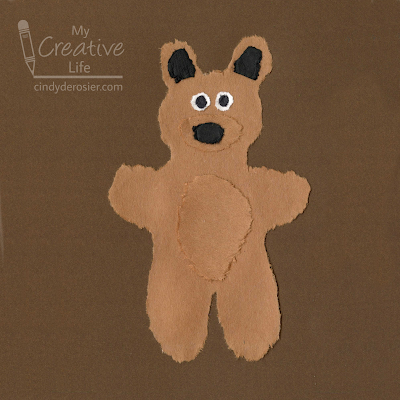
Torn Paper Bear

One of my most popular crafts of all time is this torn paper panda. I don't know if it's popular because it's a panda or because of the unusual technique used to make it, but either way, it generates a lot of traffic to my blog. Part of what makes this project unique is that the cheaper the paper you use, the better it turns out.  

I found some scraps of very inexpensive brown construction paper and thought they'd be perfect for turning into a fuzzy bear. I love how my bear turned out!


Torn Paper Bear


Materials:

  • construction paper (brown, black, white)
  • q-tips
  • a bowl of water 
  • glue

Steps: 

Dip a q-tip in water and "draw" the outline of the bear onto the construction paper. You can draw freehand, or you can create a template first. 


Trace the outline at least twice (more times if you're using higher quality paper). You should be able to see the outline on the back of the paper. If you can't, wet the q-tip again and retrace.   

While the paper is still wet, gently tear out the shape. The paper falls apart easily along the wet line and leaves a fuzzy texture.  

Continue using for the rest of the body parts: brown ovals for the snout and the belly, white circles for the eyes, black circles for the pupils, a black oval for the nose, and black gumdrop shapes for the inner ears.  

Let the paper dry completely, then glue everything together. 


9/7/21

Paper Bag Bison

As promised, here is the bison project I made. The entire thing is made with a single paper bag. Affiliate links below. 


Paper Bag Bison


Materials:


Steps:


Carefully open a paper lunch bag. You should be able to peel it open without cutting it. I'm reusing one I got from the store when I bought bagels. It's wrinkled, but that totally doesn't matter because you'll be adding even more wrinkles!


Use scissors to cut out the bison's body from an edge of the paper bag. Then remove the head from the template and use it to cut an extra head. Cut the remaining portion of the paper bag into two long rectangles. 


Trim the horns and beard off the full-body bison. Crumple and then flatten each piece, as shown below. 


Paint one large rectangle with light blue, then add streaks of white to make the sky. Paint the other rectangle golden. Paint the back half of the bison's body light brown and the front half (including the head) dark brown. Paint the horns white. 


When all the paint is dry, glue the pieces together. 


I'm really happy with my bison project! 


8/27/21

Koala Pancakes

I am in awe of the amazingly talented people who create works of art in pancake form. I'm not sure who was first to popularize the technique of using pancake batter on a hot griddle to draw portraits and other intricate designs, but the first I came across was Nathan Shields. His designs are absolutely amazing. I'm blown away by how he achieves such detailed designs by carefully adding lines of batter at just the right time for them to create the dark and light parts of the portrait.   

My brain does not work like that. This koala is my ability level when it comes to creativity with pancakes.
 

To make your own, make a large round pancake for the face, two smaller round pancakes for the ears, and an oval pancake for the nose. Spread Nutella on the nose, the use dots of Nutella to attach candy eyeballs in place. Add a dollop of whipped cream to the inside of each ear right before serving. 

I wanted to give my koala a mouth, but the only food I had on hand that was shaped like a small smile was a black olive. I don't particularly like olives in places where they belong, so I'm certainly not adding them to pancakes with Nutella and whipped cream. I tried using a toothpick to draw a Nutella mouth, but it needed to be darker to stand out against the pancake. I suppose I could have cut a mouth from an extra pancake, or made a tiny mouth-shaped pancake from the beginning. I'm open to other suggestions!


6/21/21

Hedgehog Truffles

I had leftover ganache from the donut cake, so I put it in a silicone ice cube mold and stuck it in the freezer, with hopes of popping out some adorable hedgehog truffles. Success!


I bought the silicone mold I used at Michaels a couple of years ago. Unfortunately, it doesn't seem to be for sale anymore, although Michaels does have a good selection of other silicone molds (affiliate link here and below). 


---------


Hedgehog Truffles


Materials:


Steps:


Prepare the ganache, then put it into your silicone mold. I did one sample bunny to see if it would come out without breaking (no). Avoid shapes that have very small areas barely connected to the main portion - it's pretty much a guarantee that the bunny ears (and possibly the tail) are going to break off, as will the squirrel ears, hands, and tail. 

Put the mold into the freezer until the ganache is completely solid. 


Open a packet of hot cocoa mix and spread it onto a sheet of parchment. Unmold the truffles directly onto the cocoa, then turn the truffles until they are coated on all sides. 


Arrange the truffles on a plate, then give them black sugar pearl eyeballs and use quins (round flat sprinkles) for noses. 


Rich and chocolately, these hedgehog truffles are as tasty as they are adorable!


5/10/21

Nut Butter Bear Edible Craft

These edible bears are fun and easy to do. And they are adorable, if I do say so myself. Which I do. Affiliate links below. 


Nut Butter Bear


Materials:


Steps:


Spread peanut butter onto one rice cake and three popcorn mini cakes. 


Put a dollop of Nutella off center on two popcorn mini cakes to make the ears. Stick them in place (the peanut butter will hold them nicely). 

Put a smaller dollop of Nutella directly in the center of the third popcorn mini cake. Position it on the face to make the bear's snout.


Drag a toothpick through the Nutella on the snout to make the bear's smile. Add two candy eyeballs. 


Since I suspect someone will point this out, this project is not appropriate for people with nut allergies or for groups where you don't know for certain that no one has nut allergies. You can make an equally adorable bear using other types of spreads. For example, try Monkey Butter in place of the peanut butter and Apple Butter for the Nutella. There are lots of other possibilities. Don't be afraid to be creative!