Showing posts with label chenille stem. Show all posts

4/14/23

Felt American Goldfinch

My mom is very knowledgable about backyard birds. Despite years of her telling me the names of the various birds at the feeders (both at our home in California and when we visited relatives in Washington), one of the very few I was able to recognize as a kid was the American Goldfinch. Its distinctive yellow body with black forehead and wings stood out from the other various finches and whatnot that congregated at the feeders and birdbath. The goldfinch is the state bird of Iowa, New Jersey and Washington; I'd done my 5th grade State Report on Washington and had to draw a goldfinch for my report, so that helped cement it in my mind. All these years later and I'm still not much better at identifying backyard birds, but I can always spot a goldfinch. 

This felt version stands on its own and is fun project for kids to try. Obviously, you can adapt it for practically any similarly-shaped bird. Affiliate links below. 
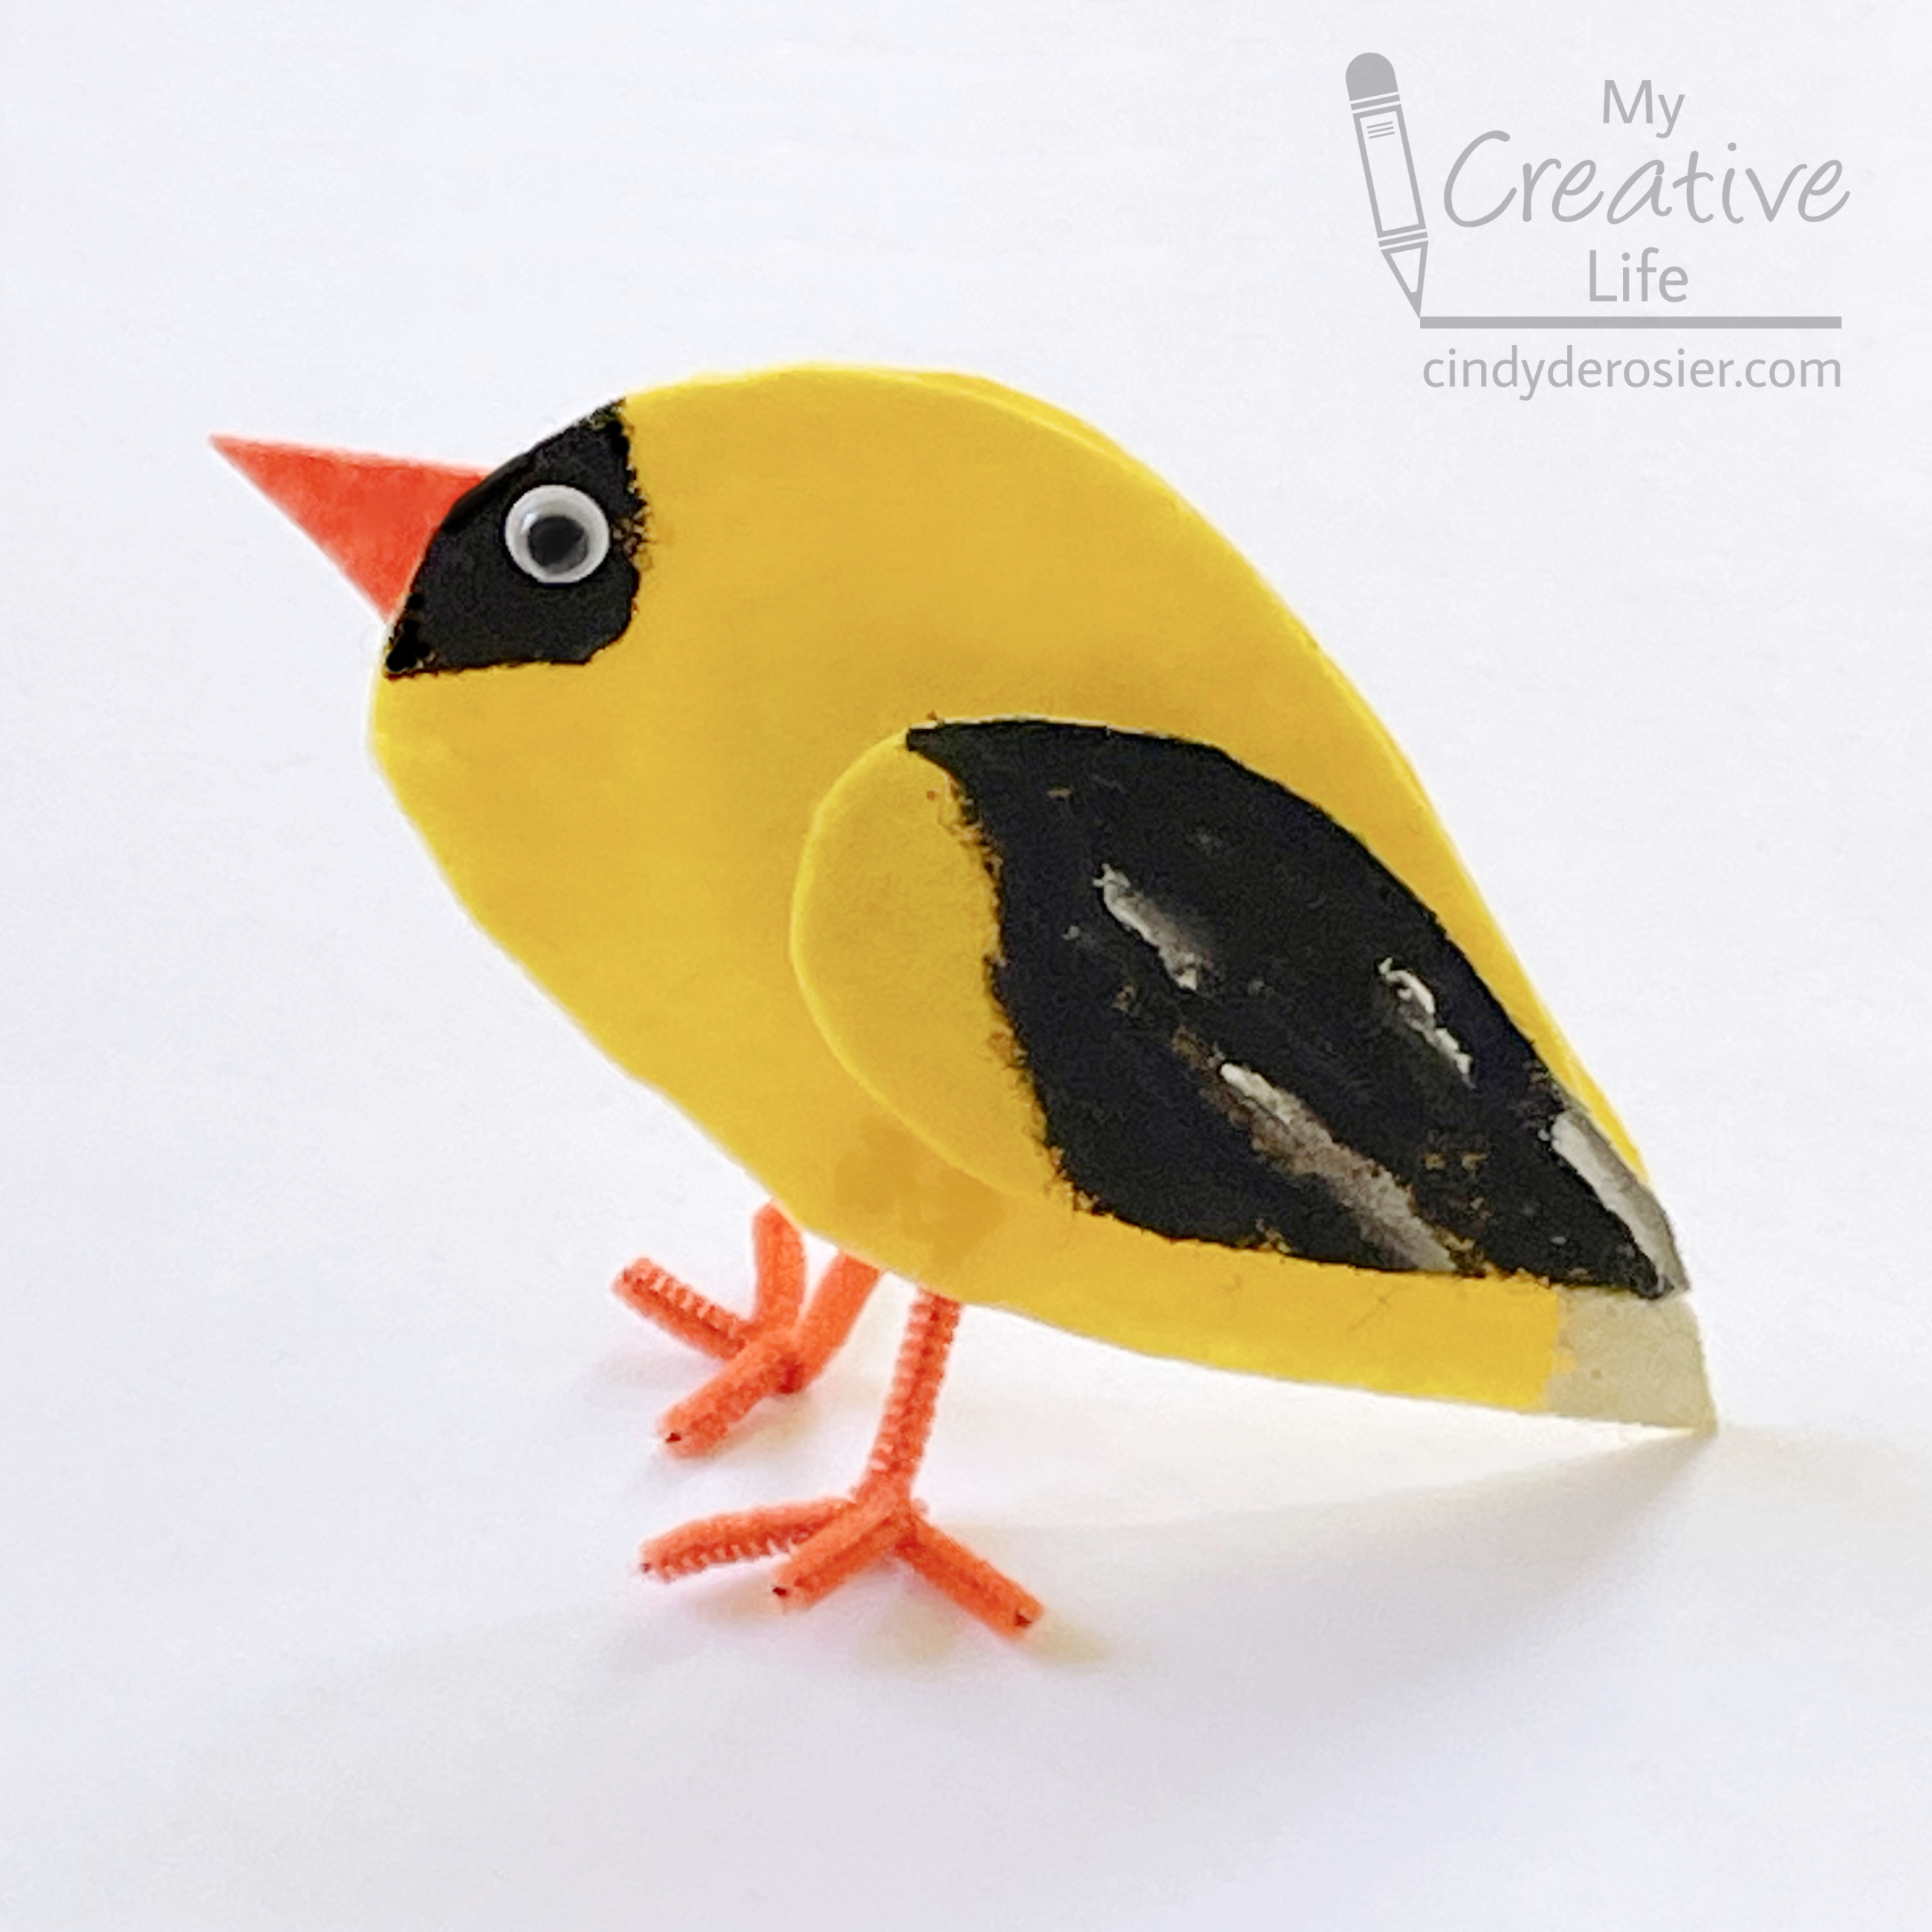


Felt American Goldfinch 


Materials: 


Steps: 


Cut out two large teardrop-shaped body pieces from yellow felt. Cut two smaller teardrop-shaped wing pieces from yellow felt. Cut a triangular beak from orange felt. 

Using a photo of a goldfinch as a reference, paint the forehead and part of the wing black on each of the two body pieces. Paint the tail white on each side, then add streaks of white to the wings. 

Cut an orange pipe cleaner into four lengths. To make each foot (shown completed below on the left), you will need one piece bent like an L and a second straight piece (shown on the right). Twist the straight piece around the L, then adjust the toes so they're evenly spaced. Trim off any excess so that the toes are the same length. 
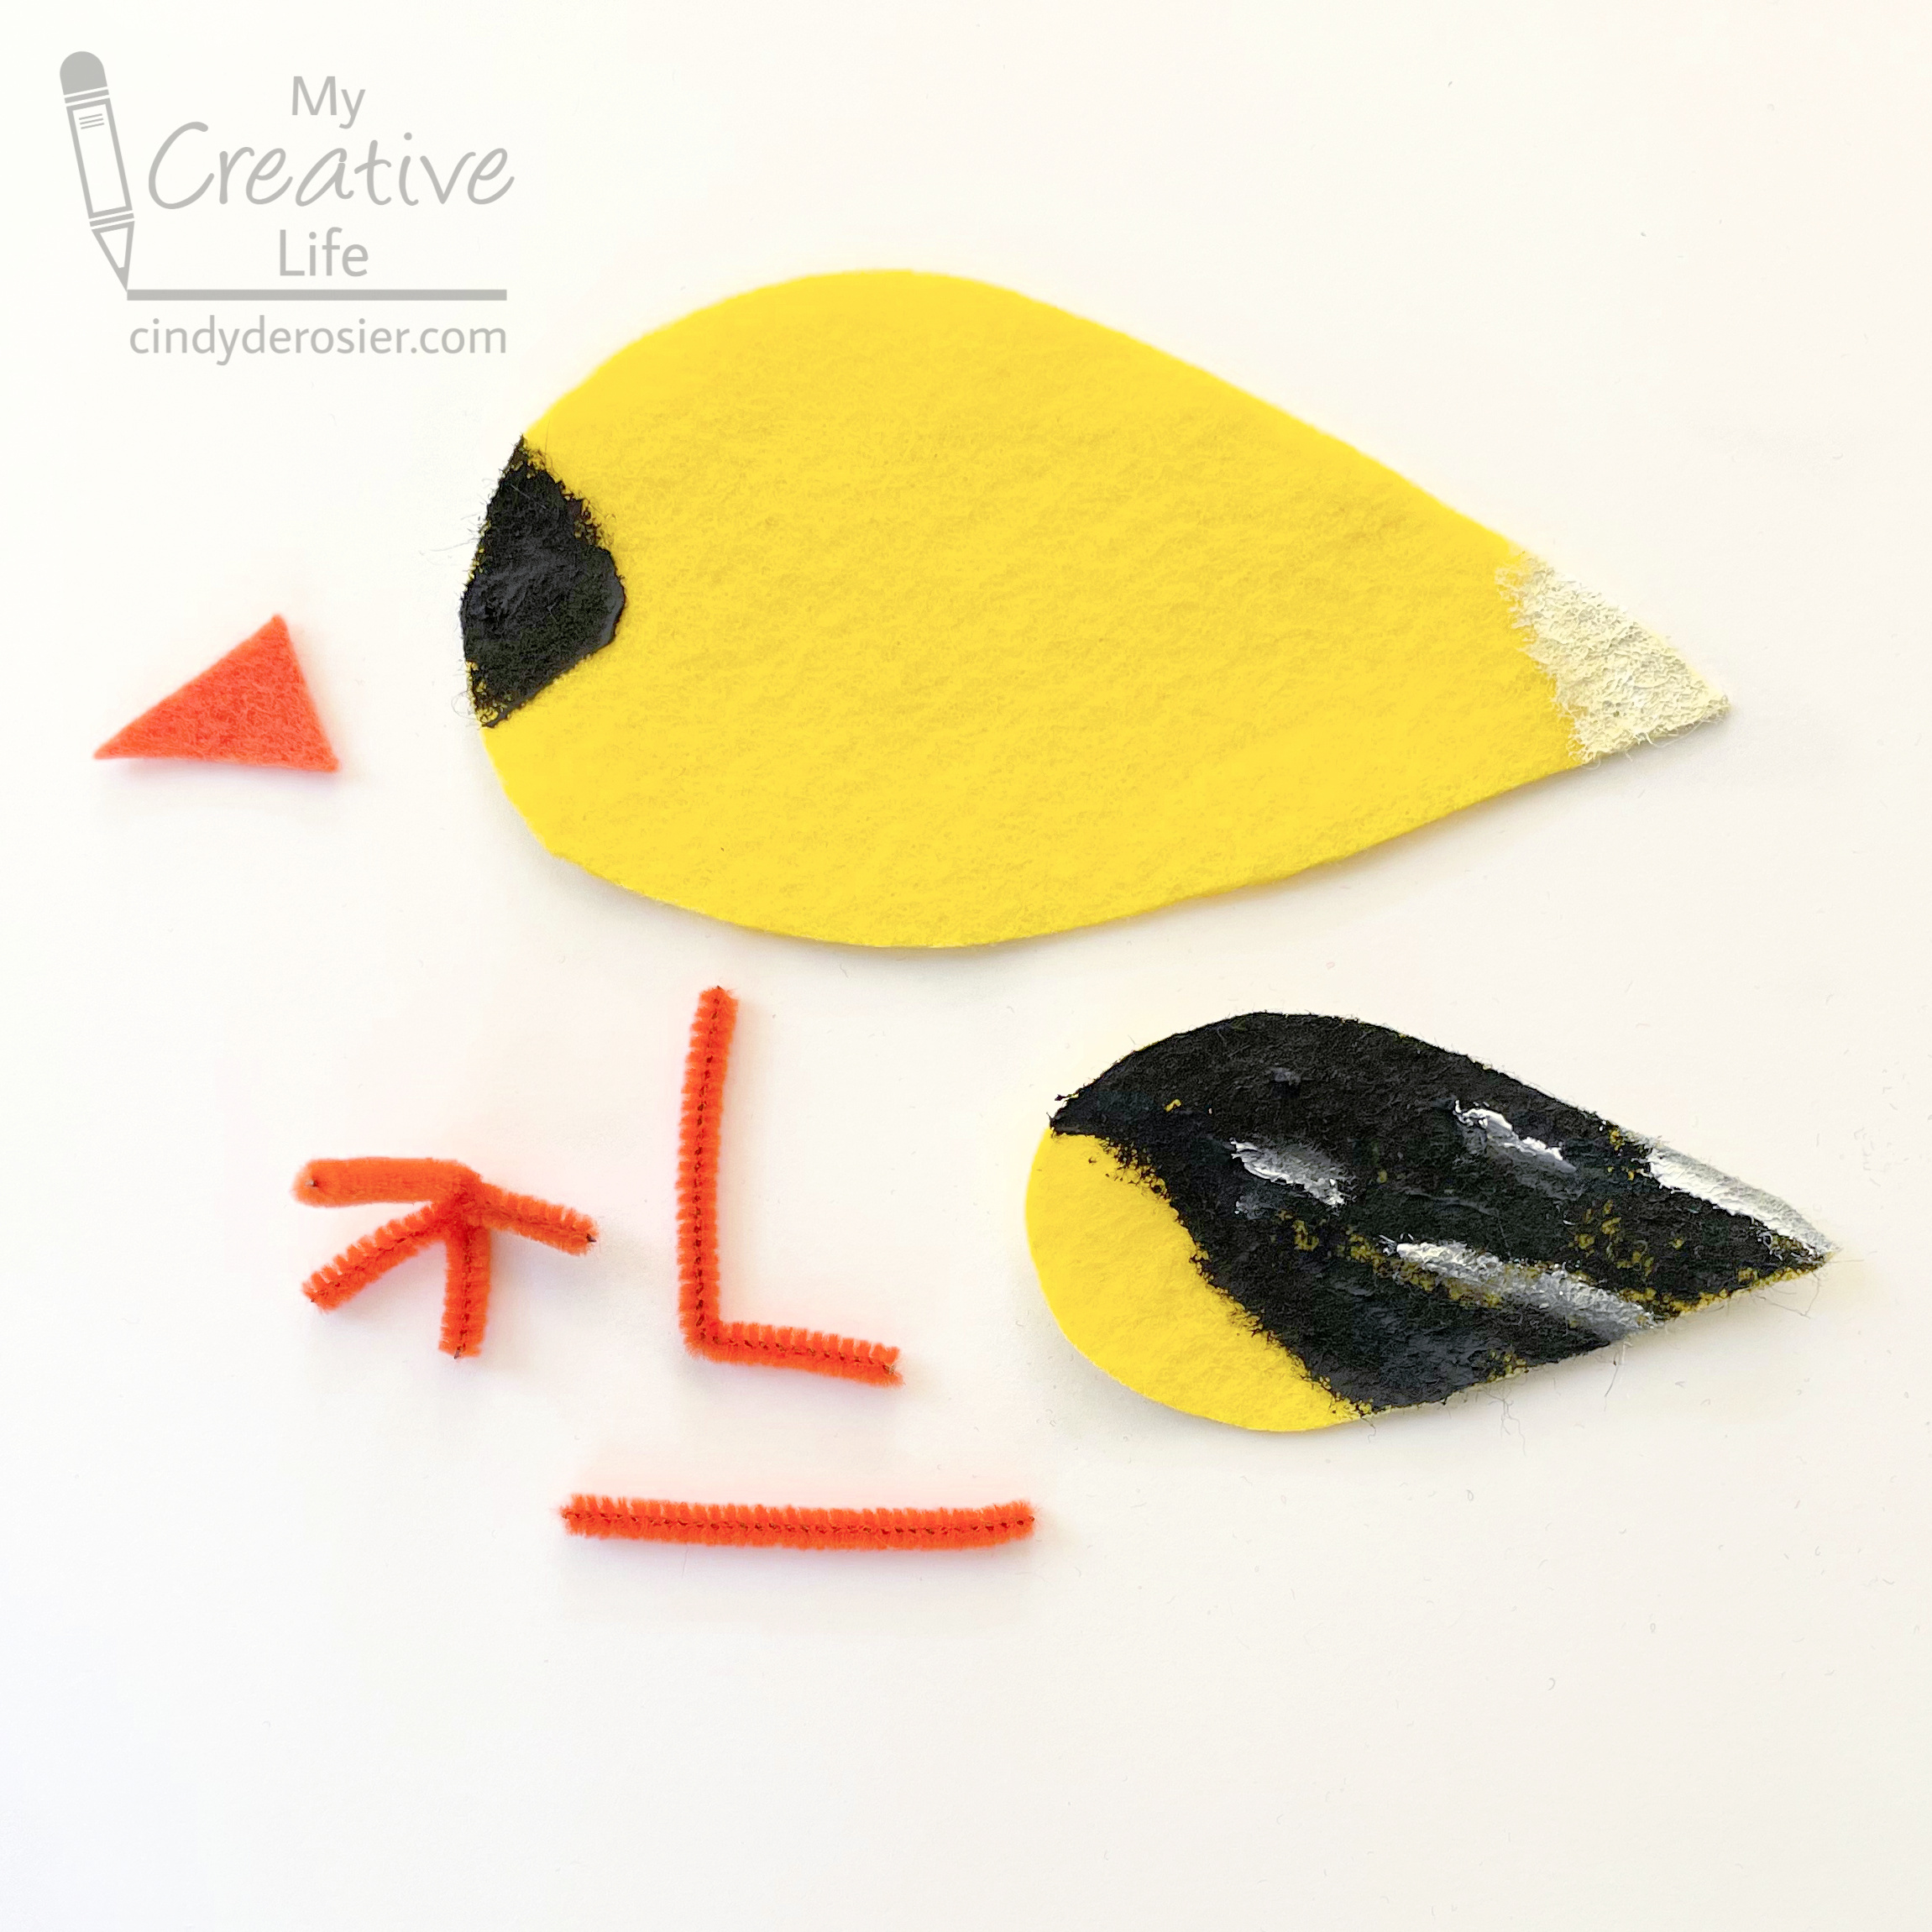

To assemble your goldfinch, glue the wings and eyes to each side of the body. Glue the legs to the INSIDE of one of the bodies, making sure the toes face forward. Glue the beak to the inside of this body part as well. 

Add glue around the edge of this piece, leaving a gap where the legs are for stuffing. Press the two body pieces together. Push Poly-fil inside the goldfinch, then glue the opening closed. 

You may have to adjust the feet a bit, but once you do, your goldfinch will stand on its own.

12/5/19

Pipe Cleaner Wreath Ornament

If you're not familiar with Red Ted Art, it's well-worth checking out. While I don't personally know Maggy, I've admired her kid-friendly crafts for years. Today's project is inspired by Maggy's Easy Yarn Wreath Ornament. I was curious to see what would happen if I switched out the yarn for pipe cleaners. I love the result! Affiliate links below.


Pipe Cleaner Wreath Ornament


Materials:


Steps:


Trace a 3" circle with a 2" inner circle on chipboard. Cut out the pieces to make the base of your wreath.

Snip a green pipe cleaner in half and set one piece aside. Fold the other piece in half, and hold it behind the base with the folded end pointing toward the outside of the wreath. Bend the two ends up and over the base, then thread them through the folded end. Pull tight. 


Continue adding pipe cleaner halves until the whole base is covered. 


Give the pipe cleaners a trim so that all the ends are even.


Bend the outer portions of the pipe cleaners to the left to mimic the way a real wreath is assembled. 


Cut a length of monofilament and tie it around the wreath to make a hanger. 

Take a red pipe cleaner (don't snip it in half like the green ones) and twist it to form a bow shape. Glue it to the wreath, covering the monofilament hanger. Add colorful pom poms to the wreath, including a red one in the center of the bow. 


Hang your finished wreath on the tree, use it as a gift topper, or slide it down the neck of a wine (or sparkling cider) bottle for a fabulous hostess gift!