Showing posts with label keychain. Show all posts

6/5/26

Pride Heart Keychain

Happy Pride Month to all of my LGBTQIA+ friends! 

I am proud to belong to a church that welcomes everyone. That includes people of all sexual orientations, gender identities, and gender expressions. Literally everyone is welcome. One of the ways in which our congregation is celebrating Pride is with a keychain craft. I'll be leading that after church on June 14. My sample is based on the rainbow flag, but attendees can switch out the colors to make a different flag if they wish. Affiliate links below. 


Pride Heart Keychain


Materials:


Steps: 


Place one purple bead in the center of the bottom row of the pegboard. Put three purple beads centered in the next row up, then five on the next row. Add a row of 7 blue beads and then 9 blue beads. The next row up has 11 green beads, then 13 green beads. 

Add two rows of 13 yellow beads immediately above the row of greens. Add two rows of 13 orange beads above the yellows. The next row up is red: skip a space, add 5 beads, skip a space, add 5 beads, skip a space. The top row has two sets of 3 red beads, centered on the previous row of red. 


Follow the directions that came with the pegboard to fuse the beads. I suggest fusing the beads more than you might ordinarily, since you want your keychain to be very sturdy. 

Use the paper piercer to enlarge the hole where the keychain will attach to the heart. Open a jump ring and thread it through the hole. Continue adding jump rings until it is the length you want it, then attach the key ring.


12/14/22

Shrinky Dinks Mouse Ears Keychain

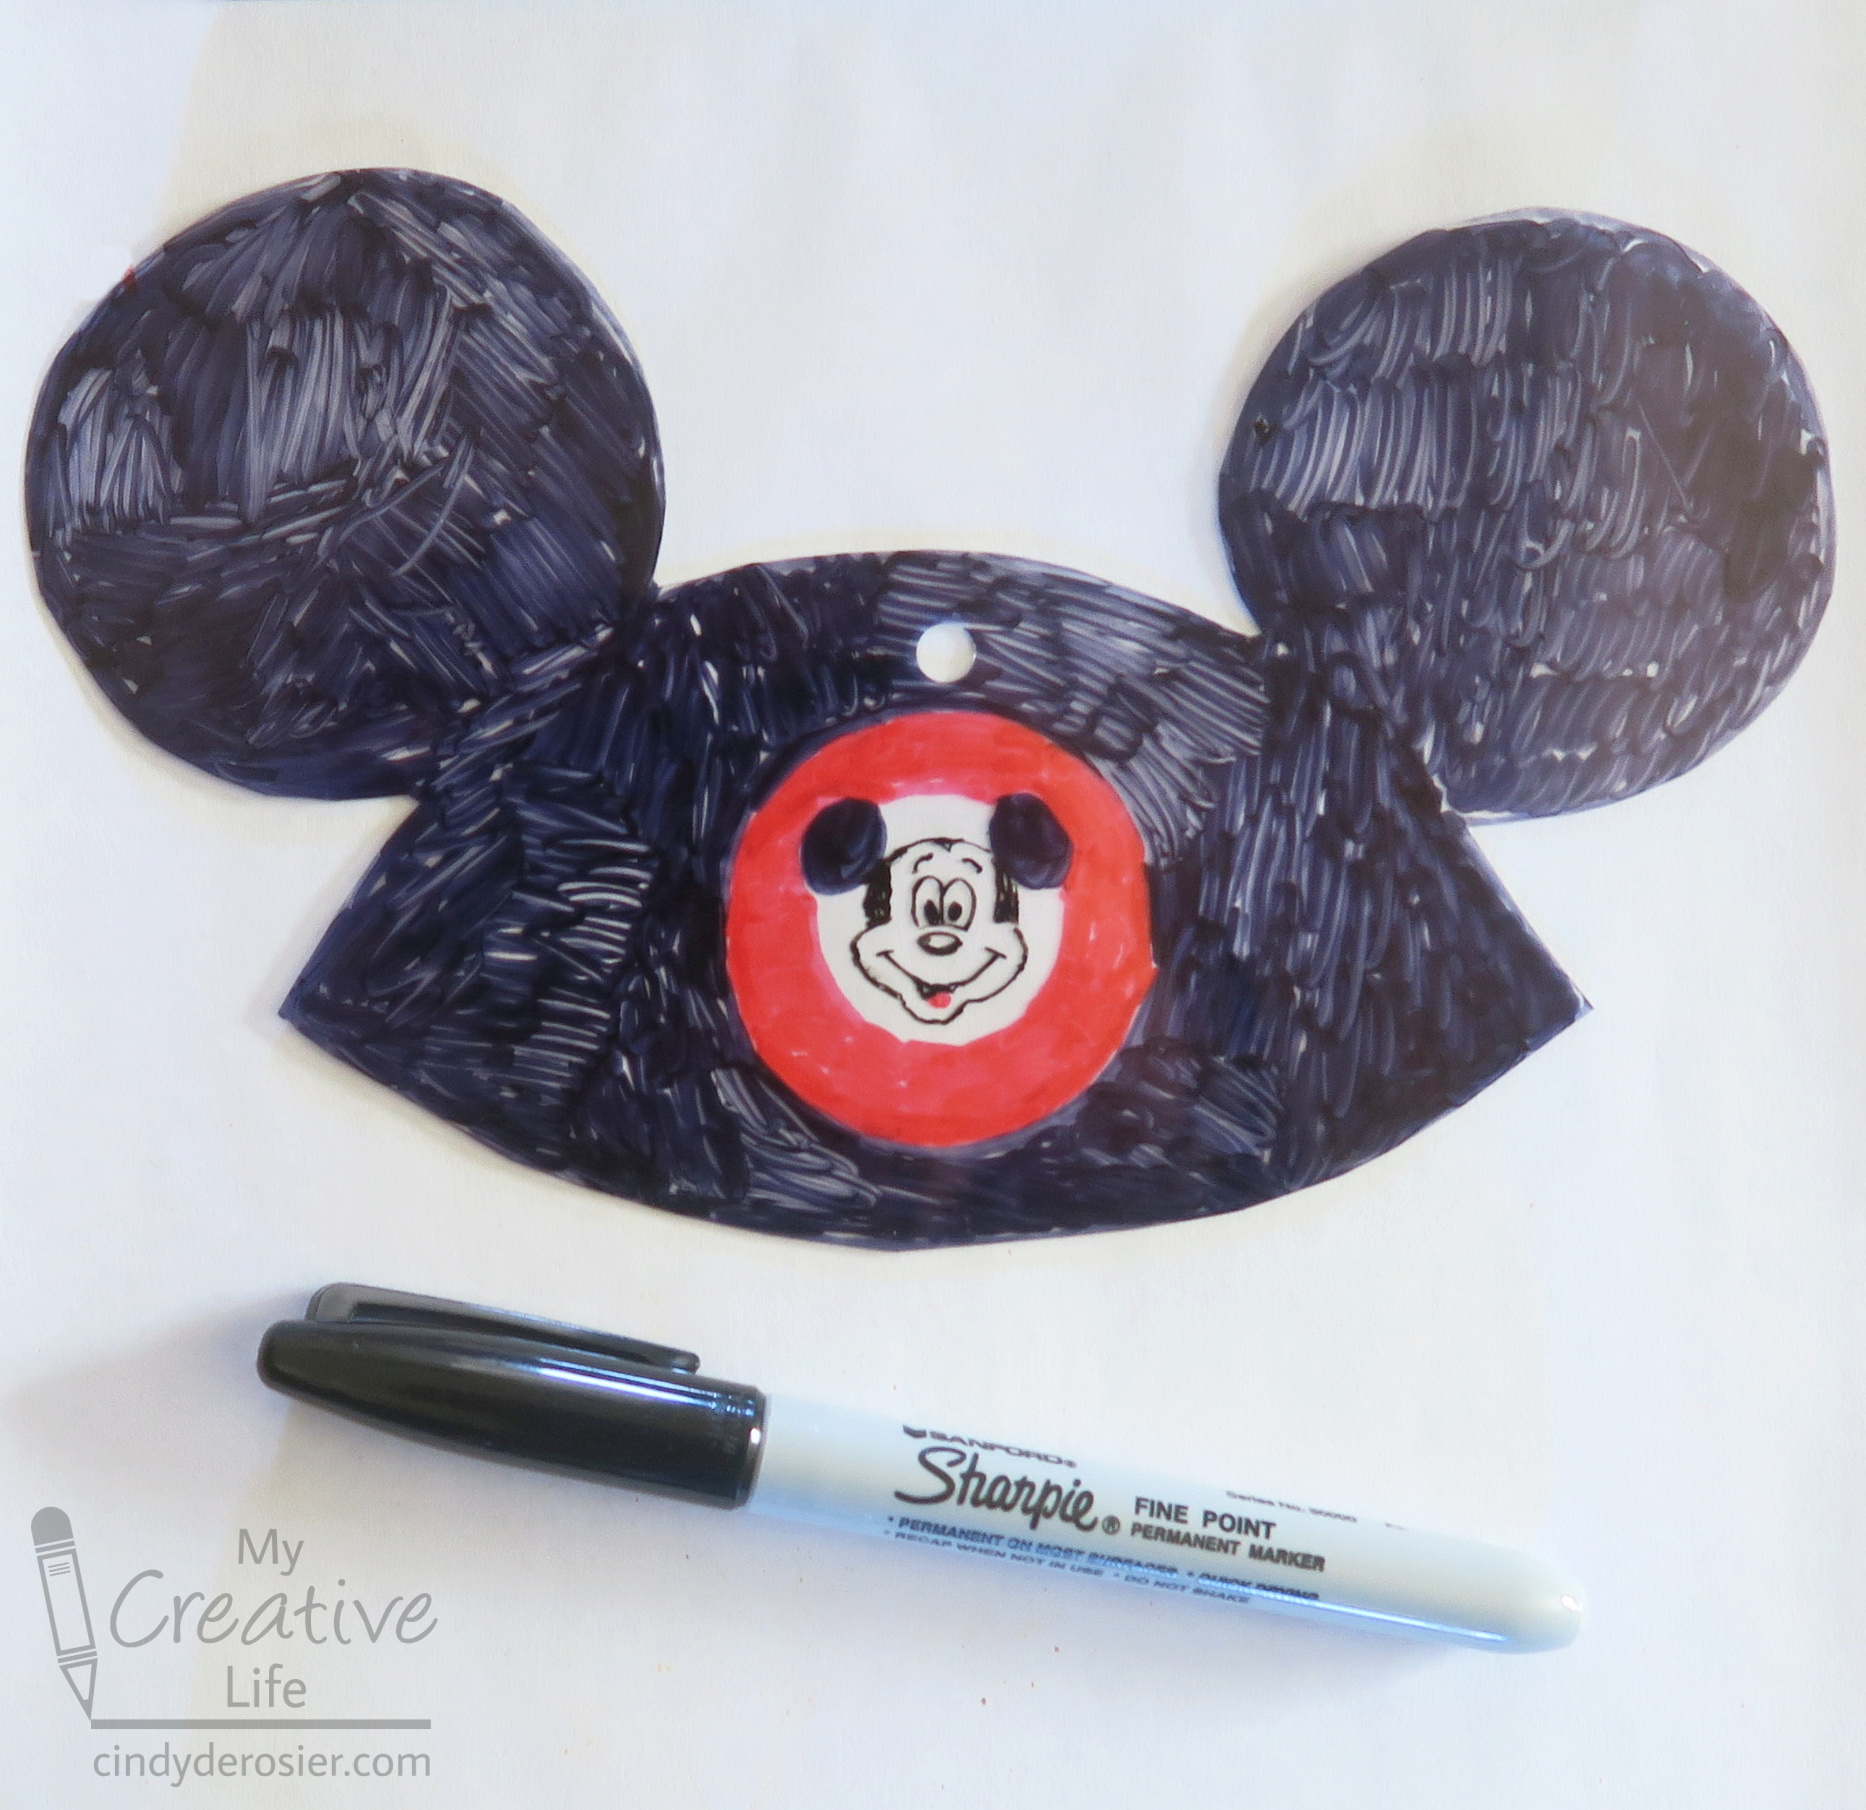
Today I'm sharing the ninth craft in my series based on crowd-sourced responses to ten questions. This time, I asked my friends to "Name something Disney." Mickey Mouse was the top voter getter by far, but one person said Mouse Ears. I used that to inspire a keychain made with Shrinky Dinks. It turns out that shrinking a large design like this leads to a lot more curling and distortion than a smaller piece. In retrospect, I would have made my keychain smaller, both to make it easier to shrink and less prone to distortion, and better for carrying around. Affiliate links below. 


Shrinky Dinks Mouse Ears Keychain


Materials:


Steps: 


Using the reference image as a guide, draw a pair of Mouseketeer ears on the shrink plastic. I recommend sketching it on a piece of plain paper first, then putting the plastic on top of that and tracing with the Sharpies. You do not need to color it perfectly; the colors will intensify and the pen marks will fill in when it shrinks. 

Cut out the ears using microtip scissors, then punch a hole at the top. 


Follow the instructions on the package to shrink the plastic. Let it cool completely. 


Put a jump ring through the hole you punched, then add more jump rings to make a chain. When you have enough, connect the last jump ring to the key ring. 


Obviously, you can use this technique to make anything into a keychain. I'm already thinking of all the other shapes I could make!

4/27/17

Scrabble Key Ring

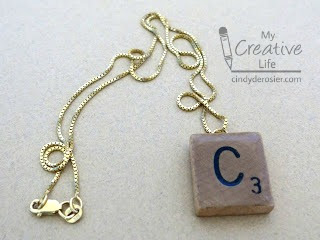
I am crazy about Scrabble and naturally assume everyone else is, too. But even those who don't love Scrabble would probably love this monogram key ring. Affiliate links below. 


Scrabble Key Ring


Materials:


Steps: 


Choose a Scrabble tile and lay it face up on a flat surface. Without shaking, carefully invert the Diamond Glaze and hold it upside down. Gently squeeze on scrap paper to make sure there are no bubbles. Squeeze the Diamond Glaze onto the Scrabble tile slowly but steadily, continuing until it reaches the edges of the tile (without going over the sides) and forms a dome. Leave the tile undisturbed for at least 24 hours. 

When the Diamond Glaze is completely dry, attach a gold bail to the back of the tile using E-6000. Allow that to dry.

Attach a lanyard clip to the bail and a split ring to the lanyard clip. 


---------


I made this trio of keychains for my Snap roommates and Secret Sister.


Here are some other Scrabble-themed tutorials you might enjoy: