Showing posts with label president. Show all posts

12/15/22

Presidents Day Craft: Presidential Seal and Oath of Office

For the tenth and final question in my craft series based on crowd-sourced responses, I asked my friends to name an under-rated holiday. To choose what to make, I looked at which of the holidays mentioned is most in need of a classroom craft and I decided on Presidents Day (no apostrophe). Yes, plenty of Presidents Day crafts exist already, but they are overwhelmingly about Washington and Lincoln and almost exclusively target early elementary age. I wanted something for upper elementary that focuses on all presidents, not just the two best-known. I decided to create a coloring page of the Presidential Seal, paired with information about the Seal and the Presidential Oath of Office on the reverse. 
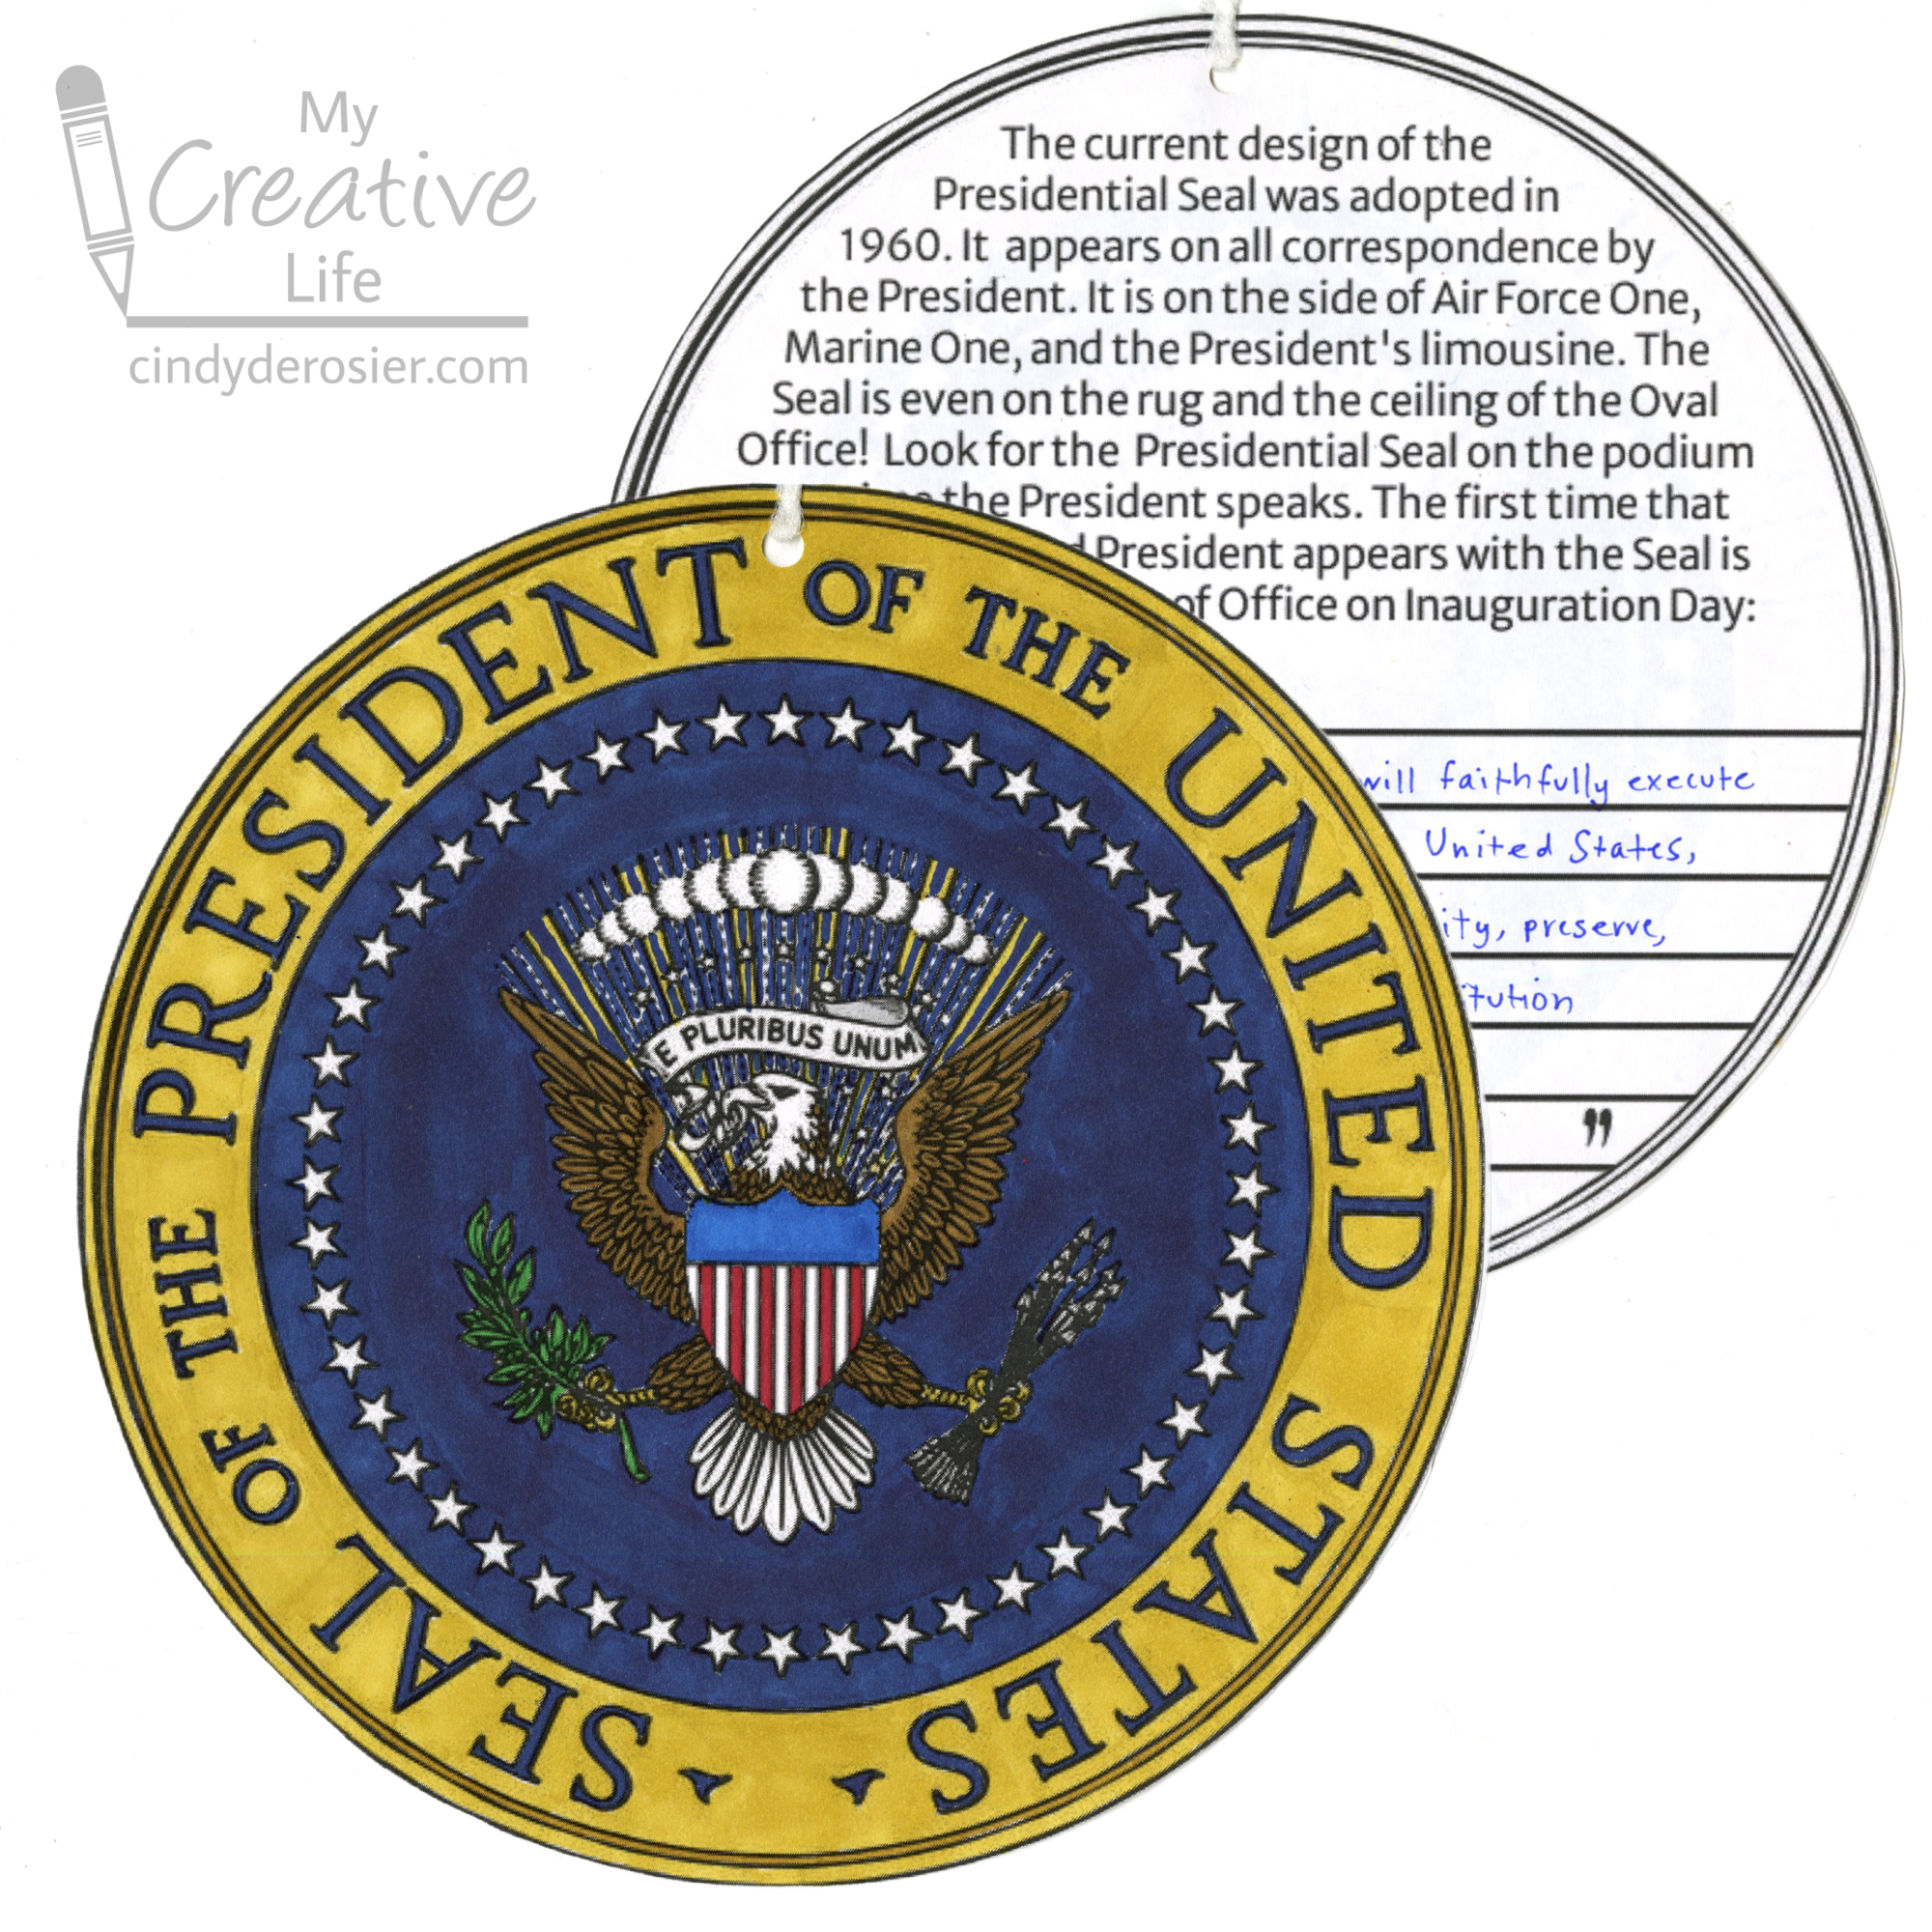

I started with this image from the State Department and made a few digital tweaks (specifically to the shield) to turn it into a coloring page. 


The folks from Ohuhu just sent me their new Kaala series dual-tip alcohol markers to try out, so that's what I used for coloring. I've been wanting to try Ohuhu for a long time because I've heard great things. And now I know that everything I've heard is true! I love these markers. The Kaala series has 150 colors (168 pens) in four different sets (Basic Tones, Illustration Tones, Skin Tones, and Landscape Tones). The color range is beautiful, although I only used 8 for this project. Seven are listed below, plus I used a cool grey to shade the E PLURIBUS UNUM banner. 


The Kaalas feature a fine tip for drawing (perfect for coloring in the letters in the seal and the tiny spaces between the stars) and a slim broad tip for coloring larger spaces and making angled lines. The markers are labeled on both the color-coded top and with a sticker along the side, which I loved. 

After coloring, I created a second printable for the reverse. I added some information about the Presidential Seal, then left space for students to write the Presidential Oath of Office


Here's how it looks filled in:


After students have colored the front and written on the back, they can turn them into a mobile. Cut out both parts and sandwich them together with a little bit of glue. Punch a hole and add a piece of yarn to hang the mobile. 

I loved trying out the Kaala markers and can't wait to use all of the colors. And that isn't all that Ohuhu sent me! Expect to see a lot of projects using Ohuhu products in 2023! 

11/7/22

Wanted Poster Hidden Money Gift

My nephew, Timothy, just turned 22 (!). As always, I came up with a creative money gift for him. This year's is based on a wanted poster. It offers a $36 reward for finding 'The DC Gang.' 


I started by taking the same portraits I used for last year's Presidential Trading Cards and converting them to sepia. I arranged them on a blank document and added the text above and below. I printed the poster onto cream copy paper (affiliate link here and below). 

The next step was hiding the four members of The DC Gang. I took the two most recent issues of Scout Life magazine and looked for places where I could attach a bill and have it look like the portrait connected to the body in the magazine. I attached each bill with Micro Glue Dots, then gave the magazines a good shake to make sure they were firmly attached. 


Then I wrote a note with information about where the gang members were last spotted. They corresponded to the places in the magazine where the bill was hidden. For example, this photo of Andrew Jackson shows him rock climbing in Palo Duro Canyon. George Washington (above) is playing football in Los Angeles.


Happy birthday, Timothy! 

11/1/21

Presidential Trading Cards (with Hidden Money)

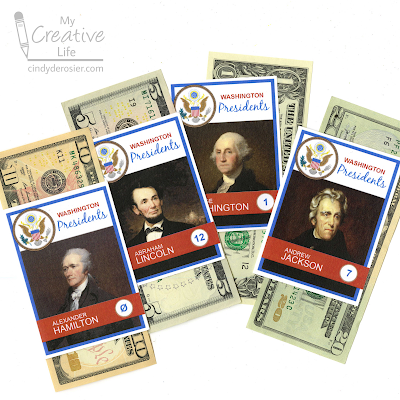
Time to share another money gift! My nephew, Timothy, turned 21(!) on Friday. I've been giving him a money gift for all gift-giving occasions since 2013 and coming up with something new each time definitely makes me stretch creatively. This time, I made him a set of baseball cards. Sort of. 

I've done a play on using the faces on money before, when I made Timothy this version of Air Force One. Now I'm imagining the 'Washington Presidents' as a major league baseball team. I used PicMonkey to design four rookie cards for the people on the $1, $5, $10, and $20 bills. (I included a $2 bill on Air Force One, but couldn't find one this year. So, $36 for Timothy this time instead of $38.)


I started by opening up a 2.5" x 3.5" blank canvas. One by one, I added the features of a baseball card: the team name (Washington Presidents) at the top with their logo (the Great Seal) next to it, and a banner across the bottom for the player's name and number. I saved that template, then edited it to add each player's name, picture, and number. 

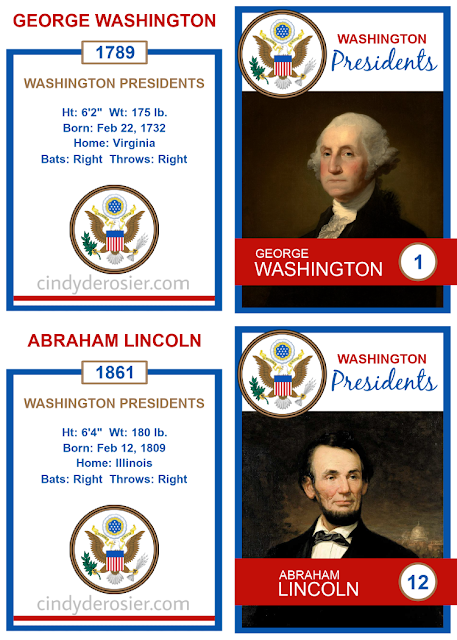
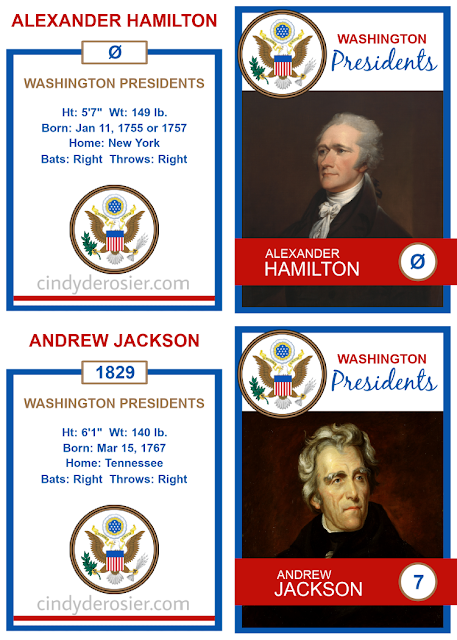
Then I created a template for the back of the cards. I put the player name at the top, then their rookie year, the team name, the player's stats, and the Great Seal. It was surprisingly easy to find each person's height, weight, and birthdate, but it was a lot harder to find their home. Is home the place where they were born, where they grew up, or where they lived when they were signed to the team (er, elected)? I decided home was wherever they were right before their rookie year. Even that proved a bit tricky, so I just listed a state and not a city. 

As for their batting and throwing preference... they're all right-handed. Maybe. Prior to the 1900's, being left-handed was considered a disability which was corrected in childhood. Some of these men may naturally have been left-handed, but they certainly would have batted and thrown right in adulthood. 

With the fronts and backs completed, the next step was moving them to an 8.5" x 11" blank canvas. I paired the backs and the fronts together and printed them. 


I printed on my new Bristol vellum. It worked perfectly, which is fortunate since I have a ream to use up. That's a lot of coloring pages, so I'm glad I can use it for other things. 

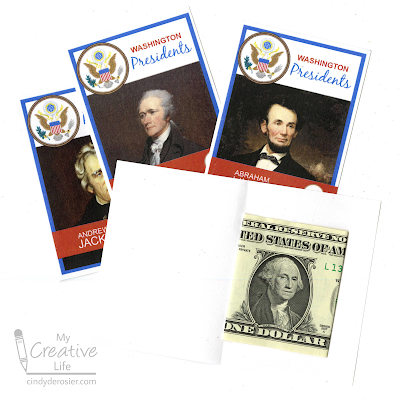
I used the paper trimmer to separate the cards, then I folded each and tucked the corresponding bill inside. Finally, I put a thin line of glue around the outside edge and pressed it together, trapping the money inside the card. In this picture, the three cards at the top are done and I just need to add the glue to the edges of Washington's card.


I'm fine with Timothy destroying my creations to get at the money he knows is inside, but if you want your recipient to be able to keep the baseball cards intact, use a repositionable tape runner (affiliate link) instead of glue. 

Happy birthday, Timothy! I wish I could have been there to celebrate with you.