Showing posts with label sunset. Show all posts

12/12/22

Statue of Liberty at Sunset Painting

Today's project is the eighth craft in my series based on crowd-sourced responses to ten questions. This time I asked my friends to name a US landmark. Mt. Rushmore was the most frequent answer, but I shared a Mt. Rushmore craft idea last year. So I went with the second most popular answer, the Statue of Liberty. 

I started by thinking back to my visits to the Statue of Liberty. I first visited New York City and the Statue in 1989, when I was 17. In the spring of 2001, a fellow teacher and I took students to Washington DC and New York City, which included a visit to Lady Liberty. My most recent time seeing the Statue was in 2014, when we sailed into NYC at sunrise. While each visit was fantastic, I realized I've seen the Statue at dawn and in the daylight, but never at sunset. That was the inspiration for my project. 


Statue of Liberty at Sunset Painting


Materials: 


Steps: 

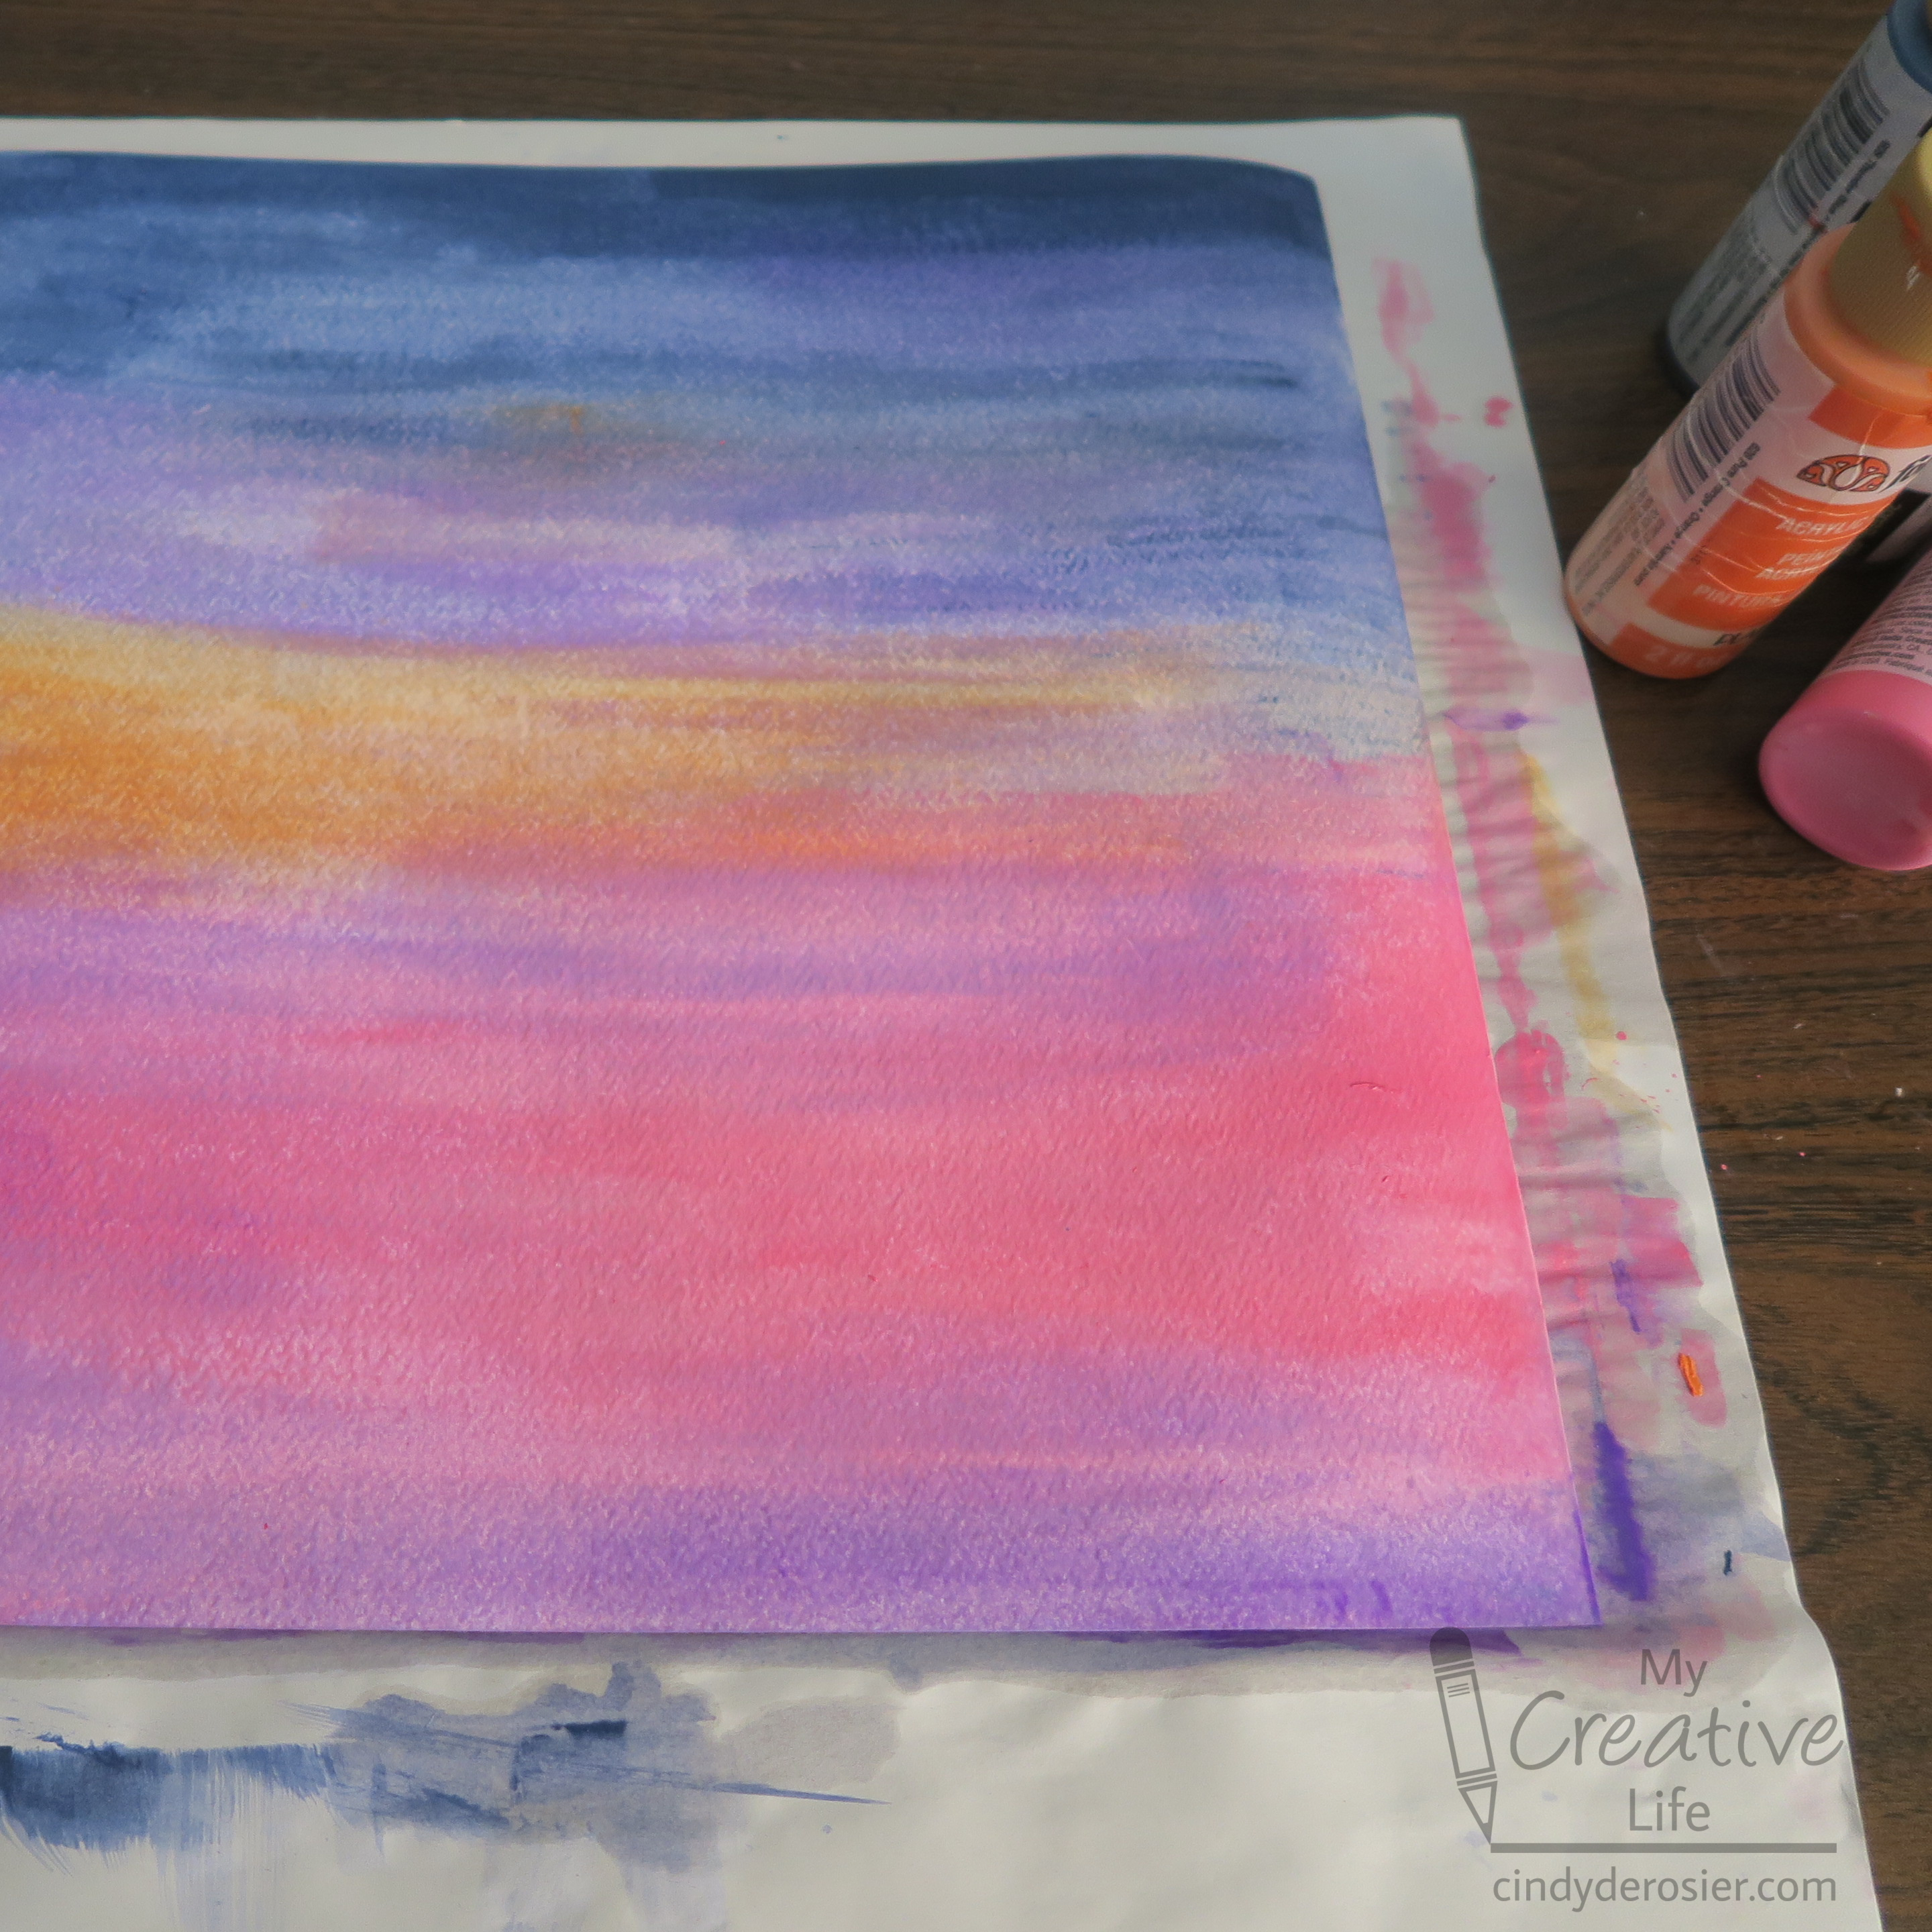
Use a large brush to wet the watercolor paper, then add horizontal streaks of blues, purples, oranges, and pinks to make a sunset. There's no right or wrong. Continue until you're happy, then set it aside to dry. 

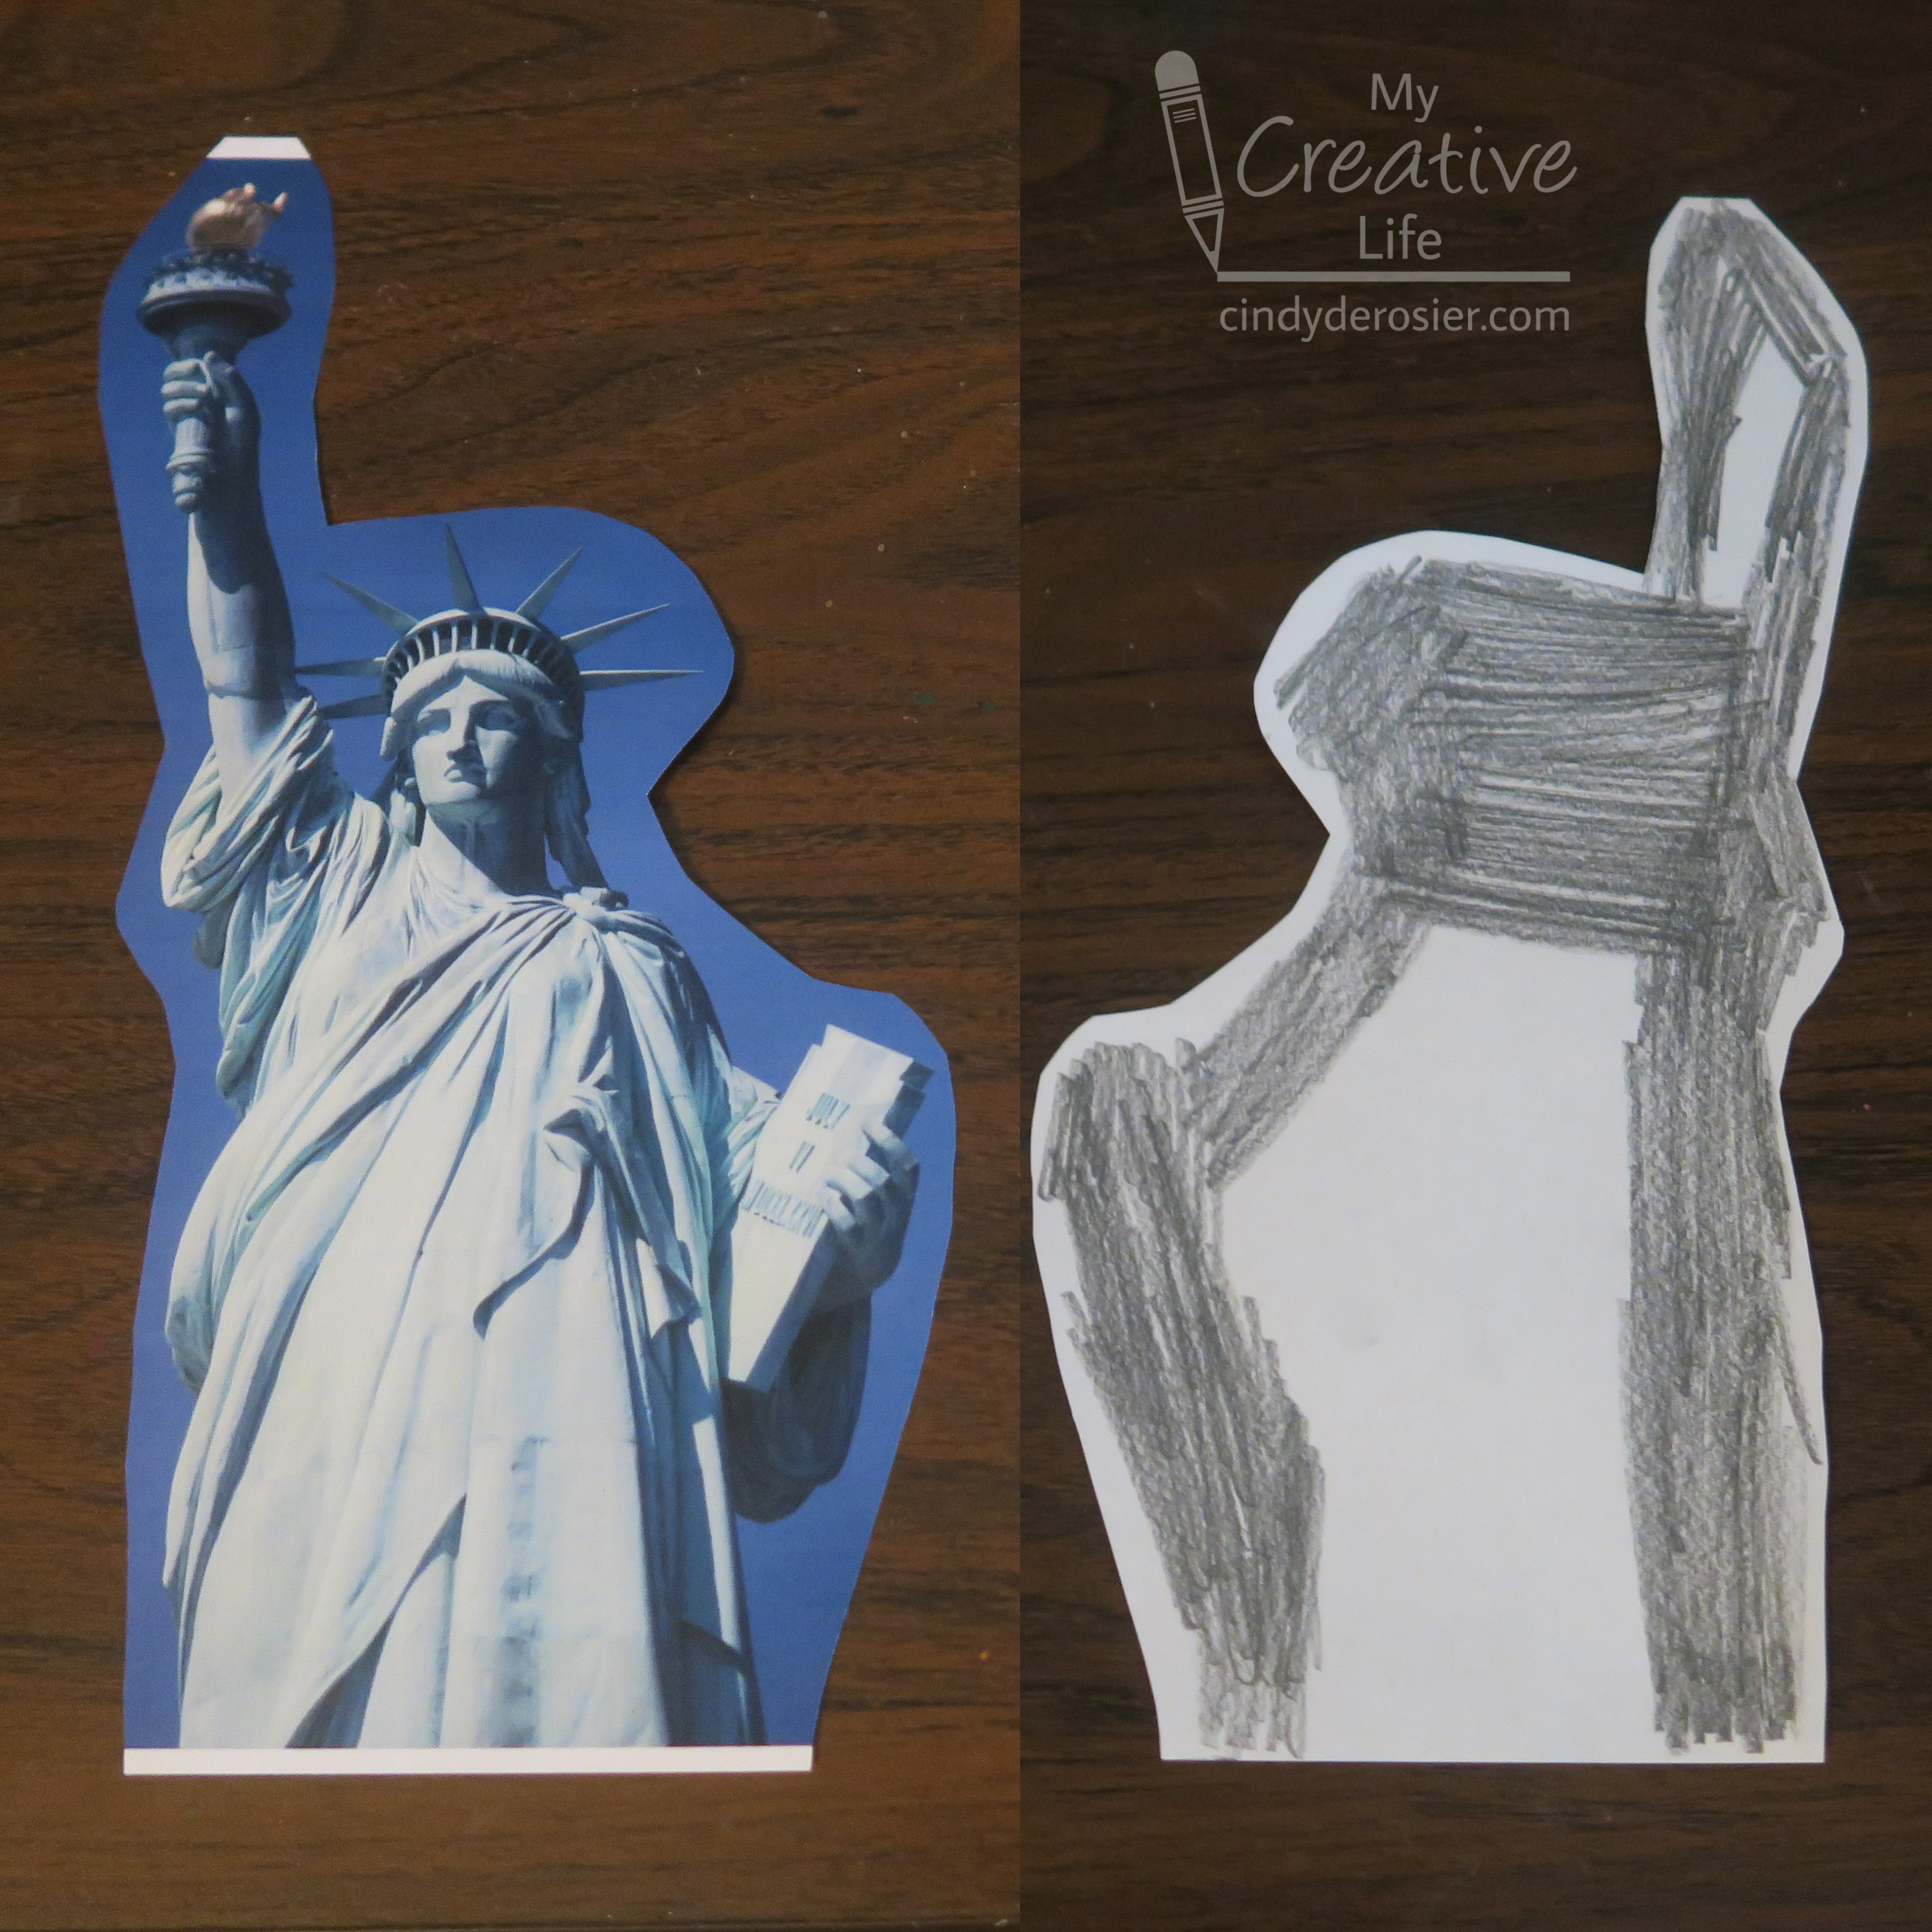
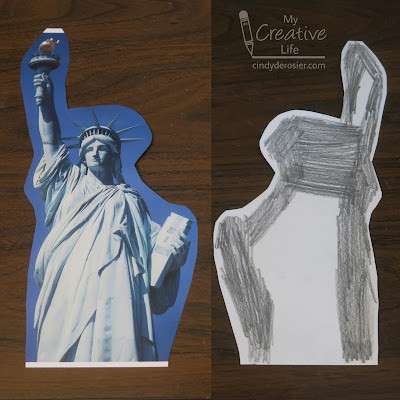
Print out a photo of the Statue of Liberty, then trim away the background. Turn it over and scribble on the back with an ordinary pencil. You'll be using this to transfer the image to the paper, so you only need to color the edges, as shown below. 

Tape the edges of the watercolor paper to the desk to keep it from moving, then use paperclips to secure the image to the paper. 


Trace along the outline of the Statue with a pencil, pressing firmly. Lift a corner to make sure the line is transferring well. 


When you've traced the entire outline, remove the paperclips and set the image aside. Fill in the traced area with black paint. 

 
I really enjoyed this project. It makes me wish I were still teaching 5th graders specifically so we could do this project and I could display a whole bulletin board's worth of these. 

5/2/12

Sunset Art

In the process of compiling my list of 40 Things I've always wanted to do, I spent a lot of time digging through my files. Along the way, I rediscovered some of my favorite art projects from my teaching days. One of my absolute favorites is Sunset Art.  

Trevor was very excited to try Sunset Art. Here's what he made:


And here is the one I made:


Materials needed: Watercolor paper, watercolor paints, paintbrush, brown and black construction paper, scissors, and glue. It also helps to have photos of sunsets.


Begin by looking at pictures of sunsets. Observe that sunsets can have a wide variety of colors and that the warmest colors (yellow, orange, red) are near the horizon. Notice that the colors flow into each other and that the bands of color are horizontal, not vertical.

Use watercolors to paint yellows, oranges, reds, blues and purples onto the watercolor paper.


While the paint is drying, cut out the silhouette of an animal from black construction paper. Older children can do this on their own, while younger children might need a tracer. Trevor used a tracer of a zebra and then carefully cut it out.


Next, cut a thin strip of black paper. Cut a strip of brown paper that is slightly wider than the black paper. Layer the black paper on top of the brown to create a sense of distance. Finally, glue these papers to the dry background paper, then glue the animal in the foreground.

Here are two more examples of Sunset Art, made many years ago by 5th grade students who were gracious enough to let me keep their work as examples for future classes. I wish I'd taken pictures of some of the other students' work, as their artwork was as unique as they were. Aren't these stunning?

by Vincent

by Alex

I'd love to do this as an annual art project for Trevor and me, just like it used to be an annual project I taught to my students. It will be really fun seeing Trevor's skills progress over the years.