4/15/21

Quirky Collages to Color

I have a new coloring book that I absolutely love. Don Stewart's Quirky Collages to Color (affiliate link) includes 32 awesome illustrations to color. What makes this coloring book unique is that each illustration is a collage made up of dozens of smaller items that fit a theme. 

The first design I colored was The Right Brain. It was so much fun! I used my beloved Prismacolor art markers


As you can see, the shape of the brain is formed entirely by art supplies. They are listed on the back of the design. Can you spot each one? 

  • airbrush
  • craft stick
  • eraser
  • French curve
  • glue
  • loop tool
  • marker
  • paint
  • paintbrushes
  • palette
  • pen
  • pencil
  • pincushion
  • precision knife
  • ribbon
  • scissors
  • tape
  • triangle
  • utility blade
  • watercolor set


There is a quote associated with each design, too. The Right Brain's is by Frida Kahlo: "I never paint dreams or nightmares. I paint my own reality."

I received a copy of Quirky Collages to Color this week, directly from the publisher. But that wasn't the first time I saw the content of the book. Back in October, the publisher sent me a digital copy of the book to review. I loved it... in fact, I liked it enough that they printed my endorsement on the back cover!


You can see my name and review (multiple times) in the Amazon listing as well. 

I can't wait to color the next design! The hardest part is going to be choosing which one to do next. 

4/14/21

Cereal Math: Prime Factorization

Did you know that Sesame Street cereal is a thing?! I had no idea! I was really excited when I spotted it in the cereal aisle. It took great restraint, but I only purchased the 123 Berry and not the C is for Cinnamon (affiliate links here and below) because I still have leftover Alphabits and Steve already thinks I have a have an "issue" when it comes to purchasing cereal. (He's wrong. I can stop whenever I want.)

Anyway, when I saw the box of cereal with adorable little number shapes, I thought how fun that would have been back in my teaching days. I pictured students with trays of cereal, doing the same math they'd ordinarily do with paper and pencil, but in a tactile way! They would have loved it. Me too. It's always fun to shake things up a bit and present skills in a new, memorable way.

I poured out some of my new cereal on a tray and started sorting. At first, I was delighted to see how good the numbers looked. Look at the 8 - it is perfect! And the 4, 6, 7, and 9 - spot on! The 1 and 0 are great... but not true of the 2, 3, and 5. They're acceptable at best. Now I know why they designed the box they way they did, lol. Oh well!  

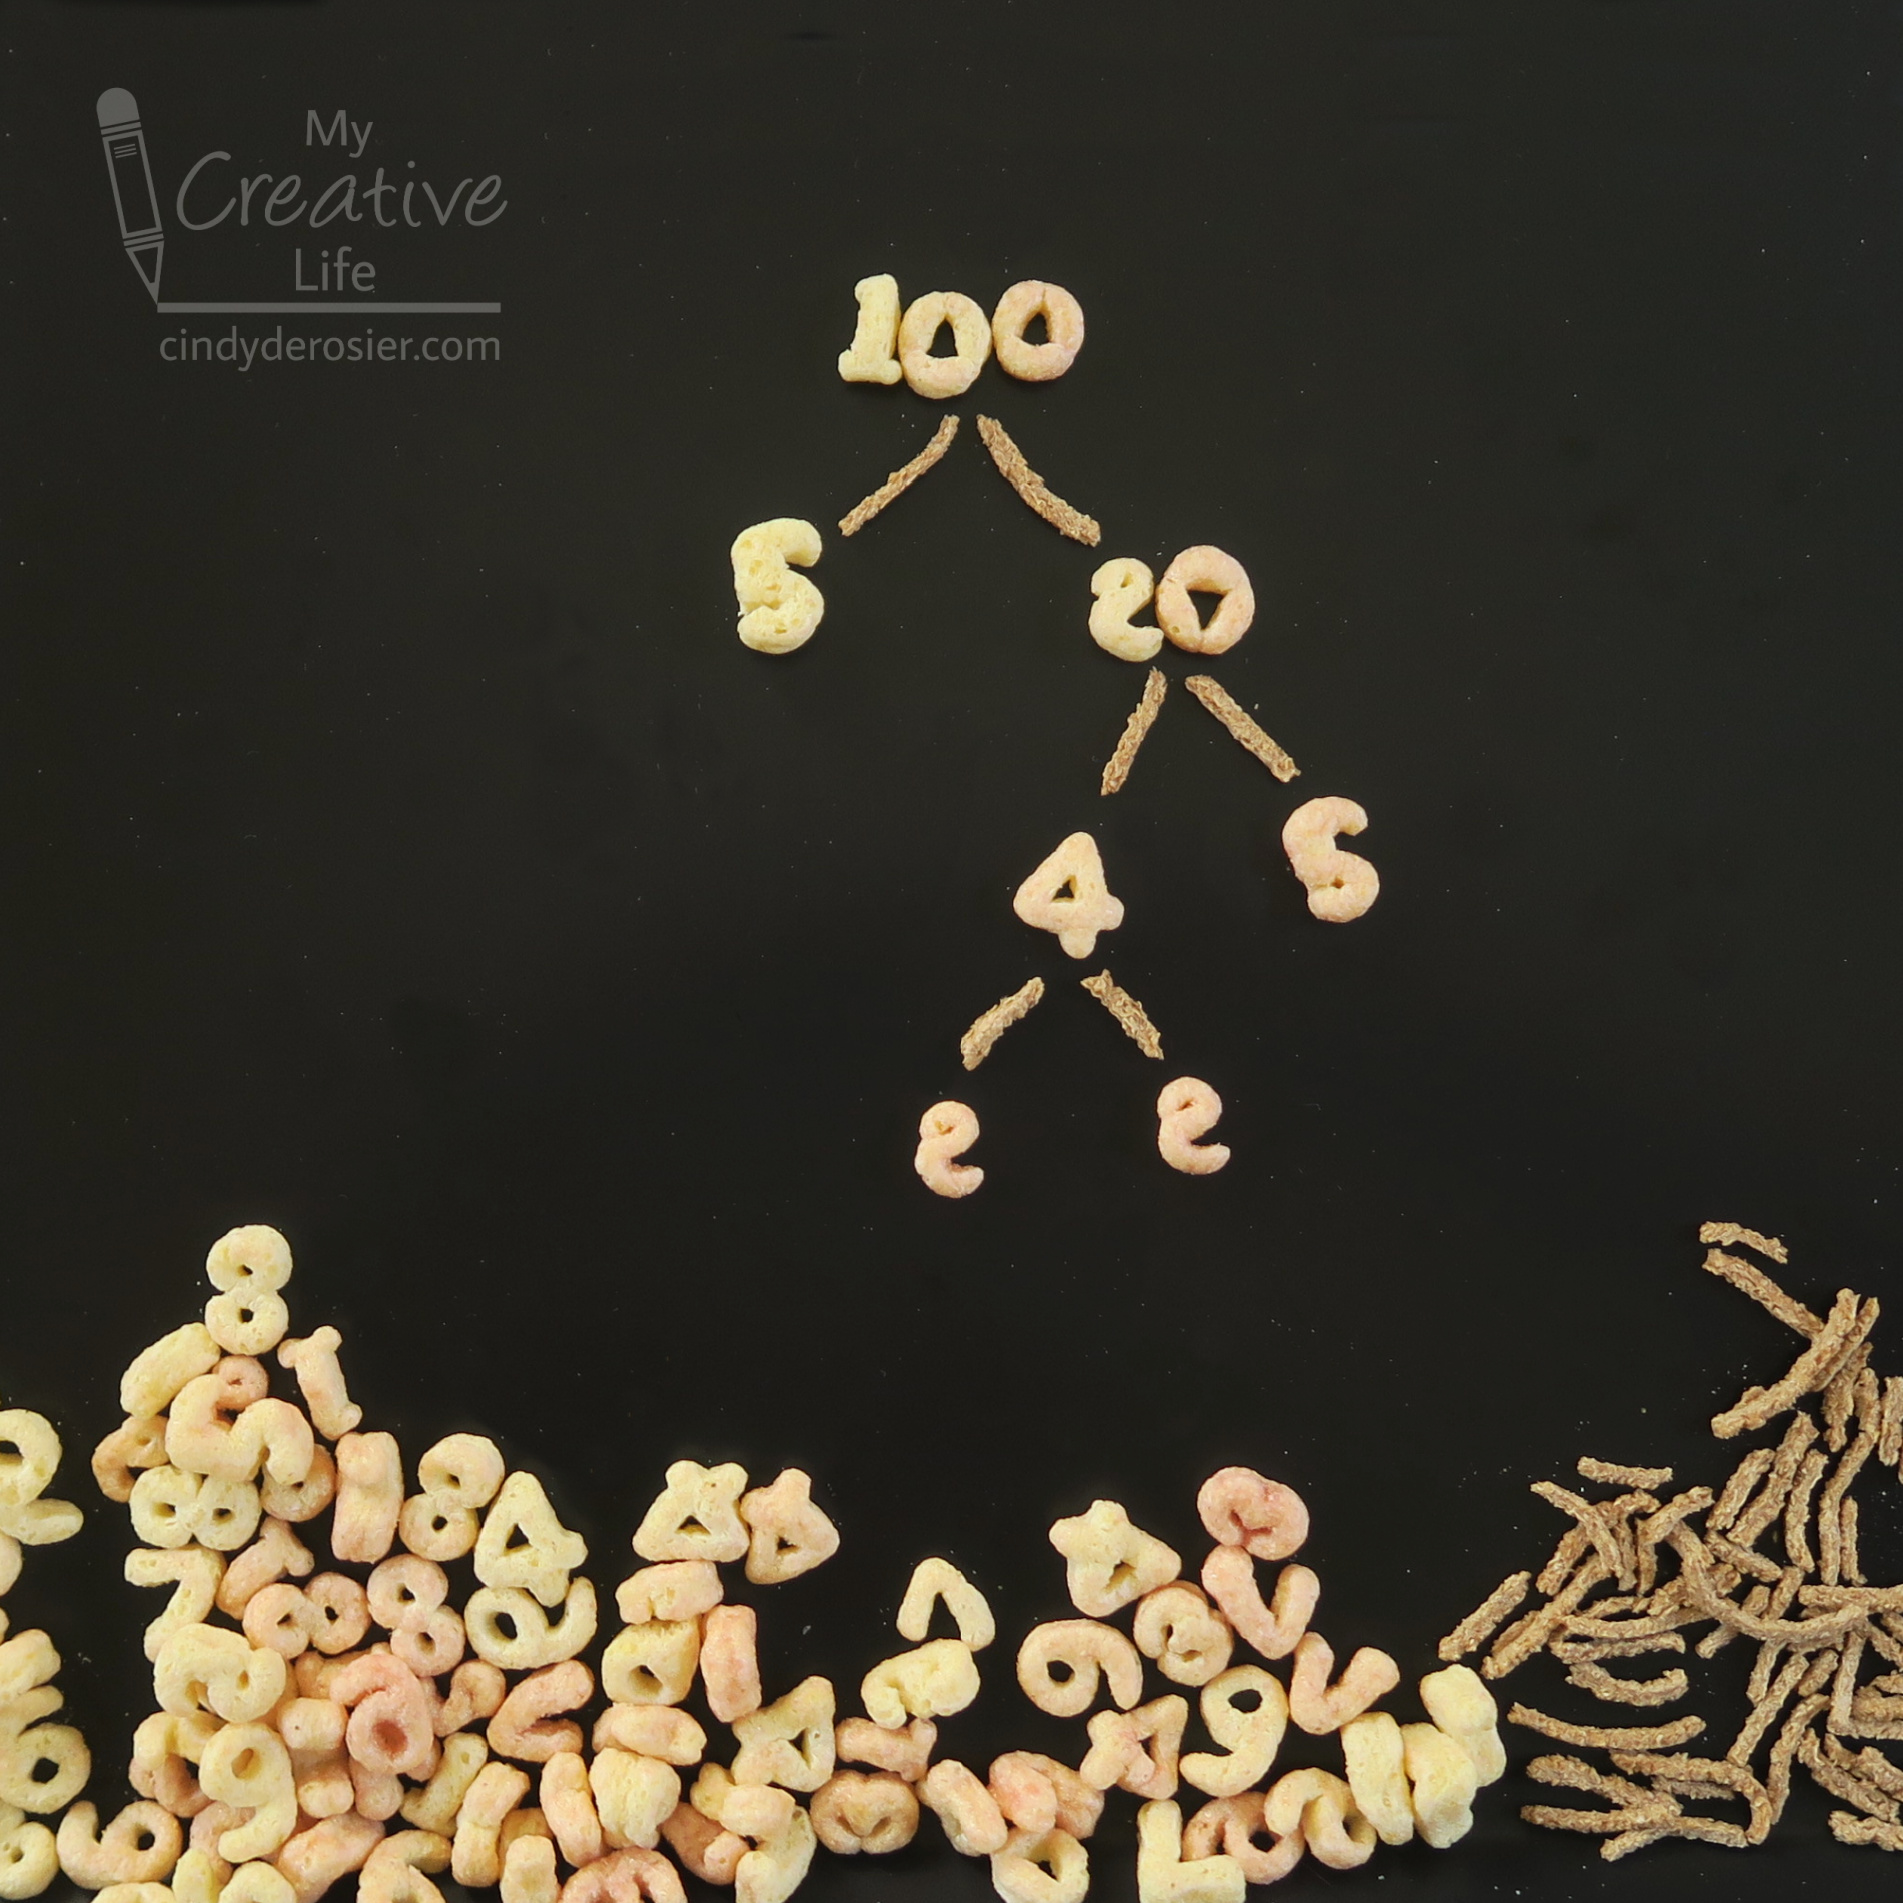
I dug in the pantry and found All-Bran. Together with the 123 Berry, I was ready for some math. I chose my very favorite skill to teach in 5th grade: prime factorization. 

100 = 5 x 2 x 2 x 5, which we write as 100 = 22 x 52.


Same problem, different way of solving it, same answer: 100 = 22 x 52. 


(Fun fact: Now I know how to do superscript tags in HTML!) 

I spent about 30 minutes playing with the cereal making a bunch of different factor trees, which was approximately 25 minutes longer than it took to get the photos I needed. It was fun. I KNOW that students would enjoy using this cereal for math problems. Obviously, you can do all sorts of math with this cereal: adding, subtracting, multiplying, dividing, fractions, and decimals (Grape Nuts would be great for decimal points), just to name a few. If you have kids at home, I definitely recommend giving this a try!

4/13/21

Onboard Fun (Europe 2019)

I'm almost done scrapping our 2019 Europe trip. Today's page has miscellaneous photos from the cruise portion of the trip, along with a group photo in front of the Sapphire Princess.  


I struggled with this page for awhile, but once I figured out what to do, it came together quickly. What's interesting about it, besides the fact that I used deco-edge scissors for the first time in forever, is that I made this layout with only a single sheet of patterned paper and half a sheet of white cardstock. Here's the secret:


The paper is double-sided with dots and stripes. I cut out a chunk that would be hidden by the photos, flipped it over, then sliced off a bit to use as the waves that would hold the title. Then I punched hearts out of what was left. It wasn't big enough to punch entire hearts, but that didn't matter because the missing part appears to be tucked under the photos. I like the effect and am happy with this layout. 

4/12/21

Inspirational Words Mandala and Name Art Mandala

The possibilities are endless for making mandalas using PicMonkey. Here is a mandala made from 11 years' worth of my choices for One Little Word


The basic steps are the same as in the Easter Egg and Jelly Bean mandala, except instead of graphics, you're using text. After steps 1 and 2, instead of adding a Graphic, you'll click Add Text. Type in your word, choose a font, add some color, and drag it into position. 

Repeat until you have filled the upper right quadrant with words. All words should be fully within the quadrant.
 

Now pick up the egg mandala tutorial at Step 10. Group the words, then duplicate and flip. Group those two, then duplicate and flip. You should have a completed mandala.

 
You're not limited to inspirational words, of course. It's awesome for name art, too. (You know what a fan I am of name art!) To make this, I went back to my completed quadrant and changed each of the words to my name. I had to change a few fonts and resize a bit to make it fit, but it's mostly the same.


My brain is already whirring with more mandala possibilities!

4/9/21

Making Hard Cards

My stash of cards is dwindling, so it's time for me to replenish. I started with the Hard Cards (sympathy and other cards for not-happy occasions) since they are my least favorite to make. I used this simple design by Susan Opal to create these:

Sorry for Your Loss / Sympathy (affiliate link here and below)

For each card, I chose two coordinating papers and adhered them to a card base. I stamped sentiments from this Hero Arts set onto scraps using black ink, then added clear embossing powder and used my beloved heat gun to set it. I'm pleased with how they turned out and love how this easy design translates so well for sympathy cards.
Next time, cards for happier occasions!