
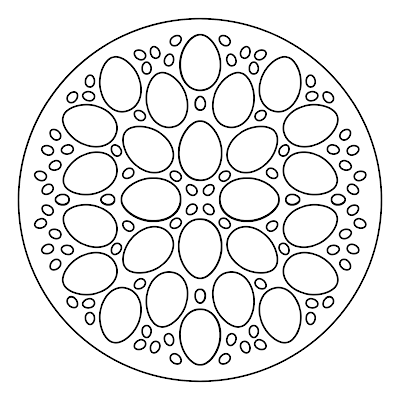
I know that I never shut up about PicMonkey, but that is because I love it. In addition to using it for photo editing and creating graphics for social media and elsewhere, recently I've been using it to make my own coloring pages. My latest is a mandala of Easter eggs and jelly beans, which I colored by hand using Prismacolor art markers (affiliate link).

You are more than welcome to print and color my mandala.
Better yet, read on to learn how to make your own. I'll show you how I made my egg and jelly bean version, but you can use any shapes or objects you want.
---------
How to Make a Mandala Coloring Page in PicMonkey
1. Open PicMonkey, then create a new blank canvas (square).
2. Click on the wheel at the bottom to open Alignment. Check Show Grid on Canvas. Set it to 2 rows and 2 columns.

3. Enter the shape you want (in this case, an egg) in Search All Graphics. There isn't a plain outlined egg, but that's no problem. I chose a polka dotted one, then used Effects to add an outline.

4. Use Adjust to change both colors to white (if you'll be printing on colored paper, change them to Transparent). Now you have just the outline of an egg.

5. Drag the egg into the upper right quadrant, then rotate it the way you want it.
6. Right click and select Duplicate Layer.

7. Place your duplicated egg where you want it and then duplicate again until you've filled the upper right quadrant with eggs. I fit eight in the space, with some sitting directly on the grid lines. This works because eggs have vertical symmetry. If you choose a shape that doesn't, keep the shapes within the quadrant.
8. Duplicate the egg one more time, then shrink that duplicated egg down to the size of a jelly bean by clicking and dragging on one of the corner dots. Drag the jelly bean into a space between the eggs.
9. Continue to duplicate and place jelly beans until you're happy with the design. I have 22 jelly beans.

10. Highlight all the eggs and jelly beans at once. Multiple Layers will pop up. Click Group. (Ungroup is showing in the screenshot because I've already grouped them.)

11. Now it's time for the magic! Duplicate the layer, then use the tool to flip it vertically. Move it into the upper left quadrant.

12. Now group those two layers together, just like in Step 10. Duplicate the newly grouped layers, then flip it vertically, and slide it into place.


No comments:
Post a Comment
I moderate comments, so you will not see yours appear right away. Please check back if you had a question; I promise to answer it as soon as I see it. Thank you for taking the time to comment!