Showing posts with label Flair pen. Show all posts

6/22/26

State Name Art: Kentucky, Missouri, New Hampshire, South Dakota

It's Round 3 of State Name Art! This time, Kentucky, Missouri, New Hampshire, and South Dakota. As before, I love how different they each are. It's great fun figuring out how to place the letters of the state in its silhouette, then deciding what scene to add. Affiliate links below. 


State Name Art


Materials:


Steps: 


Print or trace the outline of the state onto paper. I like to use Bristol vellum when working with colored pencils. I made the outlines using graphics from PicMonkey, but you could also draw or trace your own outline. 

Use a pencil to sketch in the letters of the state. Sketch lightly so you can make adjustments if necessary. Some letters will have missing parts or distortions; that's not a problem as long as the state name is legible. Outline the letters with a Flair pen, then color in all spaces that aren't part of the name.  

Lightly sketch a scene across the white space of the letters, choosing an image that represents the state. When you are happy with what you've sketched, fill it in with colored pencils. I drew a horse in a pasture for Kentucky...


... Gateway Arch for Missouri...


... sunset over the mountains for New Hampshire...


... and a buffalo grazing for South Dakota. 


Cut out the state and glue it to colored construction paper. 

I'm continuing to have a lot of fun with these. This makes 12, which is a far cry from 50. I'll keep taking them four at a time until it's not fun anymore.

6/15/26

State Name Art: Kansas, Delaware, Iowa, and Nevada

I finished a second batch of State Name Art. This time, I made Kansas, Nevada, Delaware, and Iowa. I love how they're completely different from each other and from the four I previously made. Affiliate links below. 


State Name Art


Materials:


Steps: 


Print or trace the outline of a state onto paper. (Bristol vellum is my favorite when working with colored pencils.) I made the outlines using the graphics on PicMonkey, but there are plenty of places to find outlines. Students can draw their own outlines or use pre-prepared tracers. 

Use a pencil to very lightly sketch in the letters of the state. Make adjustments until you are happy with the letters. Some letters may be distorted or have missing parts; that's perfectly fine as long as the state name is legible. Outline the letters with a Flair pen, then color in all spaces that aren't part of the name.  

Lightly sketch a scene across the white space of the letters that represents the state. When you are happy with what you've sketched, fill it in with colored pencils. I did sunflowers for Kansas...


... the beach for Delaware...


... a cornfield for Iowa...


... and a night sky in Nevada. After coloring this scene with colored pencils, I used a Posca pen to add the stars. 


Cut out the state and glue it to colored construction paper. 

I had a lot of fun with this latest batch of states. Figuring out each one is very satisfying. As I said before, I have no intention of doing all 50, but I'll keep going for now! 

6/1/26

State Name Art: Ohio, Idaho, Montana, and Maine

It's no secret that I love name art. Over the years, I've shared 47 unique ideas for creative projects using my name (or yours, if you aren't named Cindy). Today's craft is a little different because it features the names of states inside their silhouettes. This would be such a fun project to do with a class of 4th graders studying their home state, or with fifth graders who are each working on a different state report.

For my samples, I chose four states with distinct shapes to see how well my idea would work. I started with what I thought would be the easiest (Ohio) and worked my way toward the most challenging (Maine). It took a bit of creativity to fit the names legibly, but figuring it out was so much fun! I'm really happy with how these turned out. Affiliate links below.  


State Name Art


Materials:


Steps: 


Print or trace the outline of a state onto Bristol vellum, or the paper of your choice. (Bristol vellum is my favorite when working with colored pencils.) I made the outlines using PicMonkey graphics, but there are a lot of places to find outlines. You can also have students draw their own outlines or use pre-prepared tracers. 

Use a pencil to LIGHTLY sketch in the letters of the state. Make adjustments until you are happy with the letters. Don't be afraid to have missing parts of letters (like the M in Montana) or distorted letters (like the E in Maine) as long as the state name is legible. Outline the letters with a Flair pen, then color in all spaces that aren't part of the letters.  

LIGHTLY sketch a scene across the white space that represents the state. When you are happy with it, fill it in with colored pencils. I chose fields and a classic red barn for Ohio...


... forests and a mountain for Idaho...


... a sunset behind the mountains for Montana... 


... and a lighthouse on a rocky shore for Maine. 


When you are done coloring, cut out the state and glue it to colored construction paper. 

I had so much fun making these that I will definitely be doing more! I have no intention to do all 50; I learned just how much work it is when I colored in all 50 state quarters coloring pages. It took me eight months, working on four at a time. On the other hand, never say never! 

9/10/24

50 State Quarters: Coloring Pages Using Flair Pens

I just finished two more coloring pages featuring the 50 State Quarters. I've previously shared the first four (Nevada, New Jersey, Oregon, and Wisconsin) that I colored with Ohuhu Kaala markers and the next four (Connecticut, Idaho, Missouri, and Montana) where I used inks as a base and layered colored pencil on top. Can you guess what I used for the Indiana and Delaware coloring pages? 


If you guessed Flair pens, I'm impressed! (Affiliate link here and below.) Specifically, I used this 12-pack of 0.7 mm tip pens. 


I printed the images as 7" circles, which is a ridiculous amount of surface area to fill with a fine tip pen. If I'd colored them in using just the 0.7 mm pens, I would have: 
  • run out of ink partway through and had to buy more pens
  • wrecked my hand
  • lost my mind
Instead, I took advantage of a fun characteristic of Flair pens: they are water-based. By using a moist brush, you can drag the pigment beyond the place where you colored. Look at the tires below. For each tire, I colored part of it solid black, then drew horizontal lines on the remainder. Then I used my brush to blend them out. You can see the difference between the ones I've moistened (left) and the ones I haven't (right). 


Compare the blue outline of Indiana above with the finished project. See the way I dragged the blue in toward the center? I did the same thing with the black outline around the entire design. I really like the effect. And this technique lets you add color to large areas and still save your pen, hand, and sanity. 


A few precautions before you try coloring pages with Flair pens and water. First, print or copy the image onto watercolor paper for the best results. I did a trial run using printer paper and, as expected, it was a disaster. I ended up using Neenah Bristol Vellum because it was the best option that works in my printer. It didn't allow for as much blending as a watercolor paper would, but it didn't fall apart like the printer paper. 

Second, expect to have a lot of drying time. You can't apply Flair pens over moist areas, plus if you moisten two adjacent colors at once, the colors will run. Instead, work on one section at a time and then wait for it to dry before going on to the next area. I worked on both Indiana and Delaware simultaneously so that one could dry while I was working on the other. 
 
To cover a large space with visible texture (like the grass on the Delaware quarter), you can draw lots of little lines. I wasn't consistent in blending it out, but it doesn't bother me that the grass looks inconsistent. What does bother me are the lines on the horse. The 12-pack of Flair pens doesn't have a brown, so I had to use the black pen in different ways on the horse, the tack, and the boot. I suppose I could have used the purple and embraced a horse of a different color


I'm looking forward to coloring my next batch of State Quarters using a different method. I've printed out the designs; now I just need to pick my next medium and get started!

11/16/23

DIY Reverse Coloring Book Pages

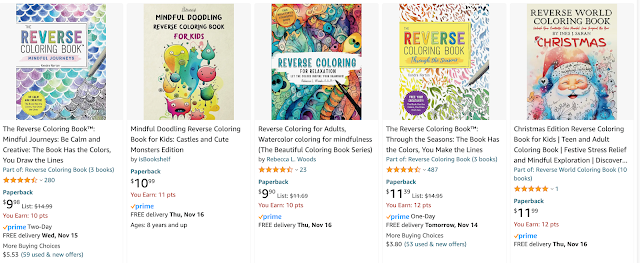
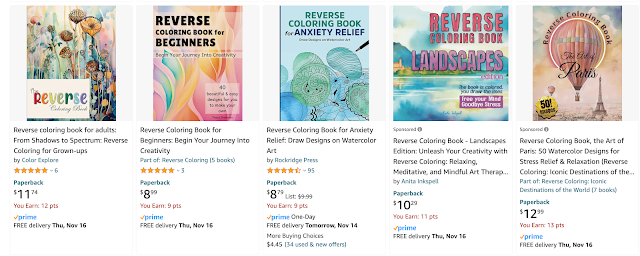
Are you familiar with reverse coloring books? A normal coloring book provides the lines and you color it in, while a reverse coloring book provides color and you add the lines. They burst onto the scene a couple of years ago and have grown in popularity. You can find reverse coloring books with all sorts of themes, colors, and moods. Affiliate links below. 


Reverse coloring books are great for sparking creativity. They make a fun gift for kids or adults. I made a DIY version to take along during my craft retreat with Jonna this past weekend. The day before we left, I painted this in my sketchbook:


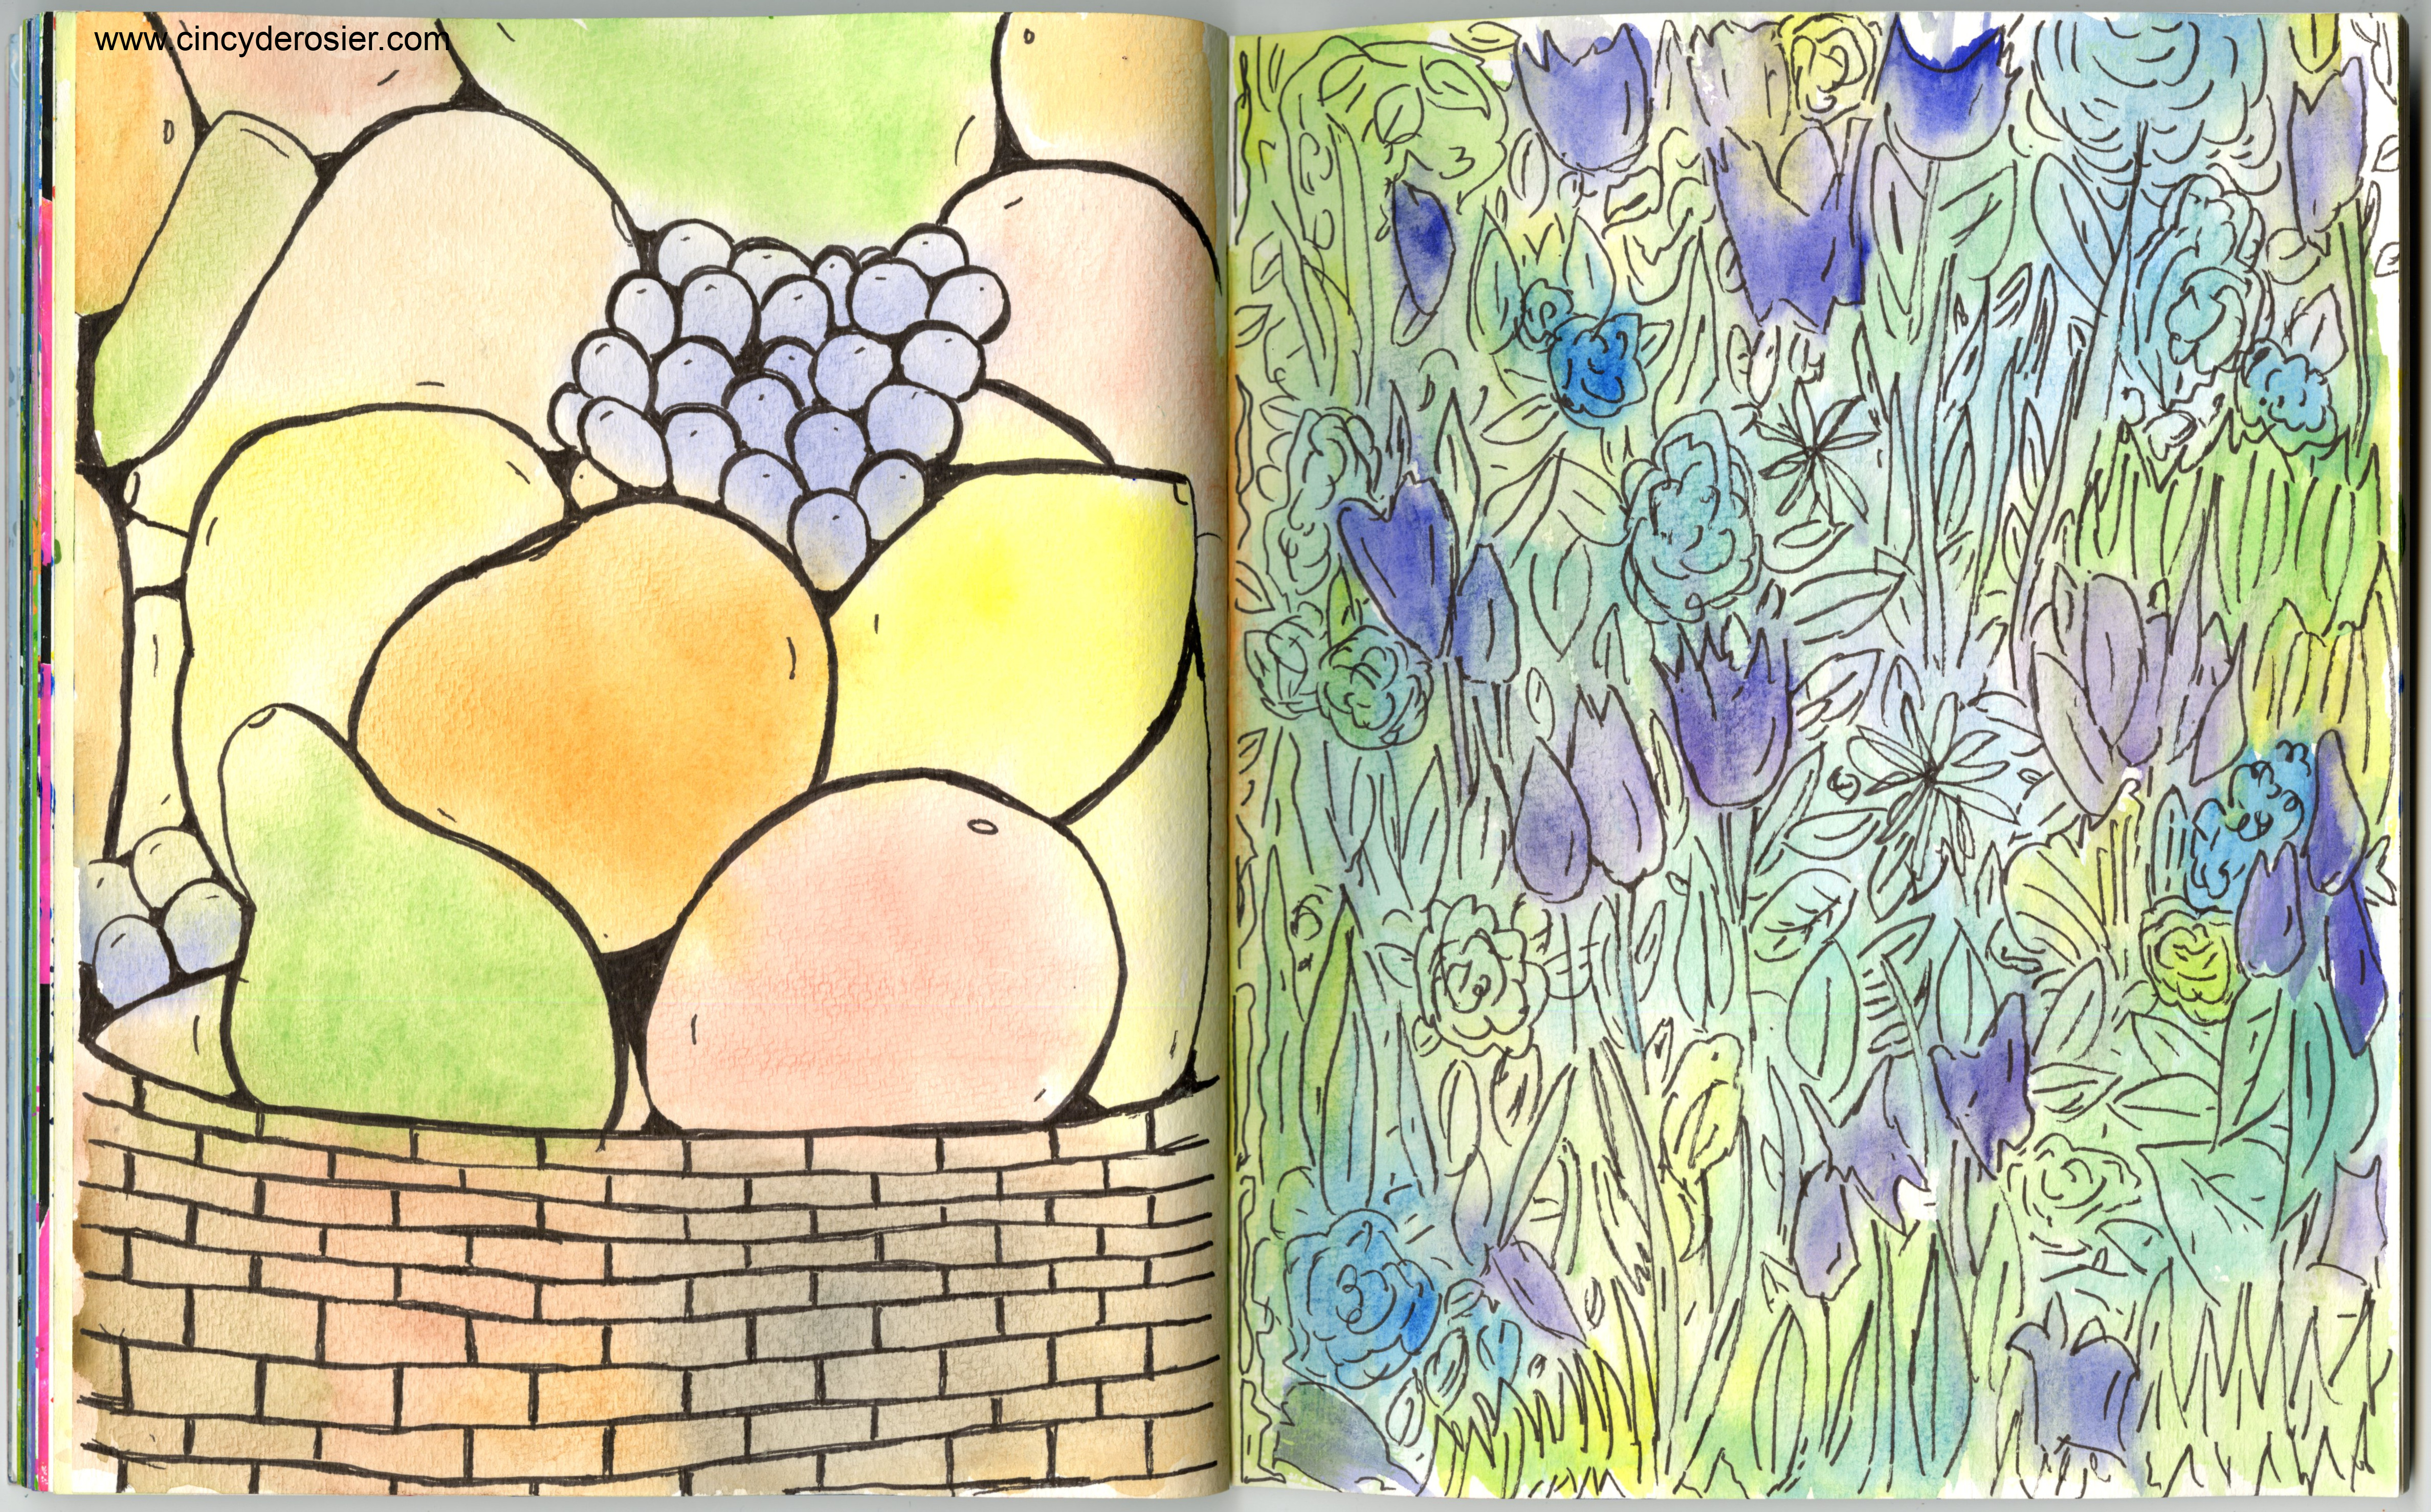
No plan, no goal, just blobs of color in an interesting arrangement. I flopped on the couch in our hotel room, took a few minutes to figure out what I saw on each page, and then started drawing with a black Flair pen. Take a minute to decide what you would draw, then scroll down to see mine. 

-----

-----

-----

I made a basket of fruit and a scene of wildflowers. 


This was such a fun activity and something I definitely want to do again! I could see pre-painting a stack of these for early finishers to do in the classroom. They'd also be a fun waiting room or restaurant activity for kids. Since the color is already there, you only need to bring a single pen. Lots of possibilities!