Showing posts with label Posca. Show all posts

8/31/26

Little Dipper Constellation Ornament

There is only one state which has named an official state constellation. Do you know which state it is? Here's a hint. The constellation they selected is the Little Dipper, to honor their nickname as the North Star State. Read here to discover which state it is, then learn how to make an ornament inspired by this constellation. Affiliate links below. 


Little Dipper Constellation Ornament


Materials: 


Steps: 


Mix a drop or two of paint with water to make a wash. Use a sponge to stain the wooden ornament. You should still be able to see the rings of the wood. 


While the paint dries, draw the constellation on a piece of scratch paper, cut to fit onto the ornament. Select rhinestones for each star of the constellation. It's a nice touch to use larger rhinestones for the larger stars.  


Set the rhinestones aside and turn your constellation upside down. Use the pencil scribble transfer technique to make a pattern on the wood ornament. 

Trace the pencil lines with the white Posca. Add tiny white dots randomly on the ornament, then glue the rhinestones where they belong on the constellation. Tie a loop with the silver cord and your ornament is done. 


While I made the Little Dipper because it's the state constellation of Minnesota, this project can easily be adapted to make any constellation. Try zodiac signs for especially nice ornaments; they make a wonderful gift.

-------


While researching constellations, I came across an absolutely fascinating blog post called Visualizing cities as constellations in the night sky. Check it out!

7/22/26

Posca Colored Pencils and the National Parks Postcard Coloring Book

Many of you probably know Posca for their amazing paint markers, but did you know that they now make colored pencils as well? When the folks from Posca reached out to me to try their 12-pack of colored pencils, I happily accepted. Posca Colored Pencils have a creamy wax-hybrid formulation intended to produce bright and consistent color, with the ability to blend and layer smoothly. I was eager to see how these pencils would perform. This post contains affiliate links. 


I decided to use the Posca pencils to color an image from the new-to-me National Parks Postcard Coloring Book. This A6-size book contains images from 20 units of the National Park System on thick cardstock appropriate for mailing. 


I selected the image of a bald eagle at Olympic National Park and started coloring. I loved how vibrant the color was and how easy it was to get good coverage. The pencils felt good in my hand. The colors blended well, although with only 12 colors it was infinitely more difficult to get subtle blends than if I'd had a larger set. The thick paper of the postcard took color beautifully and worked very well with the pencils. 


Here is my finished postcard. 


This is what the back looks like. I added a tiny bit of color, but didn't want to cover the writing area. I'll probably end up decorating it after I address it and add my message. 


I really enjoyed this project. The Posca colored pencils are a delight to use, though having only 12 colors is very limiting. The postcards feature beautiful images printed on paper that it ideal for coloring. The small size allowed me to finish the project in a much shorter amount of time than a standard coloring page. I'm eager to use both the pencils and the coloring book again!

6/15/26

State Name Art: Kansas, Delaware, Iowa, and Nevada

I finished a second batch of State Name Art. This time, I made Kansas, Nevada, Delaware, and Iowa. I love how they're completely different from each other and from the four I previously made. Affiliate links below. 


State Name Art


Materials:


Steps: 


Print or trace the outline of a state onto paper. (Bristol vellum is my favorite when working with colored pencils.) I made the outlines using the graphics on PicMonkey, but there are plenty of places to find outlines. Students can draw their own outlines or use pre-prepared tracers. 

Use a pencil to very lightly sketch in the letters of the state. Make adjustments until you are happy with the letters. Some letters may be distorted or have missing parts; that's perfectly fine as long as the state name is legible. Outline the letters with a Flair pen, then color in all spaces that aren't part of the name.  

Lightly sketch a scene across the white space of the letters that represents the state. When you are happy with what you've sketched, fill it in with colored pencils. I did sunflowers for Kansas...


... the beach for Delaware...


... a cornfield for Iowa...


... and a night sky in Nevada. After coloring this scene with colored pencils, I used a Posca pen to add the stars. 


Cut out the state and glue it to colored construction paper. 

I had a lot of fun with this latest batch of states. Figuring out each one is very satisfying. As I said before, I have no intention of doing all 50, but I'll keep going for now! 

6/11/26

Common Loon Craft

The common loon is a beautiful and distinctive bird that lives primarily on lakes in the northern US and Canada. An expert diver, 80% of its diet is fish. The loon is the state bird of Minnesota (and the provincial bird of Ontario, Canada) and is also found in abundance in Wisconsin, Maine, Michigan, New Hampshire, and Alaska. Make a loon of your own by following this easy tutorial. Affiliate links below. 


Common Loon Craft


Materials: 


Steps: 


Cut out the basic shape of the loon from black cardstock. Draw your own on scratch paper first or print my shape below in the correct size to use as a template. 


Shade the loon's beak with a grey colored pencil. Use a black colored pencil to add a line to define the upper and bottom mandible. 

Color the eye orange, then add a black pupil in the center. Use an extra-fine Posca marker to add a white catchlight at the top of the eye. 

Draw a series of vertical lines along the throat and the back of the neck to make the distinctive bands. 


Use a Posca pen to make the rest of the markings on the loon: white hatch marks on its breast, curved white lines on its shoulders, and blocks of white on the wing that are bigger at the top and center than lower and on the sides. Finally, use the grey colored pencil to define the tail feathers. 

The underside of the loon is white like its chest, but I didn't bother coloring it since I knew it would be covered by the water. Also, I trimmed the loon to give it a more rounded bottom. Here's my finished loon. 


Cut three (or more) strips of cardstock to make the lake water. You want them to be a little wavy. Glue one piece to your background paper, then glue the loon on top of that. Glue the next strip so that it covers the underside of the loon, then glue the final strip over that. 


I'm glad to have made this project and learned more about this super cool bird!

2/3/25

Faux Glitter Name Art

Check out my glittery name art! I love it. So pretty, right?
 

I made this name art using plain, non-sparkly pens on ordinary printer paper. There is no glitter or anything shiny or shimmery at all. Read on to find out how to make your own- it's really easy! Affiliate links below. 


---------

Faux Glitter Name Art


Materials: 


Steps: 


Choose three markers for each letter of your name. They should be the same basic color, with one darker, one in the middle, and one lighter. Start with the darkest one. Draw dots along the outer edges of your first letter. (I worked from right to left, of course.) The dots should be concentrated along the edges, with an occasional dot in the middle of the letter. 


Use your medium color to make more dots, concentrating them just inside the darkest color. Again, allow a few dots to go in the middle and a few along the edges. 

Add dots with the lightest color, concentrating them in the middle of the letter. 

Finally, add white dots, concentrated at the very center of the letter. 


Then move on to the next letter. Obviously, you can use the same three markers or choose another set of three. I like the variety, so I did a modified rainbow. 

Here's a closer look at my completed yellow I and the start of my pink C. 


Here are all of the markers I used to color my name. They look so pretty together! And I love the way they perform on paper. If you haven't read my review of Ohuhu's Pupe paper-friendly markers, do that now. 


You can leave your artwork like this, but the letters don't POP until you put them on a black background. Color the background black or cut out the letters and glue them to black paper. 


Looking for more name art ideas? I have a few dozen for you to choose from. I love name art. 

9/28/23

Dandelion Painting, Using Posca Markers

I recently learned that dandelions grow on every continent except Antarctica. They are entirely edible - the flowers, stems, leaves, and roots. The name dandelion comes from French and means "lion's tooth." And it turns out that they're really fun to draw. 


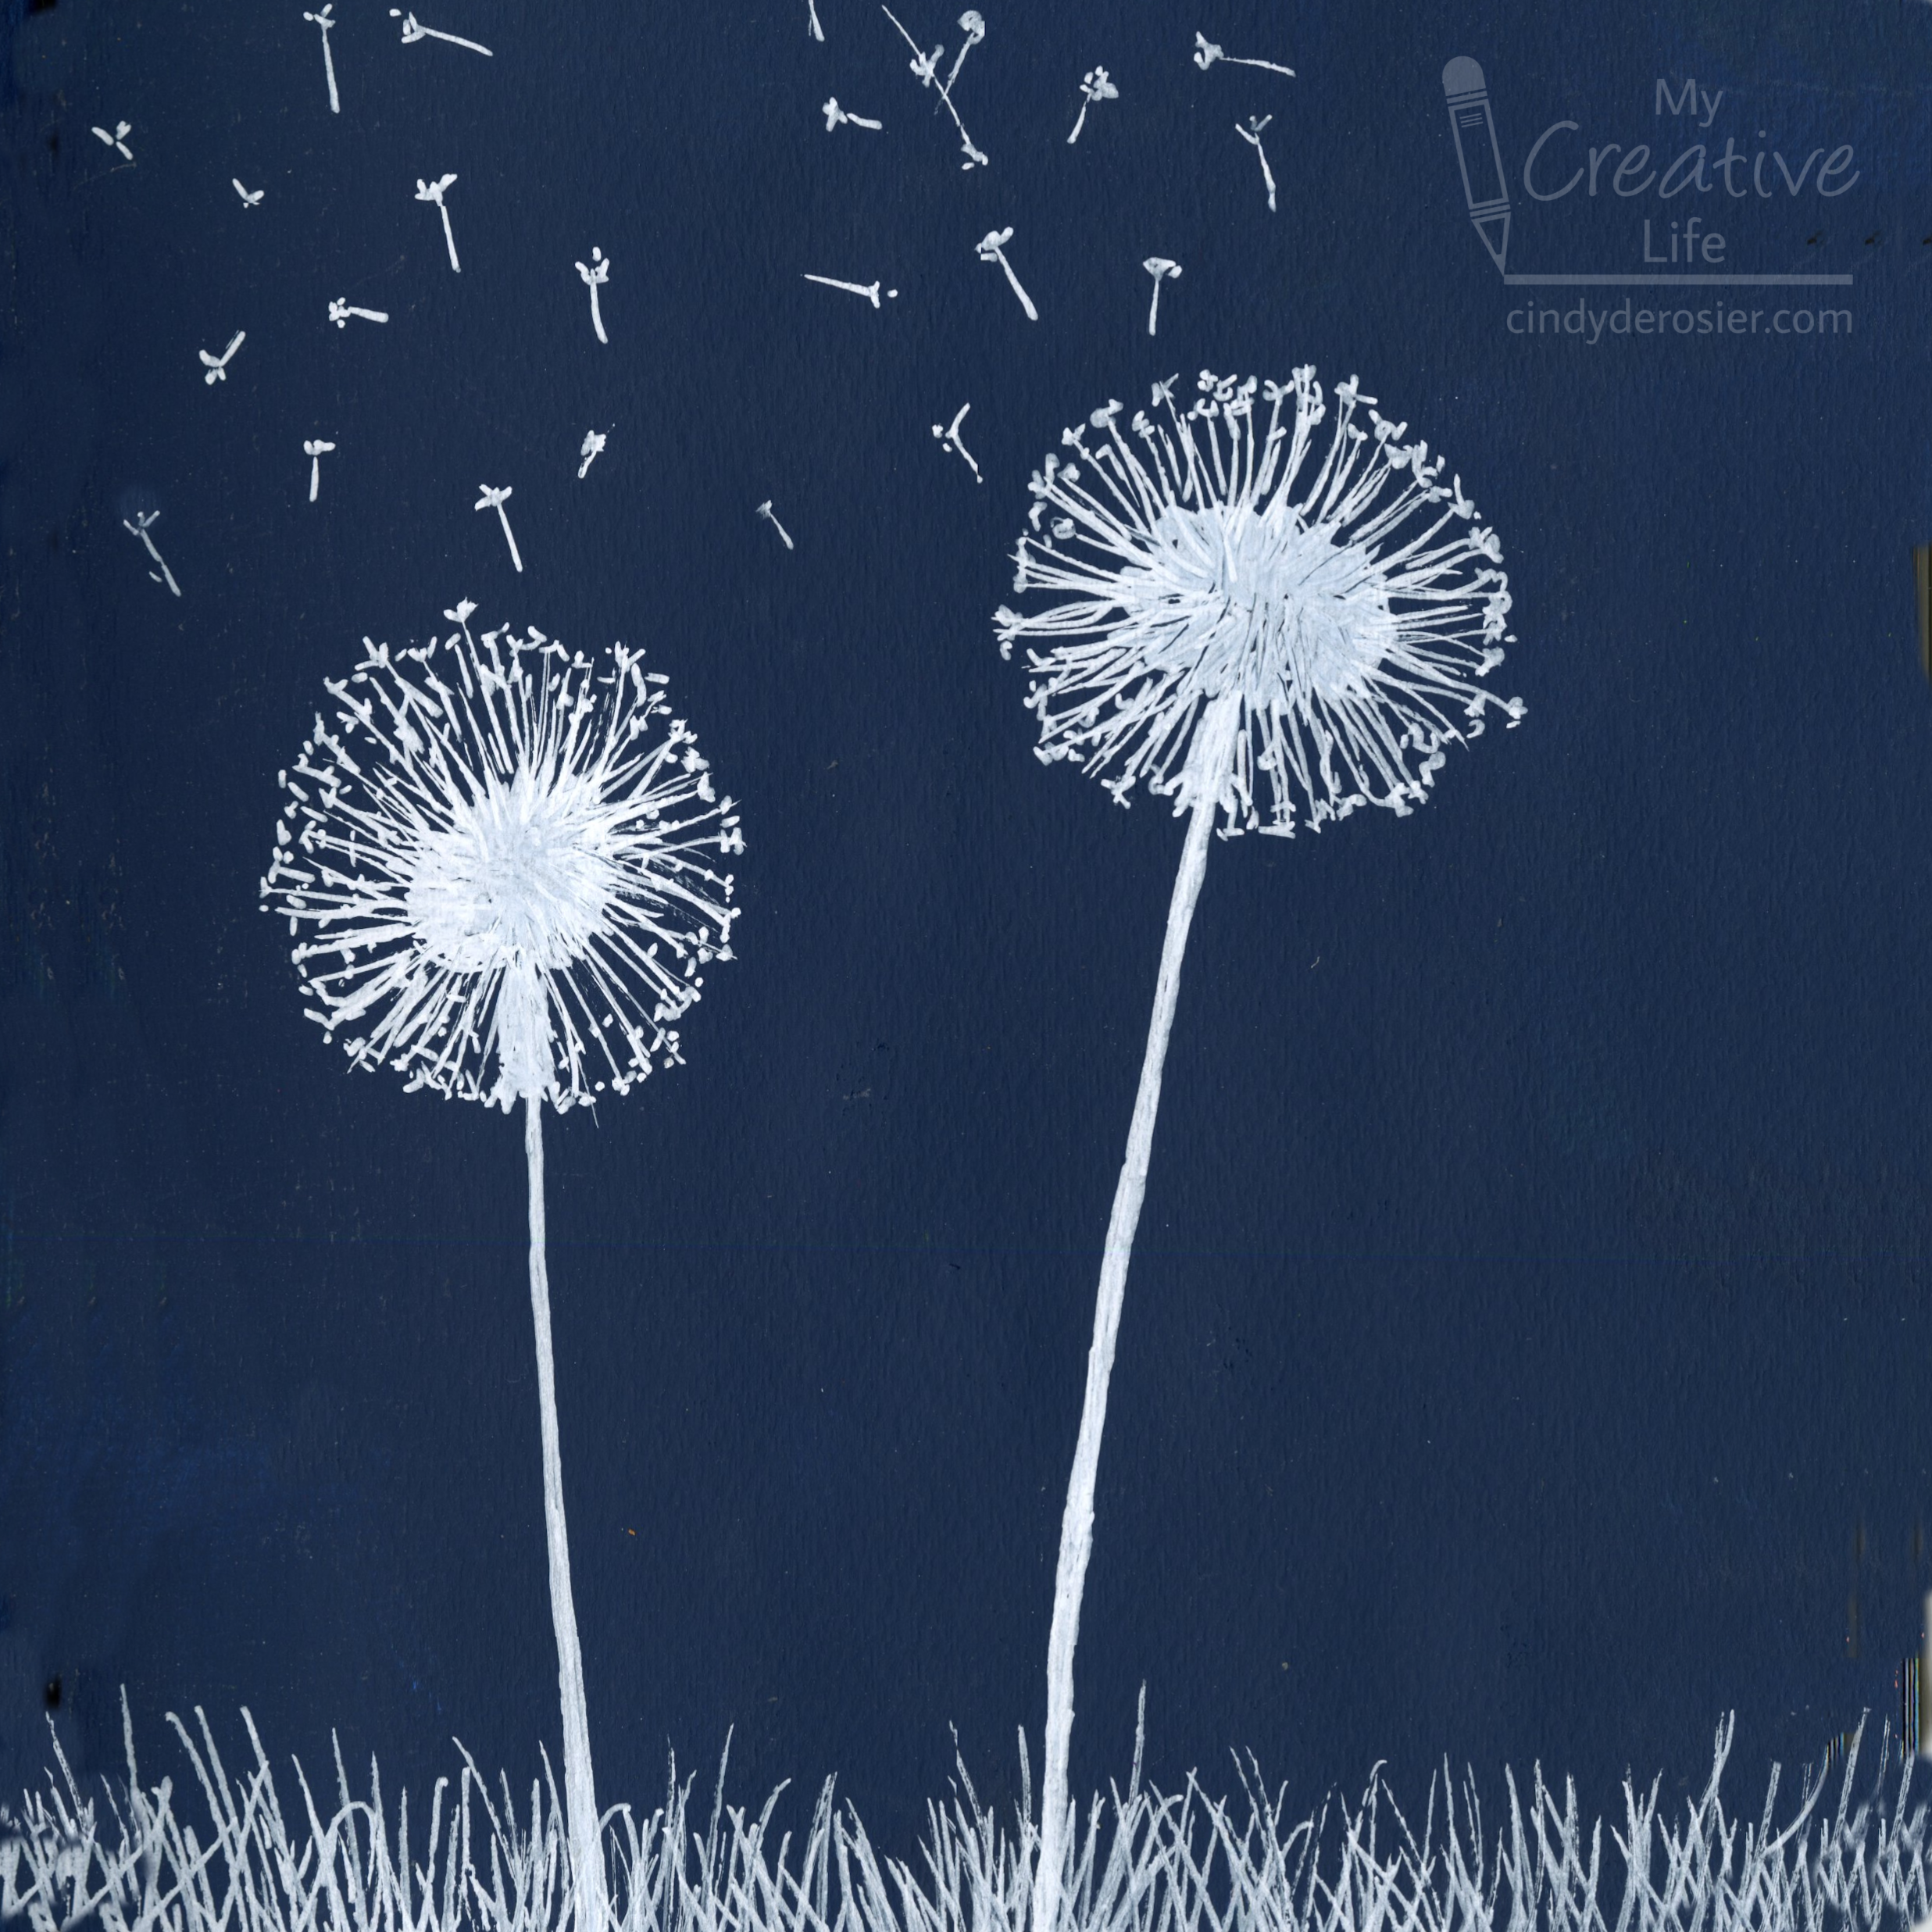
I painted a page in my sketchbook with Folk Art Midnight, let that dry, then used a white Posca marker to draw the dandelions (affiliate links). I started with the stems, then made oval blobs at the end of the stems. Then I used a flicking motion to create the florets coming from the oval. I added a tiny scribble at the end of each to mimic the fluffiness. I drew some florets randomly being carried off by the wind. The last thing I did was draw the grass. 

I've never tried to draw a dandelion before and working only in white was a great way to start. I didn't have to worry about color or shadows, which took away a whole level of difficulty. It was a fun exercise and I'm happy to have it in my sketchbook. 


3/16/23

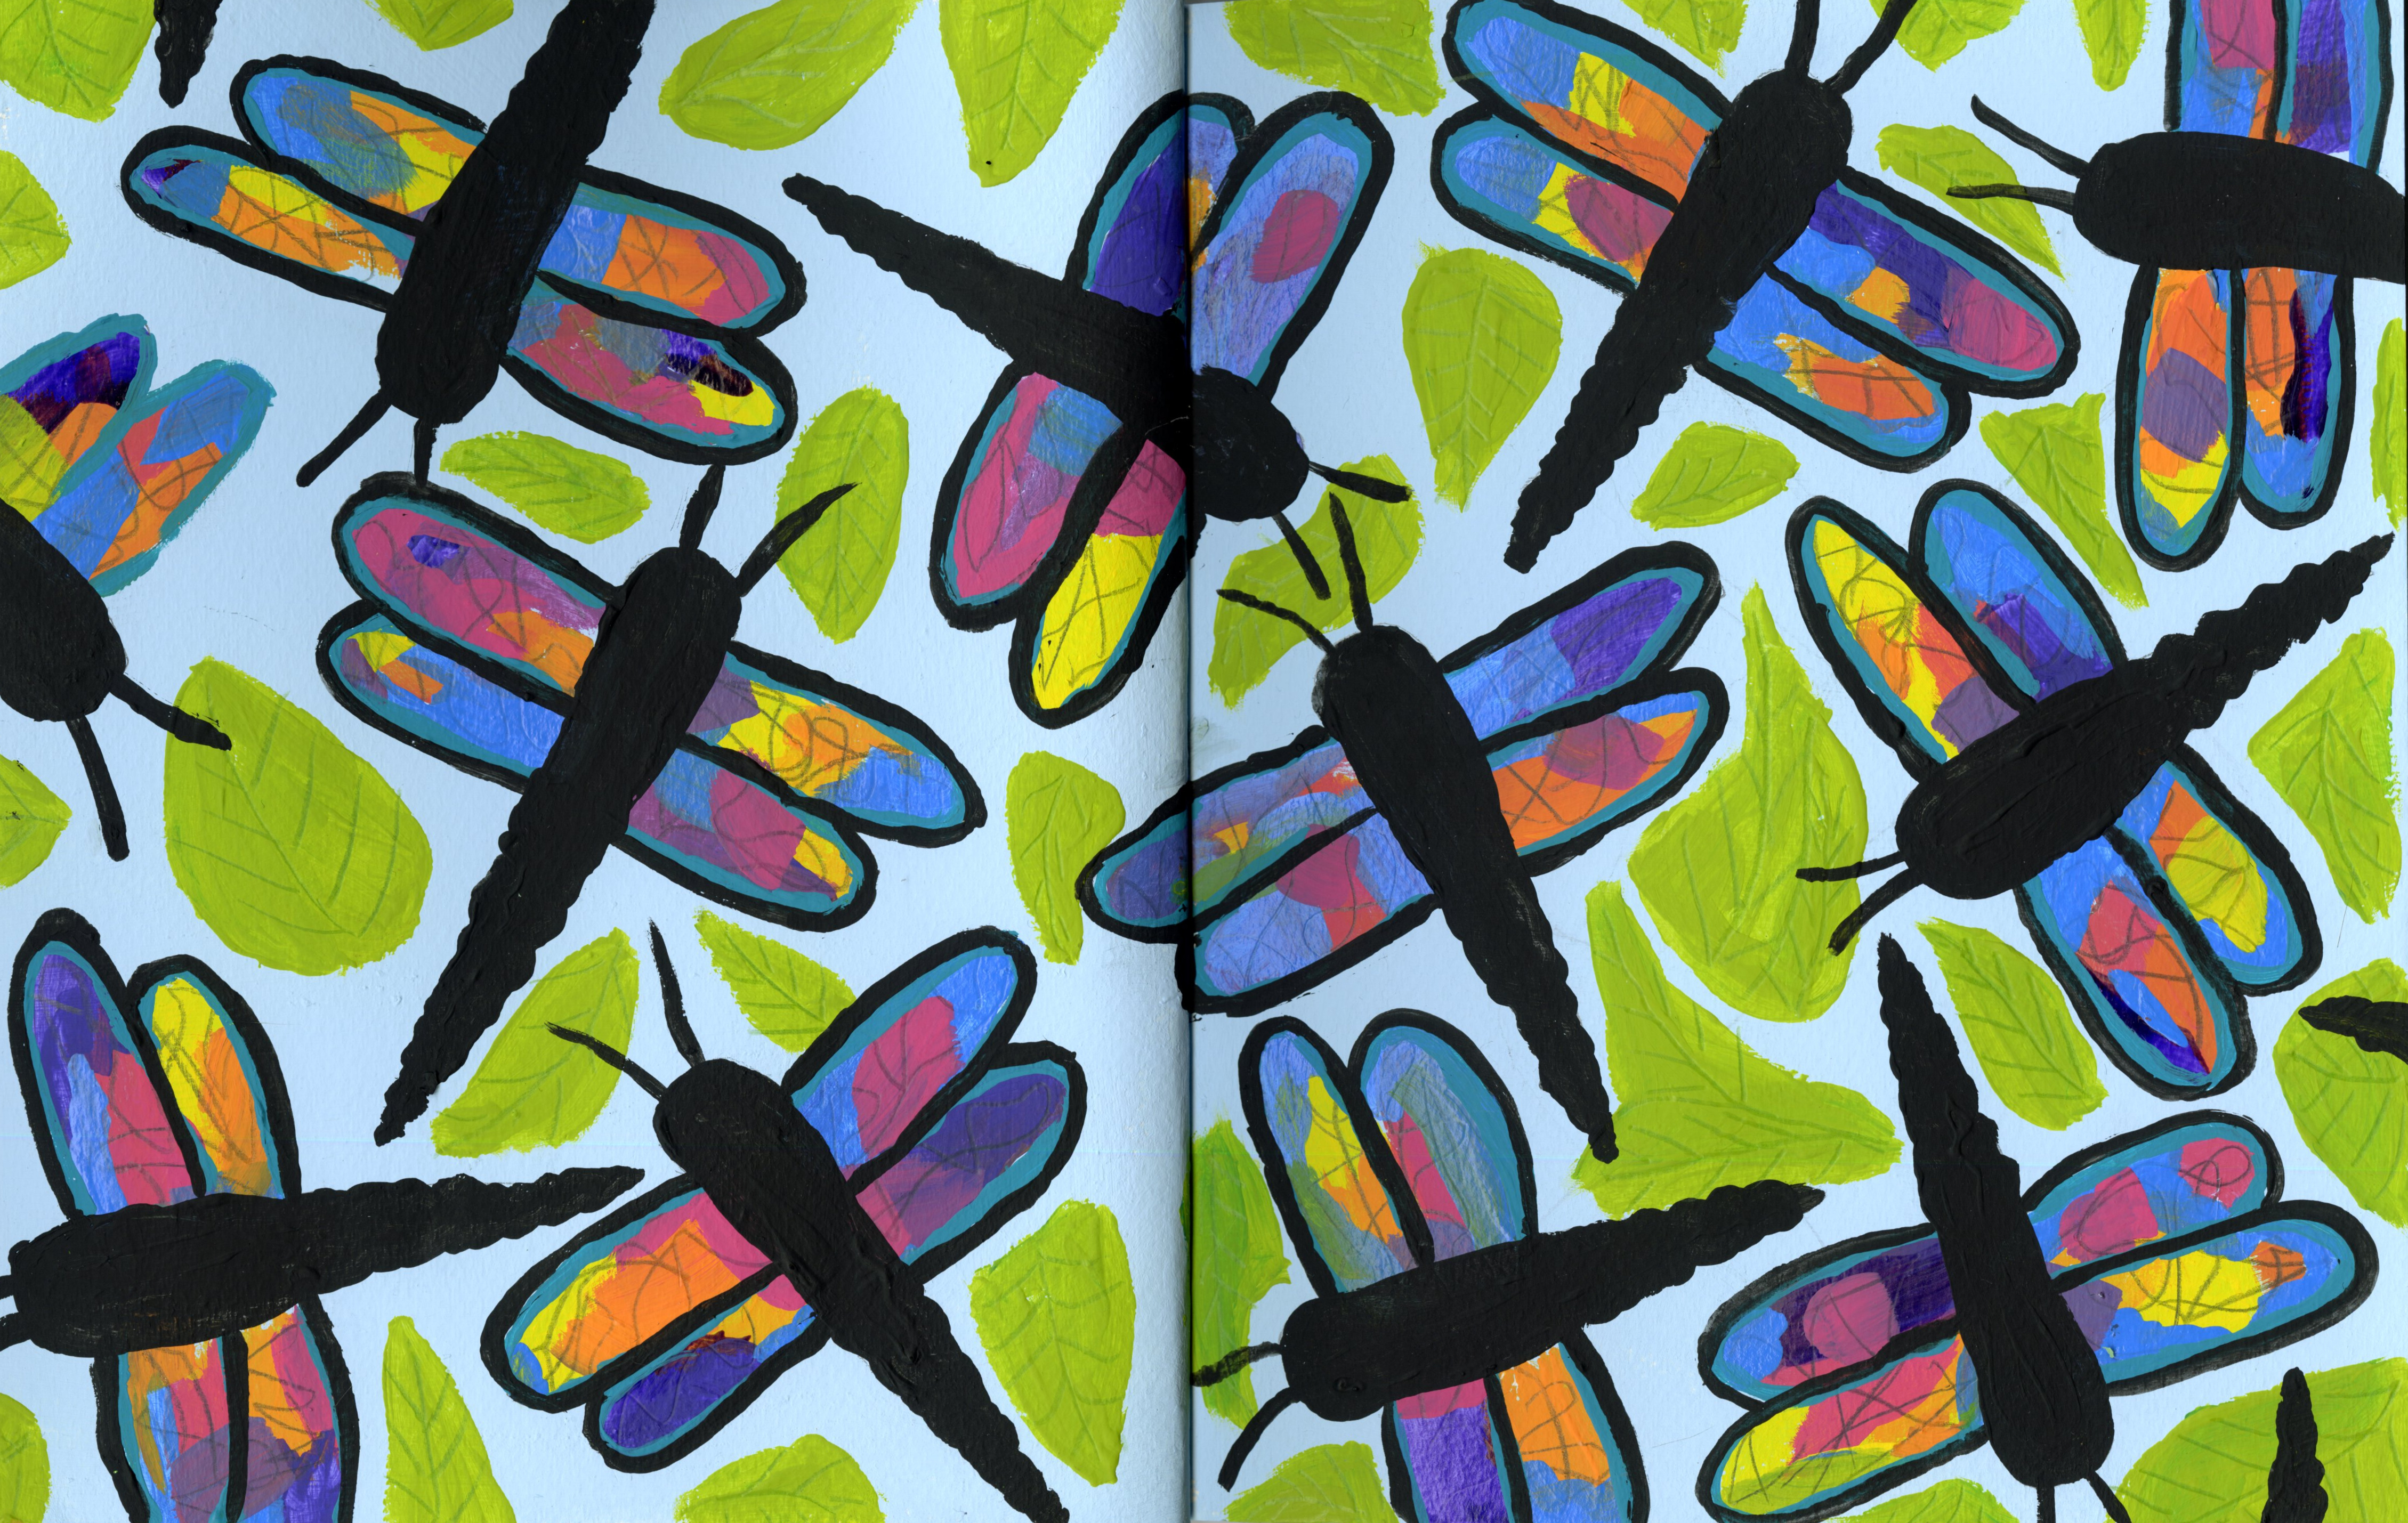
Painted Dragonflies, Inspired by 6th Grader Jack M. from Arkansas

I've been painting dragonflies in my sketchbook. Whimsical, colorful dragonflies. 


Immediately before I started painting dragonflies, I was doing prep work for an upcoming trip to Arkansas. I'm very excited to get to see some of the things we were supposed to have seen over winter break. I thought rescheduling the trip would be a lot easier than it's turning out to be. I'd already done all the research before, so it's just a matter of booking exactly the same things, right? Nope. We're traveling for a different number of days. Attraction hours have changed, due to the season and holidays. Hotels I'd booked for winter are full or prohibitively expensive for when we'll be traveling. All this to say, I'm basically having to redo everything.

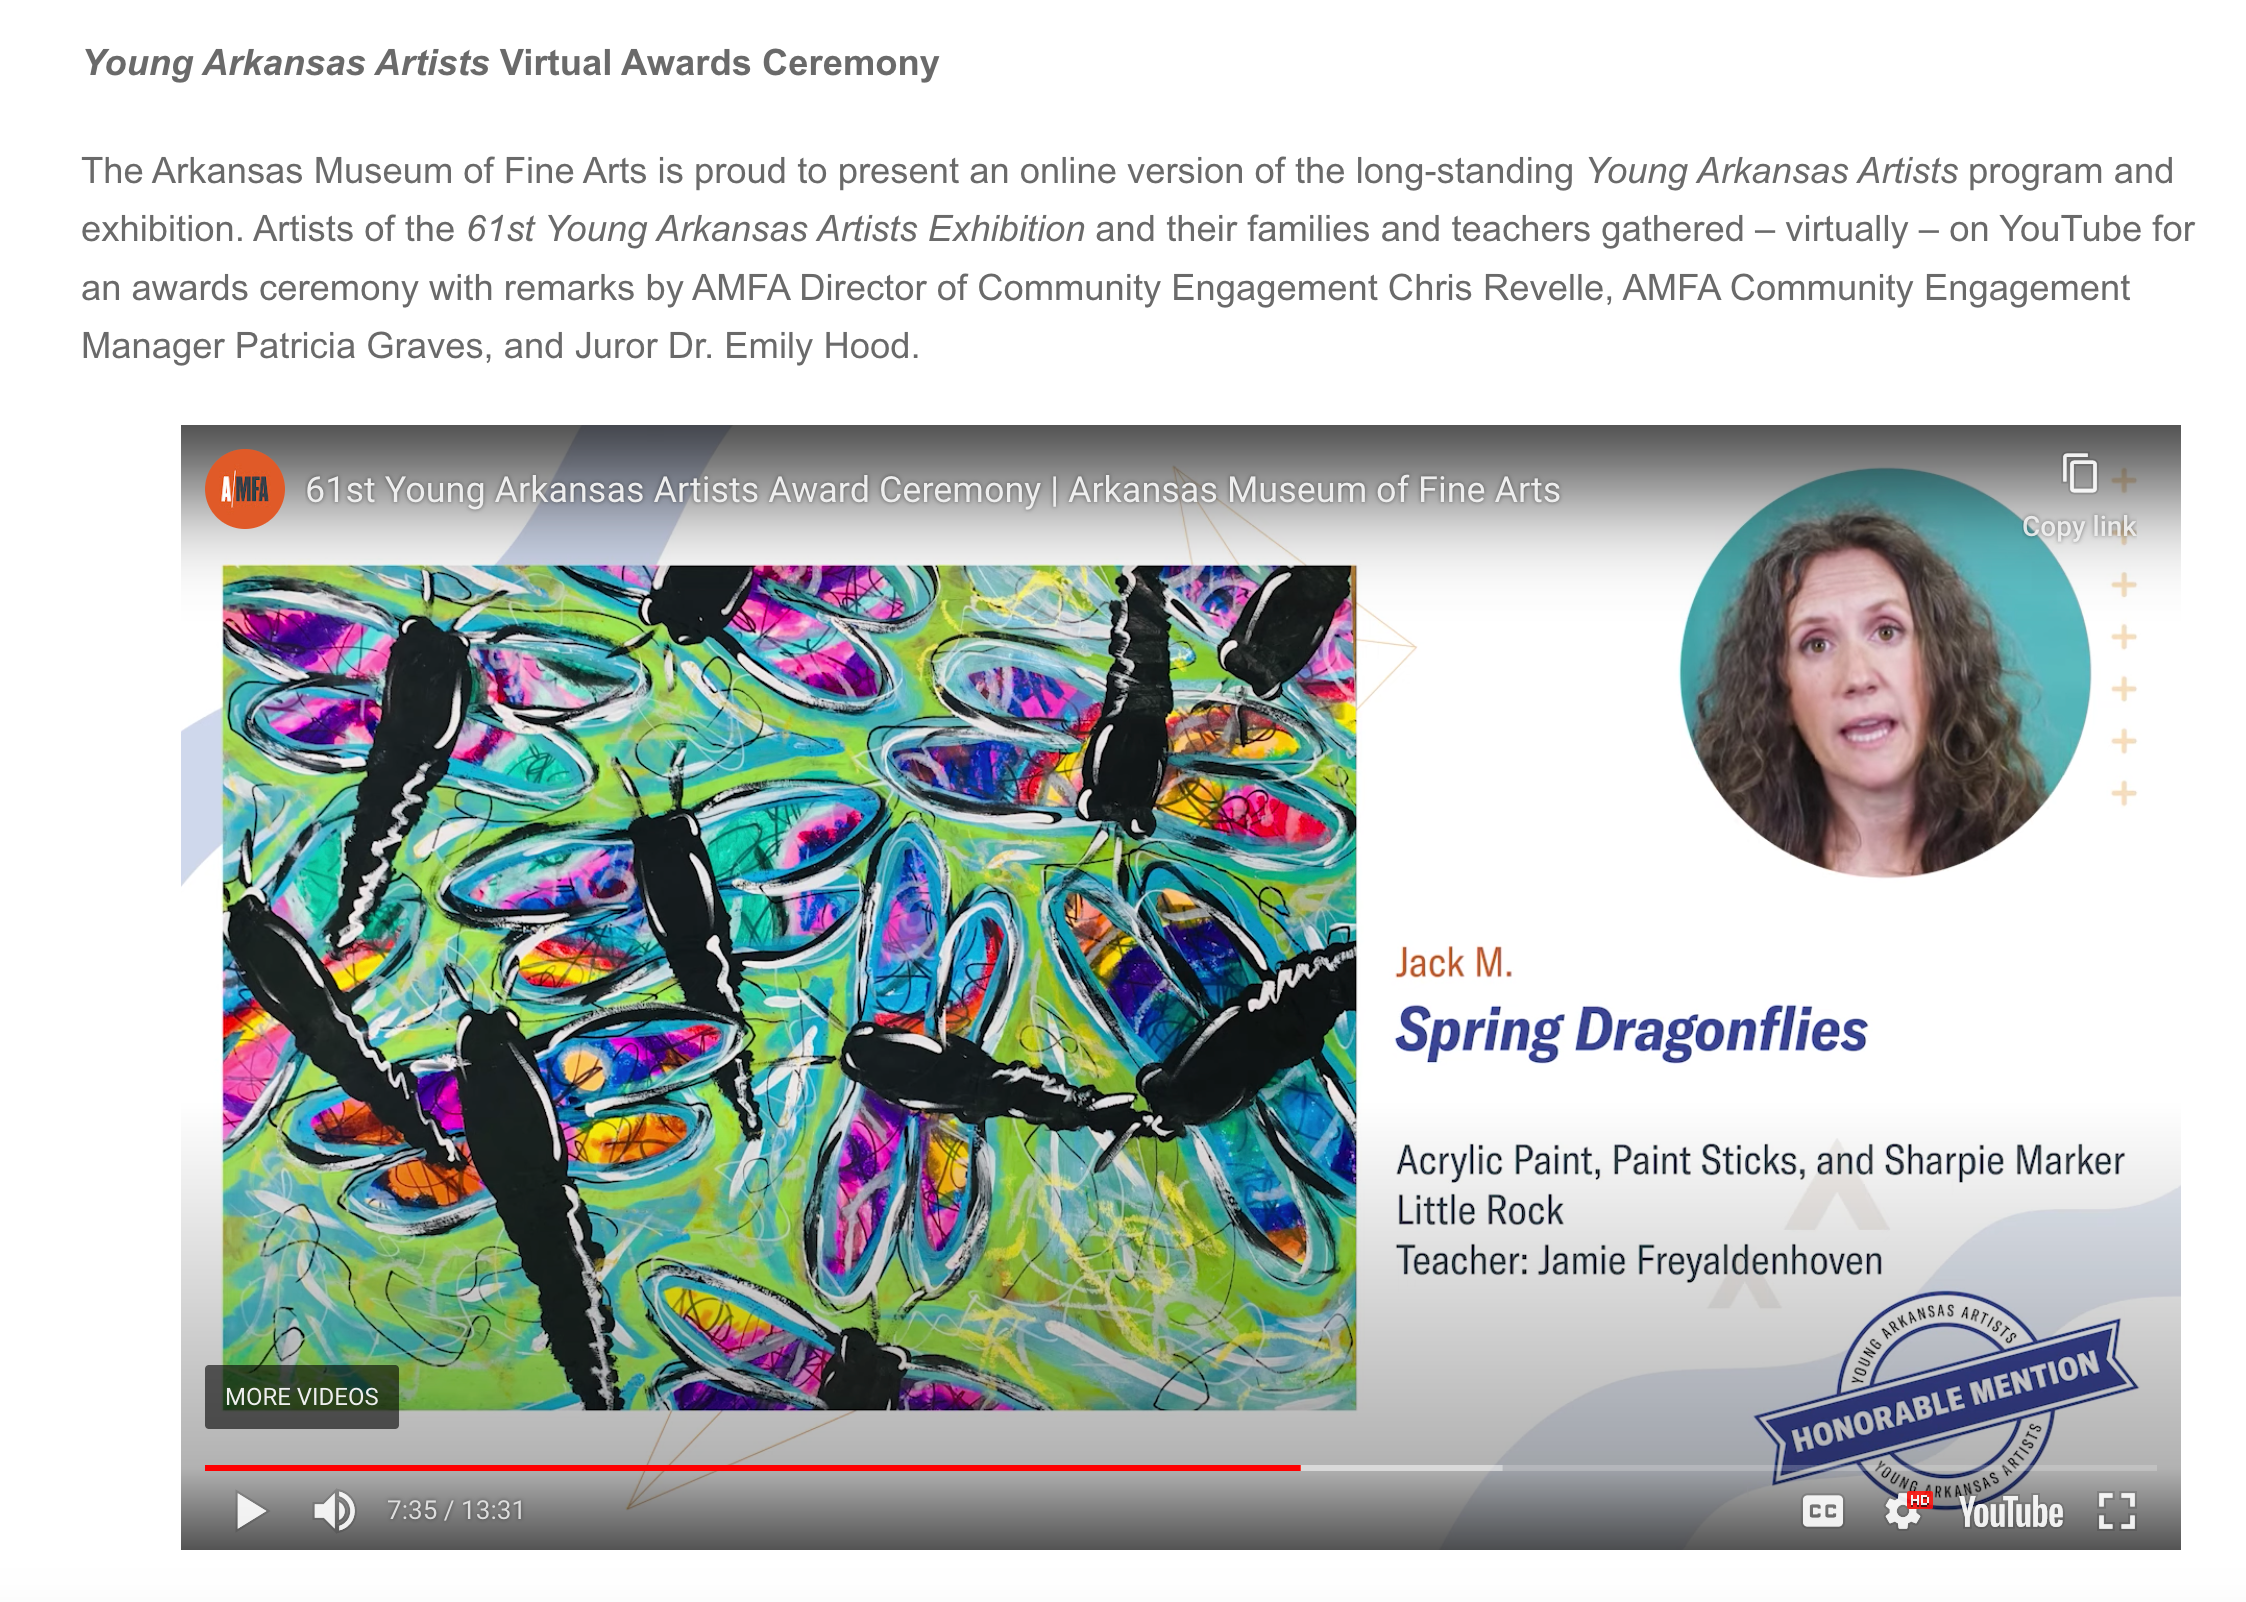
But plenty of good has come of this. We'll be visiting a few places that were closed over the winter holidays and now will be open. The extended daylight hours and non-freezing temperatures make parks, botanical gardens, pedestrian bridges, and other outdoor attractions much more, well, attractive. And speaking of attractive, I stumbled across the awards ceremony for the 61st Young Arkansas Artists Award Ceremony

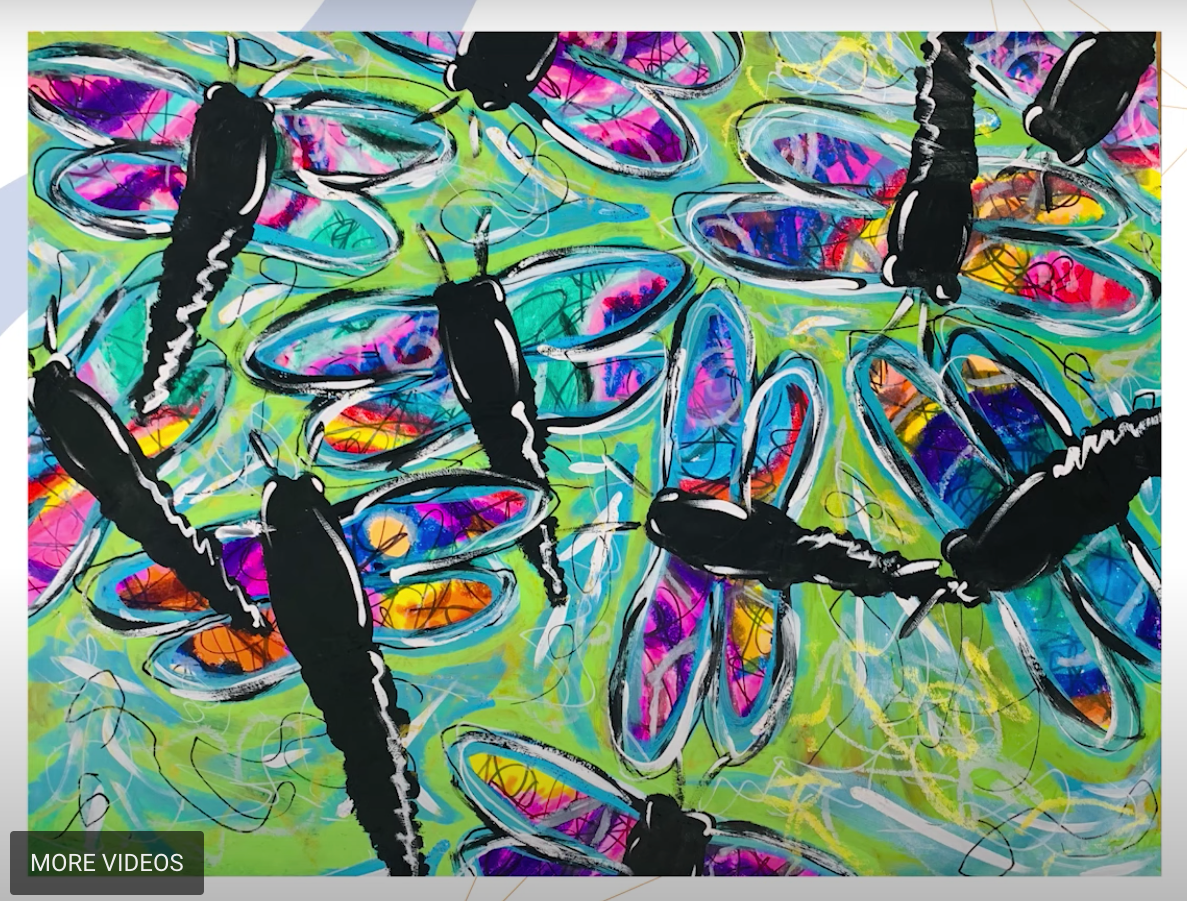
One piece stood out to me: Spring Dragonflies, by Jack M. Jack is a 6th grade student of teacher Jamie Freyaldenhoven, somewhere in Arkansas. Or at least, he was. The video was posted 10 months ago, so presumably Jack M. is in 7th grade now. 


Jack got Honorable Mention, but I am awarding him Judge's Favorite. I love Jack's artwork. The colors, the textures, and the sense of motion really draw me in. I dropped everything so that I could make my own version. This is officially the latest project in my "Inspired By" series. As before, my style is nothing like this artist's. I was curious to see how my personal aesthetic would come through using Jack's piece as inspiration. 

I know absolutely nothing about his process, although I do know he used acrylic paint, paint sticks, and a Sharpie. I don't own paint sticks (something to add to my Amazon wishlist?), but I own plenty of acrylic paint and Sharpies. (Well, not plenty. I'm always on the lookout for new colors of both.) Affiliate links here and below. 

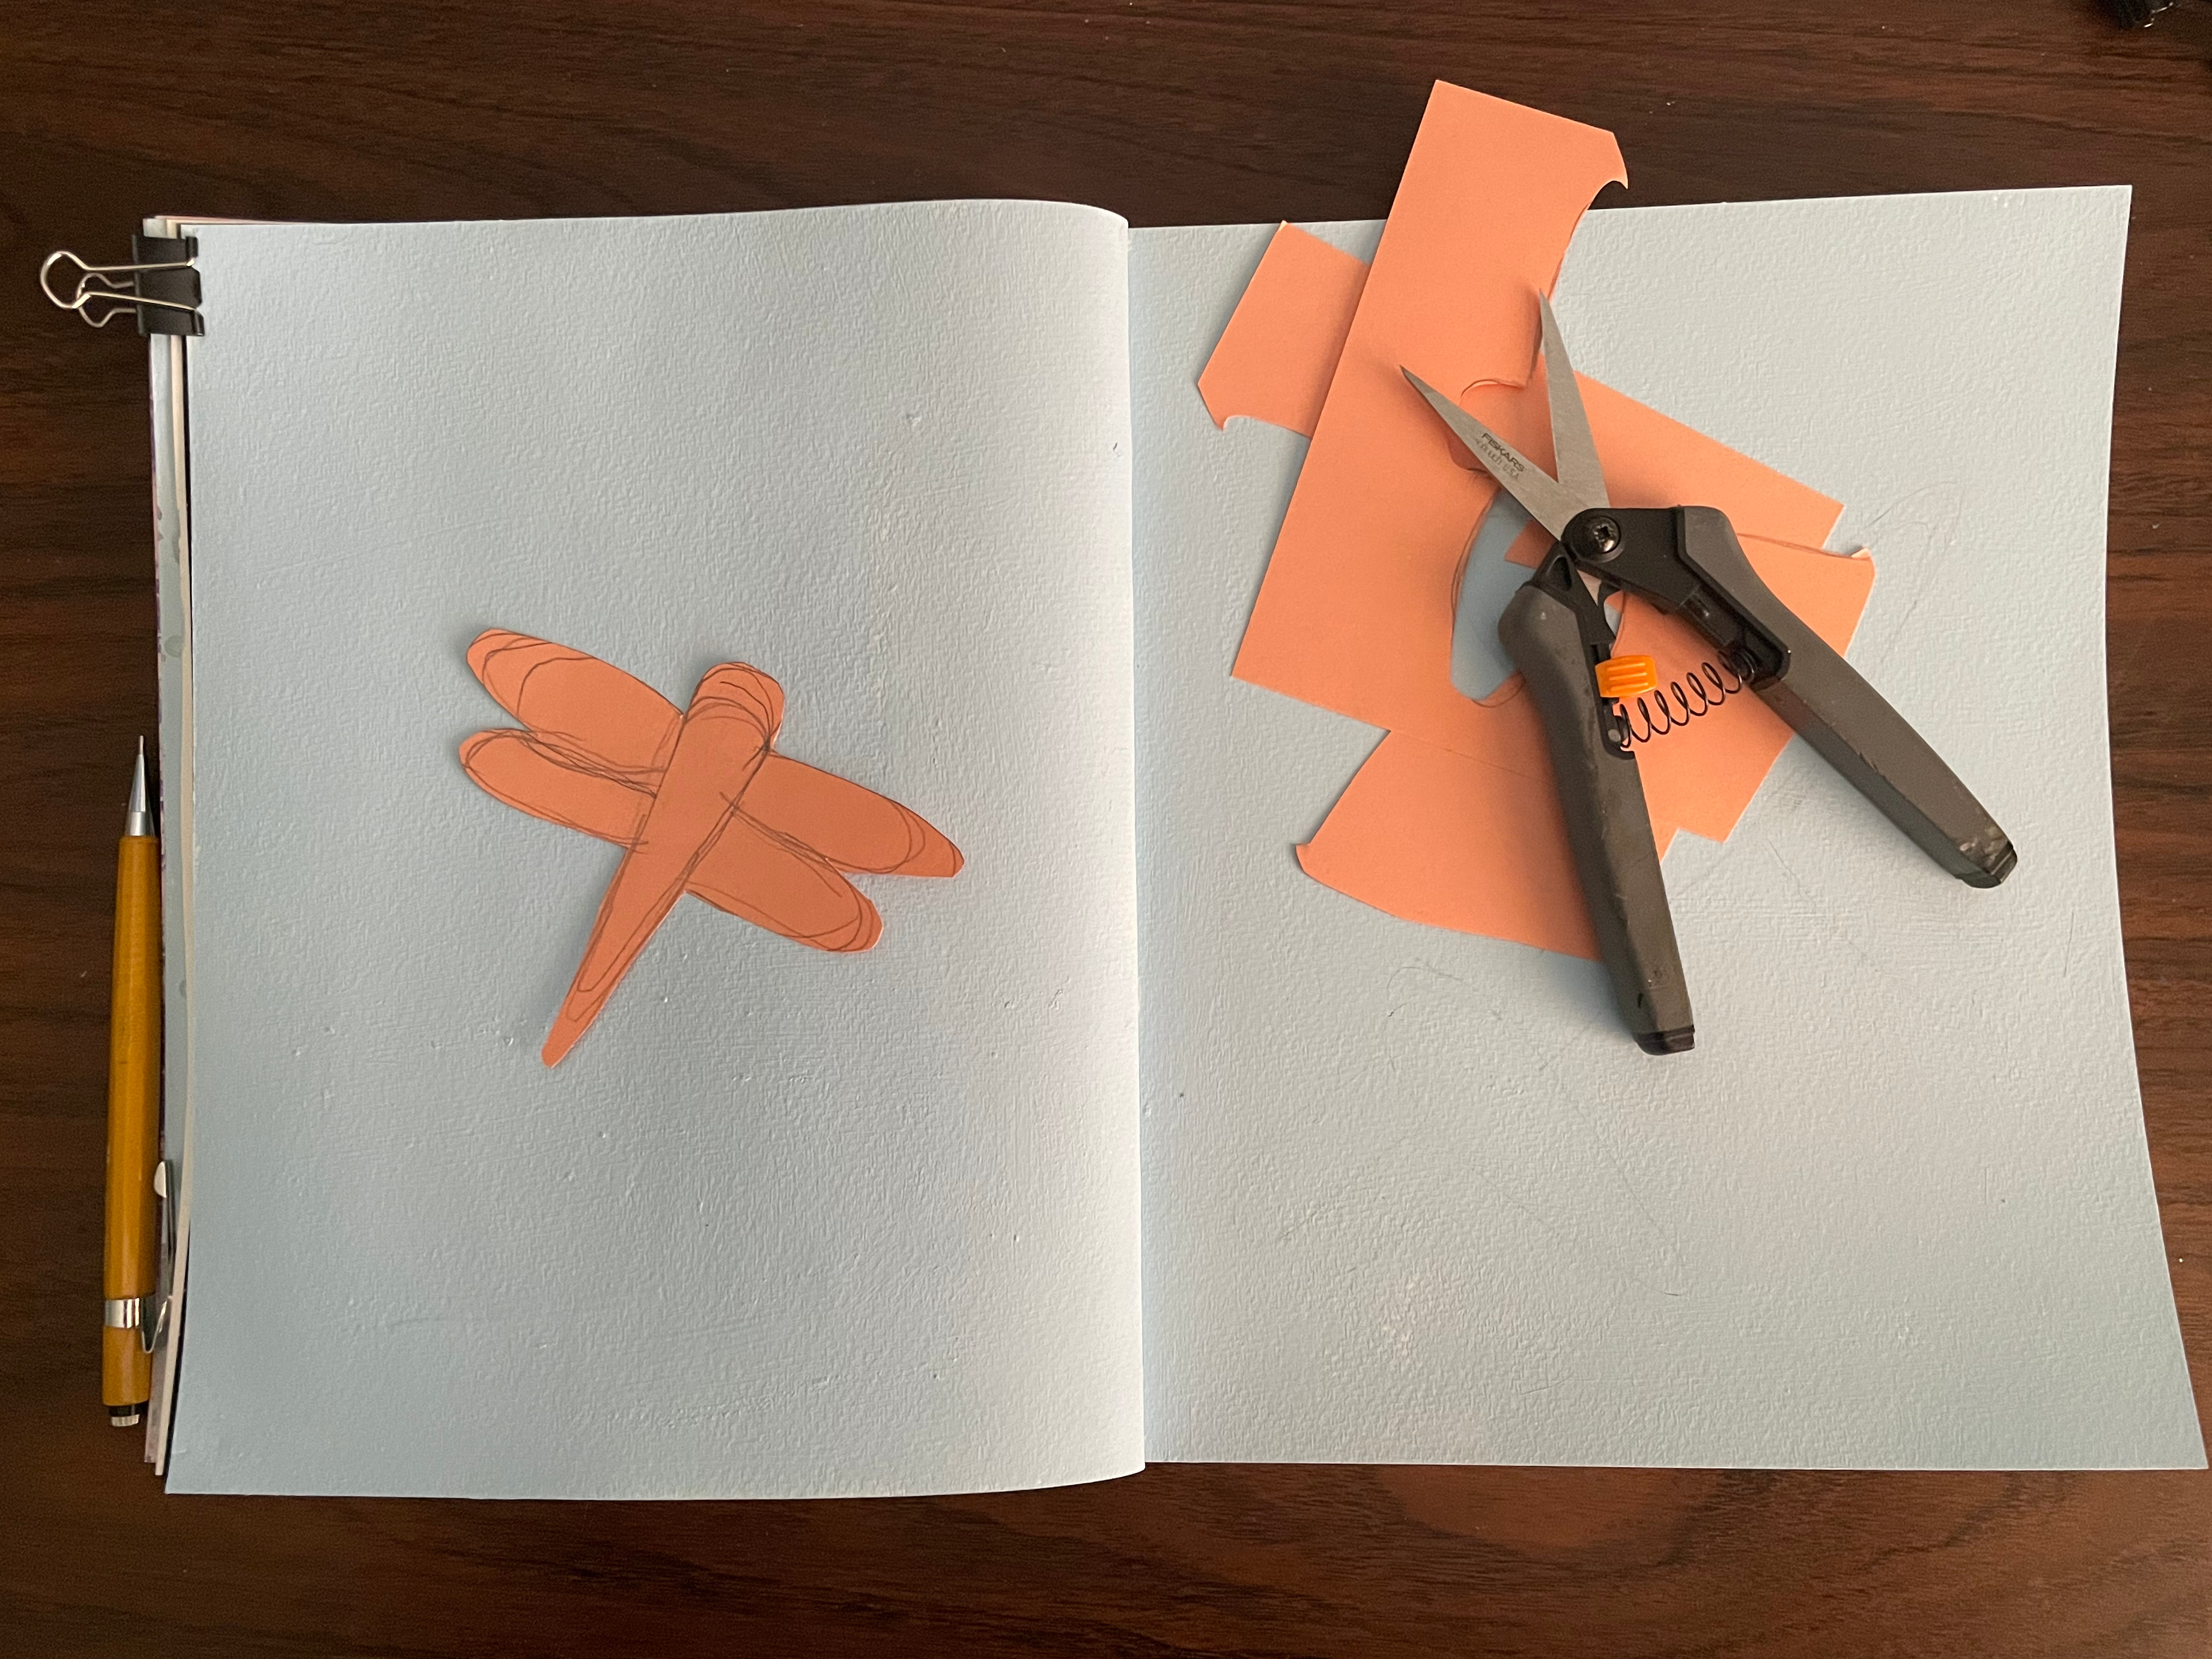
I started by painting two pages of my sketchbook sky blue. While that was drying, I cut out a dragonfly template from some scratch cardstock. I could have drawn them freehand, but having the template made it easier to play with orientation and to keep the sizes consistent. 


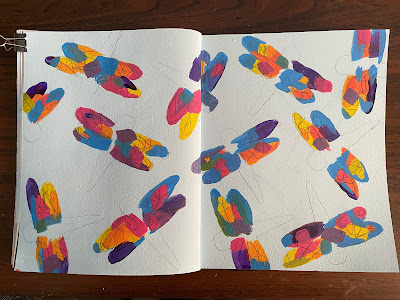
I traced dragonflies, then painted the wings with random spots of color. I used the same basic colors Jack did (yellow, orange, pink, blue, and purple), but I made no effort to mimic his placement of color. When that was dry, I used a navy colored pencil to scribble onto the wings. This added some of the movement and texture I see in Jack's work. 


Next, I painted the black bodies of the dragonflies and outlined their wings with black paint. In between the dragonflies, I put patches of green. While Jack used a a bright, almost-neon green to do a loose outline, I used a leaf green to paint leaves between the dragonflies. 


My next step was using a green colored pencil to draw veins on the leaves. Then I painted on the dragonflies' antennae. I switched to scanning because it was getting too dark in the craft room to do quick phone photos. 


The last thing I did was to use my new Posca pen to add eyes, highlights, and outlines to the dragonflies, similar to what Jack did. I opted not to add any white to my background like he did. Here's my finished artwork:


And here's Jack's: 


No surprise, mine feels very controlled next to his more whimsical, freer piece. I like control - what can I say. But the inspiration is definitely there and I did use techniques that I wouldn't otherwise have tried. Jack M. from Arkansas, keep making art. I'm a fan. 

One final note: both Washington and Alaska have a dragonfly as their state insect. It's easy to adapt this painting to make either of them. For the Green Darner Dragonfly, leave the wings the color of the background, then scribble in them with a brown pencil. Paint the bodies green, blue, yellow, and garnet, as shown in the photo. For the Four-Spot Skimmer Dragonfly, leave the wings the color of the background, then use a silver pencil to scribble in them. Paint the bodies gold, brown, and black, using the photo as a reference.