Showing posts with label brad. Show all posts

11/9/22

Paper Plate Constellations

Ready to see what I made for the "Something Beautiful" prompt? I took the suggestion of stars and used it to make a cool paper plate constellation craft. 


While you could certainly do this alone or as a family, I'm imagining this as a craft for a group. Back in my teaching days, I took my students camping each year (3 different camping experiences over the 11 years). Our school also had an annual Space Week. It would have been so cool to assign each kid one constellation to make, then they could work in groups to try to find their constellations in the night sky. Affiliate links below. 

Paper Plate Constellations


Materials:


Steps: 

Paint the paper plate dark blue and let it dry. Use an old toothbrush or stiff brush to flick gold paint over the blue. 

Meanwhile, draw your constellation on a piece of scrap paper. I did the Big Dipper (*not technically a constellation), but you can choose whatever you want. When the paint is dry, place the scrap paper on the paper plate and use a pushpin to poke through each star in the constellation. 


Thread a needle with 3 strands of gold embroidery floss. Stitch the lines of the constellation. The easiest way to do this is to orient yourself toward a window or lamp and hold the plate vertically in front of you as you sew. This makes it easy to see the holes. 
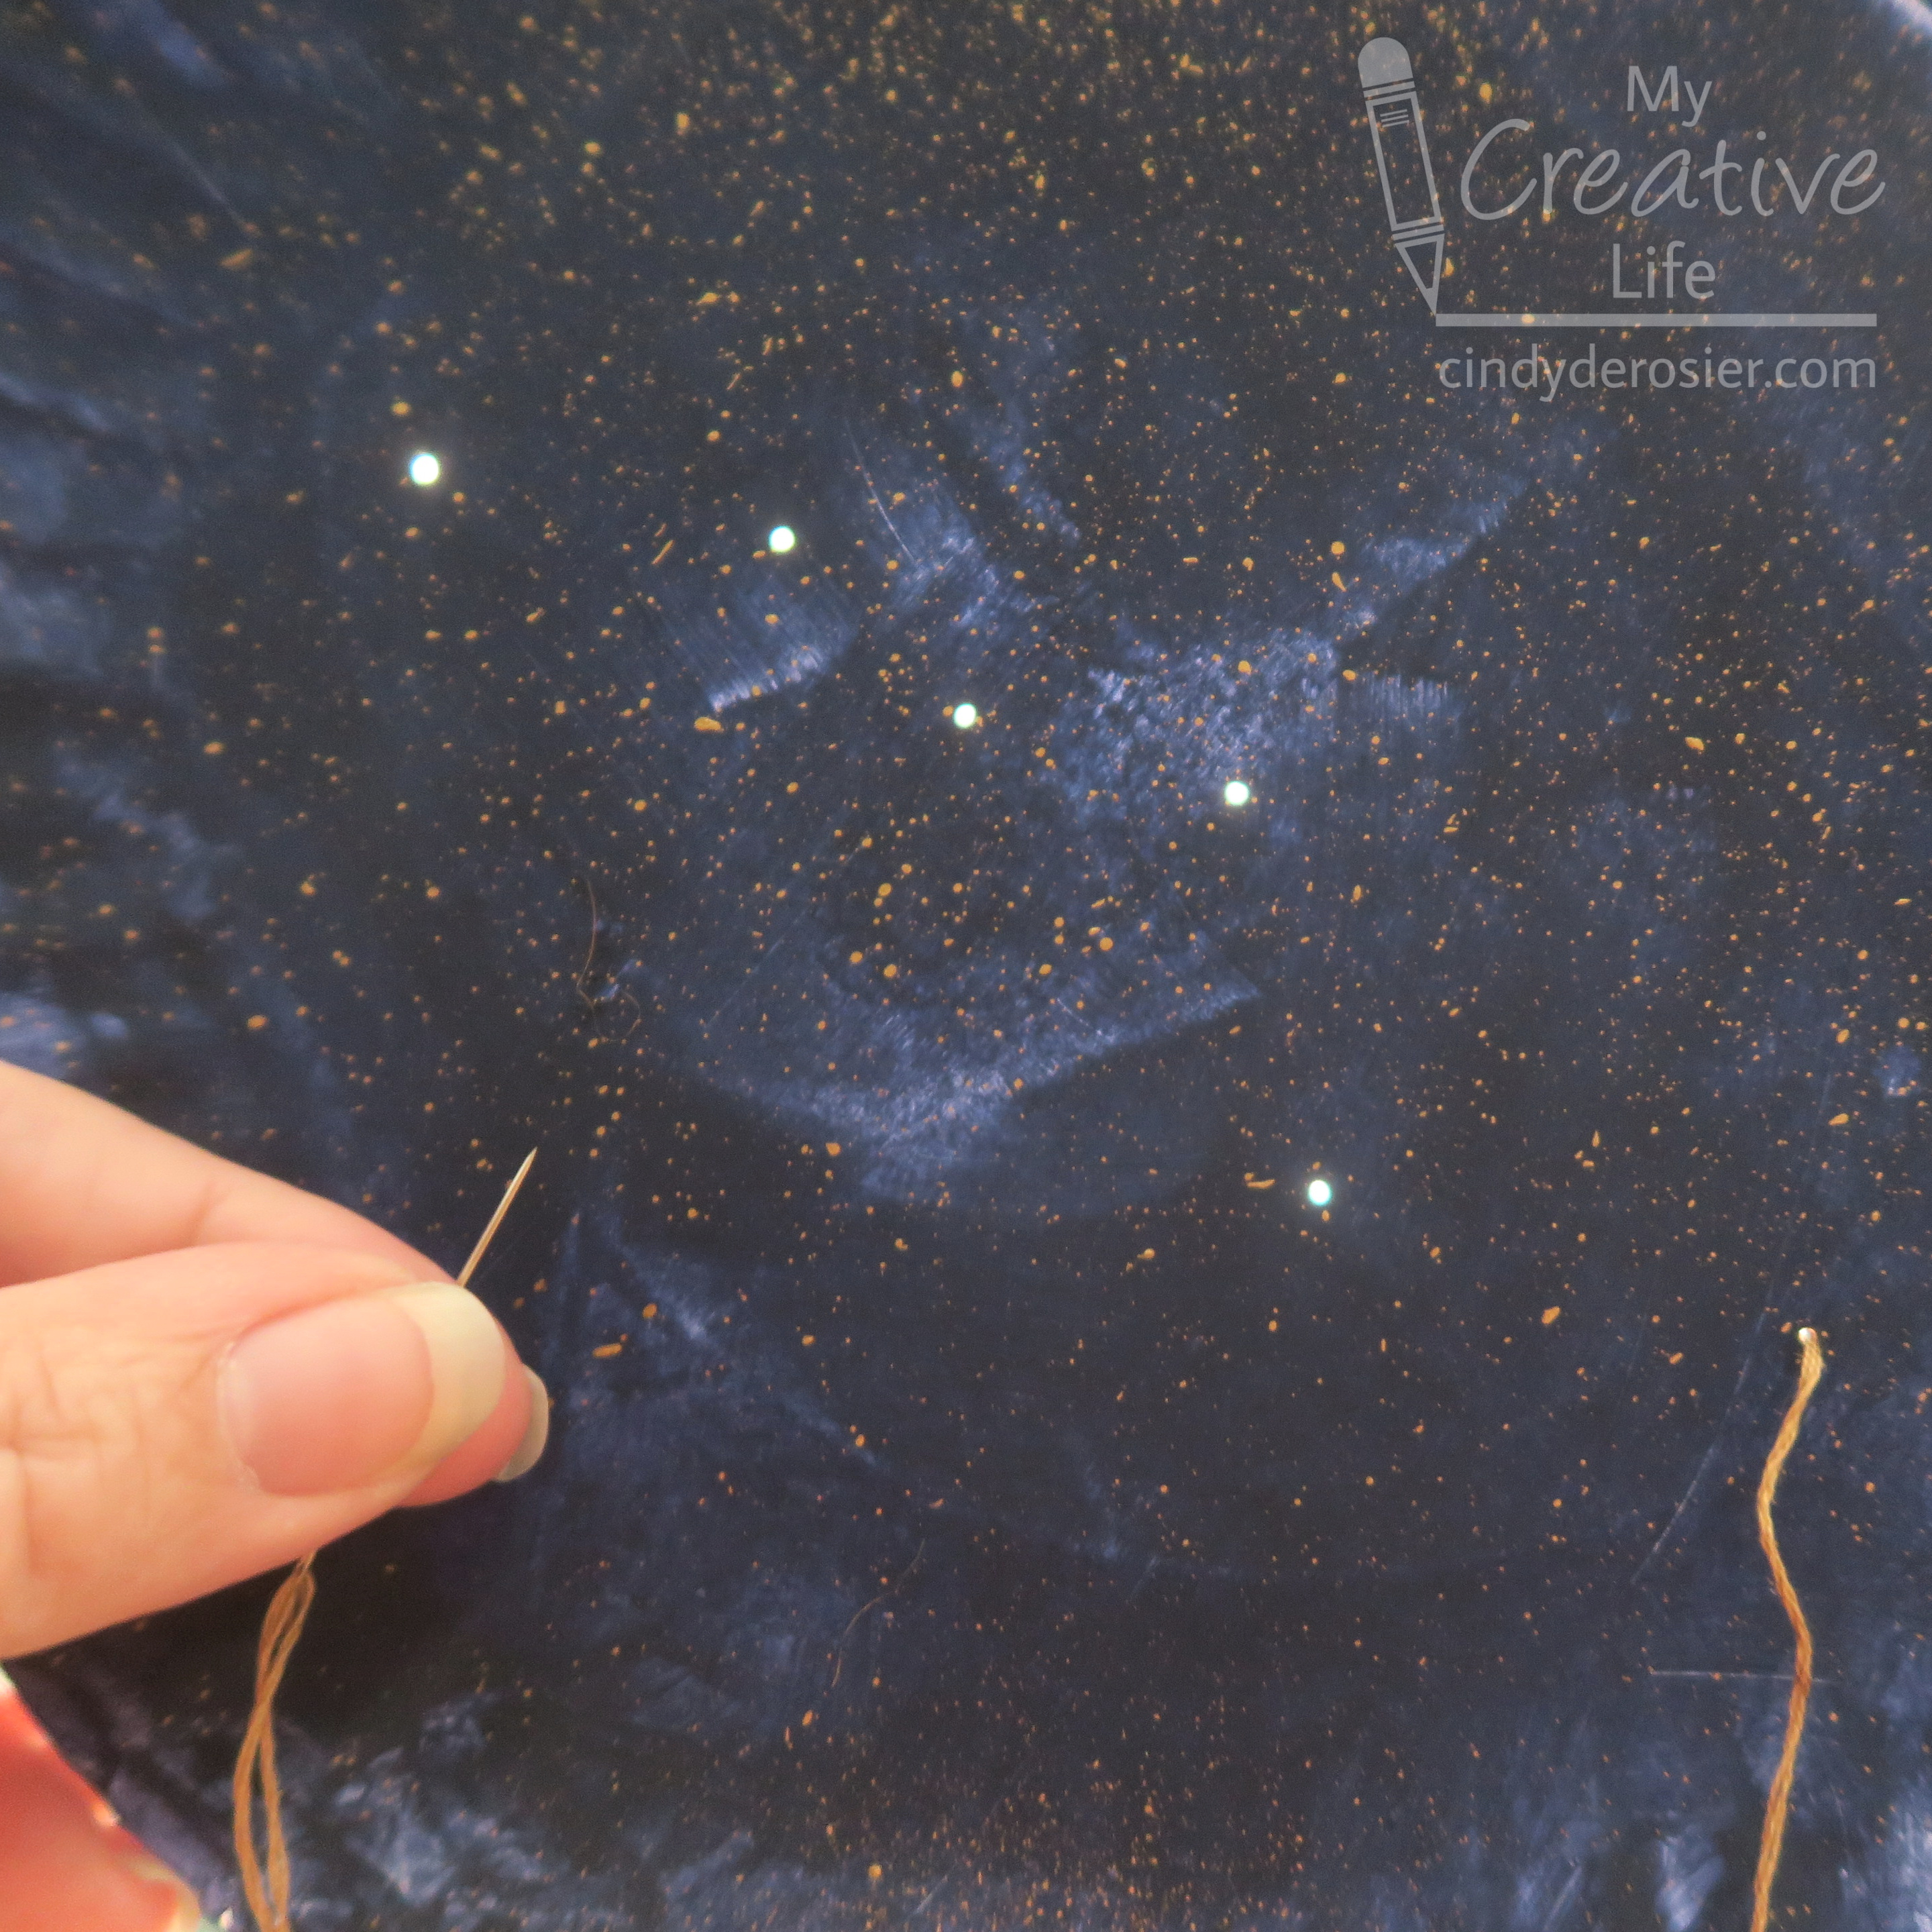

Put a star-shaped brad into each hole. 


*As I noted above, the Big Dipper is technically not one of the 88 recognized constellations. It is actually an asterism that is part of Ursa Major. 

9/23/20

Paper Plate Garter Snake

I like snakes. More accurately, I like harmless snakes in nature where they belong. It's always a thrill to see a garter snake or a gopher snake in the backyard, where I know they are helping to keep the rodent population down. While technically it is a thrill to see a rattlesnake, I can live without ever having that thrill again. Fortunately, it is easy to tell the difference between dangerous and harmless snakes here in Northern California. As long as it doesn't have a triangular head and a rattle on its tail, it's welcome to visit my backyard. 

Today's project is a moveable garter snake, made from a paper plate. Both Massachusetts and Virginia have named the garter snake as their state reptile. Give this easy project a try! Affiliate links below. 


Paper Plate Garter Snake


Materials:


Steps:


Cut the rim of the paper plate away from the center. Use the center to cut the snake's head. Cut the rim into four sections that are approximately the same size. 

Paint the head and each of the sections brown. When the paint is dry, add a Camel stripe down the center of each body section and along the edges. 


Line up two body parts so that they overlap slightly, use the craft pick to poke a hole, and connect the two pieces with a brad. Continue until all four body pieces are connected. Then connect the head to one end of the body. 


Use the scissors to round off the tail end of the snake. 

Draw a pupil on the enamel dots, then stick the dots to the snake's face. (I drew them vertical, but it appears they should be round. There is a lot of conflicting information about snake pupils.) Draw on two nostrils. 


I positioned my snake in the dirt to take photos. For a paper plate, I think it looks pretty convincing!