Showing posts with label star. Show all posts

12/9/25

Decorated Cinnamon Ornaments, Three Ways

Have you ever made the classic cinnamon ornaments? They are fun and easy to make and they smell absolutely amazing. I've made cinnamon ornaments a handful of times, but this time I wanted to experiment with decorating them in three different ways. The results were really interesting! Affiliate links below. 


Cinnamon Ornaments


Materials: 


Steps: 


Mix the cinnamon and 5 tablespoons of applesauce in a bowl. Add the remaining applesauce if needed to make a smooth ball of dough. (Note: Some people add a tablespoon or two of Elmer's Glue to the dough, allegedly to help the ornaments last longer. I don't find this necessary, but go ahead and try it if you want.)

Roll out dough between two sheets of plastic wrap, to approximately 1/4" thick. Peel off the top sheet of plastic wrap, then cut ornaments from the dough. Use a straw to poke a hole in the top of each. Transfer your ornaments to a baking sheet. Ball up the scrap dough and repeat the steps until the dough is gone. Bake the ornaments at 200°F for about 2 hours. (Alternately, you can air dry them on a wire rack. It will take a day or two.)

Use a needle file to smooth any rough edges. You can see that the tree ornament below has some extra material (especially on the bottom branches) that needs to be removed. This task only takes a minute or two and it smells amazing. 


This is what all of my ornaments looked like after filing. See how much cleaner the tree looks? (Bottom left). 


On to decorating! I used three different products by Plaid to decorate my ornaments. I used Dots for the gingerbread man, star, and dotted tree; the paint pen for the snowman and holly leaf; and the paint for the bell and the other tree. 


As I was decorating, I was comparing the merits of each method. I found the Dots most difficult to control, but you can't beat the vibrancy and coverage. With practice, I could probably do better than the uneven dots and lines I made. The paint pen was the easiest to control, perfect for little details, but I had to let the first coat dry and do a second coat in order to get full coverage. The paint had good opacity and it was relatively easy to make simple lines and designs with a liner brush. 

I let everything dry overnight and ended up with this: 


The ones done with the paint pen are slightly less vibrant, but look at those tiny details. Now that I've tried them all, I'd recommend the paint pen for children, the paint or a paint pen for teens, and the Dots for cake decorators and other people who have spent a lot of time practicing squeezing with uniform pressure. 

The final step is adding hangers to your ornaments. I like the look of twine with these, but you can use ribbon, cording, or whatever else you want. 


The ornaments will last indefinitely, but their scent will fade over time. There are two ways to keep them smelling just as good as when you made them. The first is to gently file the edges and back each year before hanging them on the tree. This will, of course, make the ornaments smaller over time and will eventually cause them to break. Alternately, you can add a tiny drop of cinnamon oil to the back of the ornaments. 

12/1/22

Goodnight Moon Craft

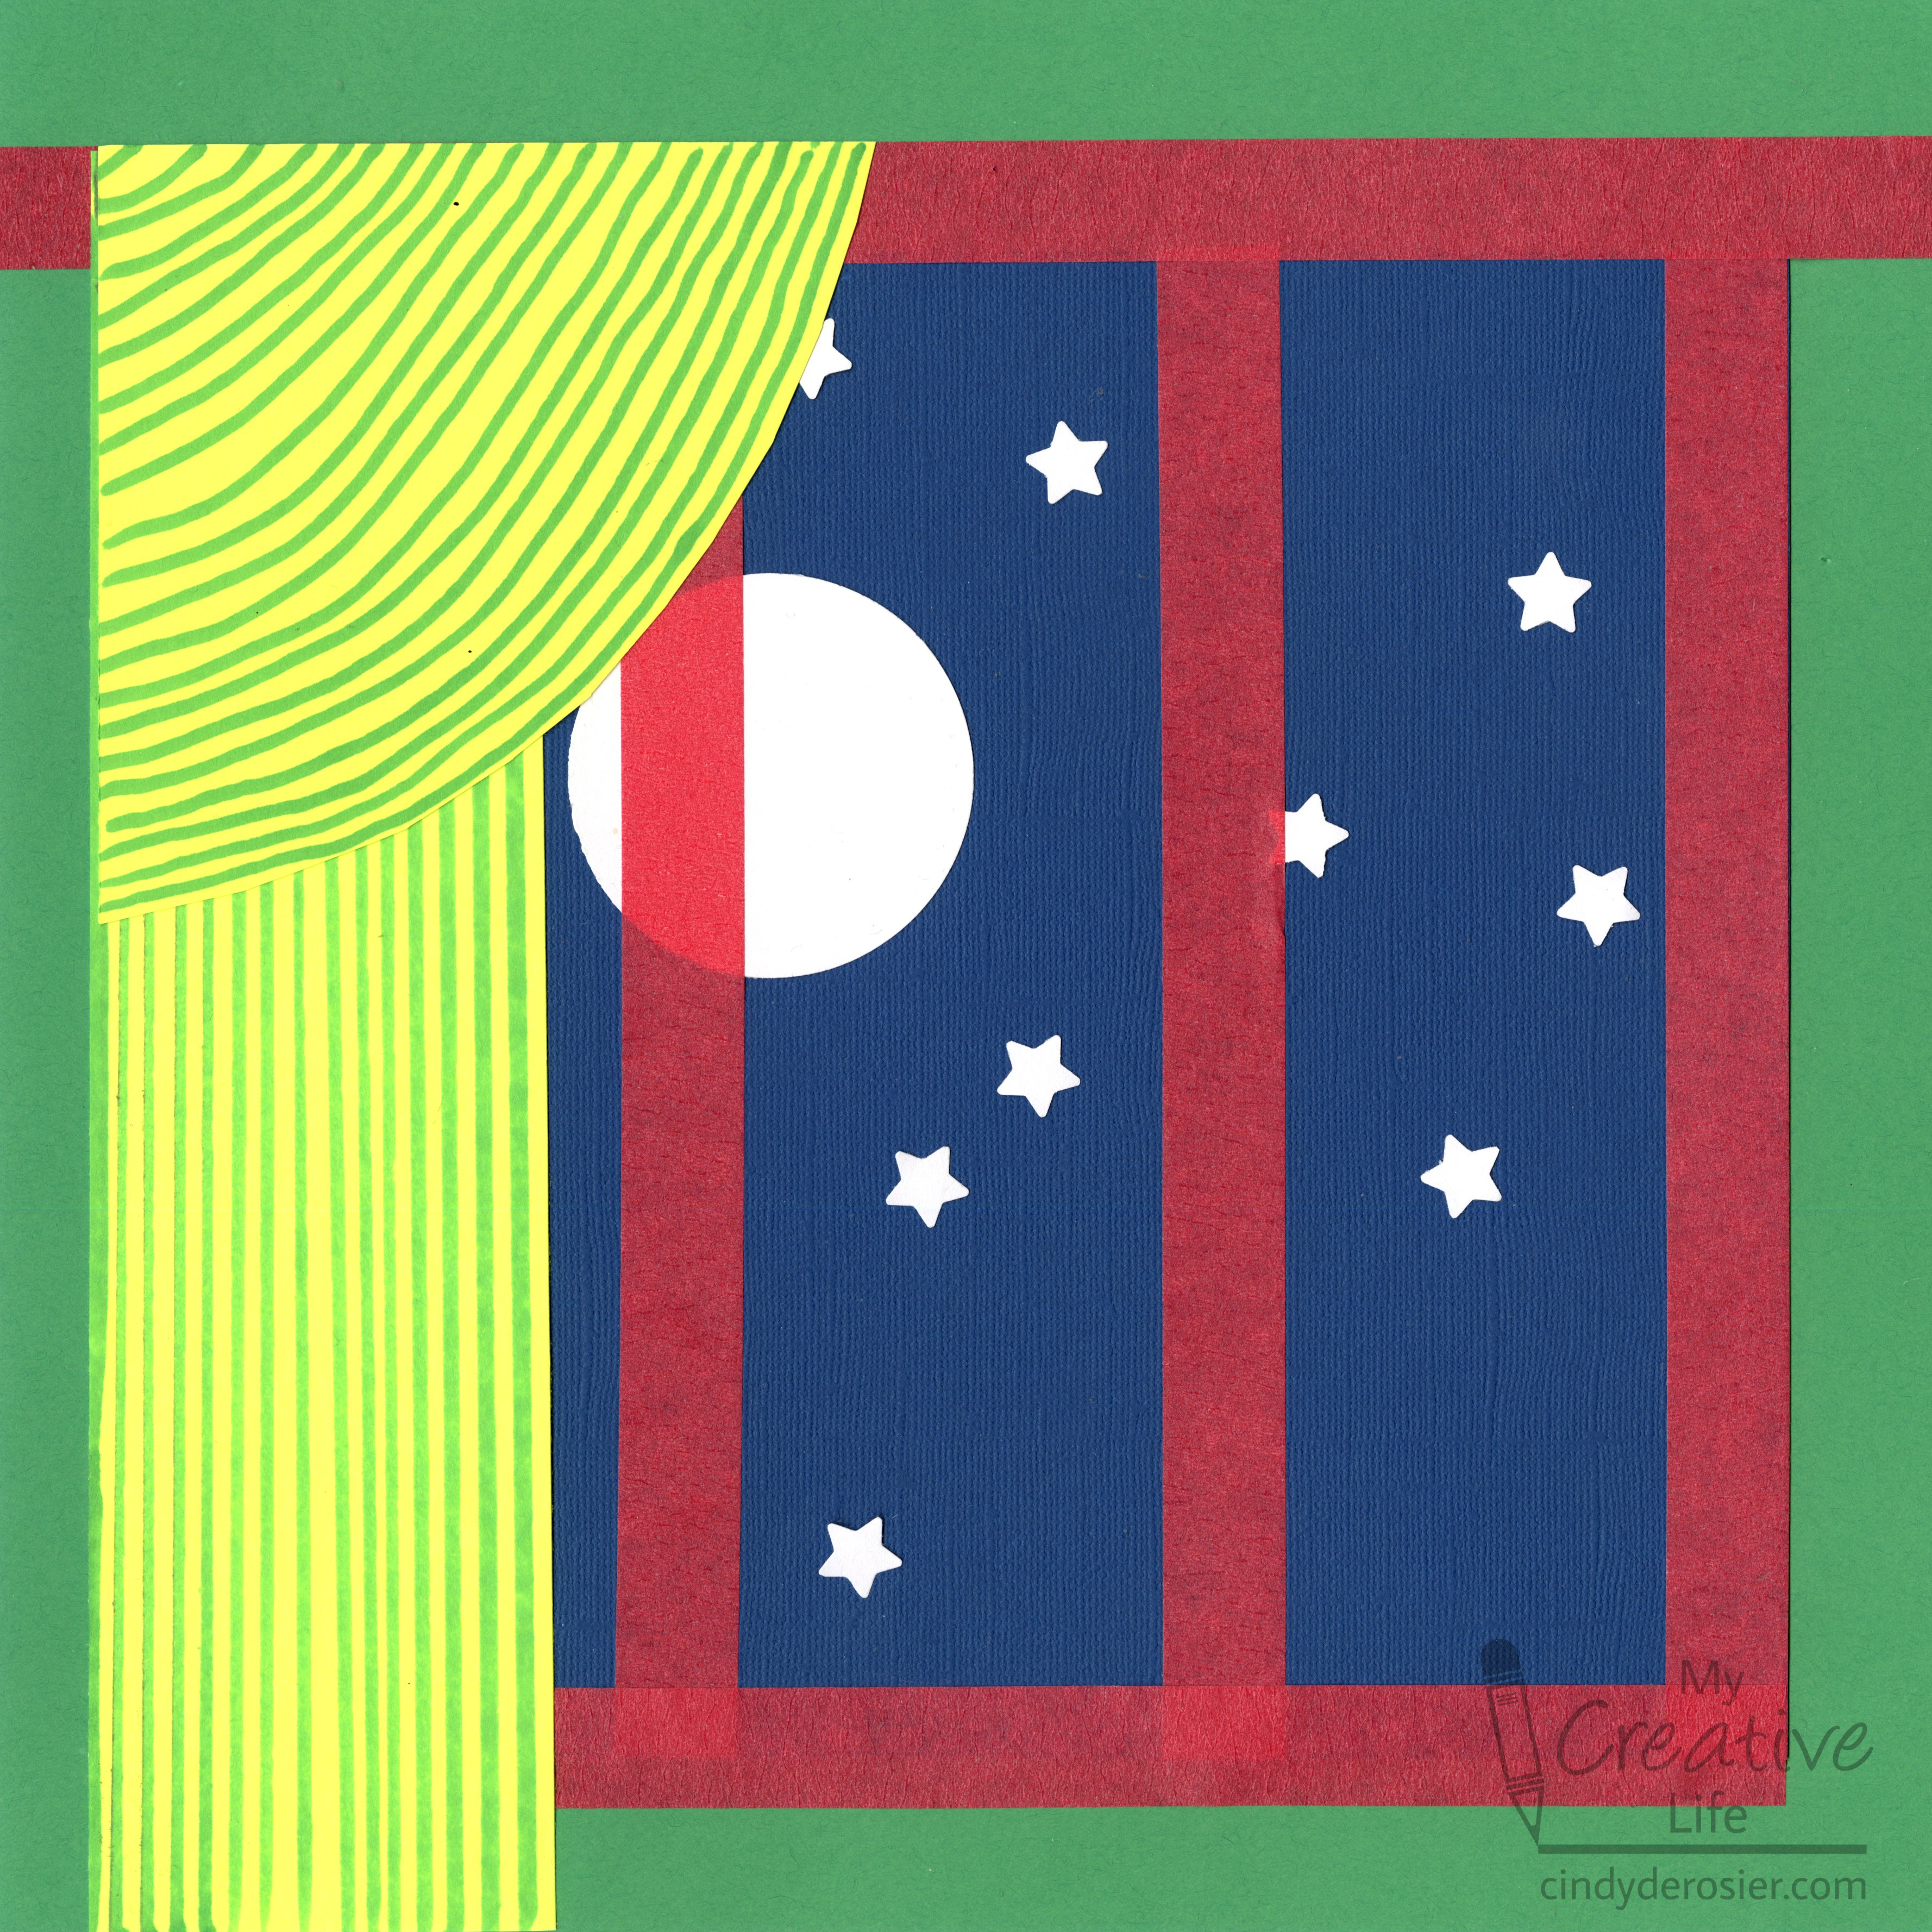
Today's project is the third in my series based on crowd-sourced responses to ten questions. For this one, I asked my friends to name a popular children's book. Goodnight Moon (affiliate link here and below) was the top answer by far. 

In designing this craft, I wanted to make something that was interesting and recognizable from Goodnight Moon, yet not so challenging that the only children who could make it had already outgrown the book. There are a lot of ways to adapt this to make it easier or more challenging to match the abilities of the child(ren) making it. For example, adults can pre-punch the shapes if little hands aren't big or strong enough to punch. You can switch out the tape for paper (although kids LOVE playing with tape). You can skip the stripes on the yellow curtains, or draw them more as scribbles. 


---------

Goodnight Moon Craft


Materials:


Steps: 


Cut the blue cardstock to approximately 10" square. Punch out one white moon and as many white stars as you'd like. 


Glue the moon to the blue paper, slightly left of center. It should not be too close to the left edge where the curtain will go. Glue the stars randomly where you want. Again, anything too far to the left will be covered. 

Add four vertical strips of tape to the blue cardstock: one on the left side, one on the right side, and two evenly spaced between them. Tuck the edges of the tape behind the blue cardstock. 


Put glue on the back of the blue cardstock and center it on the green cardstock. Add a piece of tape across the top of the blue paper for the curtain rod. It should extend off the edges of the green cardstock. Tuck the edges of tape behind the paper. 


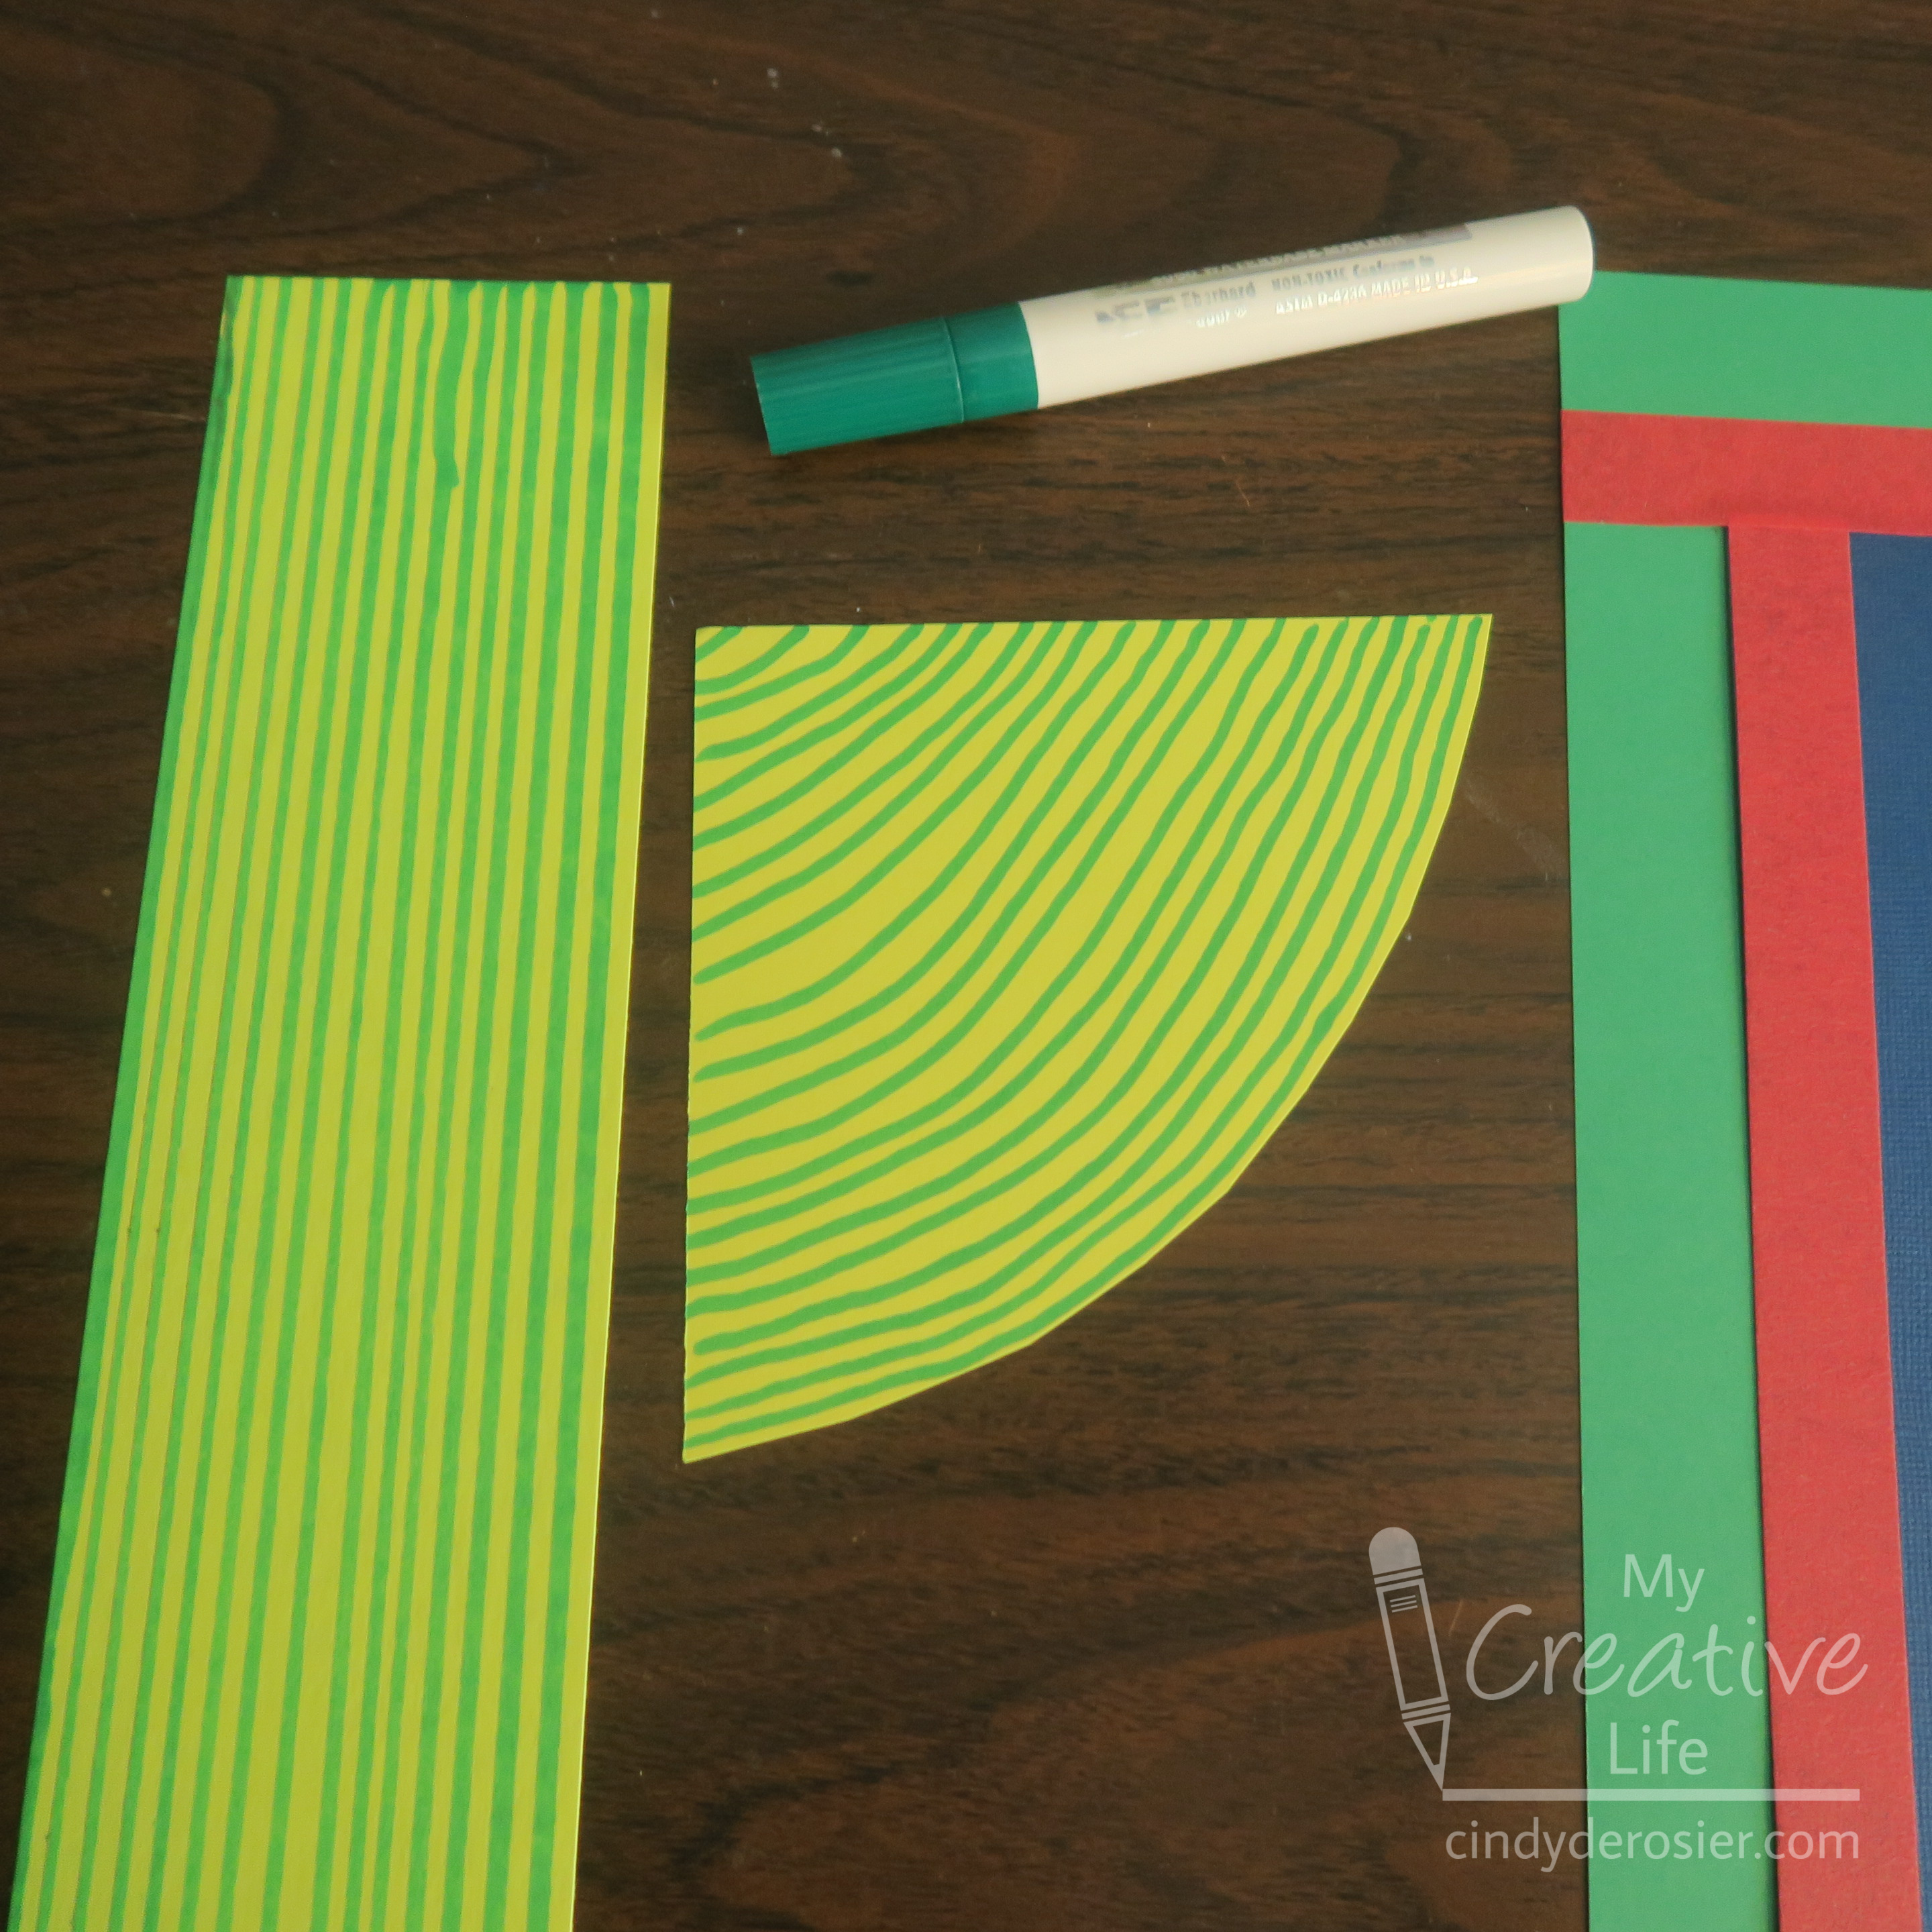
Cut a rectangle of yellow cardstock that is approximately 11" long. Cut a second piece of yellow that is shaped like a large wedge of pie. These two pieces will be the curtains. Place them on your craft to see if you like their size and adjust as necessary. Then draw narrow green lines on the curtains. It's easiest to use a fine-line pen and a ruler for the rectangle and to freehand the wedge. 


Glue the curtains in place. That's all there is to it!


Not only would this be a fun craft to do WITH kids, it would be great to do FOR kids. Pop this into a frame to hang in the nursery. Or create a smaller version to use as a card. There are lots of possibilities. 

11/9/22

Paper Plate Constellations

Ready to see what I made for the "Something Beautiful" prompt? I took the suggestion of stars and used it to make a cool paper plate constellation craft. 


While you could certainly do this alone or as a family, I'm imagining this as a craft for a group. Back in my teaching days, I took my students camping each year (3 different camping experiences over the 11 years). Our school also had an annual Space Week. It would have been so cool to assign each kid one constellation to make, then they could work in groups to try to find their constellations in the night sky. Affiliate links below. 

Paper Plate Constellations


Materials:


Steps: 

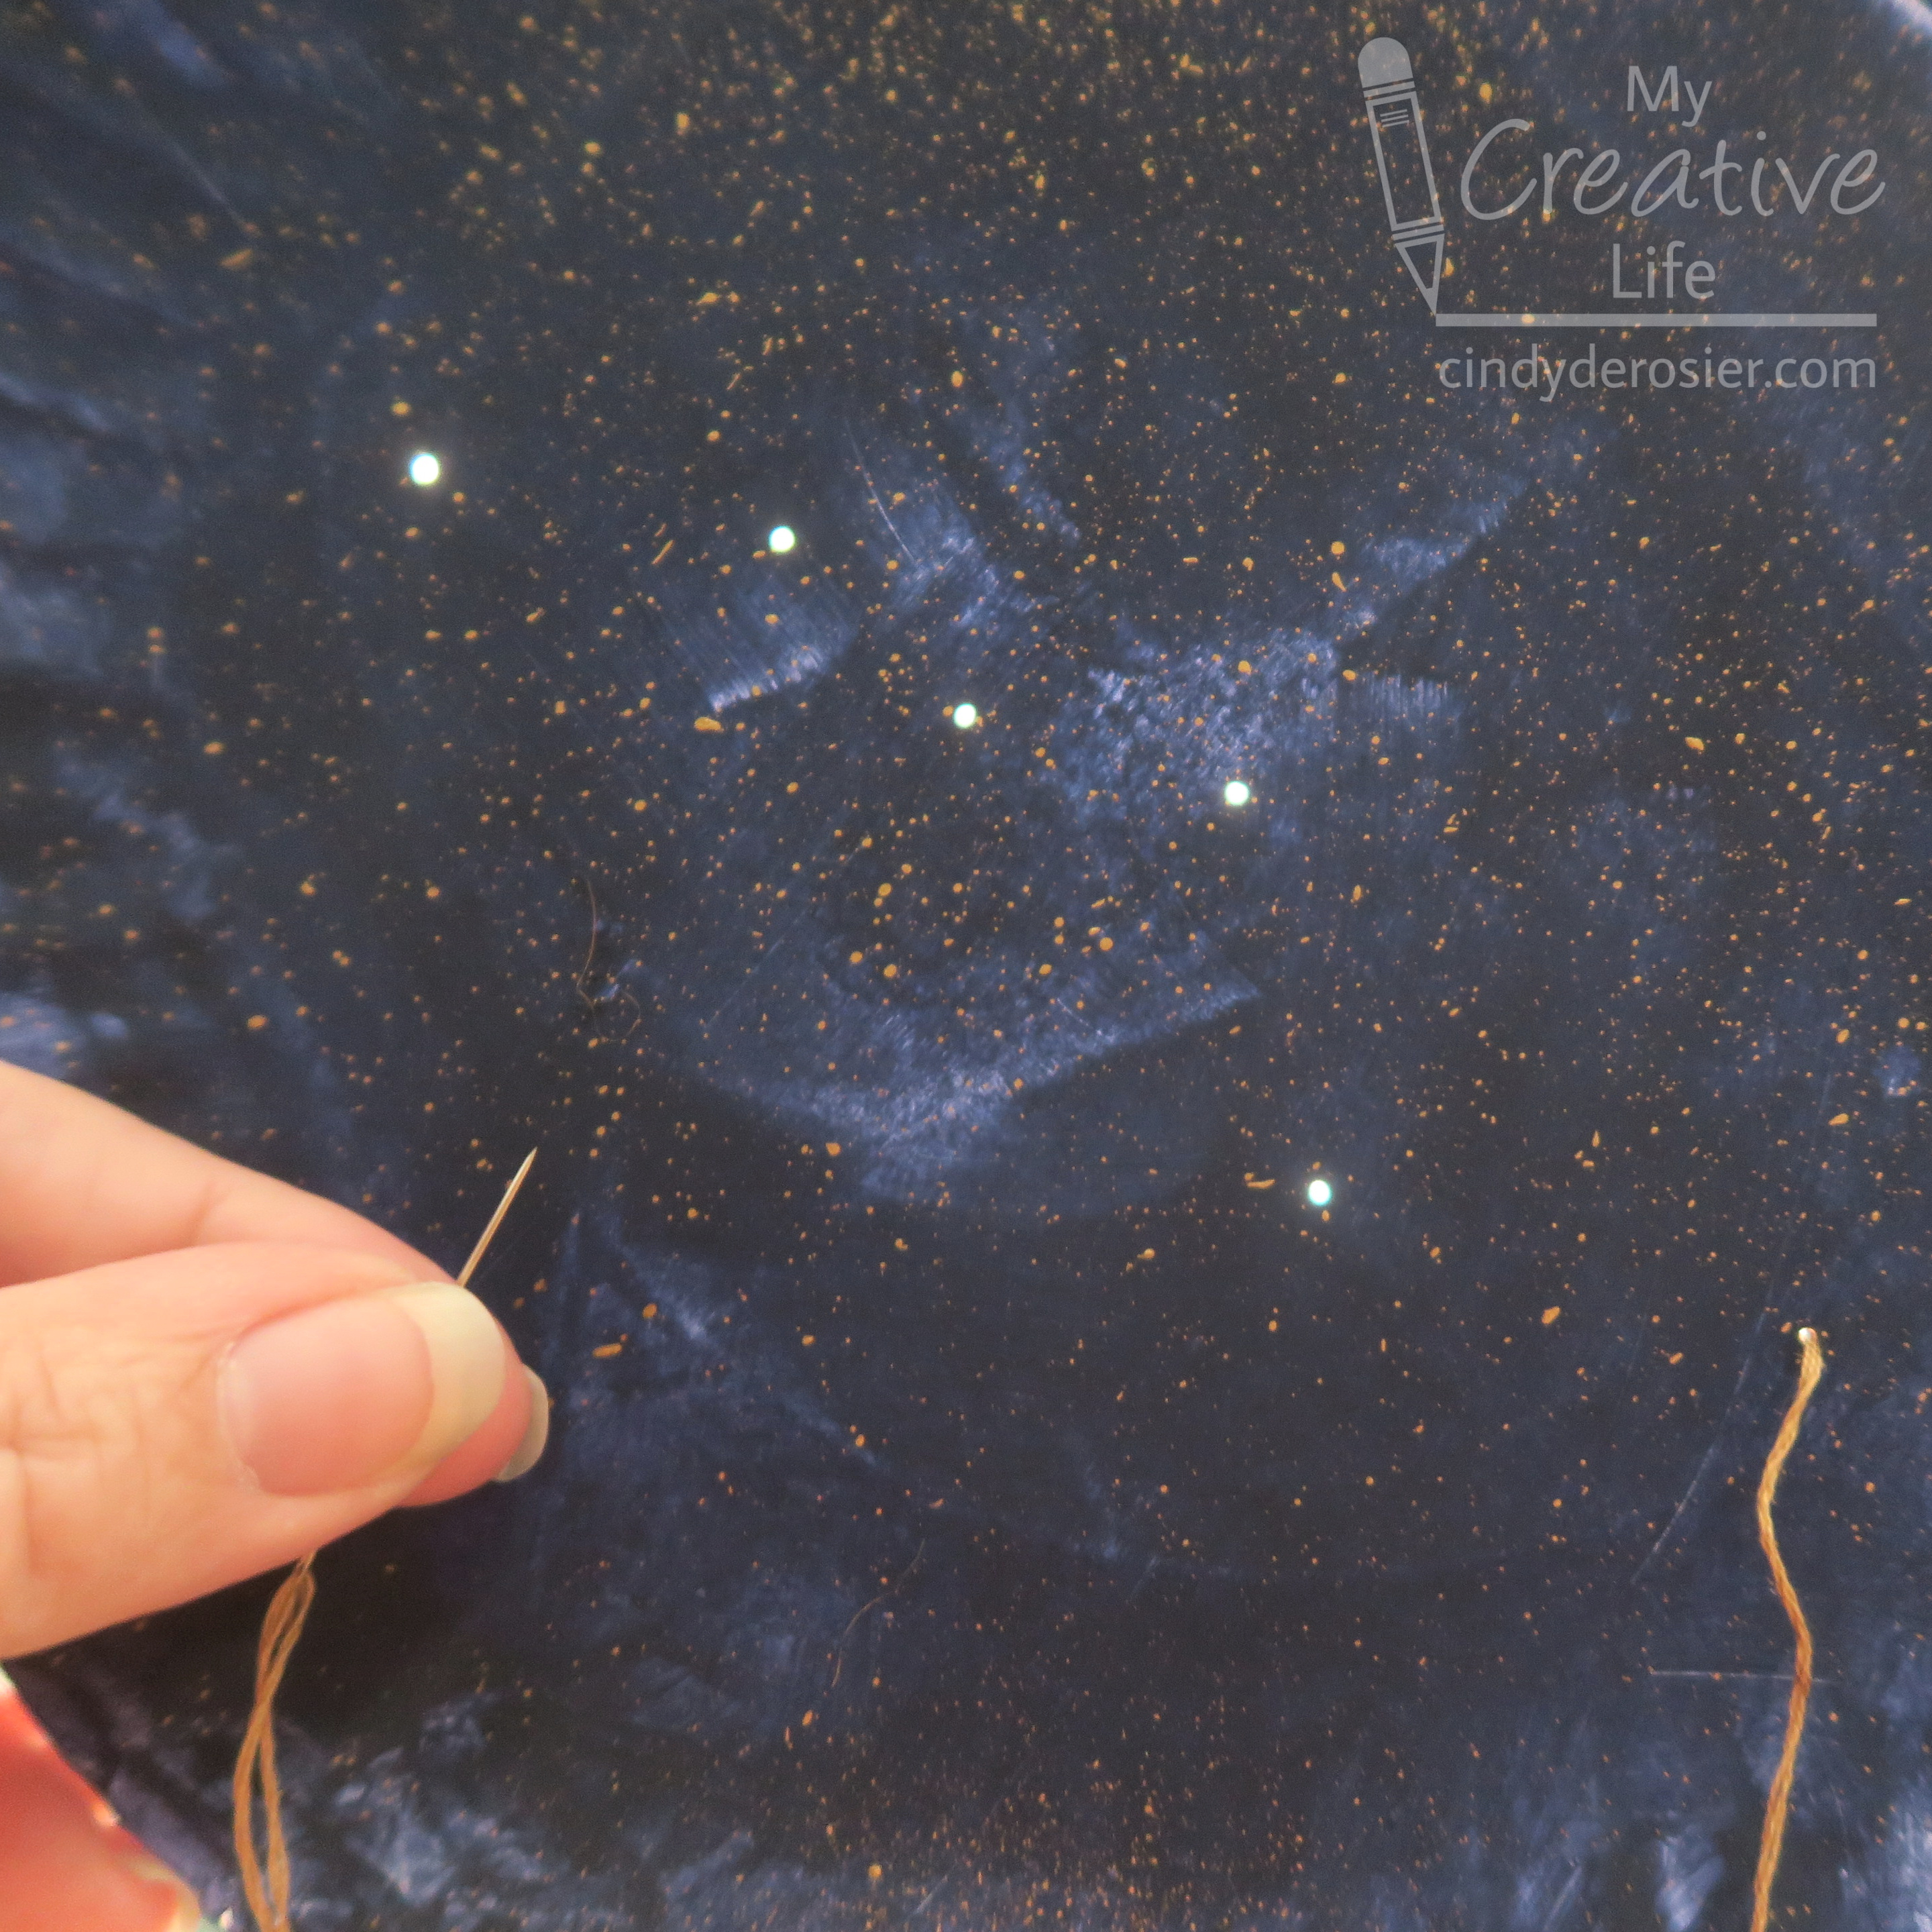
Paint the paper plate dark blue and let it dry. Use an old toothbrush or stiff brush to flick gold paint over the blue. 

Meanwhile, draw your constellation on a piece of scrap paper. I did the Big Dipper (*not technically a constellation), but you can choose whatever you want. When the paint is dry, place the scrap paper on the paper plate and use a pushpin to poke through each star in the constellation. 


Thread a needle with 3 strands of gold embroidery floss. Stitch the lines of the constellation. The easiest way to do this is to orient yourself toward a window or lamp and hold the plate vertically in front of you as you sew. This makes it easy to see the holes. 


Put a star-shaped brad into each hole. 


*As I noted above, the Big Dipper is technically not one of the 88 recognized constellations. It is actually an asterism that is part of Ursa Major

11/30/17

Christmas Tree Suncatcher

This post contains affiliate links. Thanks for supporting My Creative Life!

It figures that it would rain on the day I needed to photograph a suncatcher! No matter. It's still pretty and not a bad way to spend time when the weather keeps you indoors. 


---------


Christmas Tree Suncatcher


Materials:


Steps: 


Draw a large Christmas tree on one sheet of green cardstock. Hold a second piece of cardstock behind the first as you cut out the tree, creating two pieces that are exactly the same. Cut a rectangle of brown cardstock for the trunk and set it aside. 


Hold the two tree pieces together, being sure they are lined up properly. Use the Crop-a-Dile to punch holes through both trees at the same time.  


Set one tree aside. Cover the front of the other tree with the glue stick, then tear tiny bits of tissue paper and place them over the holes. This is a great way to develop fine motor skills!


Sandwich the first plain tree on top of the one with the tissue paper, lining them up carefully. Add extra glue if necessary. Cut two identical yellow stars and glue them on top of the tree, making sure they line up. 


Now find a sunny (or rainy) window and hang your Christmas tree. I used a little bit of transparent tape, but you could thread fishing line through the top hole before attaching the star if you prefer. 


It's beginning to look a lot like Christmas around here!

8/15/13

Colored Glue Suncatchers

During Vacation Bible School earlier this summer, Trevor made a beautiful cross-shaped suncatcher by squirting colored glue onto a transparency, letting it dry, then peeling it off. He loves it and shows it to everyone who visits our house. I thought it would be fun to make more suncatchers using a slightly different technique. Affiliate links below. 


Colored Glue Suncatchers


Materials:


Steps: 


Begin by putting a puddle of glue into the middle of the lid.  Pick up the lid and rotate it until there is a thin layer of glue covering the entire base.  We added more glue to the lids in this picture, as there wasn't quite enough.  Better to start with too little though, as you can always add more.


Set your lid down on a flat surface and add a few drops of food color.  

 
Use a toothpick to gently swirl the colors.  Do not overmix!  


Stop when it reaches this point... or sooner.  The colors will continue to blend as the glue dries.

Allow the glue to dry COMPLETELY (2+ days, depending on temperature and humidity), then gently peel the suncatcher from the lid.  It should feel totally smooth with no moist or sticky spots. Press it to a window and enjoy.  Here's Trevor's:


I experimented with mine.  I tried cutting the suncatcher with scissors to make shapes and it worked beautifully.  Would punches work?  Yes!  Some punches cut cleanly and others did not, but most brands cut through it just fine.  As you can see, these stars didn't cut perfectly, but I could easily trim them up.  


Other than the long drying time, this is a really fun craft to do with kids!