Showing posts with label constellation. Show all posts

8/31/26

Little Dipper Constellation Ornament

There is only one state which has named an official state constellation. Do you know which state it is? Here's a hint. The constellation they selected is the Little Dipper, to honor their nickname as the North Star State. Read here to discover which state it is, then learn how to make an ornament inspired by this constellation. Affiliate links below. 


Little Dipper Constellation Ornament


Materials: 


Steps: 


Mix a drop or two of paint with water to make a wash. Use a sponge to stain the wooden ornament. You should still be able to see the rings of the wood. 


While the paint dries, draw the constellation on a piece of scratch paper, cut to fit onto the ornament. Select rhinestones for each star of the constellation. It's a nice touch to use larger rhinestones for the larger stars.  


Set the rhinestones aside and turn your constellation upside down. Use the pencil scribble transfer technique to make a pattern on the wood ornament. 

Trace the pencil lines with the white Posca. Add tiny white dots randomly on the ornament, then glue the rhinestones where they belong on the constellation. Tie a loop with the silver cord and your ornament is done. 


While I made the Little Dipper because it's the state constellation of Minnesota, this project can easily be adapted to make any constellation. Try zodiac signs for especially nice ornaments; they make a wonderful gift.

-------


While researching constellations, I came across an absolutely fascinating blog post called Visualizing cities as constellations in the night sky. Check it out!

11/9/22

Paper Plate Constellations

Ready to see what I made for the "Something Beautiful" prompt? I took the suggestion of stars and used it to make a cool paper plate constellation craft. 


While you could certainly do this alone or as a family, I'm imagining this as a craft for a group. Back in my teaching days, I took my students camping each year (3 different camping experiences over the 11 years). Our school also had an annual Space Week. It would have been so cool to assign each kid one constellation to make, then they could work in groups to try to find their constellations in the night sky. Affiliate links below. 

Paper Plate Constellations


Materials:


Steps: 

Paint the paper plate dark blue and let it dry. Use an old toothbrush or stiff brush to flick gold paint over the blue. 

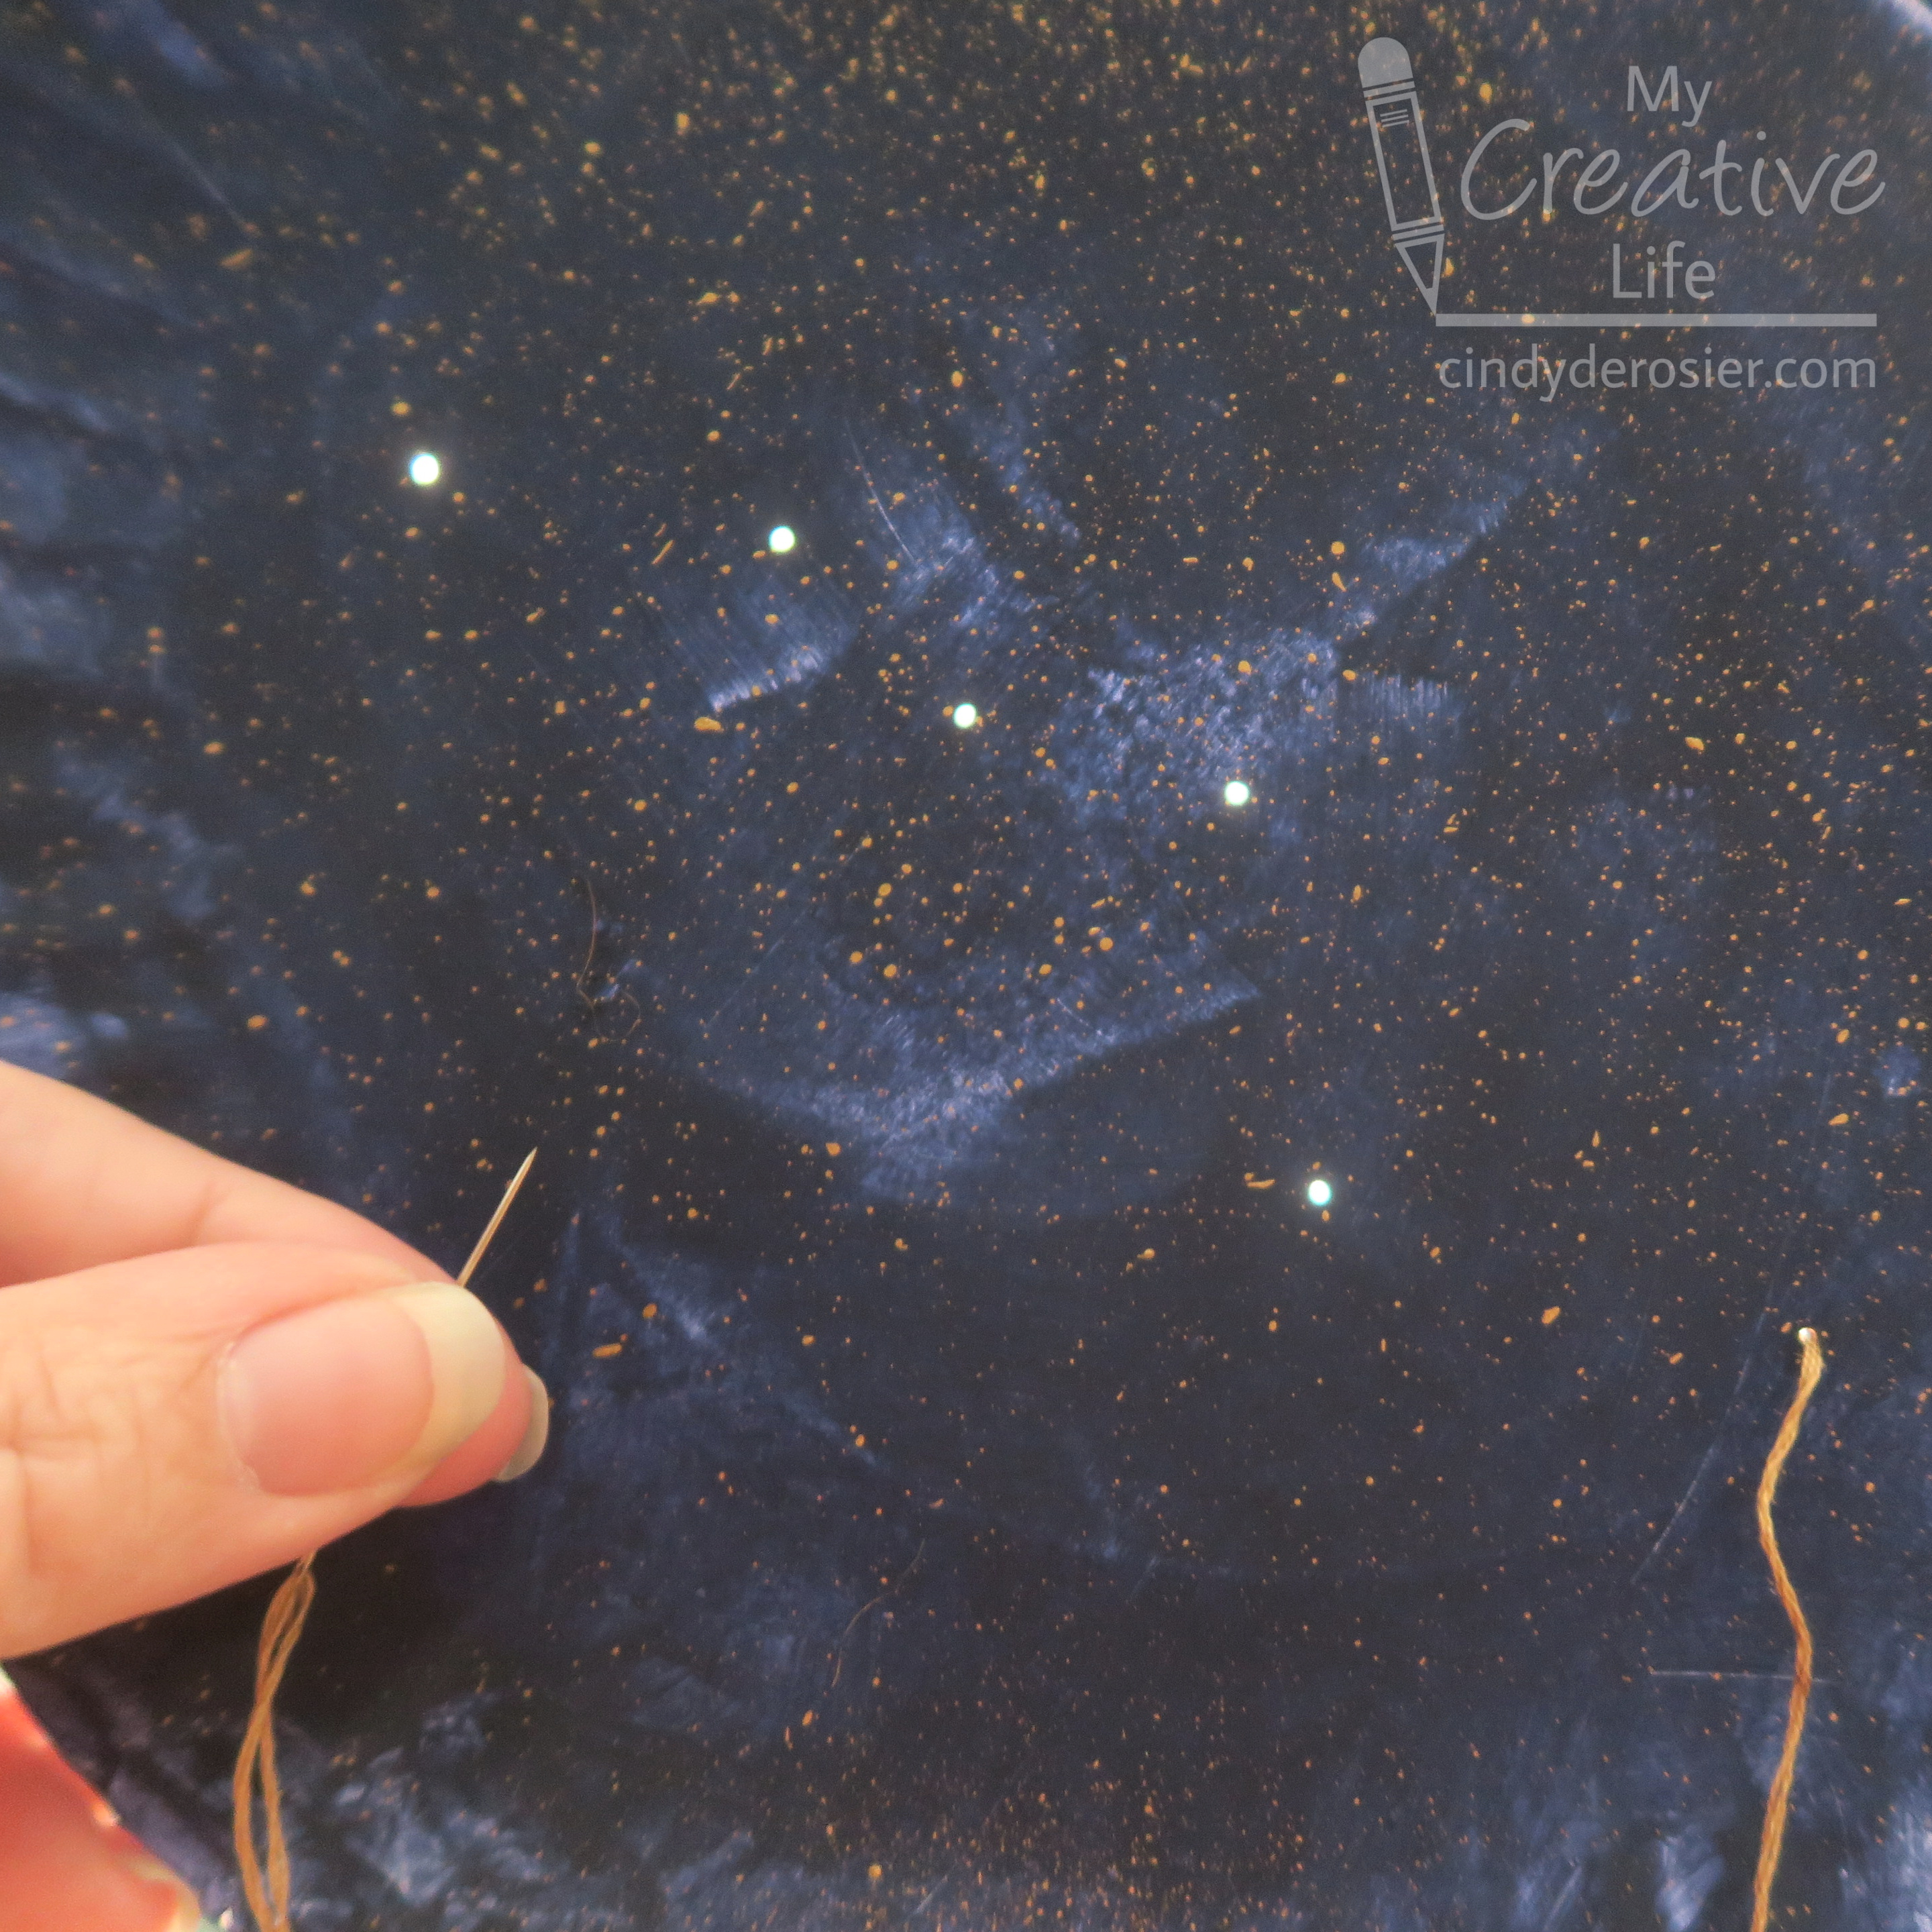
Meanwhile, draw your constellation on a piece of scrap paper. I did the Big Dipper (*not technically a constellation), but you can choose whatever you want. When the paint is dry, place the scrap paper on the paper plate and use a pushpin to poke through each star in the constellation. 


Thread a needle with 3 strands of gold embroidery floss. Stitch the lines of the constellation. The easiest way to do this is to orient yourself toward a window or lamp and hold the plate vertically in front of you as you sew. This makes it easy to see the holes. 


Put a star-shaped brad into each hole. 


*As I noted above, the Big Dipper is technically not one of the 88 recognized constellations. It is actually an asterism that is part of Ursa Major

6/1/17

Constellation Cookies

I recently received a box of goodies from Wilton, sponsors of my favorite class at Snap Conference. I love edible art, which should not surprise anyone since I love both art and eating. And unlike non-edible art, you don't have to find a place to store your masterpieces when they're done! Among the items I received were Wilton's Black Cookie Icing and their yellow Jumbo Non-Pareils (inexplicably apparently not for sale anywhere on the internet, including their own site). I used these two items to make Constellation Cookies. This post contains affiliate links. 


Constellation Cookies


Materials:


Steps:


Follow the directions on the package to heat and mix the cookie icing. Let it cool for about 10 minutes before using it to flood the cookies. 


Let the icing set for 5 minutes, then place the non-pareils to form a constellation. This is Cassiopeia


Let the icing dry completely. This takes about 45 minutes. Then your Constellation Cookies are ready to enjoy!