Showing posts with label flamingo. Show all posts

6/17/21

A Flamingo for Father's Day

I recently finished reading a book in which the main character's mom had died giving birth to him. His father raised him alone and the seahorse was a powerful symbol for them, representing what a wonderful job he'd done as a single dad. I was thinking about this as I was going through our Father's Day crafts at Fun Family Crafts. While I've put a lot of effort into making sure our collection of crafts isn't just cards featuring baseballs, fishing pools, hammers, and neckties, there are almost no animal-themed projects for Father's Day.

I thought about making a seahorse project specifically for Father's Day, but the dads that I honor on Father's Day (Steve, my dad, and Steve's dad) aren't single fathers. I thought about making a penguin project. Penguin dads famously take care of their eggs for around two months without eating or moving, while the mom spends those two months eating to replenish the nutritional reserves she used laying the egg. My post-childbirth experience would have been a lot easier if Steve had been with Trevor 24/7 for two months while I did nothing but eat, but that's not the case either. So I decided against the penguin. 

Ultimately, I chose a flamingo for my Father's Day project. Flamingoes mate for life; the pair build their nest together, take turns incubating the egg, and share parenting duties once the baby has hatched. One more reason to love flamingos! 


A Flamingo for Father's Day


Materials:

  • cardstock (blue - 2 shades, pink, and grey)
  • microtip scissors
  • colored pencils
  • heart punch
  • craft glue
  • black Sharpie

Steps:


Select one color of blue for the background and set it aside. Cut a rectangular strip from a second blue for the water. 

Daddy and Baby Flamingo each have three body parts: the main body, the wing, and the head/neck. I cut the bodies and wings freehand, but made myself a scratch paper pattern for the necks so that I wouldn't waste the cardstock if I didn't get it right on the first try. 


You will also need a pink leg and a grey heart, so cut those before throwing out the scraps. 

Use a pink colored pencil to draw feathers on Daddy Flamingo's body, wing, and neck. Add a band of white to the top of the beak, then black on the tip of the beak. Add a black eye. Use the black pencil to add dots to Baby Flamingo's body, wing, and head, then color in the beak and add an eye.
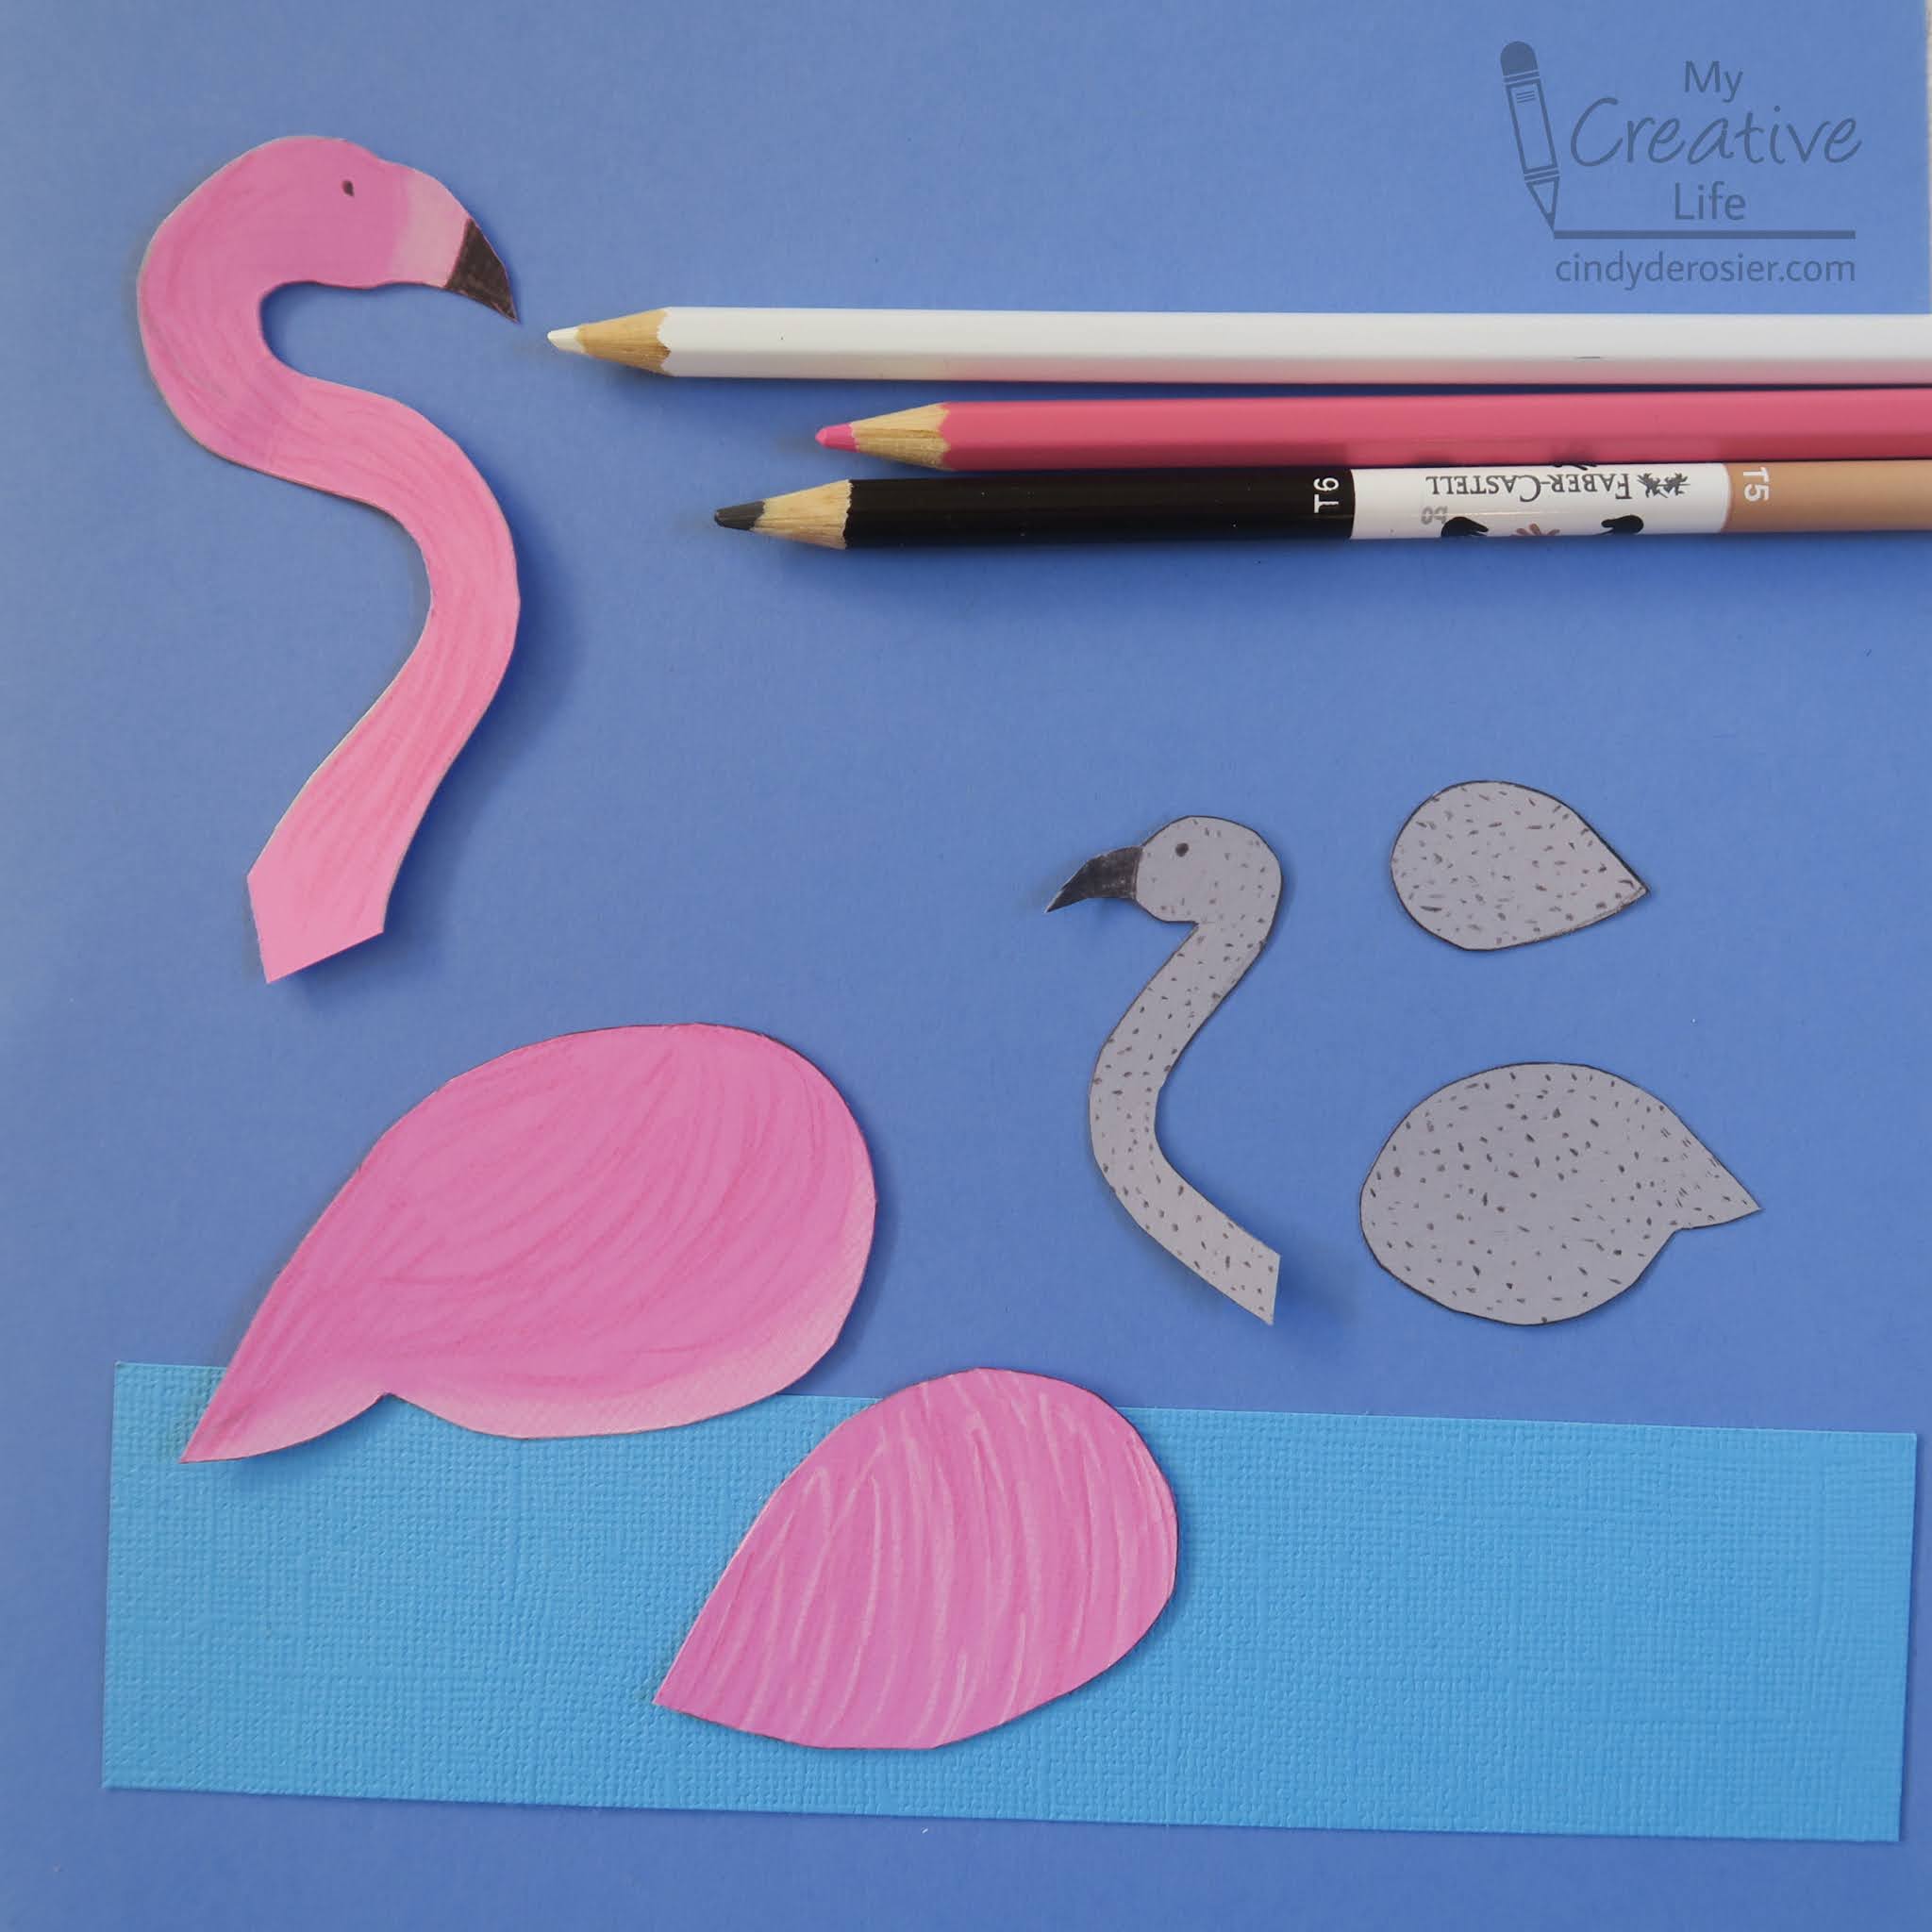


Glue the water to the background, then assemble Baby Flamingo and glue him to the water on the right-hand side. Glue Daddy Flamingo to the left-hand side. Glue the heart to the top and write in the I and U with a Sharpie. 


Happy Father's Day to all you Flamingo Dads out there, as well as the Seahorse (and Penguin) Dads!

 

5/25/20

Rice Krispie Treat Flamingo

I had so much fun with the rice krispie treat pig that I made a flamingo. 


Rice Krispie Treat Flamingo


Ingredients:


Steps: 

Use a sharp knife to carve away the corners of the rice krispie treat, as shown on this piece of paper.


Working on a piece of parchment paper, use the corners to shape a neck and head, making sure they're firmly attached to the body. Pop the flamingo (still on the parchment paper) into the freezer for a few minutes to firm it up. 


Insert a lollipop stick to make the leg of the flamingo. Melt 8 white Candy Melts with 1 red Candy Melt to get the perfect shade of Flamingo Pink. (I did 45 seconds at 50% power in small glass container, then stirred until it was smooth. Every microwave is different.) Use a butter knife to spread the melted candy on the flamingo. Some will puddle between the neck and the body, which is good. This will hold the neck in place when the candy sets up. Use the knife to swipe two teardrop-shaped globs of candy on the parchment paper. These will be the wings. Let the candy set up completely. (Notice I still have candy leftover in the glass dish. You'll need this to 'glue' the eyes and wings in place.)


When everything is hard, peel the wings and the flamingo from the parchment paper. Remelt the pink candy (about 20 seconds on 50% power) and spread use it to adhere the eyes and wings. Let them set. 

Melt a tiny bit of black Candy Melts and dip the tip of the beak. (Yes, it's worth the effort. It makes a big difference.)


I have more rice krispie treats in the pantry. What animal(s) should I make next?

8/22/19

Accordion Flamingo Party Decorations

I love flamingos, so you'd think they'd show up in my crafting a lot. But I've only made one flamingo craft before. Time to change that! The inspiration for this flamingo came from a fuchsia accordion paper lantern a friend randomly gave me (affiliate links here and throughout the post). 


-----------


Accordion Flamingo Party Decorations


Materials: 


Steps:


Decide whether you want your flamingo to be one-sided or if it will be viewed from multiple sides. Mine is one-sided (since it's hanging against a fence). If yours will be two-sided, simply double everything and sandwich it together when you assemble it. 

For one side, you will need one neck/head and two wings (fuchsia), two legs with knobby knees (light pink), one beak and two wingtips (black), and one googly eye. I cut my shapes using scratch paper to figure out the size, then used that as a template for the colored paper. 


Glue the beak and the eye to the face and the wingtips to the wings. Glue the neck to a wooden skewer. If your cardstock / construction paper is not very rigid and you're making a single-sided flamingo, you may need to reinforce the neck. I used a scrap. 


Bend a small flap at the top of each leg, apply glue, and stick the legs to the bottom side of the closed accordion lantern. Bend one leg if you'd like. 


Poke a second skewer through the center of the accordion lantern, then glue a wing to each end of the skewer. I reinforced them with tape so they wouldn't come off when the glue was still wet. 


Poke the flamingo head skewer into the front hanger hole on top of the lantern. 

You can leave your flamingo like this, or tear blue paper to make water for the flamingo to stand in. I taped the 'water' to the fence then tucked the flamingo's feet behind the 'water.'


This makes me want to throw a flamingo-themed party! Or, at the very least, to make more flamingo projects to add to my Bird Crafts page