Showing posts with label hot air balloon. Show all posts

4/12/23

Testing Art Media on top of Acrylic Paint

In the process of cleaning the craft room, I came across a stamp set I've owned for a really long time but never used. I'd been wanting to test how some of my art supplies work on top of acrylic paint and Fiskars' Up In the Air stamp set (affiliate link here and below) gave me a great way to do that. 


I painted a blue sky and green grass with Folk Art acrylic paint and let that dry. Then I used Shadow Grey Archival Ink and a stamping platform to stamp two hot air balloons plus a cloud onto the page. The ink stamped wonderfully on the painted surface. Good to know!
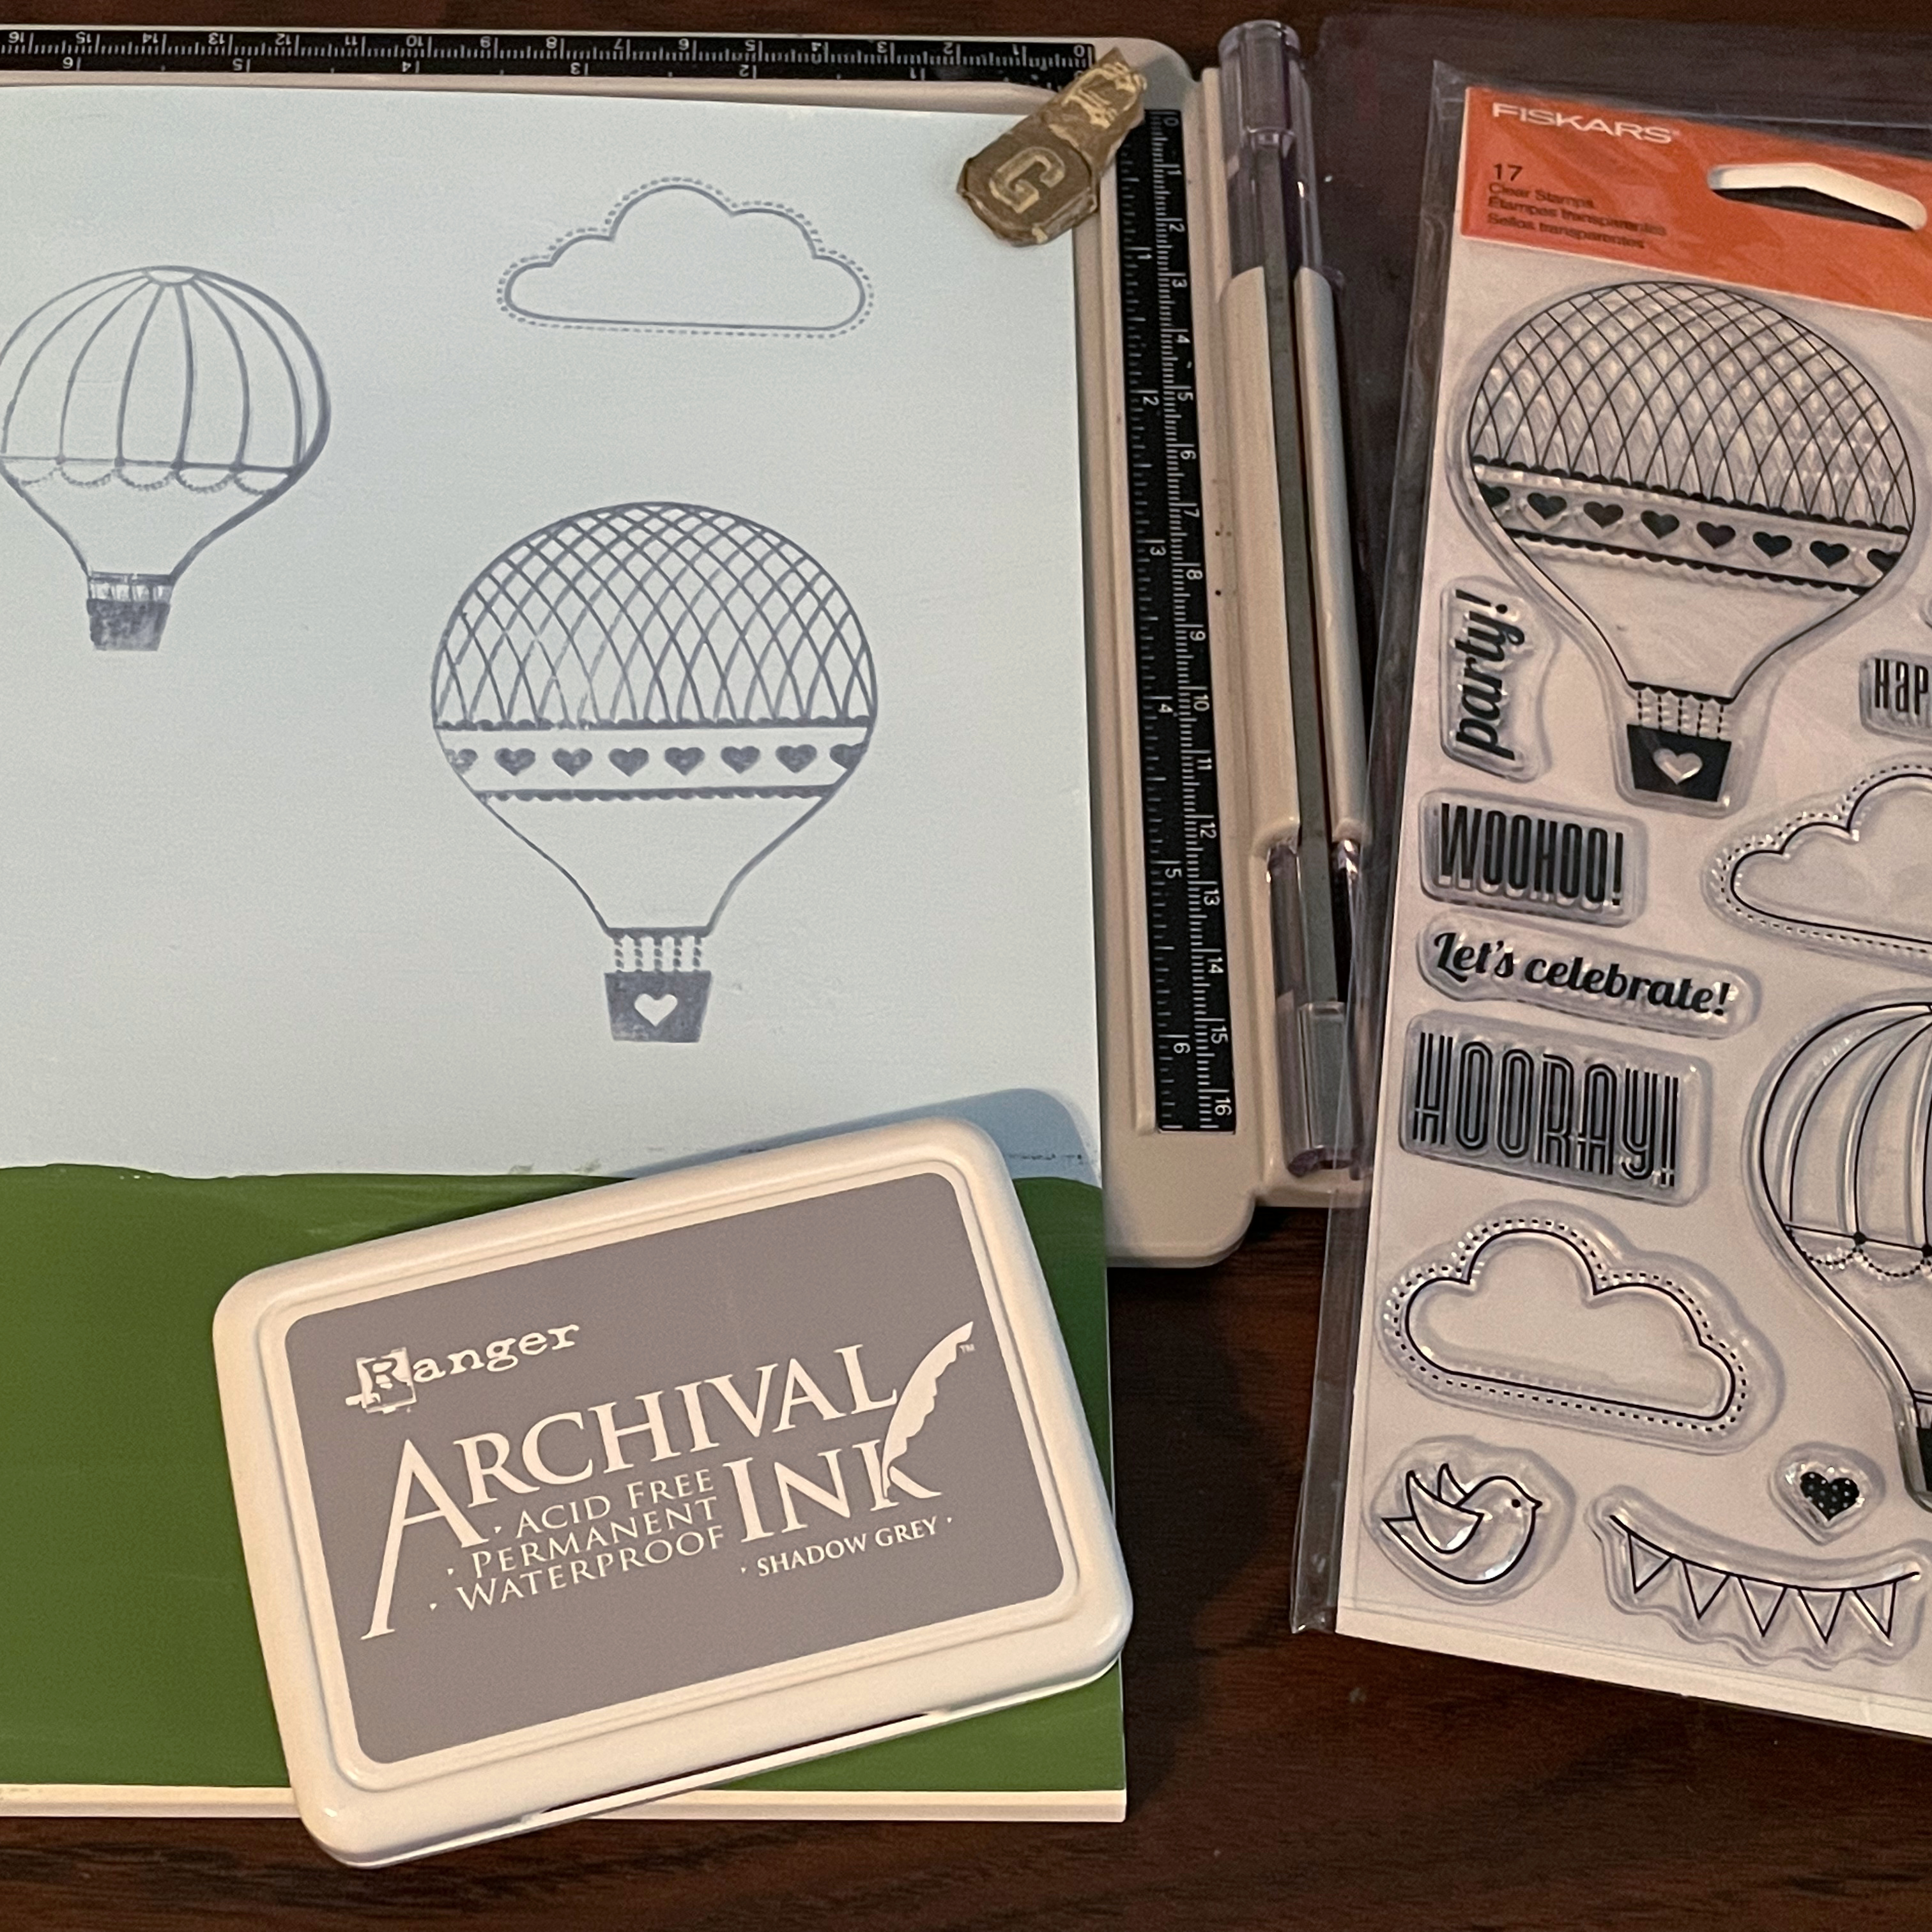


I started by coloring the cloud white using a Posca pen. That worked beautifully. I may end up getting a full set of Poscas. I've used the white ones I have on a ton of projects in the few weeks I've owned them. I need to think about what size tip I would use most often. 

Next, I used Caran d'Ache Pablos for the larger hot air balloon. I love my Pablos and have used them successfully on many projects. However, I wasn't thrilled with how they performed for this test. I had a hard time filling the spaces completely and wasn't getting the crisp edges I normally do with my Pablos. At first I blamed the acrylic paint, but now I'm realizing that the cold press watercolor paper I used is largely to blame. Sorry, Pablos! I'll save you for more appropriate uses. 

I colored the smaller hot air balloon with my Ohuhus. They were acceptable over acrylic paint. The coverage wasn't nearly as good as on plain paper and the results were a little splotchy. Again, I love my Ohuhus and will save them for other projects. 

I used Tombow Dual Brush Pens for the grass area. They worked beautifully on top of the paint. The yellow pen didn't show up well over the green paint, but that's no surprise. 

I wanted to test one more product on acrylic paint: Flair Pens. I had previously painted a page in my sketchbook with pink acrylic paint and drew concentric hearts, but hadn't done anything with them. So I used my flair pens to add some scribbled roses. The Flair pens were fantastic on top of the paint. 


This was a very interesting experiment and left me with some new ideas. Neither project is particularly attractive, but I learned a lot from trying something new. And since this year is all about PLAY, that's a double win. 

5/19/21

Hot Air Balloon Lunch

TREVOR (14) is working at his computer.  CINDY (49) is at the kitchen island. She uses a knife to cut slices of havarti into clouds and places them on a blue plate. She arranges a slice of bologna on top, separates string cheese into four thin strings and places them below the bologna, and adds a Triscuit at the bottom. She shows it to TREVOR, who is trying to complete his homework. 


C: Does this look like a hot air balloon?
T: Yes, but the strings are too long. 

CINDY returns to the island and cuts the strings shorter. 


C: Better?
T: Yes, but it needs color. 

CINDY takes cheddar cheese from the refrigerator and uses a biscuit cutter to make bright orange polka dots that she adds to the bologna.  


C: How's this?
T: It looks like a soccer ball. It would look better with vertical stripes. 

CINDY removes the cheddar and searches the fridge for something to make vertical stripes. She uses mustard to draw stripes onto the bologna.  


C: Now? 
T: More color.
C: How about ketchup?
T: Are you sure that wouldn't be gross?
C: Why would that be gross? Bologna is just a flat hot dog and you like mustard and ketchup on hot dogs.
T: Maybe.

CINDY draws in stripes of ketchup. 


C: Well? What do you think?
T: Yes. 
END SCENE. 

4/28/21

Recycled Items Hot Air Balloon

I keep a jar of lids in the craft room because you never know when you'll need one. I was putting a metal lid from a cylinder of orange juice concentrate into the container when I realized the red plastic screw-on lid from a tub of mixed nuts would make an awesome hot air balloon. I dug out a few more recycled items and made this:


Every time I look at it, it makes me laugh. The idea of my parents taking their three grandkids on a hot air balloon ride is improbable enough, but the fact that I positioned the photo so that Allison would be visible makes me imagine the impossibly long legs everyone appears to have. The picture was actually taken indoors at my sister's house in December 2018, not in a hot air balloon. Everyone had just come in from the snowy backyard, which explains the jackets but not why Mom is wearing her fanny pack and Dad is clutching a cold drink protectively. 

The main supplies in today's craft all are recycled, if you can count a photo I printed but didn't end up using for the scrapbook as recycled. I'm counting it. Affiliate links below. 
 

Recycled Items Hot Air Balloon


Materials:


Steps:


Decorate the plastic lid with Sharpies and gel pens. Obviously, you can use whatever colors and patterns you want. 


Cut a piece of chipboard about the size of an index card. Use a score board to create the basket texture, first by scoring the chipboard in one direction, then rotating is 90° and scoring again. It's difficult to get precise lines when working against the existing score marks, but that actually makes the basket texture most realistic. 


Rub brown ink on the scored chipboard. The transformation is amazing!
 

Score the sides and bottom of the chipboard so that you can fold them to make a dimensional basket. Use microtip scissors to cut the photo, separating the people from the background. Glue the people to the basket.


Turn everything upside down. Assemble the basket by folding the bottom under and the sides back, then gluing them into place. Cut two lengths of single-strand embroidery floss and glue the middle of the strands to the bottom of the plastic lid. 

When that is dry, stretch the pieces of floss so they are taut. Glue two to the back of the photo and two to the basket. 


When everything is dry, add glue to the edges of the lid and the basket, then carefully turn it over and place it on the cardstock. Let it dry completely before hanging. 


Up, up, and away!