Showing posts with label summer. Show all posts

6/18/26

Corn Dog Craft for Kids

What do Oregon and Indiana have in common? Corn dogs! This beloved fried food is popular in every state that has a fair, ballpark, or frozen food section in the grocery store, but Oregon and Indiana have special corn dog claims-to-fame. Corn dogs were invented in Rockaway Beach, Oregon in 1939. Follow this link to learn more about the birth of corn dogs. Make sure you scroll down far enough to see the mechanical corn dog. Indiana is not the birthplace of corn dogs, but the small town of Bristol (population 1600) is called the Corn Dog Capital of the World. They produce 80% of the world's corn dogs. Bristol is also home to the annual Corndog Festival. (Note: Both corn dog and corndog are acceptable spellings.) 

Celebrate the corn dog with a fun and easy craft. Affiliate links below. 


Corn Dog Craft


Materials: 


Steps: 


Use yellow, orange, and brown watercolors to paint a piece of watercolor paper the color of a corn dog. When you are happy with the color, let the paint dry completely. 


Cut the paper into the shape of a corn dog, approximately 6.5" x 1.75". Obviously, exact size doesn't matter. Glue the corn dog to a craft stick. Add a squiggle of glue down the length of the corn dog, then yarn on the glue. Trim the excess yarn, then let the glue dry completely. 


Steve likes his corn dogs with mustard. I prefer mine plain, or occasionally with ketchup. 


I had a lot of fun with this corn dog craft. Give it a try!

6/10/21

How to Draw a Realistic Popsicle

I know it's not technically summer yet, but it definitely feels like it is. School is out, the weather is warm, and the days are long. It's the perfect time for a popsicle - eating one, drawing one, or both!

Drawing a realistic popsicle is surprisingly easy. I did my project using Prismacolor art markers (affiliate link here and below). Because they are alcohol-based instead of water-based, the colors blend easily and the shadows and highlights look very lifelike.  


How to Draw a Realistic Popsicle


Materials:


Steps:


Color the basic shape of the popsicle using Deco Blue, Brick White, and Crimson Red. Color the stick Sand. 


Add highlights to the popsicle using Cool Grey 10% to color in three long rectangles, as shown below. The colors will blend to provide highlights. Color the right side of the stick with Light Walnut. Add some Cool Grey 10% to the right side and base of the popsicle and stick to make a shadow. 


Use the Deco Blue, Brick White, and Crimson Red markers to add an additional layer of color to the areas outlined below. Add a tiny bit of additional shadowing to the right of the existing shadow using Cool Grey 30%. 


That's all there is to it! Your popsicle is done. 


Steve and Trevor got me a dozen new Prismacolor markers for Mother's Day, so this project was a fun excuse to play with some of my new shades. I gave them a chart of the colors I already had and asked them to pick markers from Dick Blick's open stock (the best and cheapest place to get individual Prismacolors) to complement what I already had. They did a great job! These are the 42 colors I now have: 


While I would love to have all of the shades, my collection is now big enough to meet most of my coloring needs. Although now that I think about it, when I get my next dozen markers for some gift-giving occasion, I may wonder how I ever lived with *just* 42 before!

5/12/21

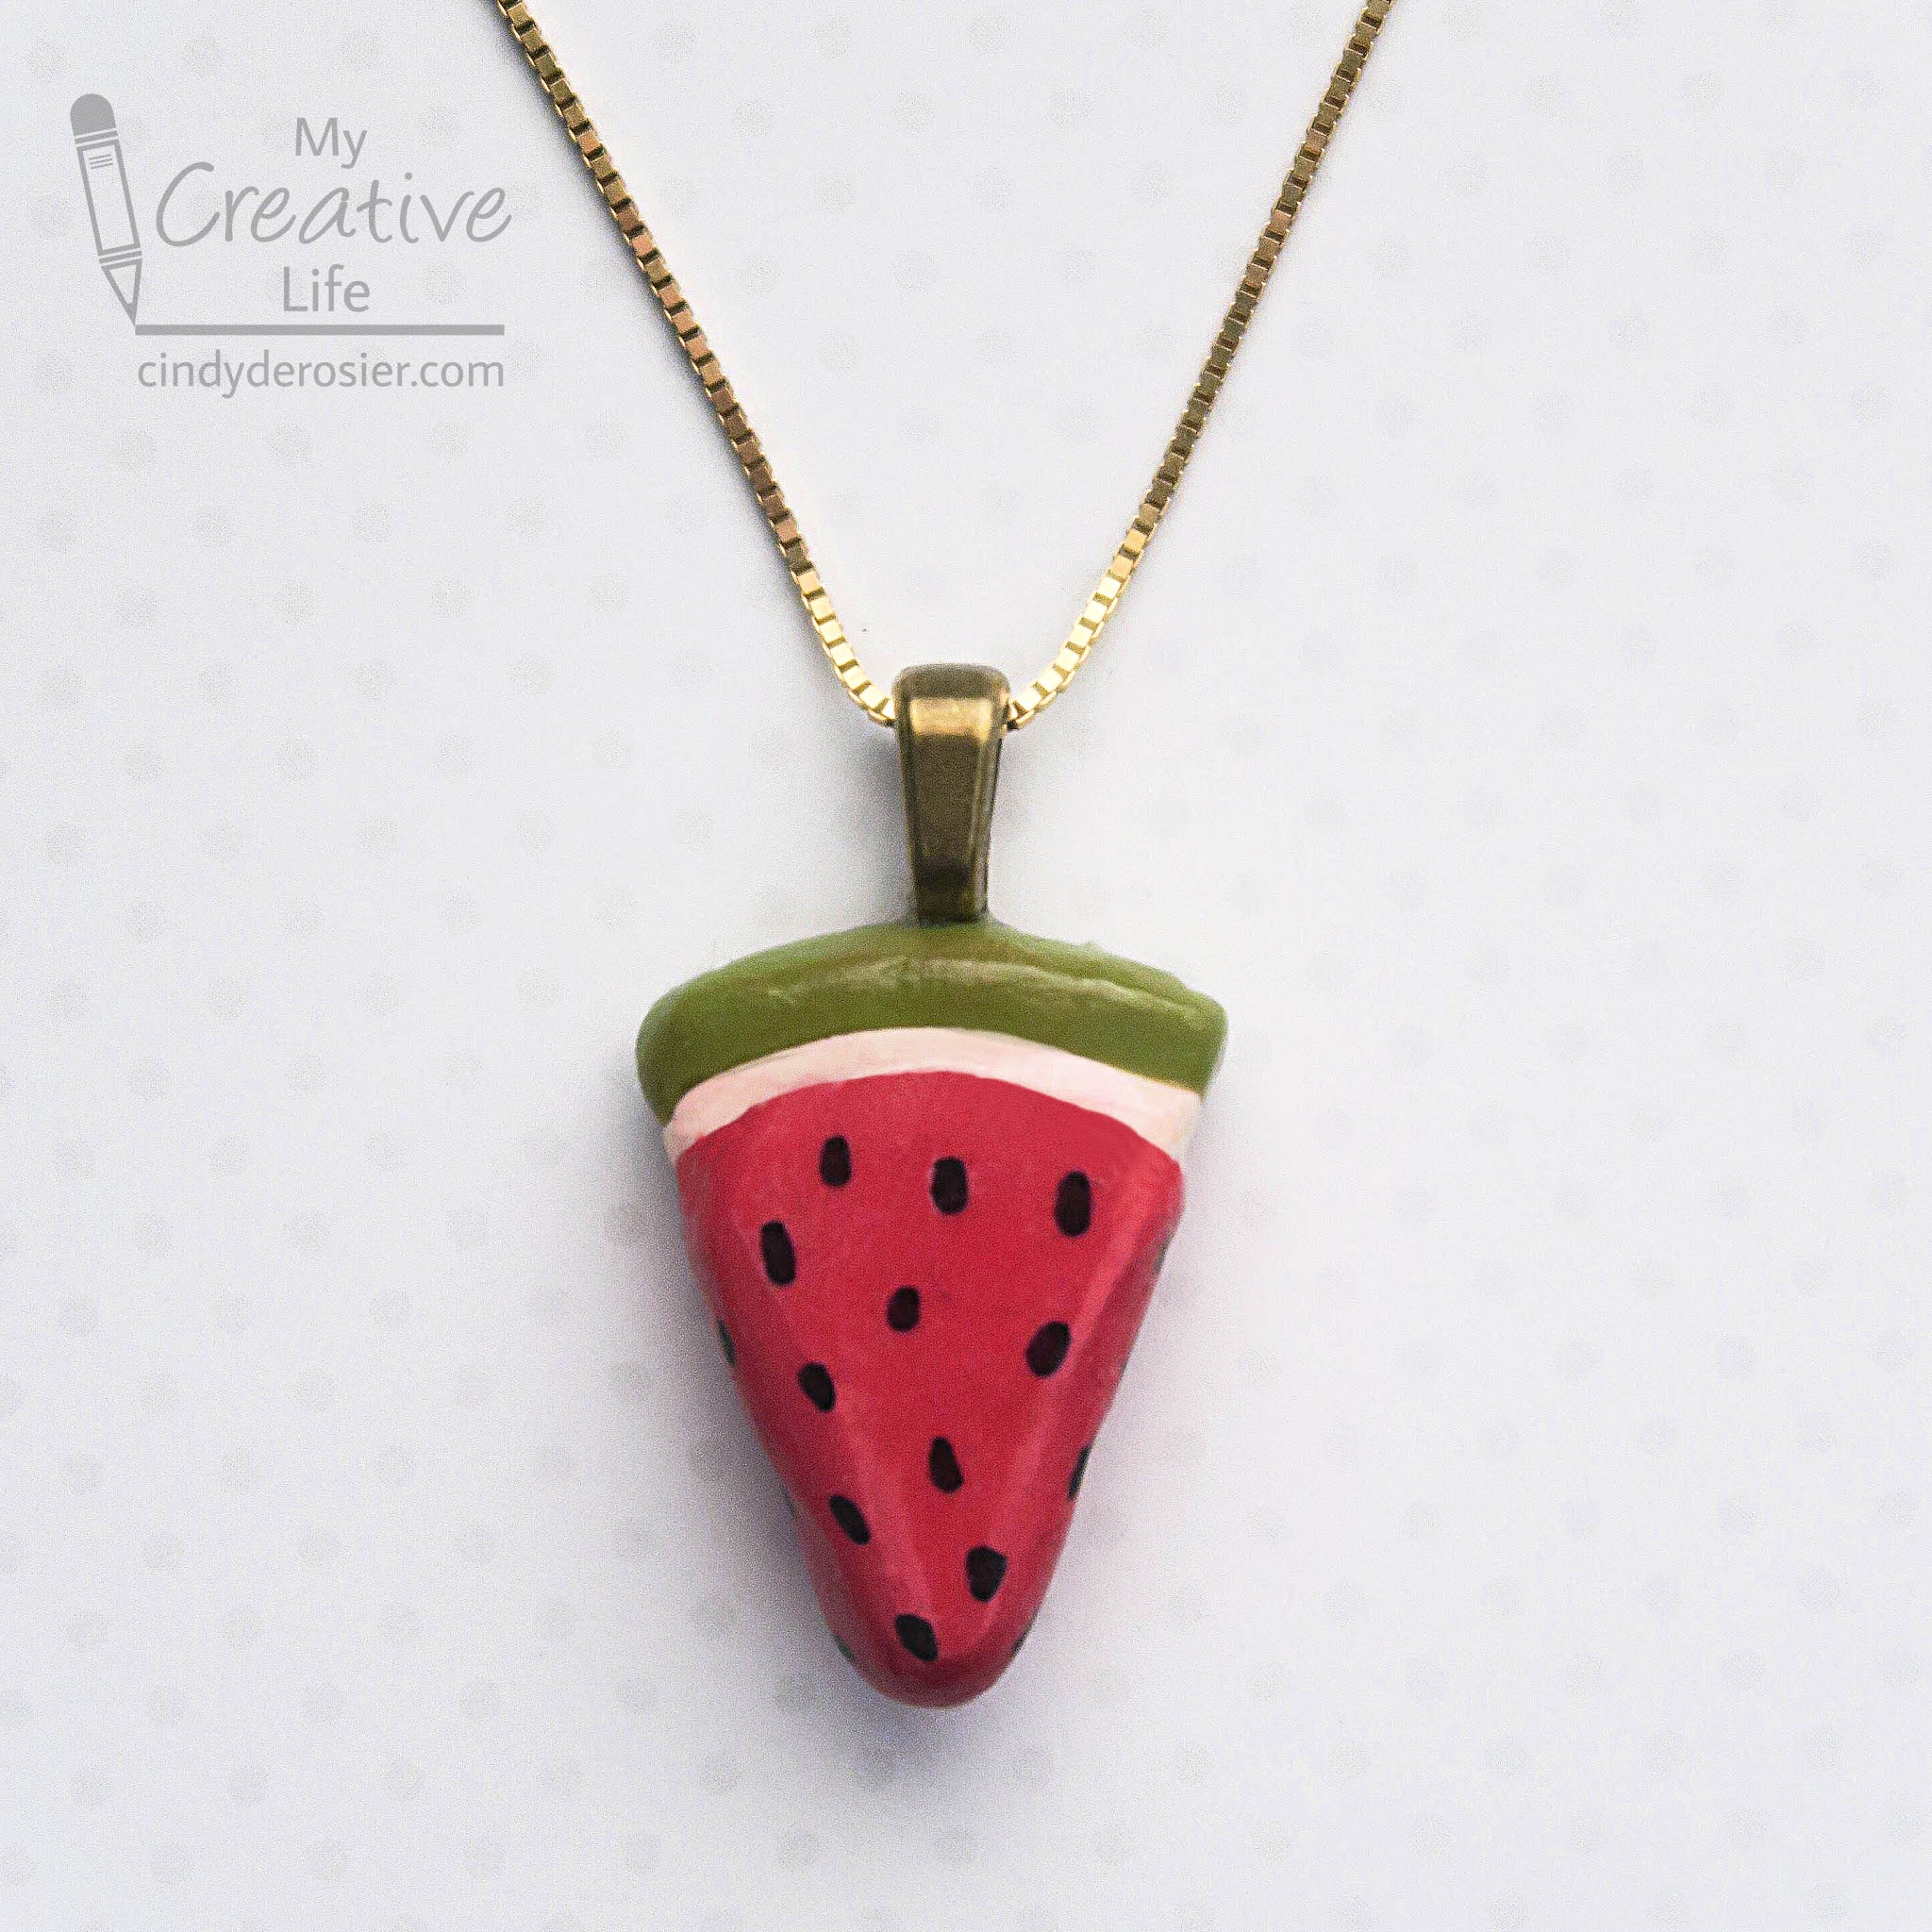
Clay Watermelon Necklace

Check out my new necklace! It's easy enough for a child to do, which I know because that is about where my jewelry-making skills are. 


Watermelon Necklace


Materials:


Steps:


Condition the clay by working it until it is soft. Form the red clay into a wedge the size and shape of a slice of watermelon. Add a thin band of white clay across the top. 


Add a thicker band of green clay above the white. Smooth everything until you are satisfied, then bake the clay according to the package instructions. 

When the clay has cooled, use the Sharpie to draw seeds onto the red portion. Baked Sculpey does not need to be sealed, but I chose to add a coat of Mod Podge so that my watermelon would be glossy. Your choice. 

Adhere the bail to the back of the pendant. When the glue is dry, hang the pendant on the cord or chain of your choice.

4/28/21

Recycled Items Hot Air Balloon

I keep a jar of lids in the craft room because you never know when you'll need one. I was putting a metal lid from a cylinder of orange juice concentrate into the container when I realized the red plastic screw-on lid from a tub of mixed nuts would make an awesome hot air balloon. I dug out a few more recycled items and made this:


Every time I look at it, it makes me laugh. The idea of my parents taking their three grandkids on a hot air balloon ride is improbable enough, but the fact that I positioned the photo so that Allison would be visible makes me imagine the impossibly long legs everyone appears to have. The picture was actually taken indoors at my sister's house in December 2018, not in a hot air balloon. Everyone had just come in from the snowy backyard, which explains the jackets but not why Mom is wearing her fanny pack and Dad is clutching a cold drink protectively. 

The main supplies in today's craft all are recycled, if you can count a photo I printed but didn't end up using for the scrapbook as recycled. I'm counting it. Affiliate links below. 
 

Recycled Items Hot Air Balloon


Materials:


Steps:


Decorate the plastic lid with Sharpies and gel pens. Obviously, you can use whatever colors and patterns you want. 


Cut a piece of chipboard about the size of an index card. Use a score board to create the basket texture, first by scoring the chipboard in one direction, then rotating is 90° and scoring again. It's difficult to get precise lines when working against the existing score marks, but that actually makes the basket texture most realistic. 


Rub brown ink on the scored chipboard. The transformation is amazing!
 

Score the sides and bottom of the chipboard so that you can fold them to make a dimensional basket. Use microtip scissors to cut the photo, separating the people from the background. Glue the people to the basket.


Turn everything upside down. Assemble the basket by folding the bottom under and the sides back, then gluing them into place. Cut two lengths of single-strand embroidery floss and glue the middle of the strands to the bottom of the plastic lid. 

When that is dry, stretch the pieces of floss so they are taut. Glue two to the back of the photo and two to the basket. 


When everything is dry, add glue to the edges of the lid and the basket, then carefully turn it over and place it on the cardstock. Let it dry completely before hanging. 


Up, up, and away!

9/4/19

Fingerpaint Watermelon Paper Plate Wreath

Summer isn't over yet! If you're not quite ready to leap into fall, here's a fingerpaint craft that celebrates the warm weather and long summer days. 


Fingerpaint Watermelon Paper Plate Wreath


Materials:

  • two paper plates
  • Folk Art acrylic paint (red, white, green, black)
  • scissors
  • glue
  • ribbon


Steps:


Use your fingers to smear red paint in the center of one of the paper plates. Without cleaning your fingers, add a band of white paint around the edge of the red. It will mix slightly and give you pink. Wipe your fingers, then add green around the outside of the plate. When the red is dry, make fingerprints of black randomly in the red section. 


When the paint is completely dry, cut the plate in half. Then cut each half in half, and each half in half again, forming 8 wedges. Cut out the center of the second plate to make the base for your wreath. 


Arrange the watermelon wedges so that they cover the wreath. Glue them in place. 


Add a ribbon to make a hanger, then display your wreath!


How fun would this be to make at a watermelon-themed party? I totally want to plan one!

6/20/19

Ice Cream Sandwich Craft

It may seem that I'm a bit obsessed with ice cream lately. I assure you that is incorrect. Not because I'm not obsessed. It's the 'lately' part that's wrong. I've been obsessed with ice cream for a very long time, but summer is the perfect time to share ice-cream related posts.

The inspiration for today's craft came from this ADORABLE plush toy (affiliate link). My version is made with construction paper. Affiliate links below. 


---------


Ice Cream Sandwich Craft


Materials: 


Steps: 


Cut a rectangle of cream-colored construction paper the size you want your ice cream sandwich to be. Using it as a guide, cut out the chocolate and strawberry ice cream sections. Then cut two long, thin brown strips as shown below. I used two different shades of brown because I was using up scraps I had on hand, but you can do whatever. You could even substitute craft sticks and paint them brown. 


Glue the parts together and that's all there is to it. Couldn't be easier!

6/17/19

Ice Cream Sundae Craft

Last week, I shared the recipe for a delicious PB&J sundae. Today's sundae isn't edible, but it's a fun project for summer. I've had the idea of using wax paper to make a sundae glass for awhile and finally got around to trying it out. I've decided wax paper is underrated as a craft supply. Most people have it on hand and there are a lot of ways to use it. Unfortunately, it doesn't scan well. It looks much better in person.


---------

Ice Cream Sundae Craft


Materials: 

  • construction paper or patterned paper
  • scissors
  • wax paper
  • craft glue / tape runner


Steps:


Cut out ice cream scoop(s), chocolate sauce, a cherry, a stem, and whipped cream, as shown below. Of course, you can change out the ice cream and sauce flavors and add whatever other toppings you'd like.


It is difficult to cut a symmetric shape without folding the material you're cutting, which you want to avoid with wax paper. Instead, make a template. Fold a piece of scratch paper in half, then cut out the shape of the glass. Open it and see if you like the shape. If not, fold it and make small cuts until you are satisfied. Place a piece of wax paper on top of your template and cut it out. 


Now, glue everything together EXCEPT the glass. Because the wax paper is transparent, you need to be careful how you apply the glue. Directly below is Trevor's sundae. He used a tape runner to add small bits of adhesive to the glass. If you look carefully, you can see the adhesive spots in the ice cream area, but they're virtually invisible everywhere else. 


By contrast, I used craft glue to attach my glass. It is virtually invisible on the ice cream area, but shows a little bit on the glass. Worse, I didn't notice the wrinkles in the base of my glass until the glue had dried. 


Based on our experiments, I'd suggest testing the various adhesives you have on hand to see how they behave on the papers you use. Or just don't worry about it, as most people won't scrutinize the work for tiny flaws. Enjoy!

6/13/19

Guilt-Free PB&J Sundae

We're in the middle of a heat wave here in Northern California. You know what's REALLY refreshing on a hot day? A homemade peanut butter and jelly sundae. Even better, it's guilt-free. 


Believe it or not, you can actually serve this as a meal and not feel like the worst mom ever. With homemade frozen yogurt (literally frozen yogurt - no added sugar), naturally sweet ripe berries, a homemade peanut butter sauce, and plenty of nuts, it's not all that different than serving a PB&J with a glass of milk, nutritionally speaking. The fancy glass makes all the difference. Affiliate links below.

---------

Guilt-Free Peanut Butter and Jelly Sundae


Materials:


Steps:


Follow the manufacturer's instructions to freeze the Greek yogurt in the ice cream machine. 

Meanwhile, remove the berries from the freezer so they can thaw and then make the peanut butter topping. In a small saucepan, combine 1 c. sugar with 1/2 c. water. Bring the mixture to a boil, then allow to boil for one minute. Remove from the heat and stir in 1/2 c. peanut butter. Let the topping cool. Chop the peanuts and set them aside.


To assemble your sundaes, put a large scoop of berries in the bottom of the glass. Add a generous dollop of peanut butter topping, then add a scoop of frozen yogurt. Repeat the layers until the glass is full, then sprinkle chopped peanuts on top. 

The result is amazing. Trust me.