Showing posts with label scarecrow. Show all posts

9/30/22

Scarecrow Mason Jar

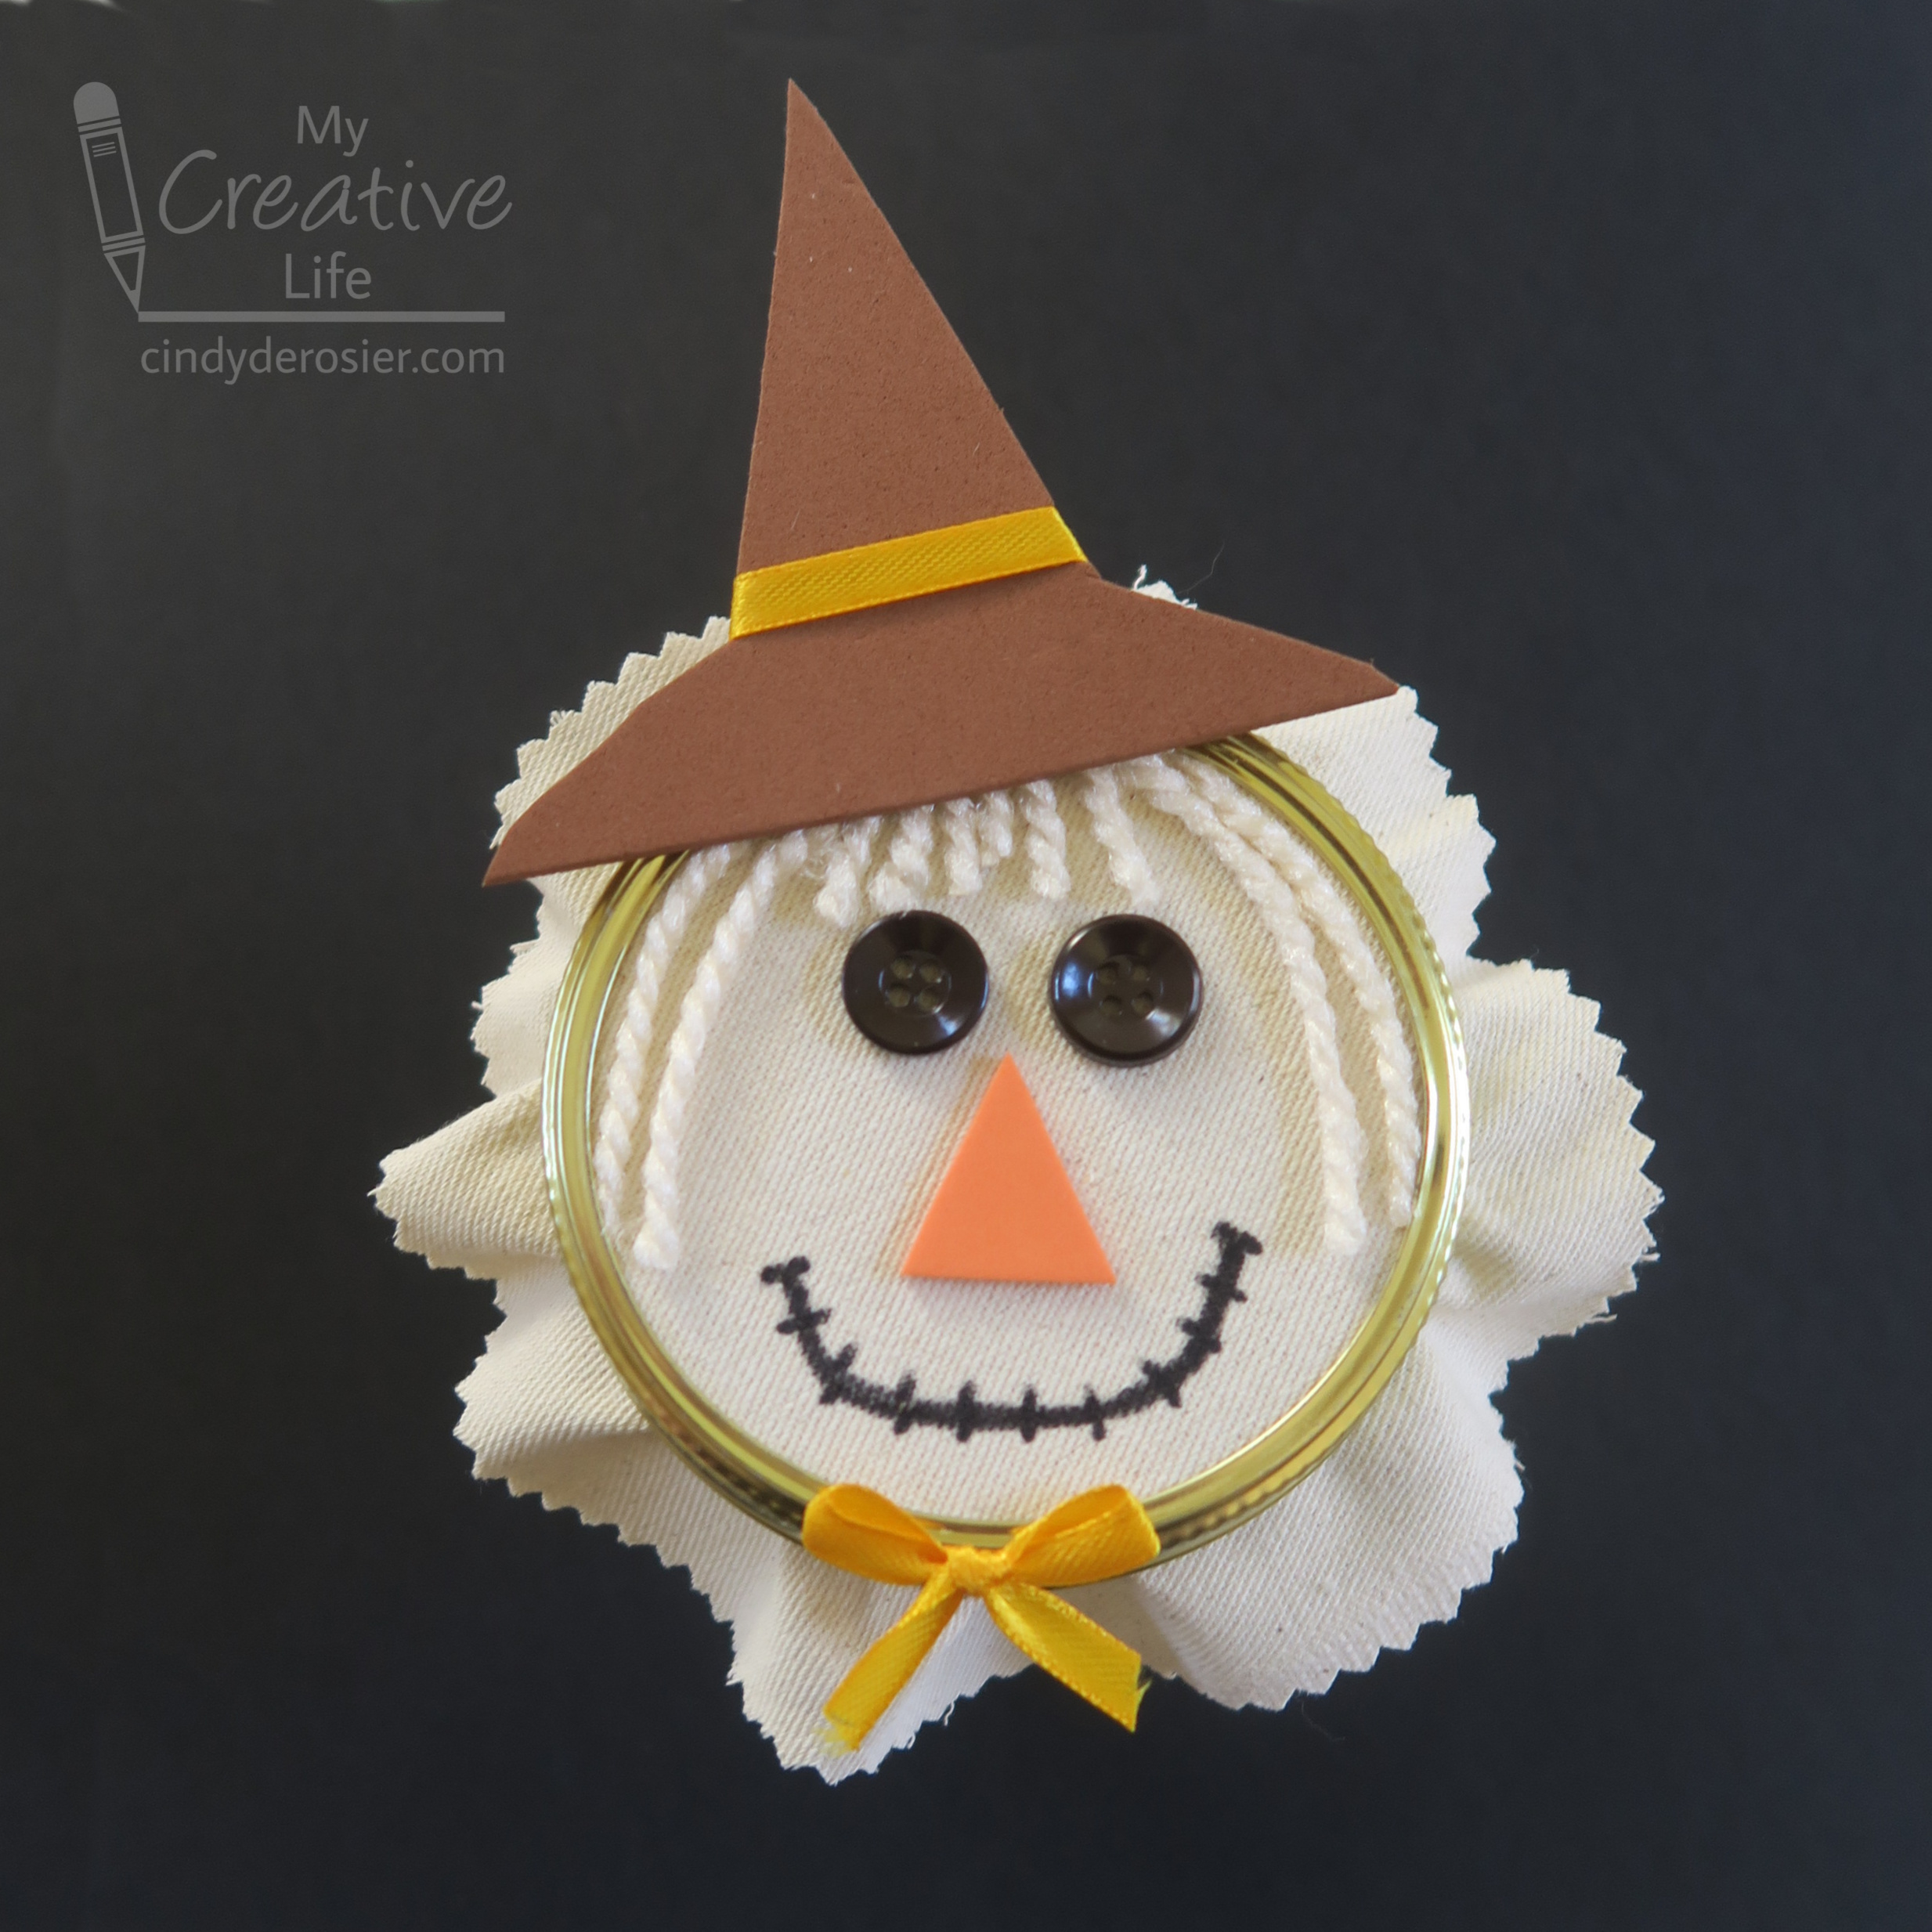
This Scarecrow Mason Jar is such a fun way to share a fall treat with friends! You can fill it with anything you want, but I designed it with Cinnamon Spice Caramel Apple Popcorn in mind. Affiliate links below. 


Scarecrow Mason Jar


Materials:


Steps: 


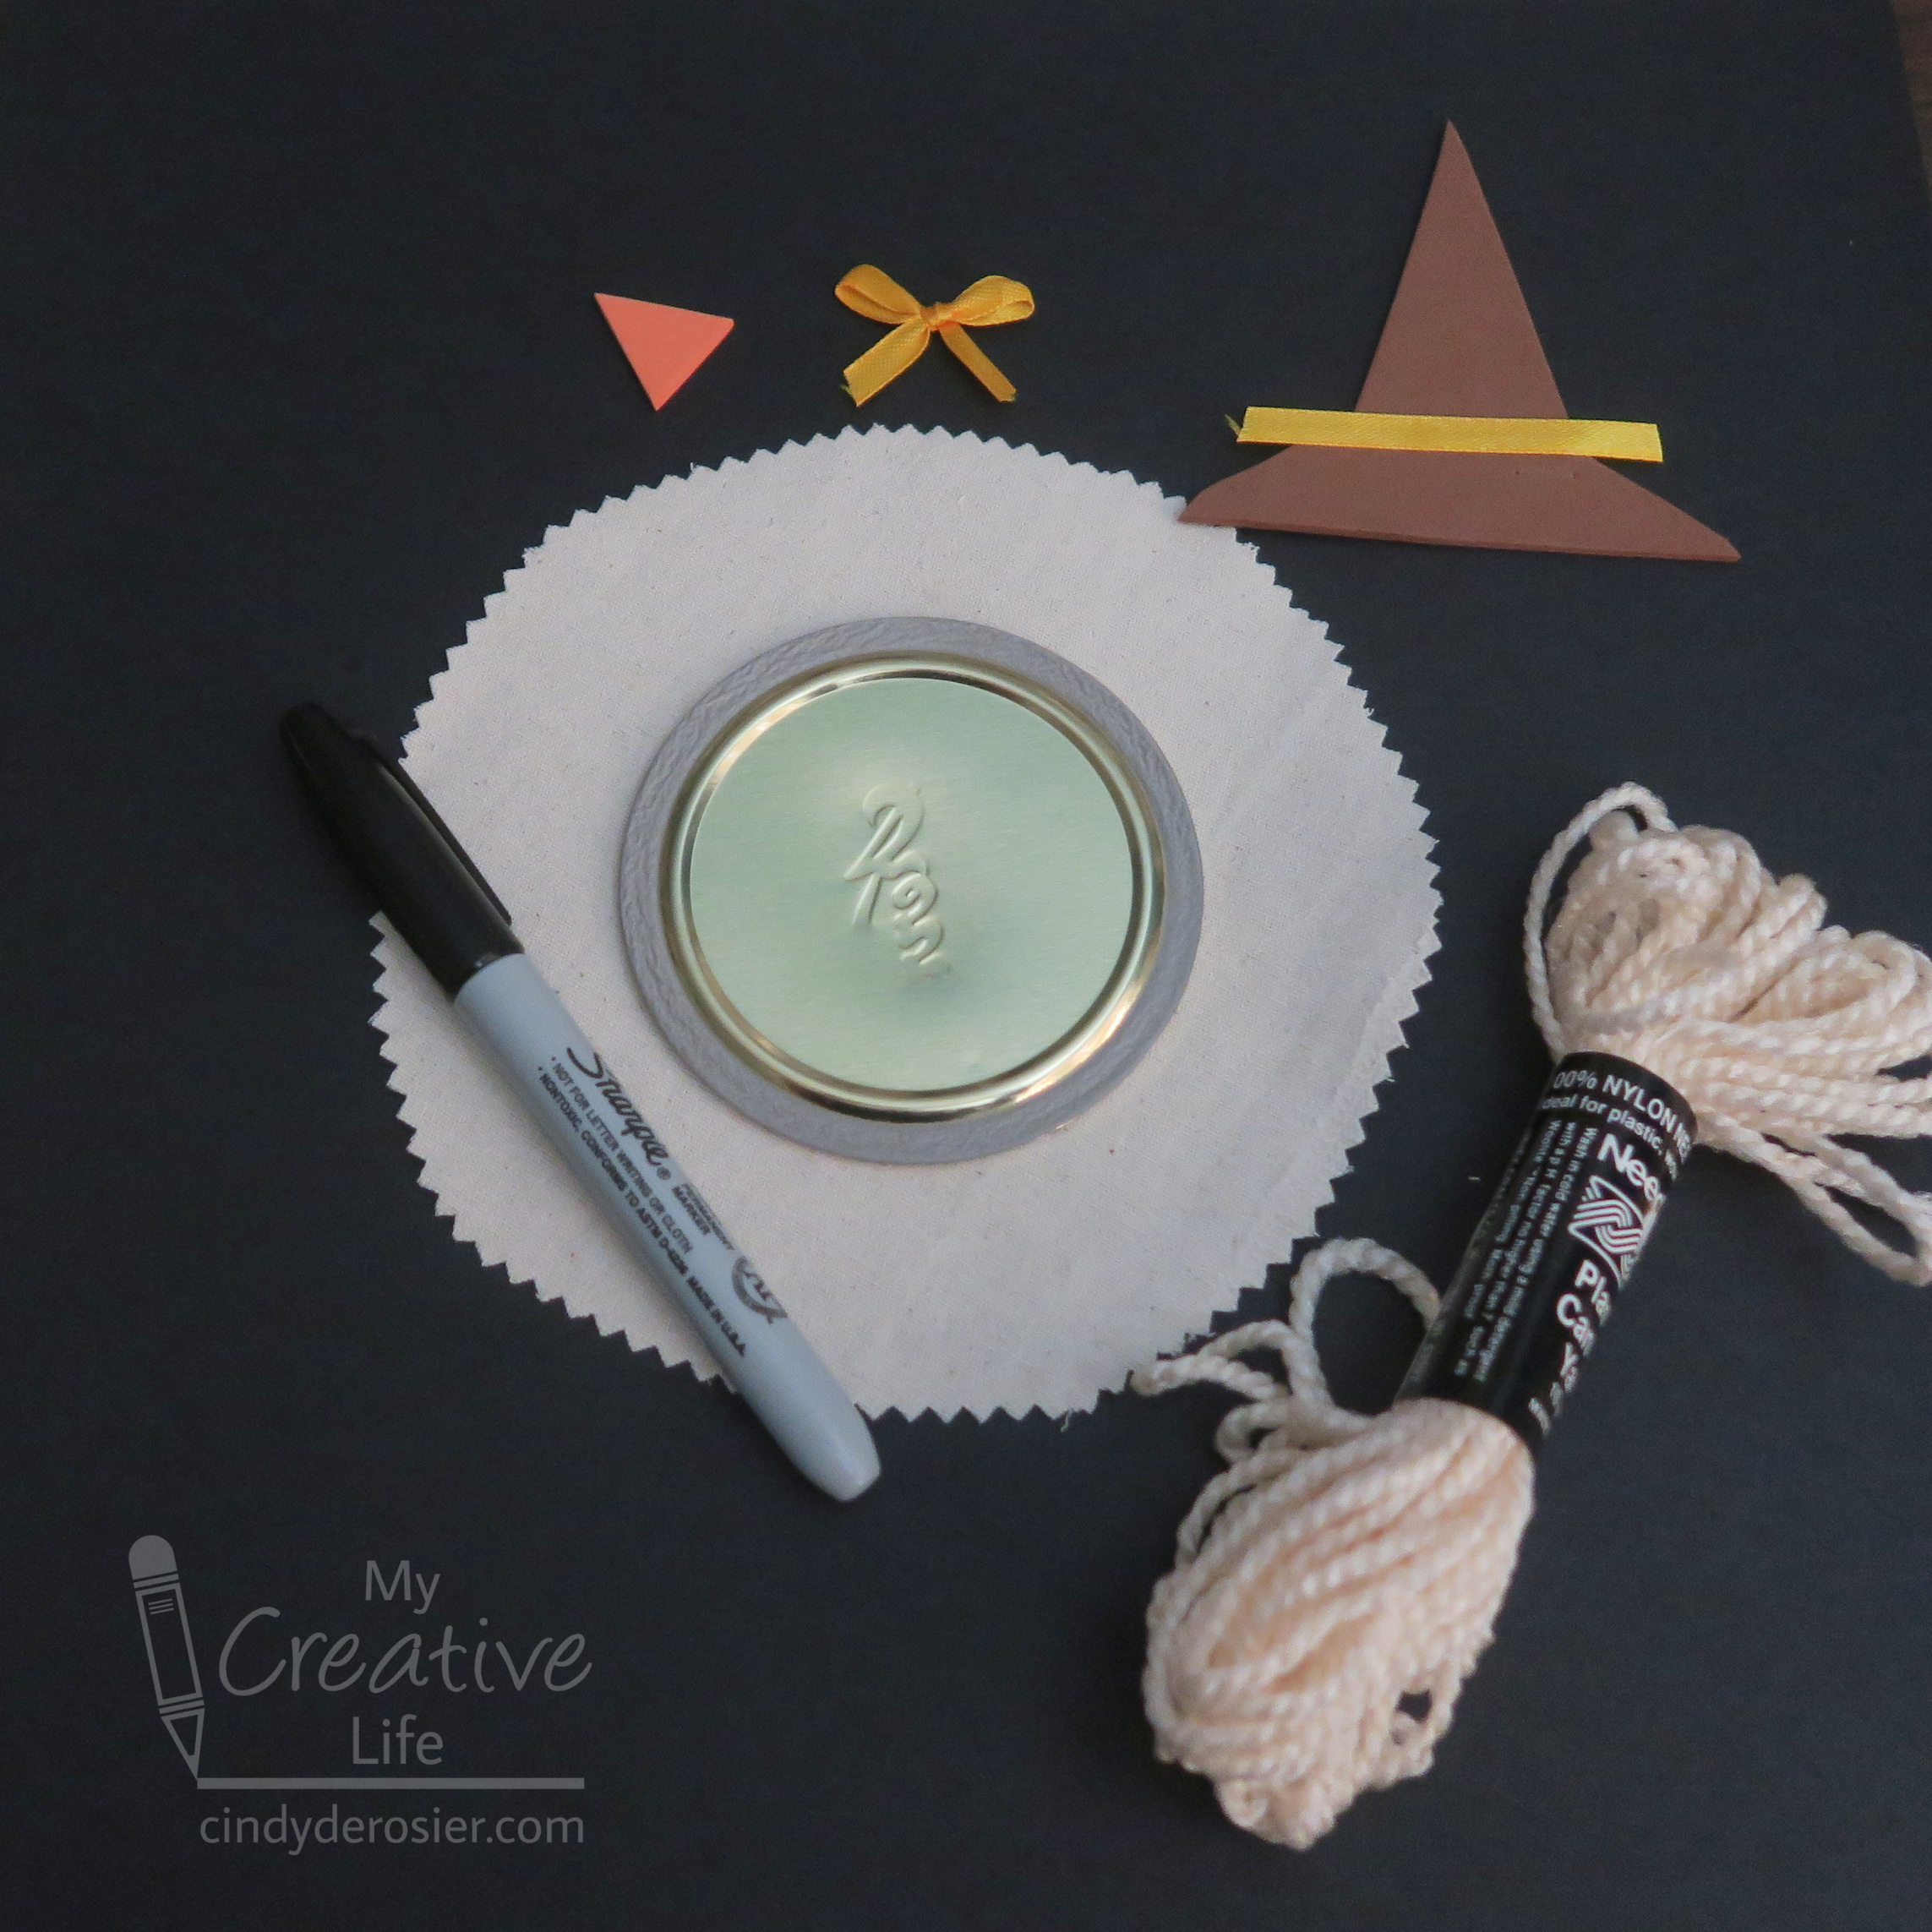
Use the pinking shears to cut a circle of fabric approximately 6" in diameter. Glue the lid to the center of the fabric. 

Use regular scissors to cut lengths of yarn for the scarecrow's hair. Then cut a triangle nose from orange craft foam and a pointy hat from brown craft foam. Cut a length of ribbon to make a hat band, then tie another piece of ribbon into a small bow. 


Fill the mason jar with the popcorn or other treat, then add the lid. Screw on the ring tightly. 

Glue lengths of hair to the scarecrow, trimming as necessary. Glue the hat on top. Glue the eyes, nose, and bow into place. Use the Sharpie to draw the scarecrow's mouth. 

10/6/21

Roundups: Owls, Scarecrows, Fish, Beans, and Halloween

I've finished another batch of roundups for Fun Family Crafts. First, owls. We have 93 owl crafts and recipes on Fun Family Crafts... and 13 of them are mine. I was surprised that I had so many. I chose three of mine for the roundup. Can you spot them?


Scarecrows are another fall favorite. Of the 31 scarecrow projects at Fun Family Crafts, 3 are mine. One is in the roundup. 


Next, Fish Crafts and Recipes. We have 141 fish crafts on Fun Family Crafts and it was really hard narrowing down which to features. One of mine is on the graphic below; you can see all of my fish crafts here. 


Next I did Bean Crafts. This one was tough because a lot of bean crafts don't have visible beans (such as bean bags and noisemakers). I tried to pick the best mix of visible and hidden beans. One item on the graphic is mine. 


Finally, Halloween Crafts. We have over 1000 crafts, recipes, and costume ideas, so no matter what you're looking for, it's probably there. I used two of mine for the graphic. 


I'm constantly going through our crafts to make roundups that I think will appeal to our readers. If you have any ideas for roundups I should add, let me know in the comments!

10/6/20

Craft Stick Scarecrow

When I was a kid, I loved making things out of popsicle sticks. That's what we called them in the 1970's. I wouldn't have had the slightest idea what someone meant if they said 'craft stick.' The ones I used at home were stained from having once been inside actual popsicles, so it was quite a treat to go to camp and use clean sticks that came from inside a box rather than inside a popsicle! On special occasions, the camp counselors would bring out the 'big popsicle sticks,' aka tongue depressors. They might have been sold as craft supplies back then, but when we crafted with them, they came out of a box labeled as medical supplies, not as craft materials. It was so exciting to use two different sizes of popsicle sticks - there were so many different things we could build!

Crafters today have so many more options when it comes to craft sticks: everything from 2.5" mini craft sticks to gigantic 10" craft sticks (affiliate links here and throughout the post). I used the two largest sizes to make this adorable scarecrow.  


Craft Stick Scarecrow


Materials:


Steps: 


Paint most of the 8" craft stick with the shirt color (I used Yellow Citron) and the ends a burlap color (I used Country Twill). Paint the 10" craft stick Country Twill where the face will be, Yellow Citron where the shirt will be, and a blue for the pants (I used Dark Hydrangea). 


When the paint is dry, add details with Sharpies. I started with blue to draw the waistband, belt loops, pocket, and a leg-dividing line on the pants. Then I used green to draw the collar, pockets, sleeves, and buttons of the shirt. With a paler green, I drew diagonal lines to make a plaid on the shirt. Then I drew on orange patches and 'stitched' them with brown. I added black eyes, an orange nose, and a red mouth, then 'stitched' the nose and mouth. Finally, I used gold and yellow to make the hair and the straw coming out of the sleeves and the top of the shirt. 


Cut a cardstock hat. Glue it to the scarecrow's head, then glue the arms behind the body. 


My scarecrow will be an indoor decoration, but if you want to make an outdoor version for the garden or to put in a potted plant (or anywhere else there would be moisture), seal the scarecrow with multiple coats of Outdoor Mod Podge

This would be a great project to do as a family. Imagine how cute all the scarecrows would look holding hands, suspended as a banner!

Looking for other fall decor? Check out these great ideas from my fellow craft bloggers.

9/13/18

Cardboard Tube Scarecrow

When you see this cardboard tube scarecrow, do you think of fall...


....  or do you think of The Wizard of Oz? Because really, it could go either way. 


---------

Cardboard Tube Scarecrow


Materials: 

  • cardboard tube
  • scissors
  • construction paper (green, brown, black, red)
  • craft glue
  • burlap
  • scotch tape
  • light brown yarn
  • googly eyes
  • black Sharpie
  • dried hay bits (plenty of those here, thanks to Trouble!)


Steps: 


Wrap a piece of brown construction paper around the bottom third of the cardboard tube. Glue it in place. Wrap a piece of green construction paper around the middle third, slightly overlapping the brown. Glue it in place. Wrap a piece of burlap around the top third. Tape it in place temporarily. 

Cut two pieces of yarn. Tie one piece around the scarecrow's waist and another around his neck. 


Push the portion of burlap that sticks up past the edge of the cardboard tube down into the tube. Remove the tape from the burlap; it should stay in place. 

Create a hat by cutting a rectangle of black construction paper that is about 2" x 6". Fold one edge up, then wrap the construction paper around the scarecrow's head, forming a cone shape by overlapping one end of the construction paper over the other. Add tape to temporarily hold the cone shape. Remove the hat from the scarecrow, trim the excess construction paper, then add glue along the overlapped section. Keep the tape in place until the glue is dry, then remove it. Put a generous amount of glue on the inside of the hat and glue it to the scarecrow's head. 

Cut a small red triangle and two red squares. Glue the triangle where the nose would be. Glue the squares onto the scarecrow's pants. 


Cut a smile from the scraps from the hat and glue it in place. Add the googly eyes. Then use the Sharpie to draw the scarecrow's legs and the stitch marks on the patches. Finally, glue little tufts of hay (or straw) to the scarecrow. Raffia would work, too.


Yes, of course I have tutorials for Cardboard Tube Dorothy and Cardboard Tube Toto. More characters coming soon!