Showing posts with label sequin. Show all posts

11/11/22

Puzzle Piece Ornament: Kids Catching Snowflakes

I love crafting with puzzle pieces. Thanks to the horrible puzzle company that shall not be named, I have a lifetime supply. I used two to make this pair of ornaments.  
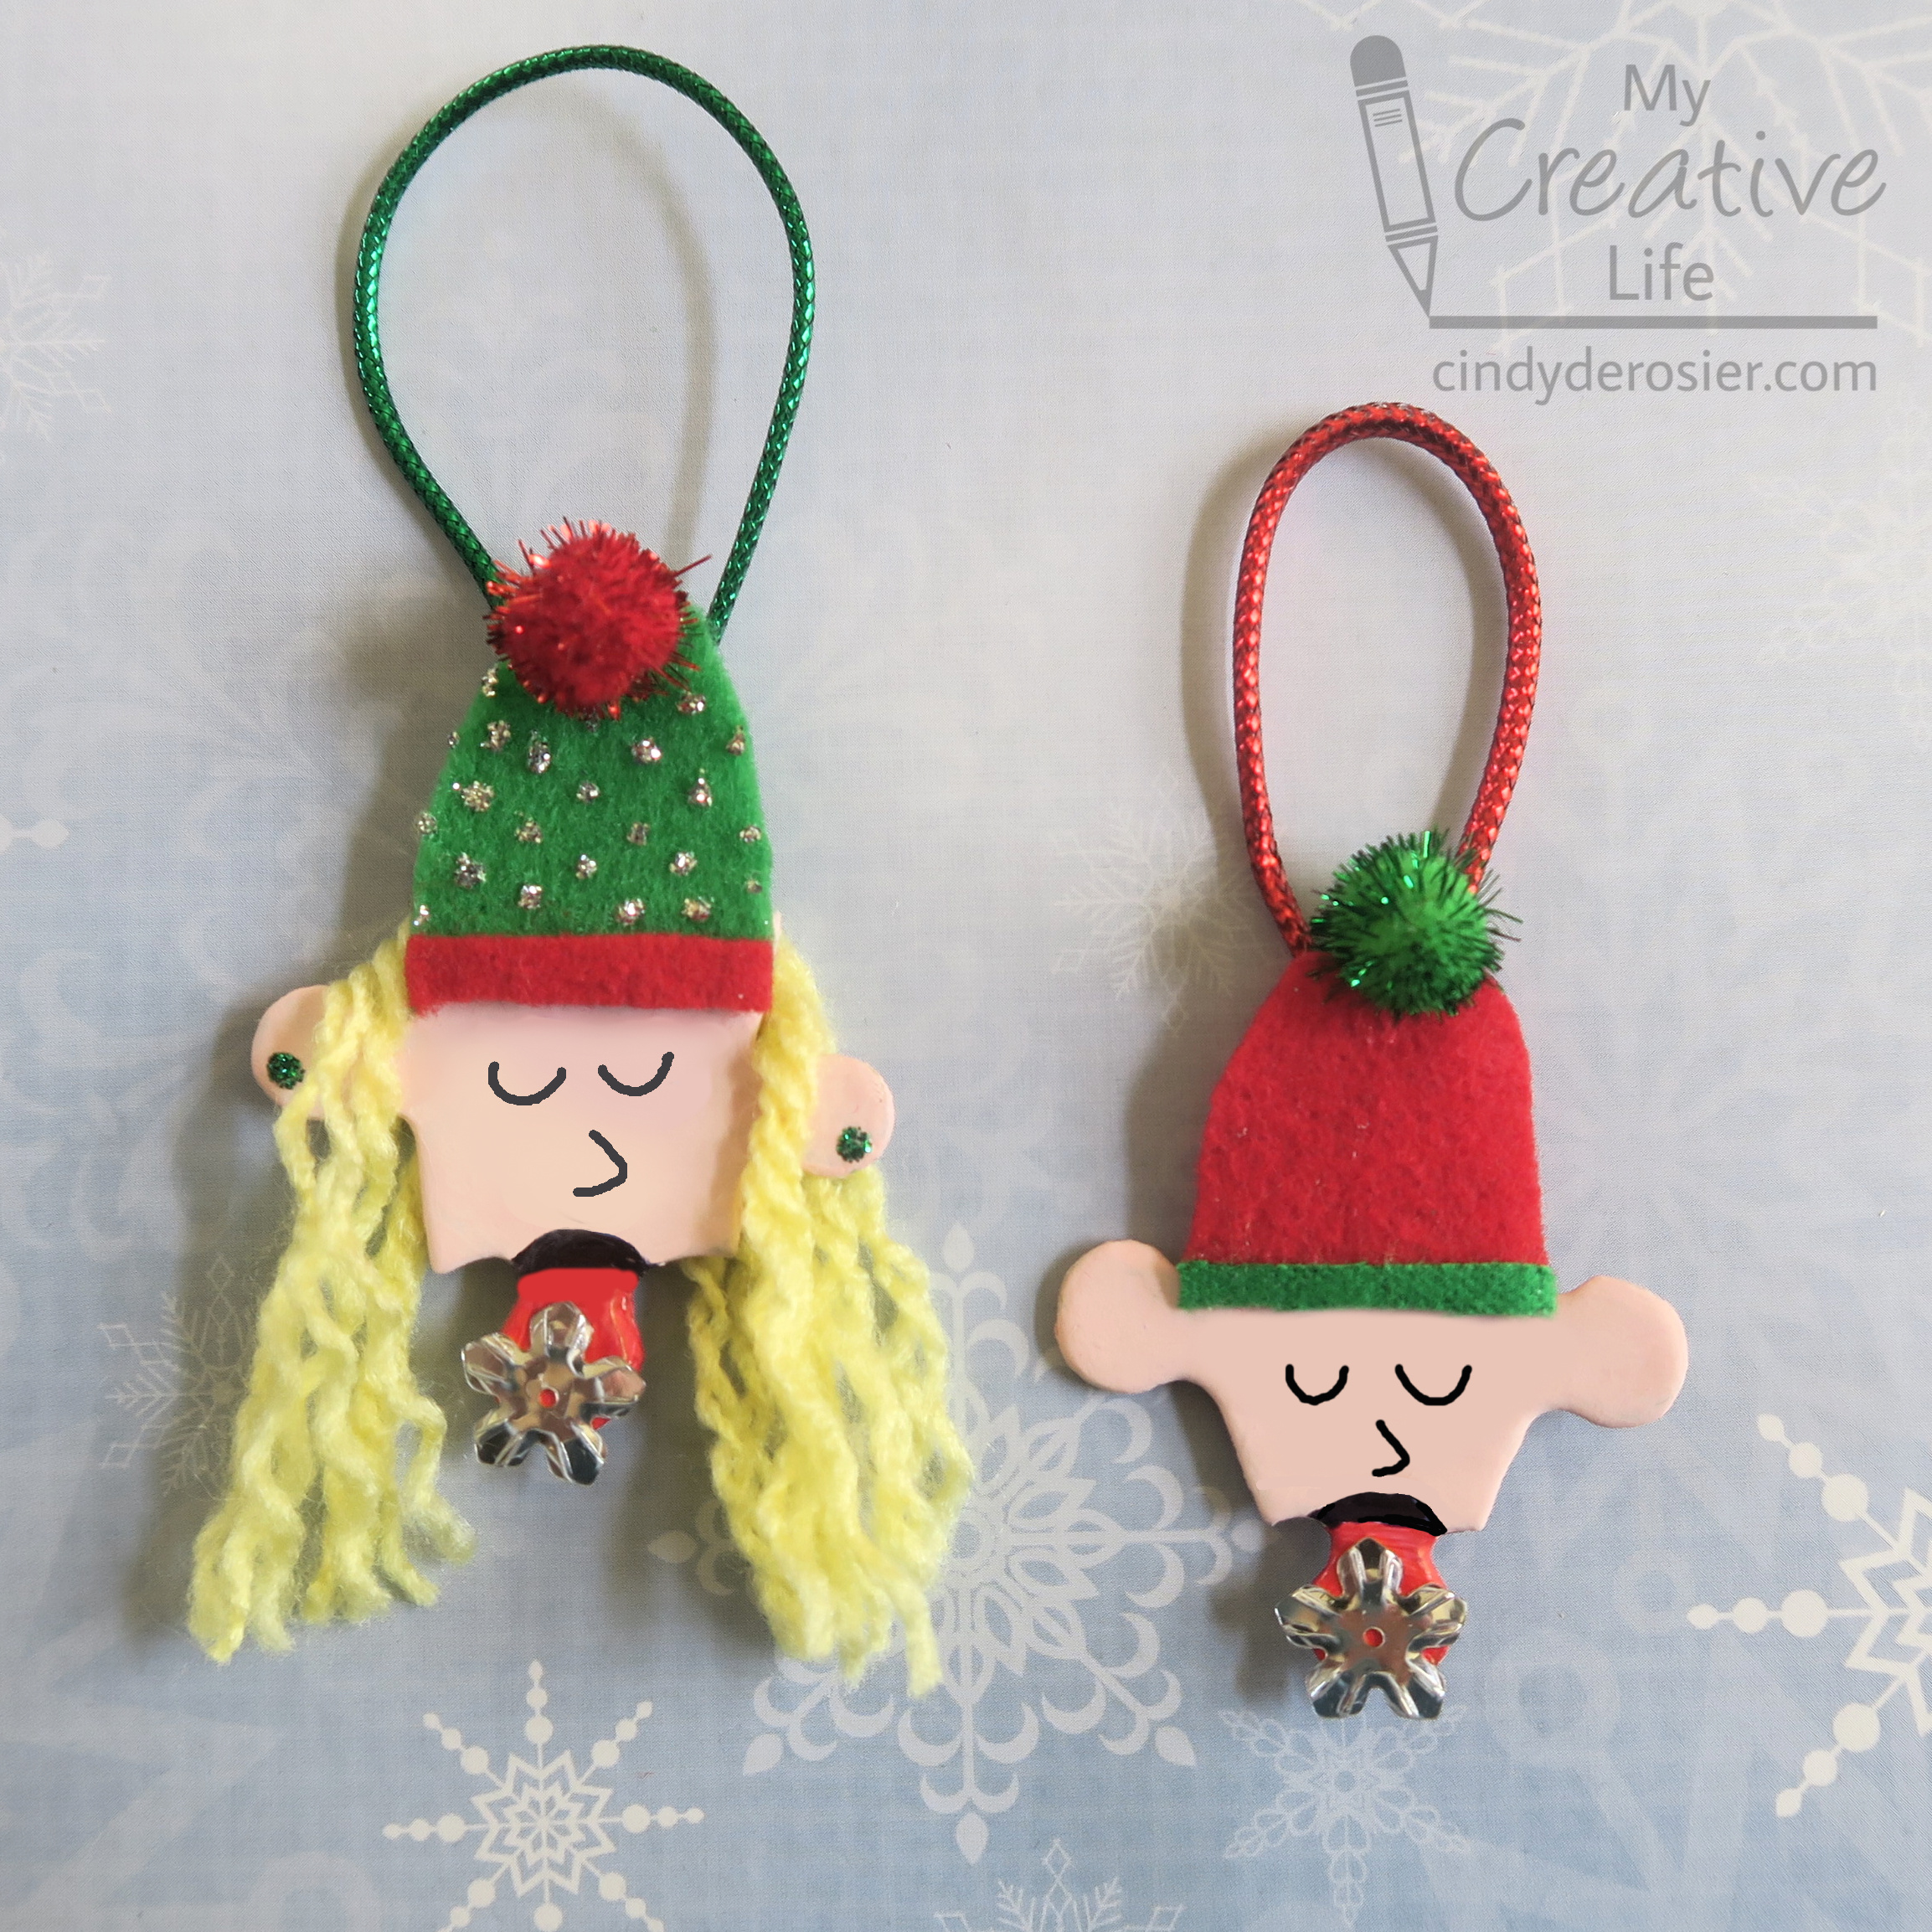


Puzzle Piece Ornaments: Kids Catching Snowflakes


Materials: 


Steps: 


Prepare the puzzle pieces by gently sanding them to remove the glossy finish. (Skip this step if you are using puzzle pieces made specifically for crafting.) Paint each piece with your desired skin tone. 

When the paint is dry, use a red Sharpie to color in the tongue. 


With a black Sharpie, color the open mouth above the tongue. You can draw the rest of the face now (eyes and nose) or wait until later. Glue a snowflake to the end of the tongue.

Make the hats from felt. I used a contrasting color for the band. Glue the two parts together, then glue them to the puzzle pieces. Add a piece of metallic cord for the ornament hanger.  

Cut lengths of yarn to make the hair. Leave it as is, or untwist it to get wavy hair. Glue it in place. Obviously, you can change the hair color and length, style it differently (ponytails or braids would be cute), or leave it off entirely. 
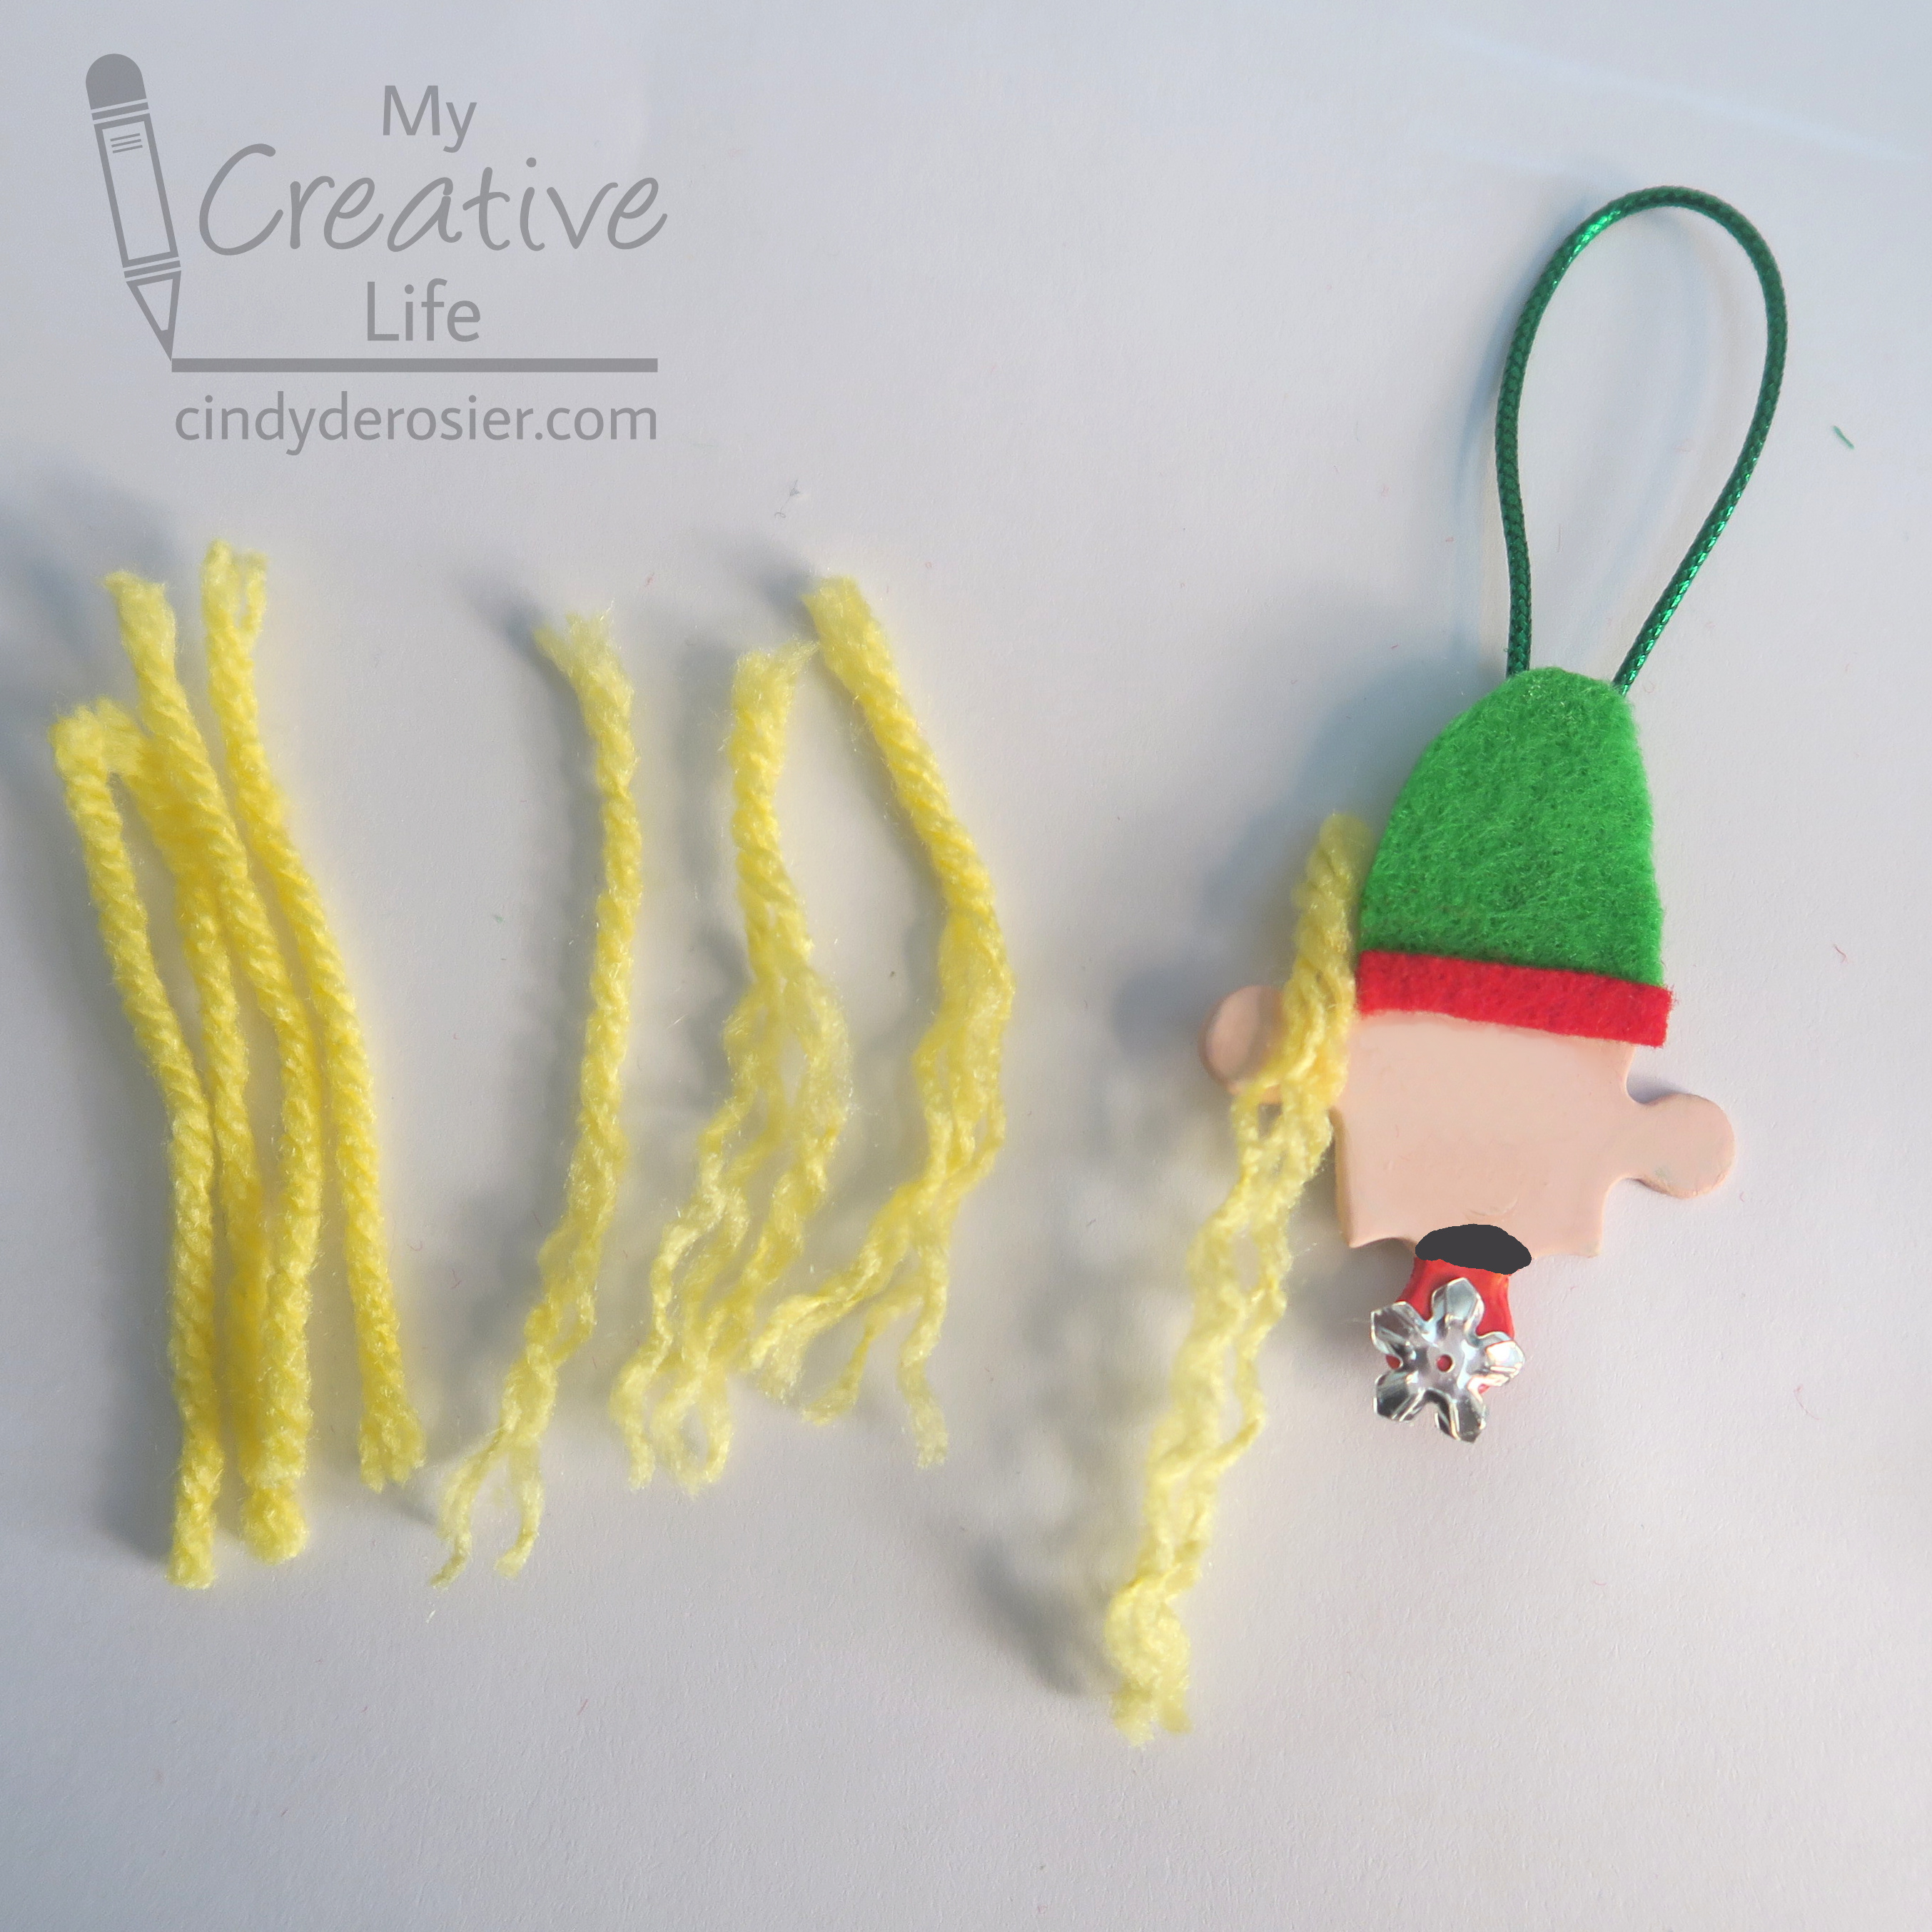

Decorate with Stickles. I put silver dots on the girl's hat and green dots for her earrings. I left the boy undecorated. Finally, glue the glitter pom pom to the hat. 


Only 46 days until Christmas! 

4/1/21

Easter Egg Sun Catcher

I love sun catchers. Part of what I like about them is how different they look as the daylight shifts. They also have a completely different look hanging on a window versus a wall, which you can see here:


But what I like most about them is that they're easy to make and always pretty. Affiliate links below. 

---------


Easter Egg Sun Catcher


Materials:


Steps:


Cut two pieces of contact paper that are slightly larger than you want your finished sun catcher to be. Make a pattern for your egg, then use a Sharpie to trace the pattern onto the paper liner of one of the pieces of contact paper. Do not draw on the contact paper itself!

Cut narrow strips of tissue paper.


Place the piece of contact paper with the pattern drawn on it on your work surface. Peel the liner off the other piece of contact paper only, and place it sticky side up on the other piece. Now add strips of tissue paper and rows of sequins to the sticky surface. The tissue paper should extend beyond the edges of the pattern, while the sequins need to stay inside the lines. 


Slide the lower piece of contact paper out from under the one you've been working on. Remove the paper liner and set it aside. Press that piece of contact paper on top of the first, sticky sides together, sandwiching the tissue paper and sequins inside. 

Place paper liner with the pattern underneath the sun catcher, adjusting it so that it is lined up properly. Use paper clips to hold it in place if necessary, then cut along the line.  

Poke a hole in the top of your sun catcher with the craft pick, then insert a length of embroidery floss. Tie a knot to make the hanger. Then hang it on a wall...


... or in a window!


If you do hang it in a window, be sure to check back at different times of day to see how the light changes.

6/14/19

Sparkly Patriotic Photo Frame

For those who don't know, June 14 is Flag Day. Back in my teaching days, when June 14 fell on a weekday, we'd do a flag-inspired craft. Today’s craft is perhaps too time-consuming for school, but it's perfect for camp or home. Affiliate links below. 


---------

Sparkly Patriotic Photo Frame


Materials:


Steps: 


Paint upper left corner of the frame blue. Paint stripes down the right side, alternating red and white. There will be 13 stripes in all (7 red, 6 white). Paint the left side of the frame so that it matches the stripe pattern on the right. 

I didn't do any measuring, but if I were teaching this project to kids, I would have them use a pencil and ruler to plan out their stripes. Divide the height of your frame by 13 to get the approximate width for each stripe. It doesn't need to be exact, as should be obvious by the fact that I just eyeballed it. 


To apply the bling, work on one small section at a time. I divided the blue into three areas. Apply a generous amount of craft glue and then add gems, sequins, and other bling. Don’t overlap the materials and don’t worry about small gaps. Using the stylus makes this much easier than picking up the little pieces and trying to place them perfectly. 

When you finish a section that borders a white stripe, cut a length of pearl trim to fit the spot. Add a line of glue and put the pearl trim in place. Then continue with the next color. 


When you have filled in every section as well as you can with rhinestones, sequins, and gems, it’s time to fill in the tiny spaces with Diamond Dotz. Add a dots of glue, then place the Dotz.


Allow the glue to dry completely. Your sparkly frame is ready to fill with your favorite photo!


Obviously, this craft is perfect for any patriotic occasion. It makes a wonderful gift for a veteran or active-duty service member, too!

11/20/18

Hot Glue Sequin Suncatcher

Check out the suncatcher I made! There's not a lot of sun to catch right now, but it's still pretty. 


My inspiration for this project came from Hot Glue Hacks and Crafts. (This is an affiliate link, as are other links throughout the post.) I received a copy of this book from the publisher to review. 


I was really excited to review this book because I know the authors! Angie Holden and Carolina Moore are both talented and prolific bloggers who produce top-notch stuff. They've been working hard on this book and it was so exciting to get my hands on a copy and learn everything there is to know about hot glue. And I mean everything! I'm not a hot glue expert by any stretch of the imagination, so Hot Glue Hacks and Crafts taught me a lot. I had no idea there were so many types of hot glue! Glow in the dark?! Foam? NO STRING?!?!? 

In addition to all the fun tips and hints, the book includes fifty unique and fun projects. See the flip flops on the cover? Entirely hot glue (and a button). Crazy creative, right?! I was inspired by suncatcher made with tissue paper and an embroidery hoop. Being me, I had to take it my own direction, but the basic steps are the same. 


---------

Hot Glue Sequin Suncatcher


Materials: 


Steps:


Preheat your glue gun. Set the mason jar ring upside down on the silicone mat (threaded side up). Squirt a generous amount of hot glue into the opening of the ring, then quickly use the spatula to spread it evenly. Drop the sequins into the hot glue. 


Working on a small area at a time, squirt glue onto the inner edge of the ring and dump sequins on it. Continue until you have coated the whole inner ring. Give the suncatcher a good shake and reattach any sequins that aren't secure. You can also fill any gaps at this point. 


Finally, cut a piece of ribbon and glue it to the ring to make a hanger. Hang your suncatcher in a window. I chose Christmas colors and will be moving it from the window to the tree once it is up!

I'd encourage you to check out so Hot Glue Hacks and Crafts and try some of the projects yourself. It would make a great gift for a crafter, perhaps paired with some of the specialty glues in fun colors or scents (yes, scented hot glue is a thing!). Happy glueing! 

1/10/18

Q-Tip Snowflake

Not all of my craft ideas are original. Most are, but occasionally I have to recreate someone else's project, without the benefit of actually knowing how they made it. Take, for example, this Q-Tip Snowflake I made:


Many years ago, we featured "Snow Swabs" at Fun Family Crafts:


The original source, Spoonful.com, is gone, leaving us with a dead link. As Editor, that leaves me with a choice: remove the feature entirely, or try to figure out how it was made and post my own tutorial? 

I hate removing crafts from the site, so this time I tried to make my own version. I knew from the title that each 'spoke' of the snowflakes were q-tips, but that's all I knew. What are those colorful blobs at each intersection? The photo is too small to enlarge. Now that I've made my own, I *think* those blobs are hot glue with glitter sprinkled into them, which is different than what I did. Here's my version. Affiliate links below.


---------


Q-Tip Snowflake


Materials:


Steps:


1. On a piece of wax paper, arrange the q-tips into a six-pointed star. 


2. Put glue at each intersection. Too little and the snowflake won't stick together. Too much and the glue will form unsightly pools. (Ask me how I know.) Let the glue dry overnight. 


3. Carefully peel the wax paper from the back of the snowflake. If necessary, add extra glue to reattach weak areas and/or use microtip scissors to trim away glue pools. Once it is secure, tie a piece of fishing line around the snowflake. Have a trusty assistant hold it up to make sure it is actually sturdy. 


4. Now it's time to decorate! I used Star Dust Stickles to add glitter to the snowflake, then glued a silver sequin at each intersection. 


Of course, both the glitter and the sequins are difficult to see in my photos, but they do add a nice sparkle in real life. Hang your snowflake in the window and enjoy! 

11/26/14

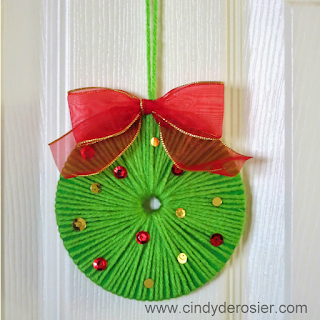
CD Wreath

Time to share another of my CD crafts! We're gearing up for Christmas around here (the decorations will go up Sunday, the start of Advent) so I made a wreath. 


CD Wreath


Materials

  • old CD
  • gesso
  • green paint
  • green yarn
  • sequins
  • ribbon

Steps


Put a coat of gesso on a CD and let that dry. Paint the CD green. Tape one end of the yarn to the back of the CD, then wrap it around and through the center until the CD is covered. Cut off the excess and tape it to the back. 


Use the excess yarn to make a hanger. Glue sequins randomly to the front of the wreath. Add a bow and it's ready to go!


For those who celebrate, when do you decorate for Christmas?