Showing posts with label sun catcher. Show all posts

8/28/23

Plastic Lid Flower, Made with Apple Barrel Paint Pens

 I've been playing with the new Apple Barrel paint pens!

I'm a Plaid Ambassador, which means I get to try out all sorts of new goodies from one of my favorite companies ever! Affiliate links here and throughout the post. 

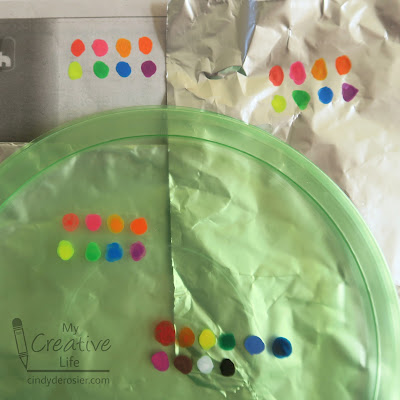
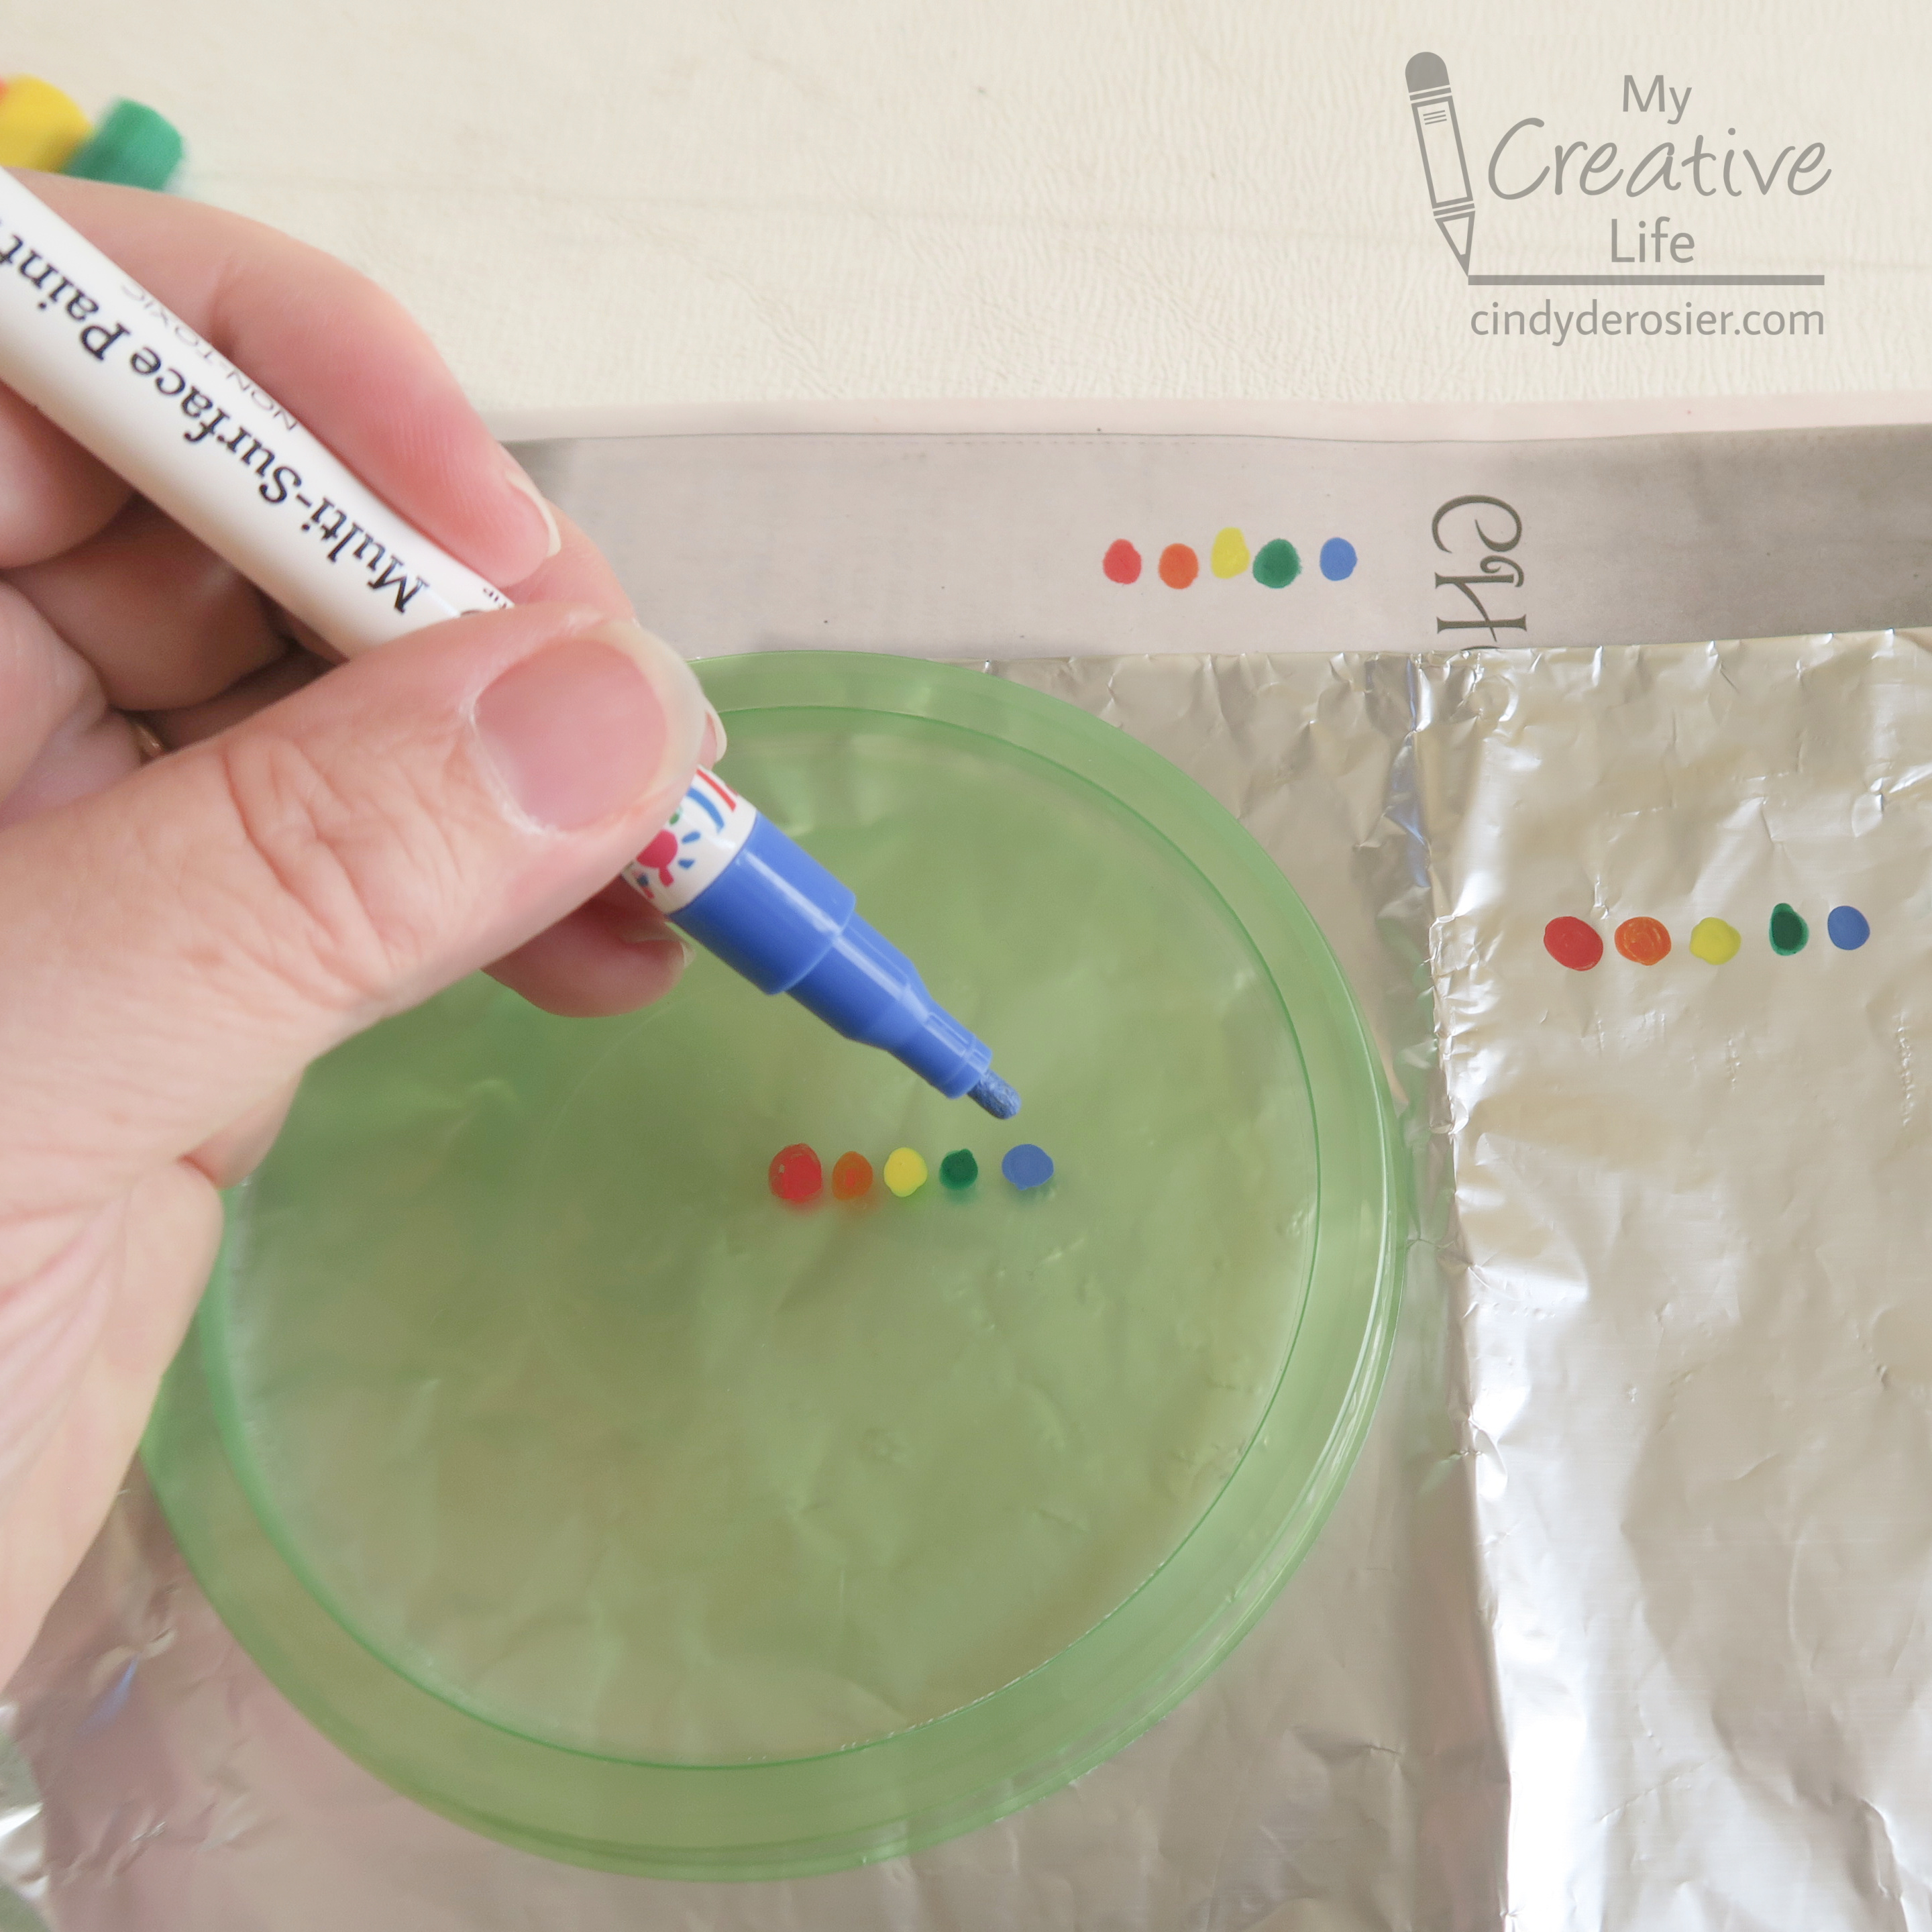
I received two sets of Apple Barrel fine-tip paint pens (the Basic colors and the Neon set). According to the package, they're intended for use on fabric, wood, paper, glass, rock, metal, and much more. I decided to swatch my colors on three surfaces: newspaper, a plastic lid, and aluminum foil. The colors were beautiful on all the surfaces and the coverage was excellent. 
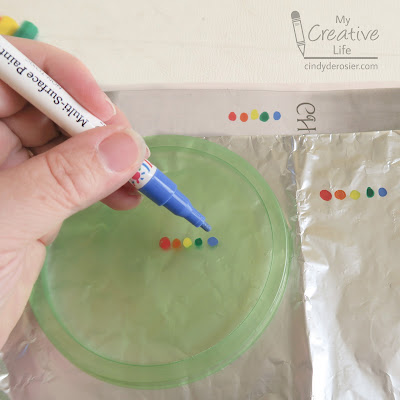

Here are some swatches with the neon colors. Fabulous!


After I took that photo, I ran my finger across all of the swatches to see how well they dried on each surface. I'm happy to report that they were all perfect! No smearing, nothing. 

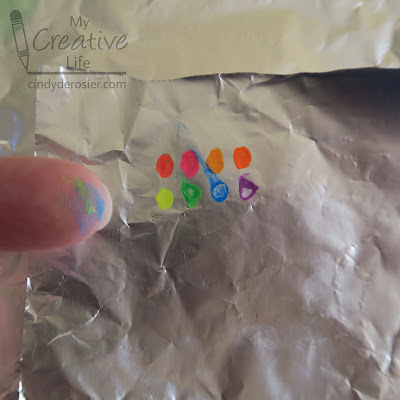
But that was with a few minutes of drying time. What would happen if I made dots in quick succession, allowed no drying time, and then rubbed my finger through them? This: 


By the time I made the 8th dot (purple), the first five dots were completely dry and did not smear when I rubbed them. Impressive! Green, which was the 6th dot, was dry on the outside but not in the inside in just the time it took for me to make blue and purple dots. Not bad at all! I didn't expect the paint to set as quickly as it did. 

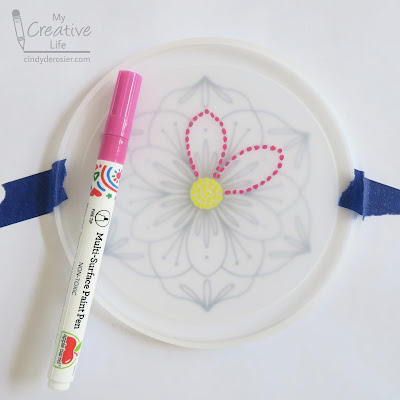
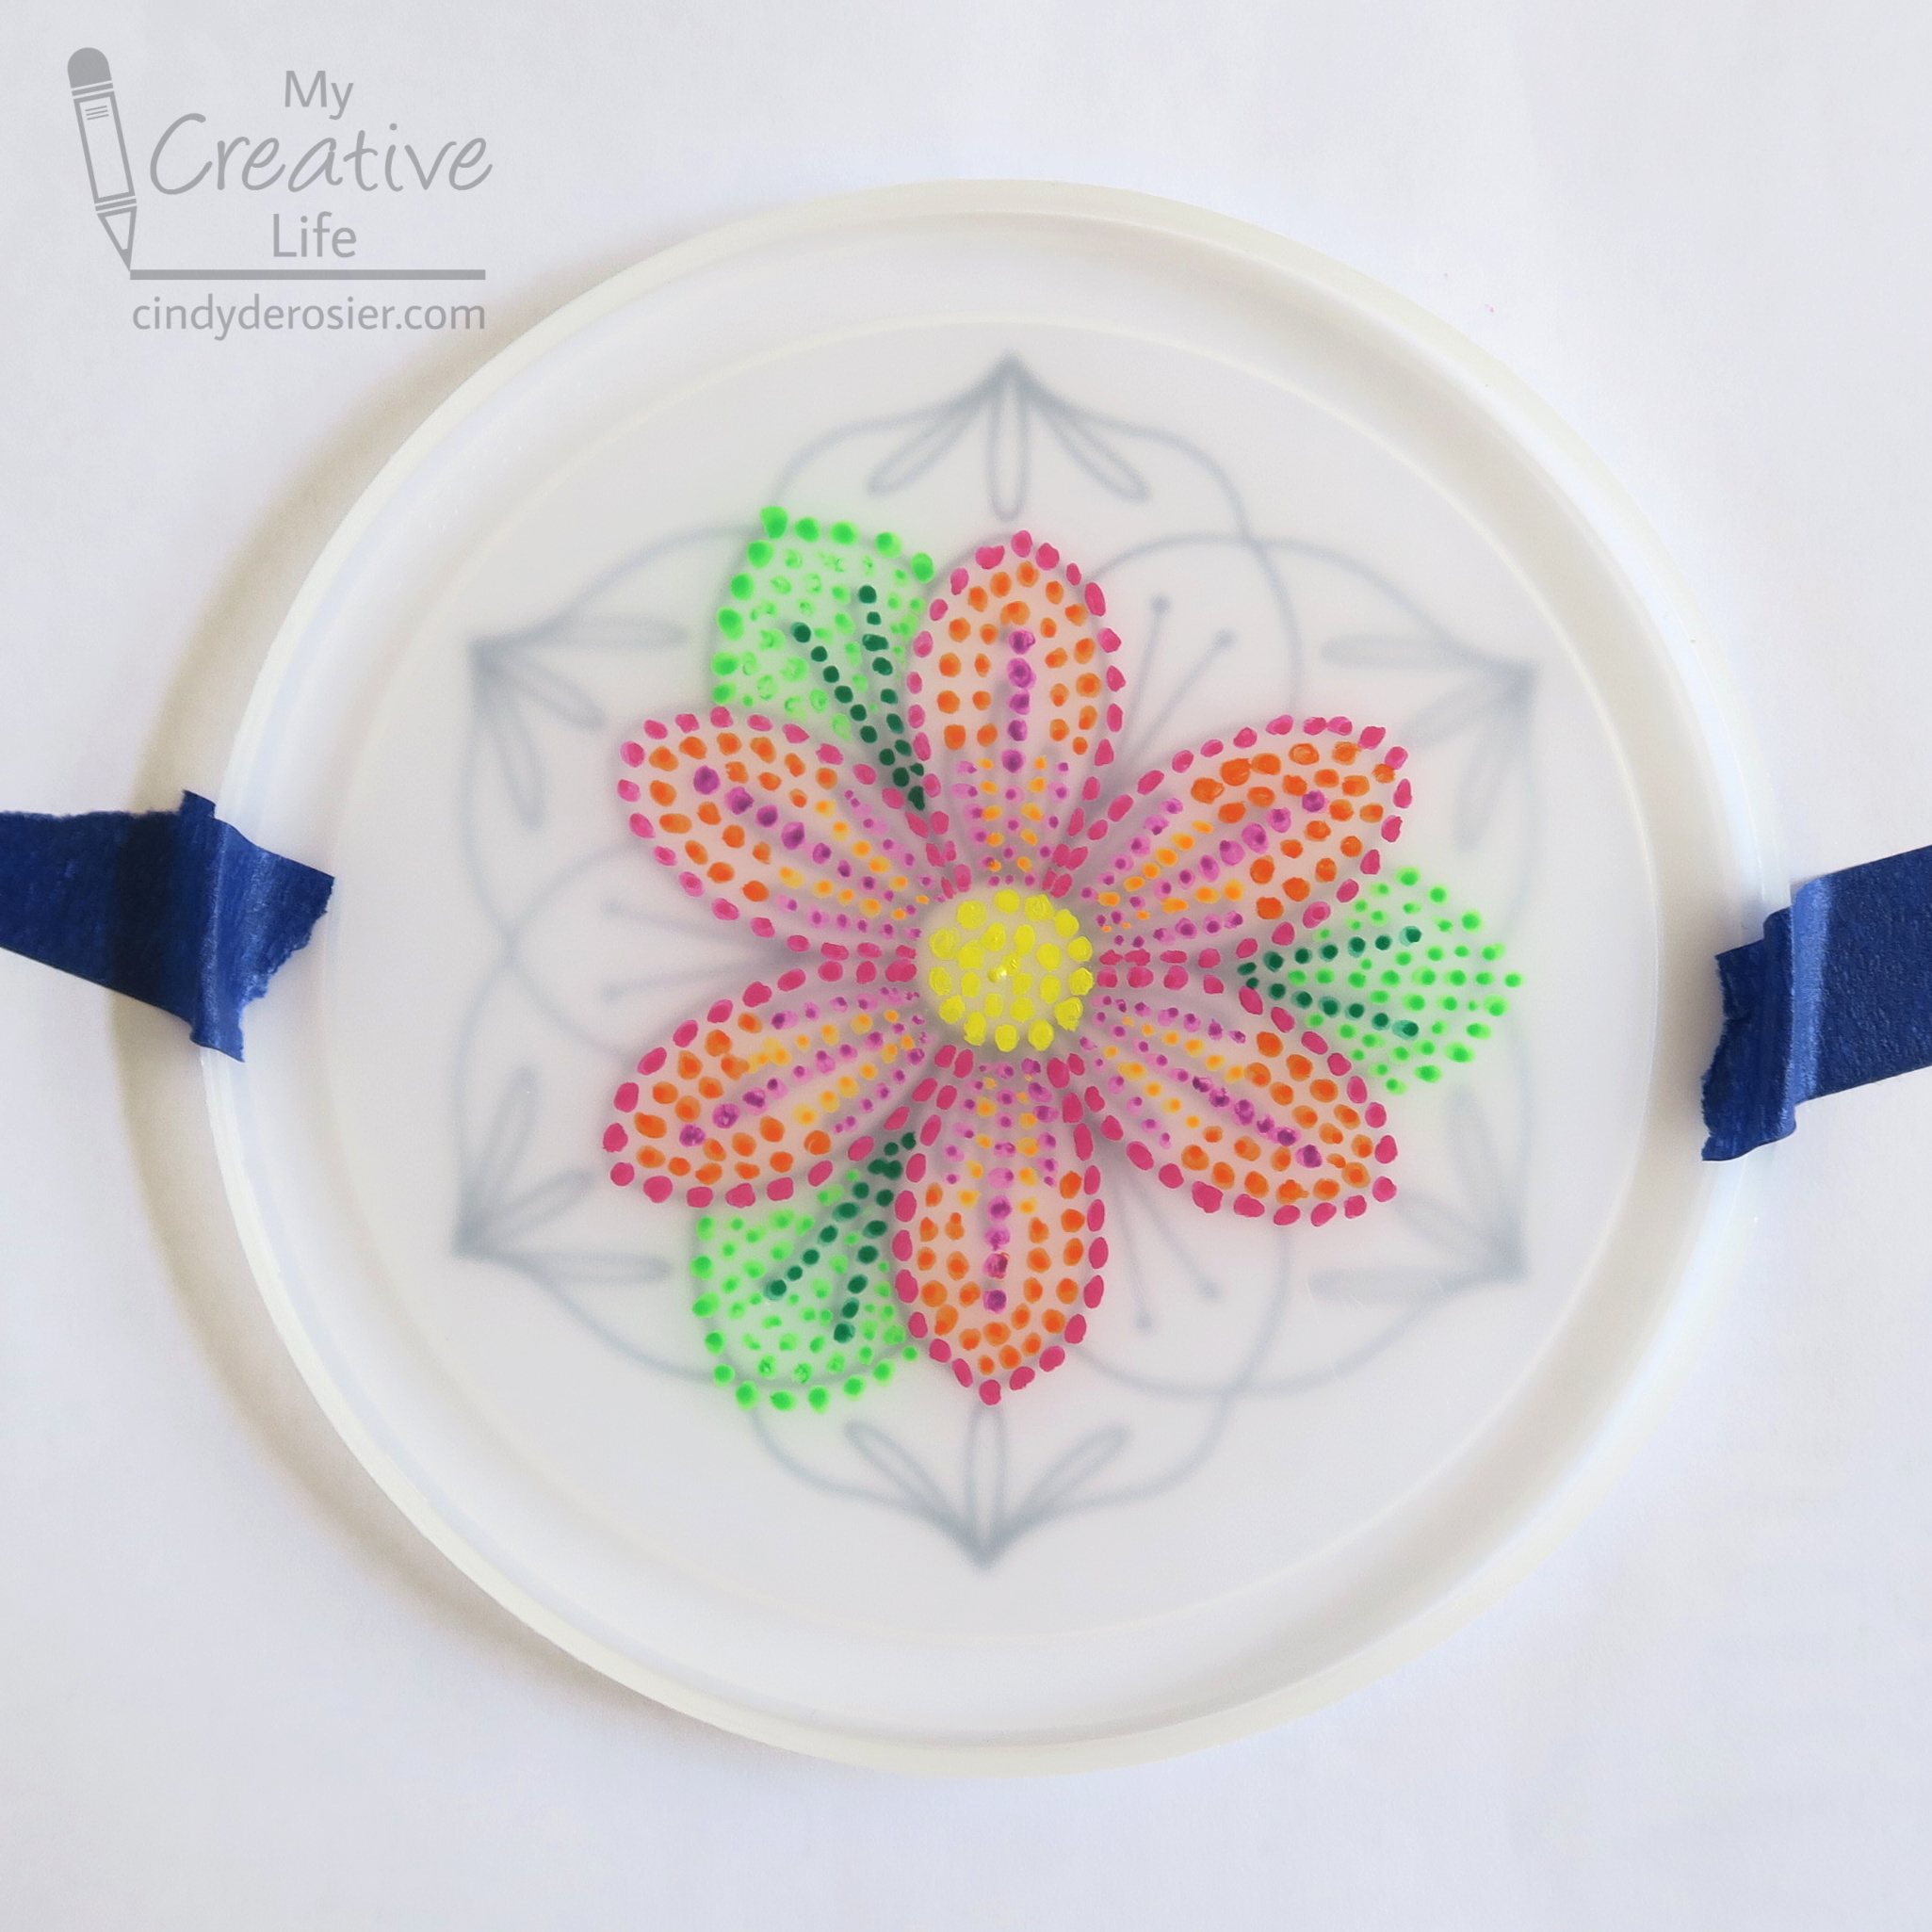
Time to move on to my project. I grabbed a random plastic lid (because craft bloggers hoard plastic lids in their craft rooms) and taped the lid over this pattern by Bella Savoy. And then I started dotting. 


Dot, dot, dot, dot... I had intended to fill in the whole design, but changed my mind and stopped at this point. Such a cute flower!

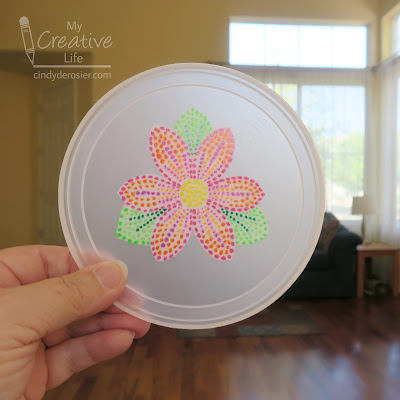

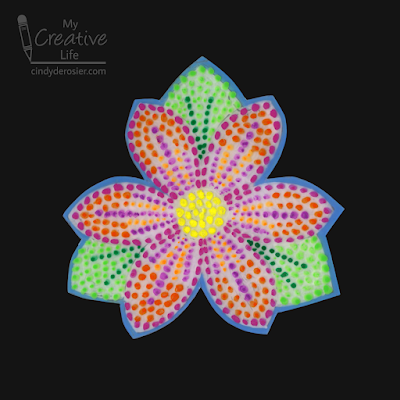
I flipped the lid over and colored the back of the flower and leaves with a white paint pen. This really helped the colors pop. Then I colored around the outline with sky blue. I used microtip scissors to cut out the shape, leaving me with this: 


Not bad for a plastic lid! I love trash-to-treasure projects like this. And I love the Apple Barrel Paint Pens. I used them for a second project right away; I'll share that tomorrow.

5/26/23

Pipe Cleaner Cake Sun Catcher

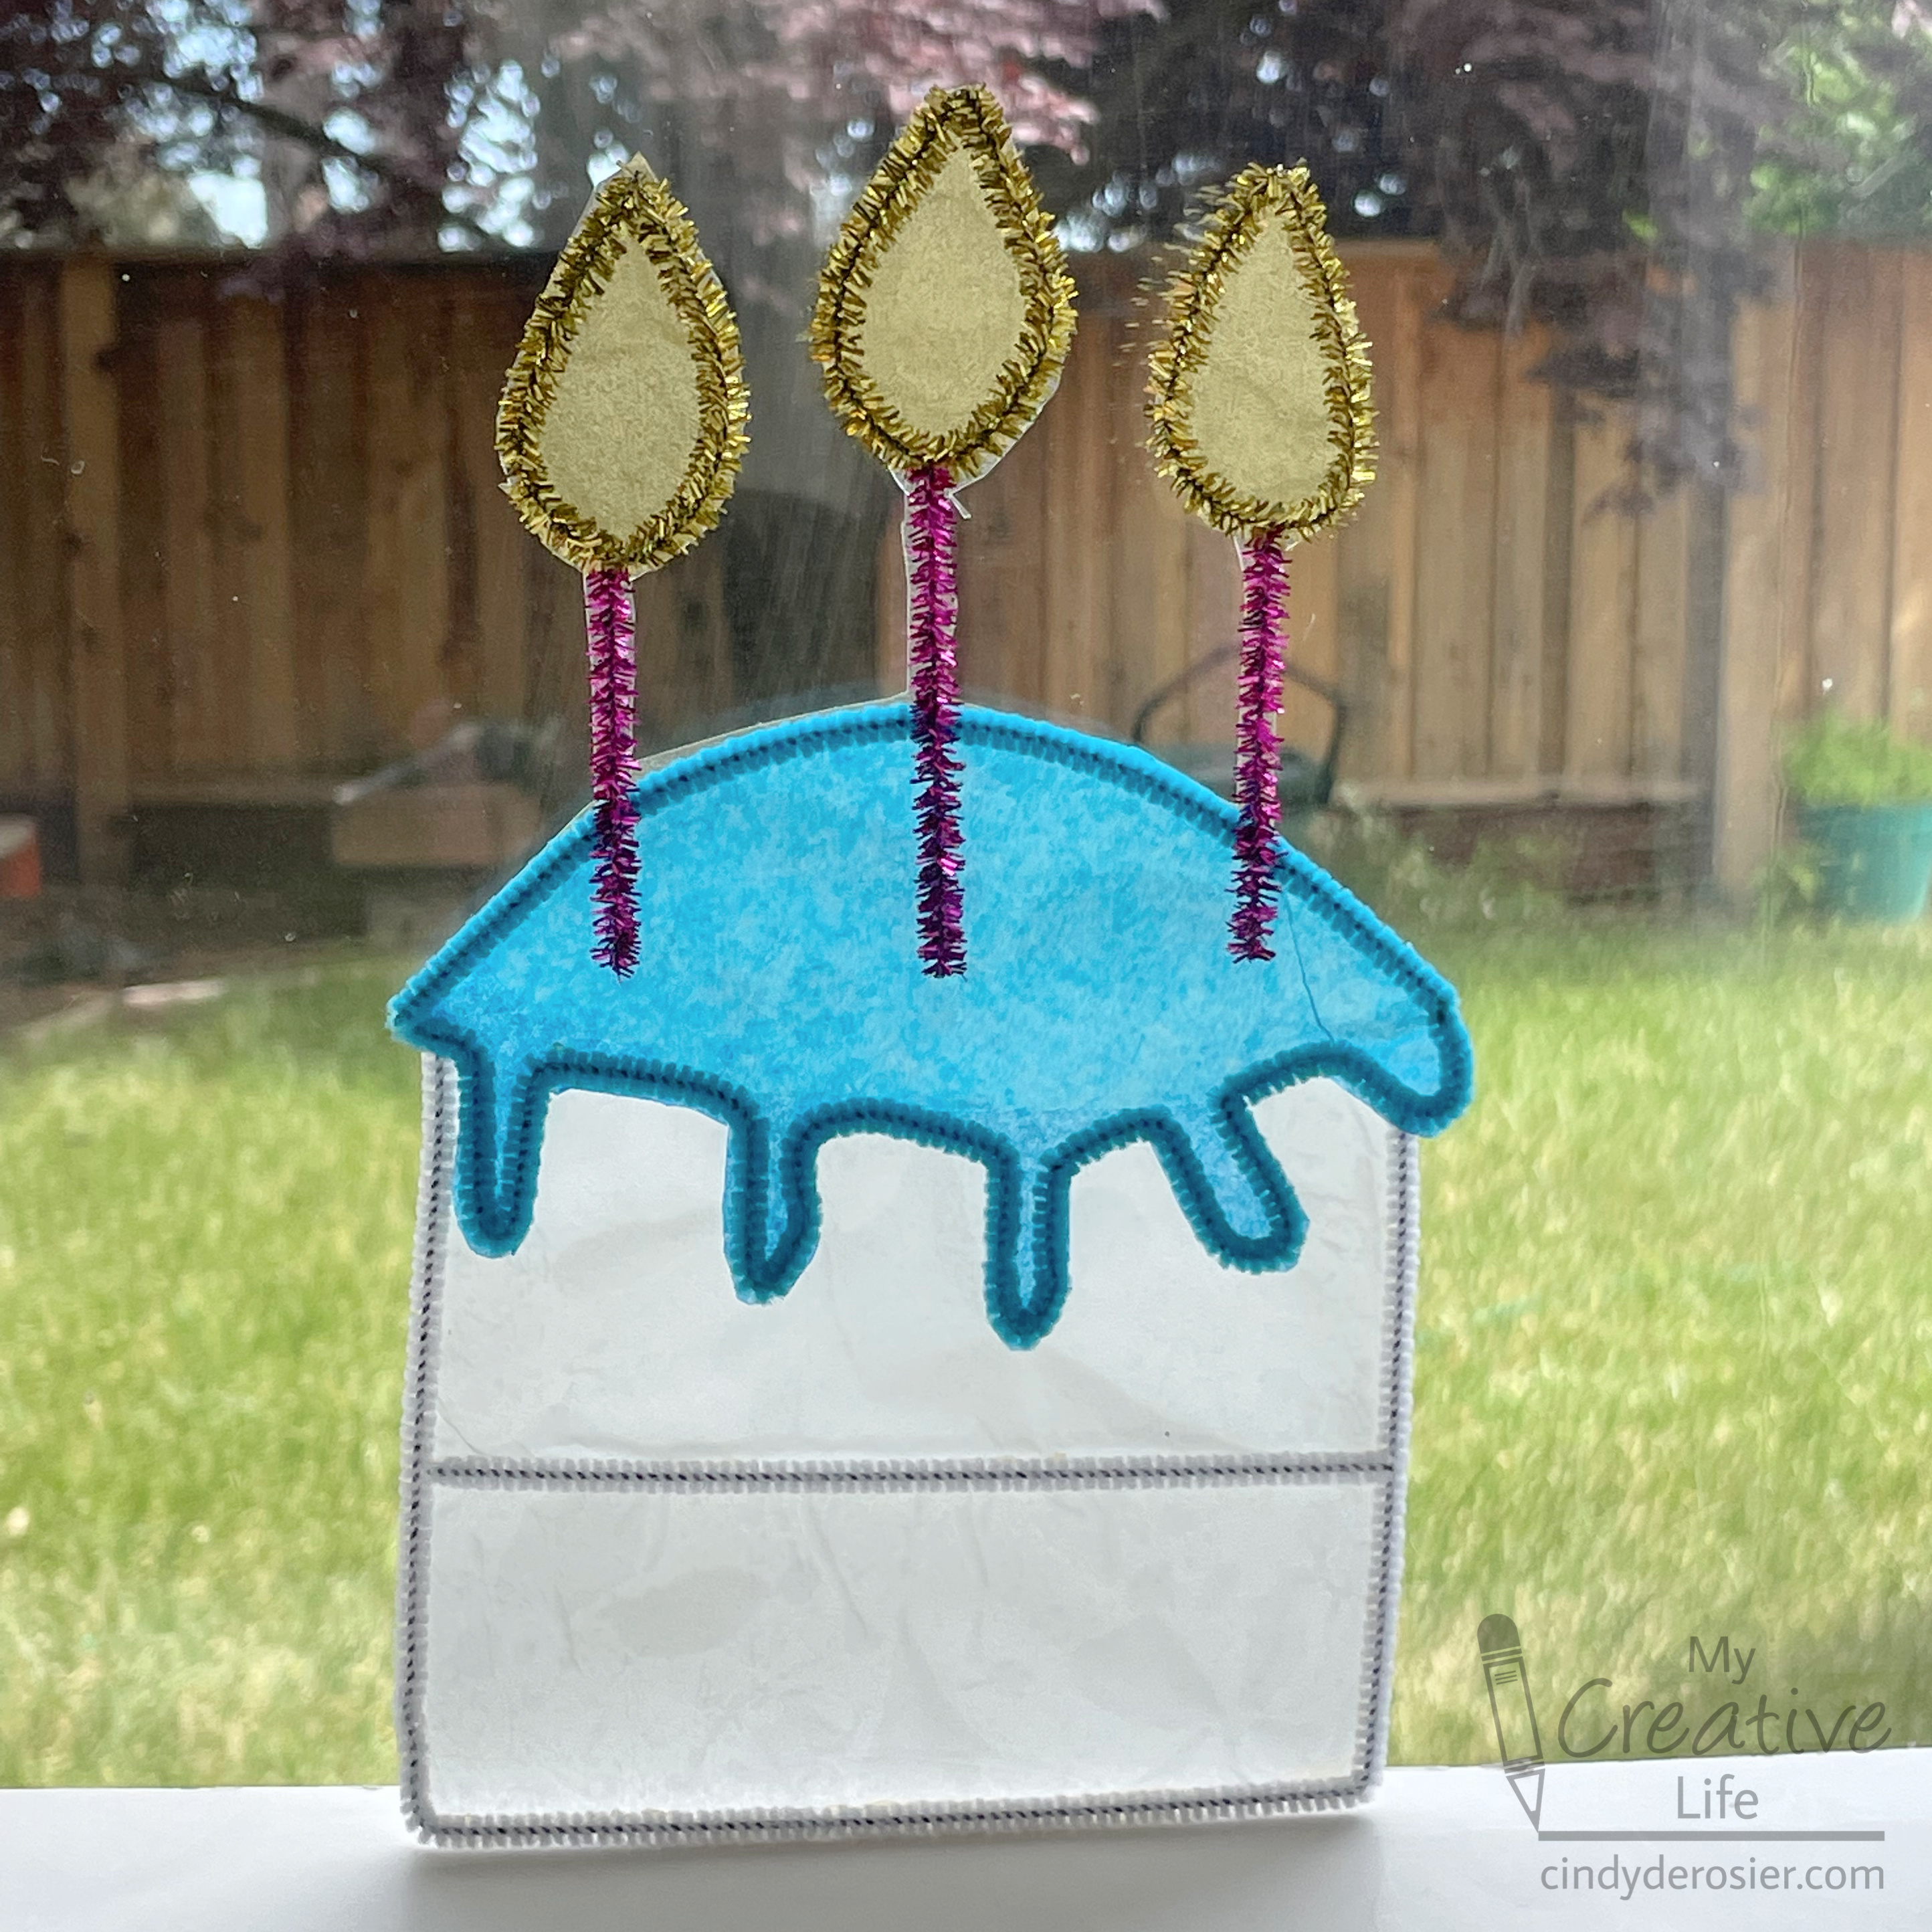
It is so satisfying when I try something new and it works. It took some experimenting to make this sun catcher out of pipe cleaners and tissue paper, but I'm really happy with the results. It looks so pretty sitting in the window. Affiliate links below.


Pipe Cleaner Cake Sun Catcher


Materials:


Steps:


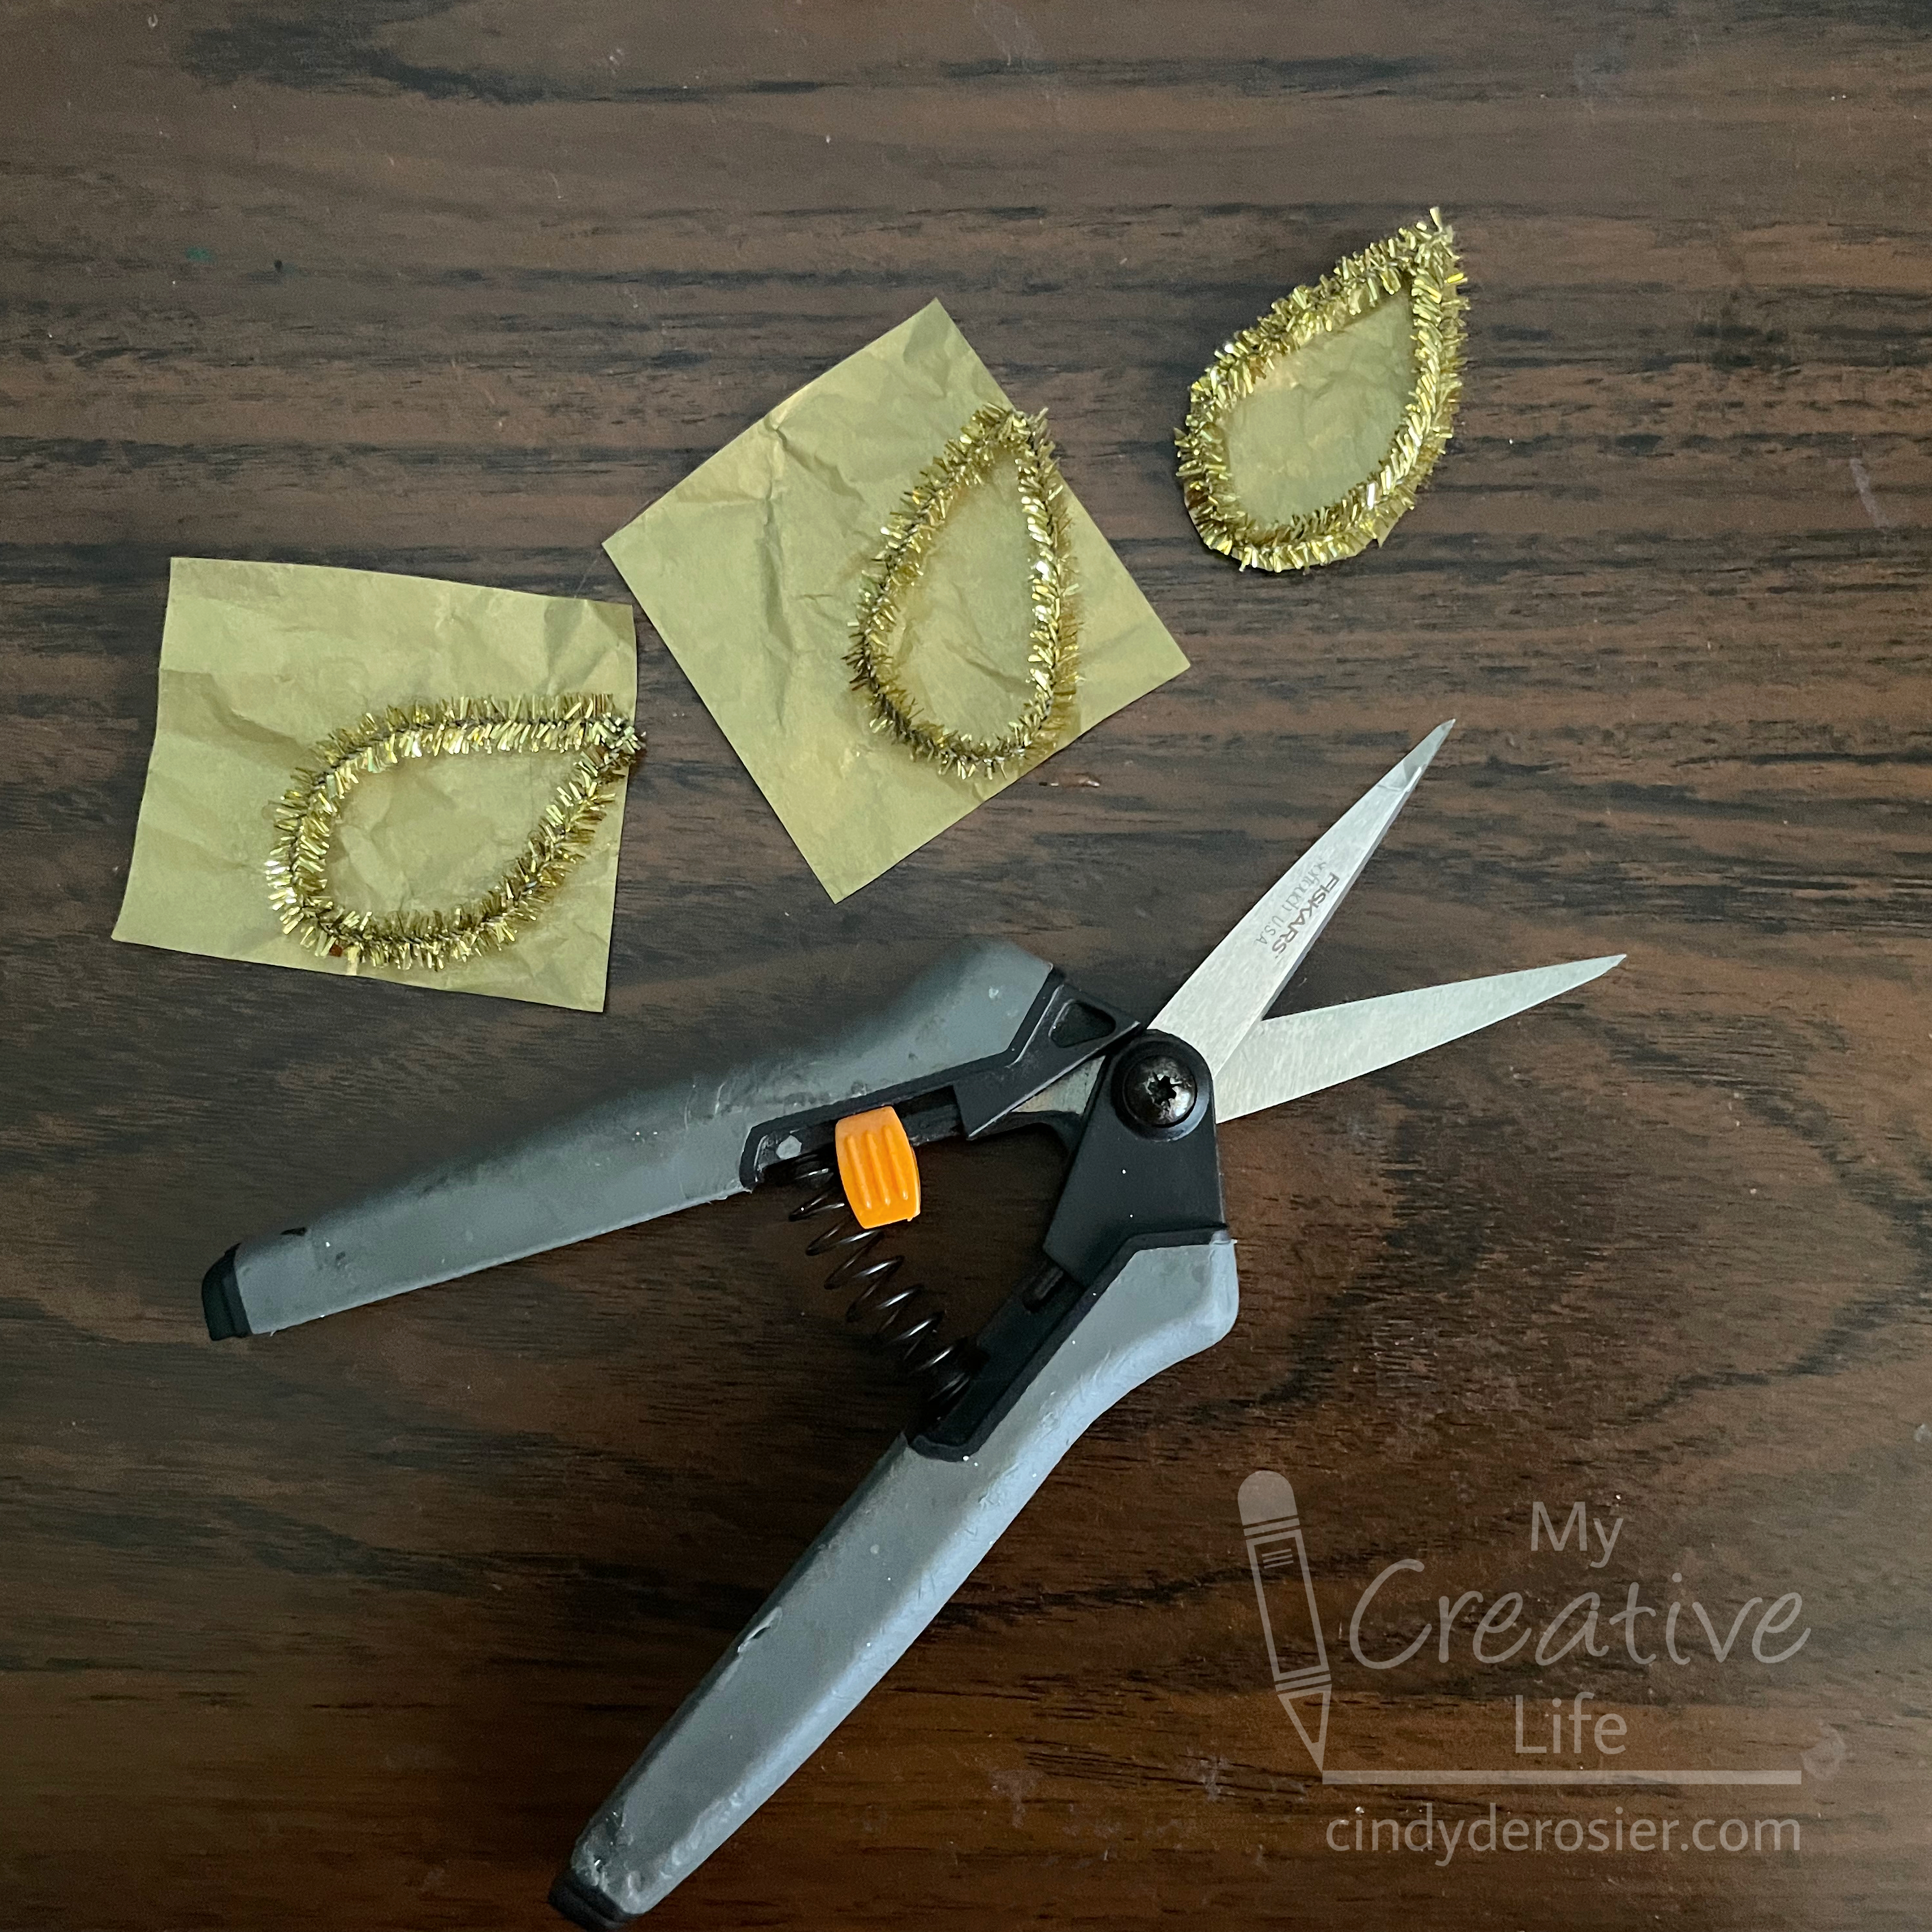
I started with the easiest part of this project, the flames of the candles. Cut a gold pipe cleaner into thirds (use the wire cutters - don't ruin your scissors), then bend each to form a teardrop shape. There's no need to twist the ends together; the bend should hold. You can put a drop of glue between the ends if you want. Put glue onto one side of each teardrop, then place them on pieces of gold tissue paper. Hold them in place for a minute to let the glue set. When the glue is dry, carefully trim away the excess tissue paper. 


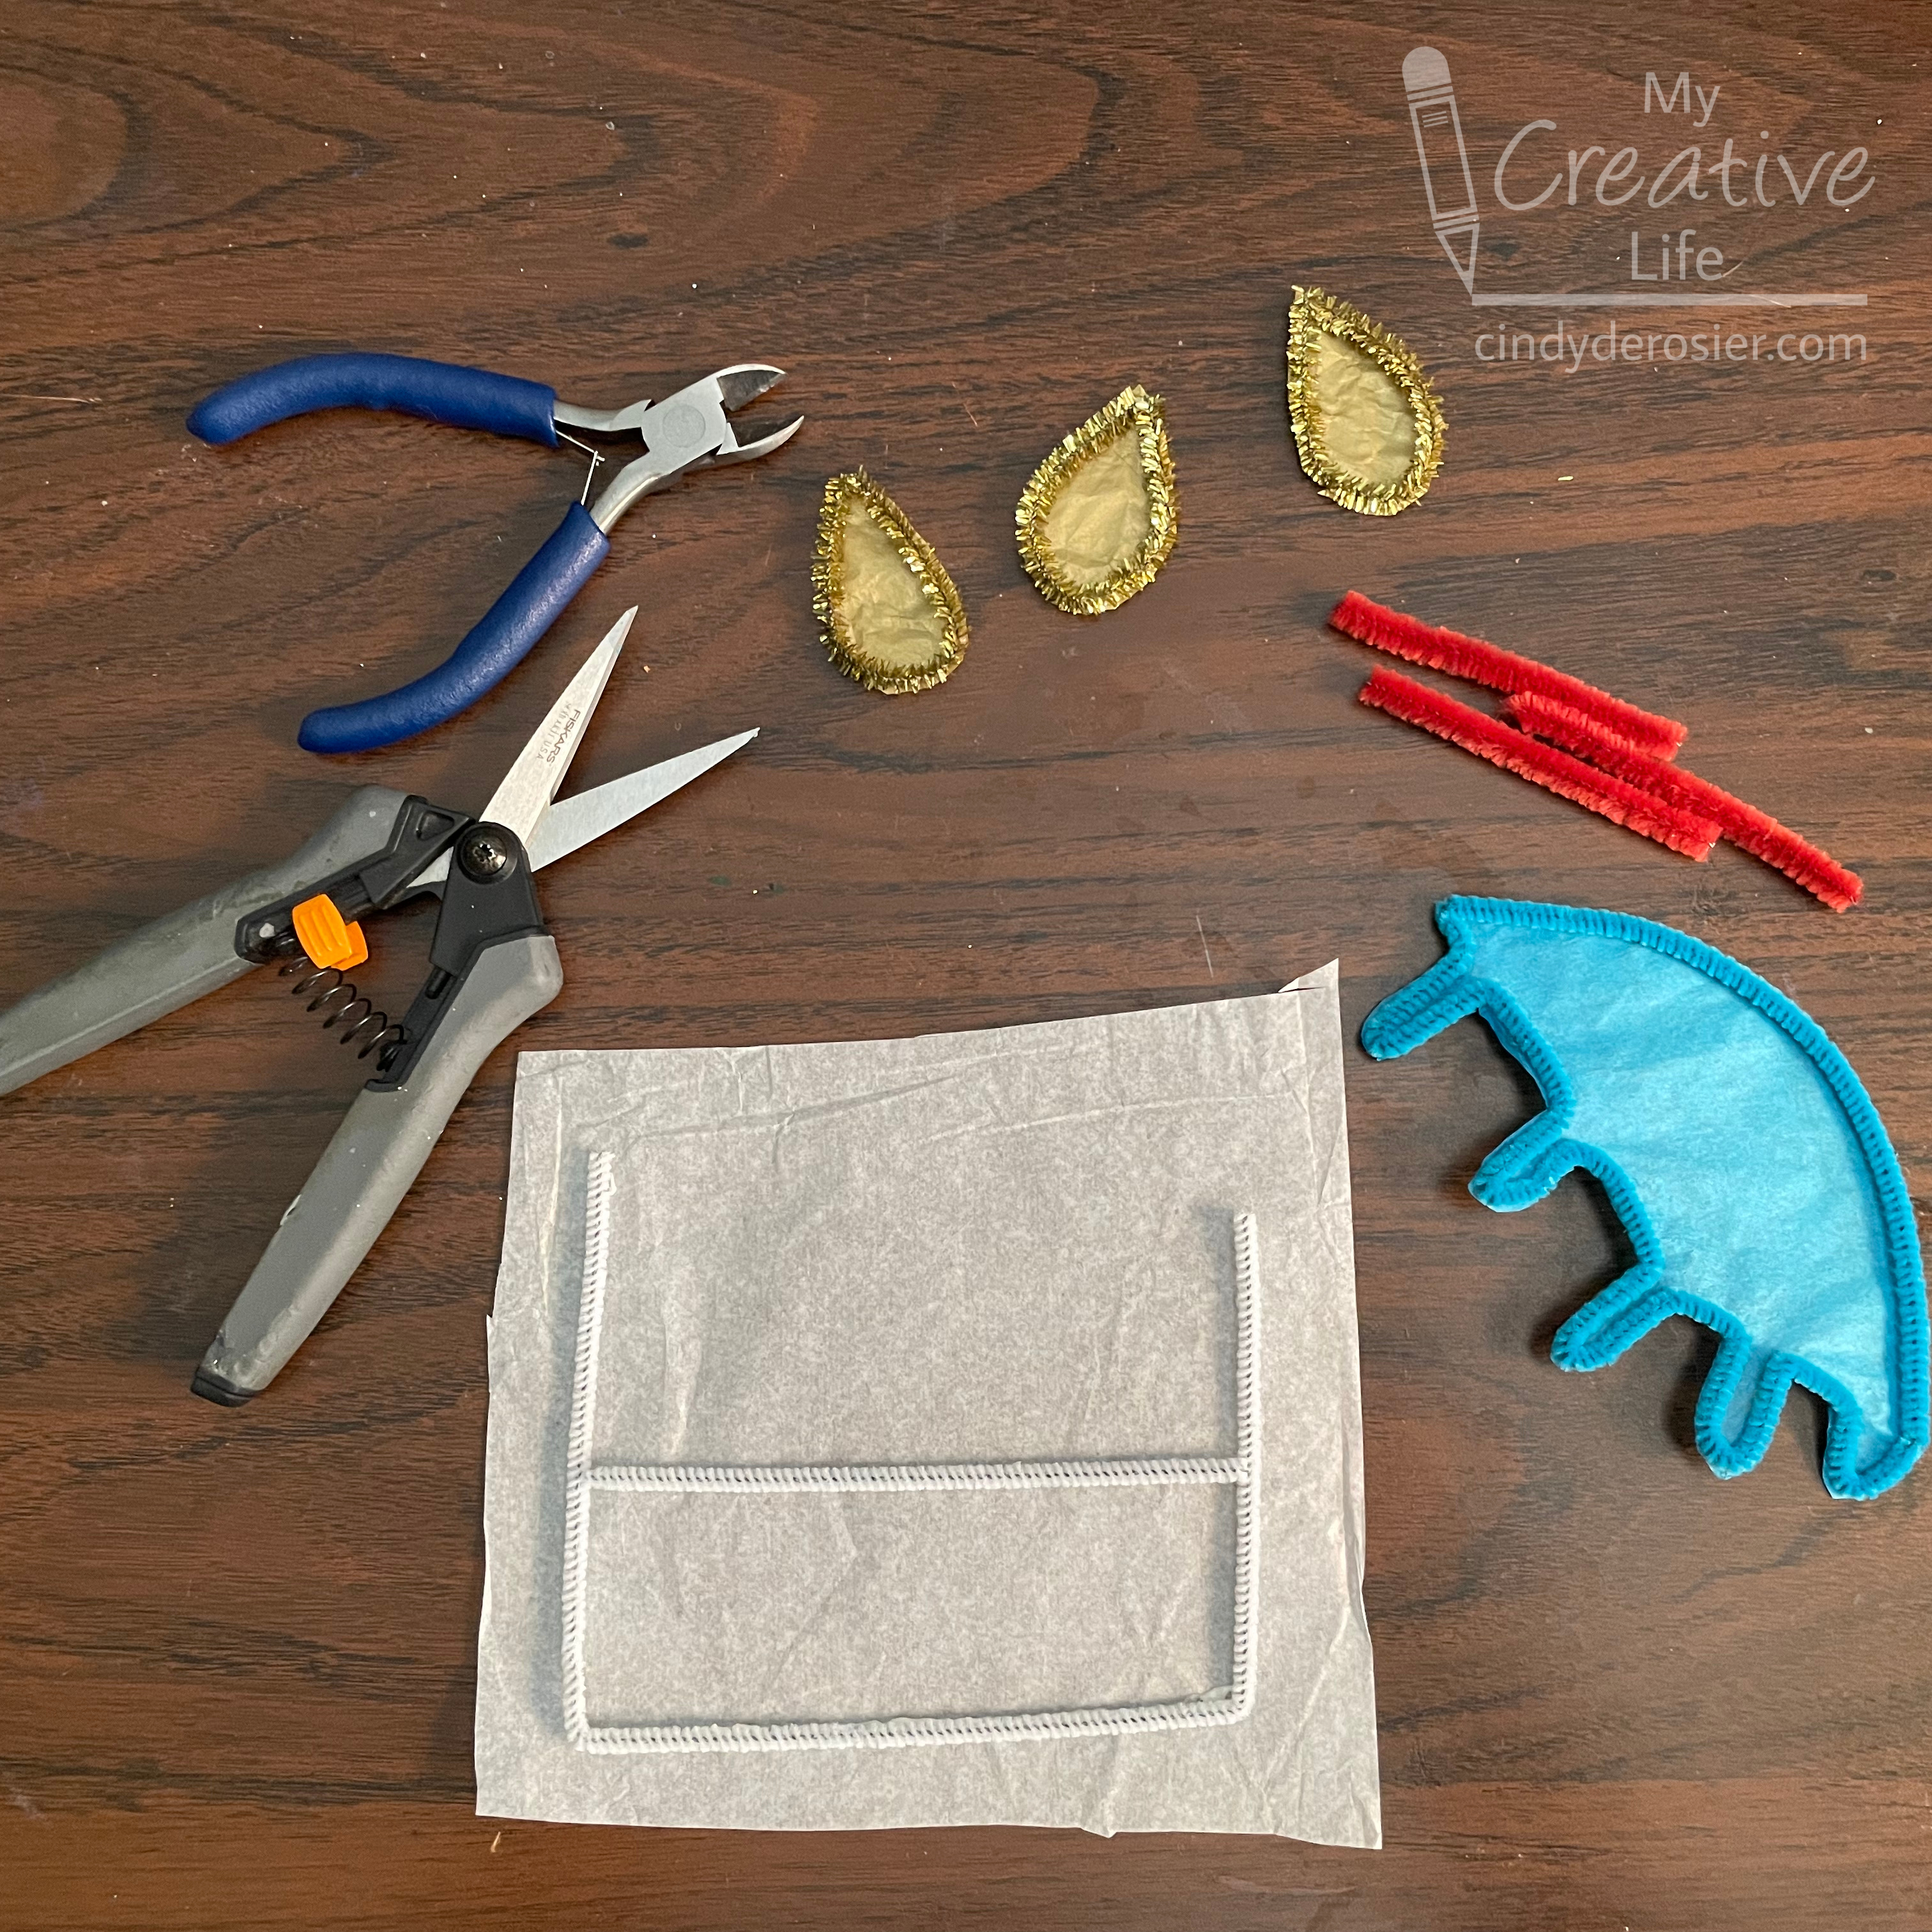
Use the same technique for the base of the cake and the frosting. For the cake, bend one white pipe cleaner into rough thirds to make a U-shape. Glue this to a piece of white tissue paper. Use a second white pipe cleaner to cut the piece that forms the layer of the cake. Glue it in place. 

Bend one blue pipe cleaner into an arc that will be the top of the frosting. Use a second pipe cleaner to make the frosting drips. Unless you are extremely lucky or skilled, the frosting won't fit perfectly on the cake the first time you try. Just make adjustments until it's correct, then glue it to blue tissue paper. Again, hold it in place for a minute while it sets so that it doesn't spring out of position.


Cut three lengths of pipe cleaner for the candles. As you can see above, I originally planned to use plain red pipe cleaners. I decided purple glitter candles would look better. 

Trim the cake and frosting. Fit everything together on the table, then cut a piece of contact paper that is slightly larger than the width and height of the assembled project. Peel away the paper backing with the sticky side of the contact paper facing up. Move the cake base to the contact paper and press it down firmly.    


Put glue along the edges of the frosting drips, since they will be touching the cake and not the contact paper. Put the frosting in place. Add glue to the bottom portion of the candles (where they will be touching the frosting) but not to the upper portions (where the contact paper will hold them) and place them where they belong. Then adhere the flames to the contact paper. Let the glue dry completely. 

Not all designs will require this, but because the candles have such narrow attachment points, they could flop forward if not better supported. Through experimentation, I found that adding a second layer of contact paper eliminated the problem without affecting the translucency. Do this by peeling away the backing paper on a second piece of contact paper and placing the assembled cake on top of it. 
 
Carefully cut away the excess contact paper.  


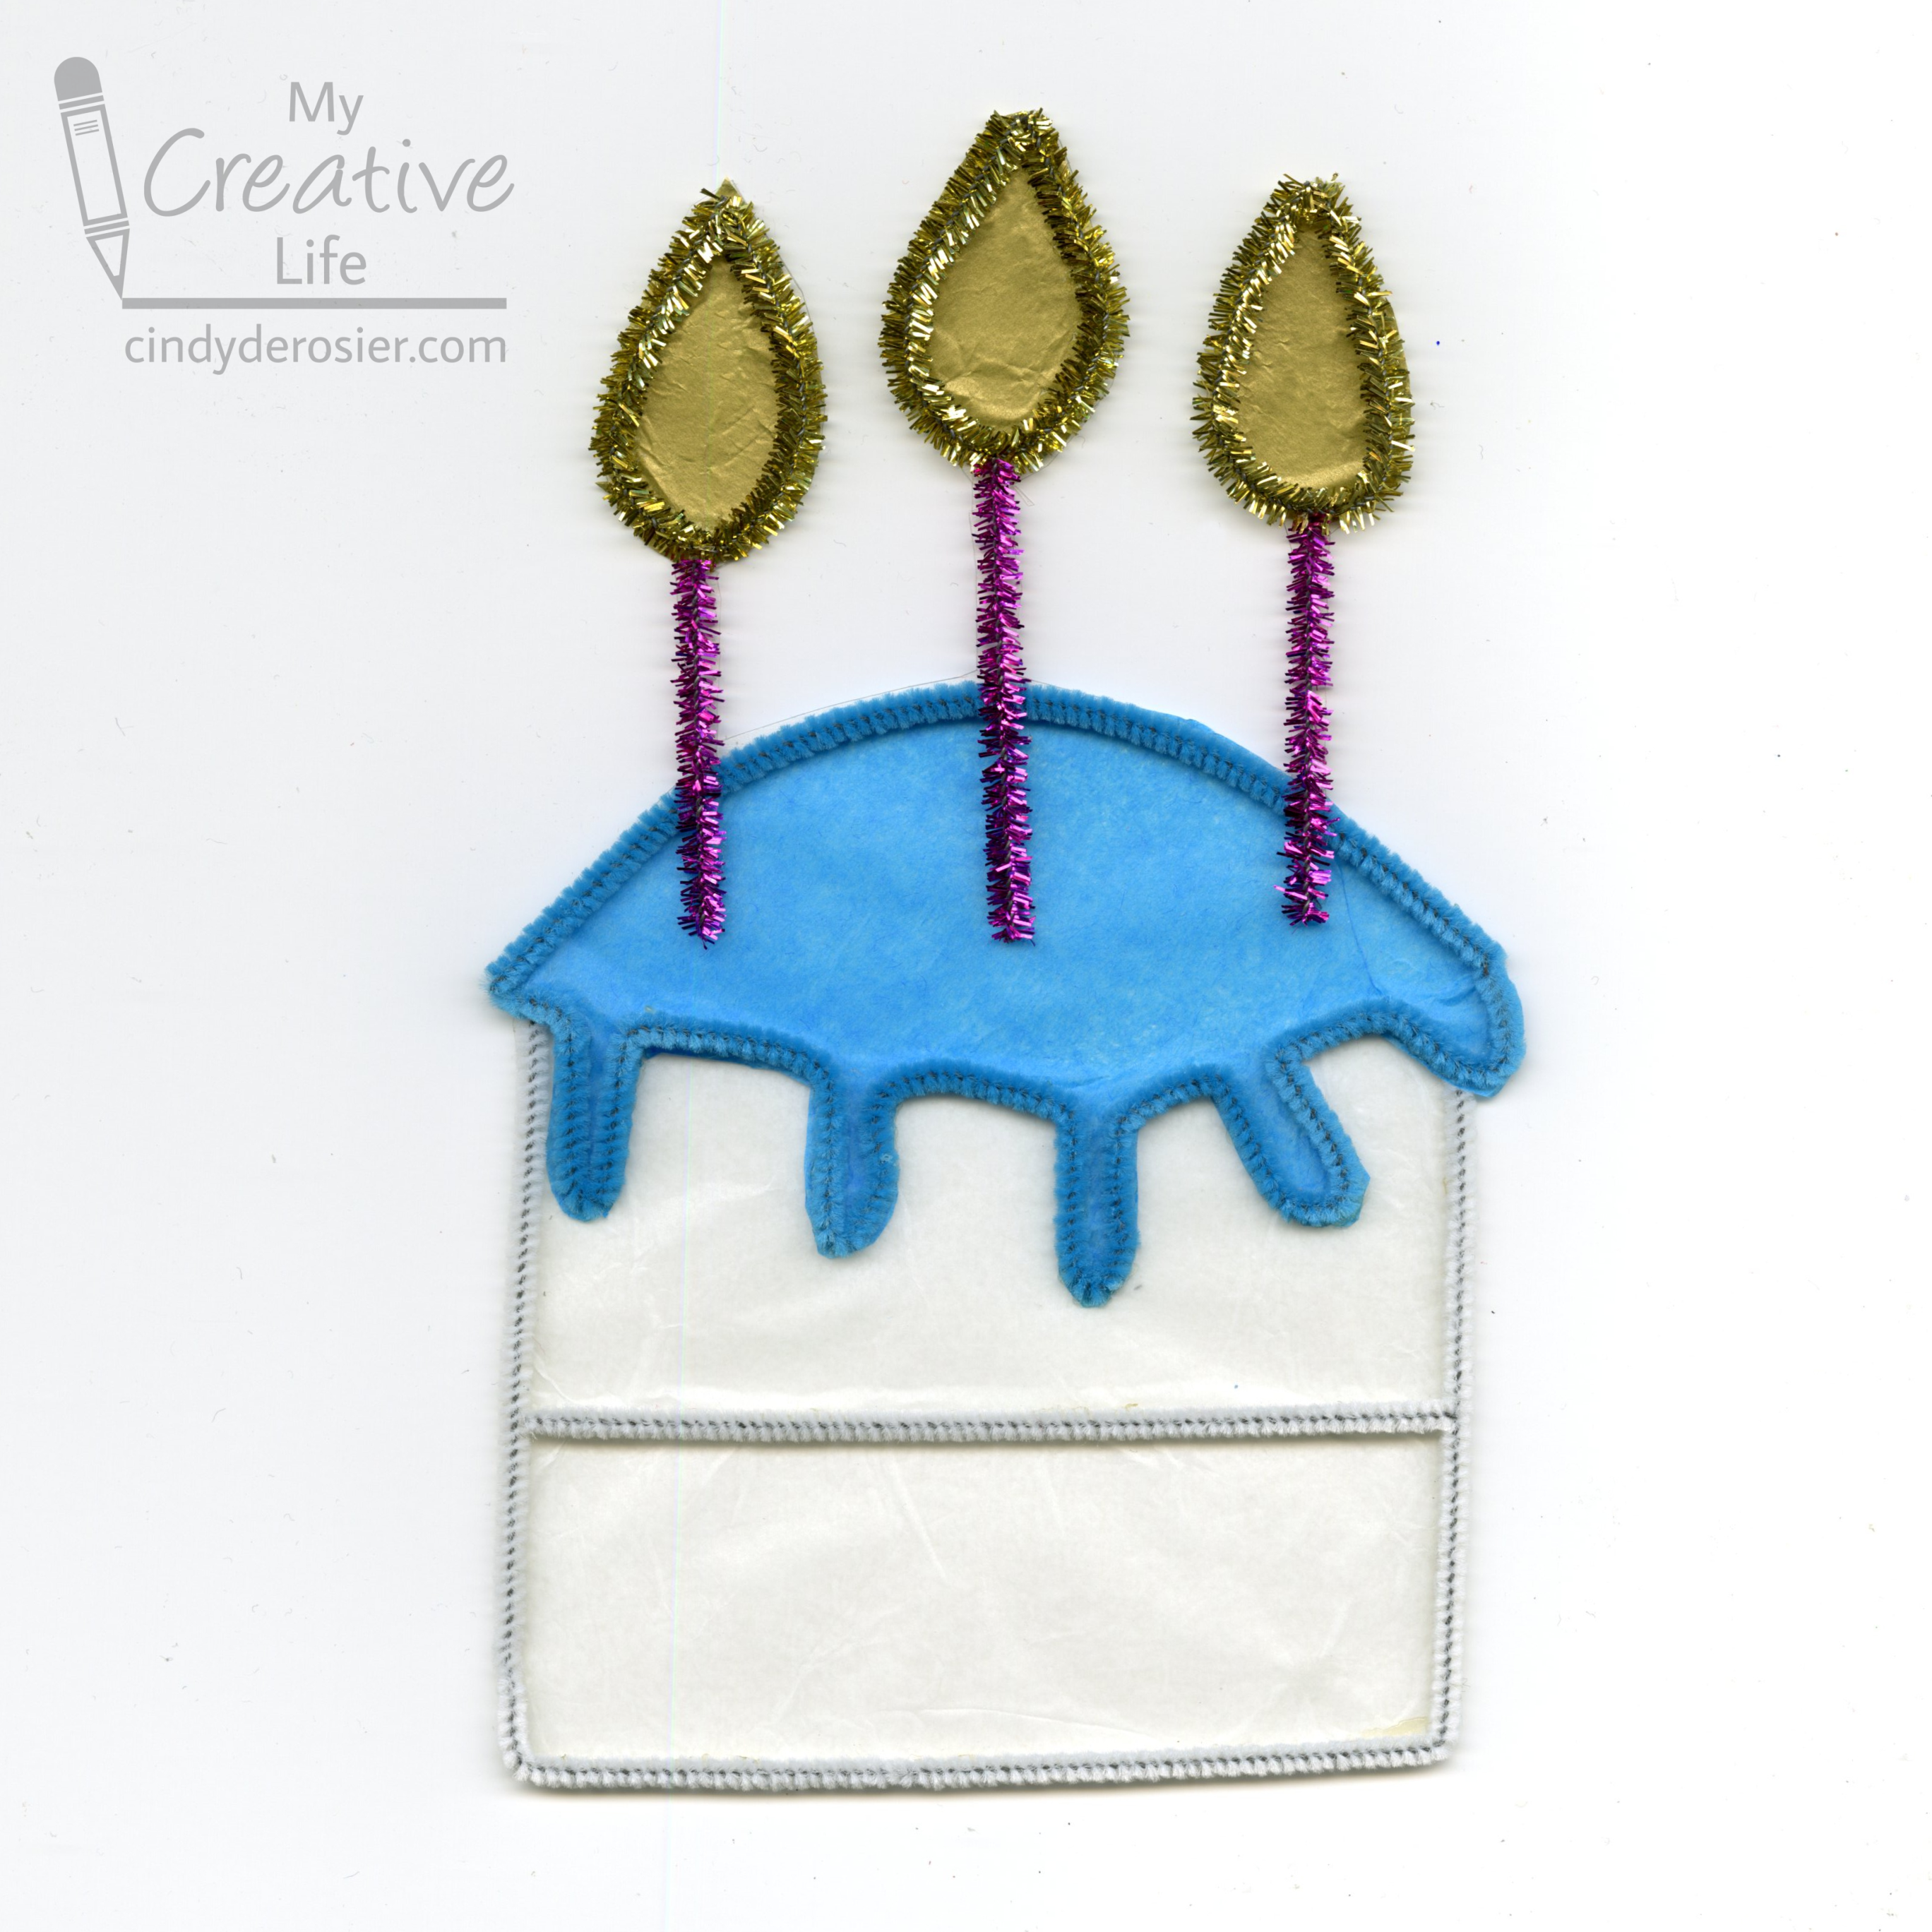
I showed you what it looks like in a window at the top of the post. This is how it looks against white paper.


Obviously, you can use the same technique for any design. I have some ideas I'm eager to try!

8/3/22

Faux Stained Glass with Transparencies

When we visited Tacoma Art Museum, one of the prompts in the hands-on TAM Studio asked visitors to use colored transparencies to create faux stained glass. I didn't have time to create then and there, but I did once I got home. It was a lot of fun to play with patterns and colors!


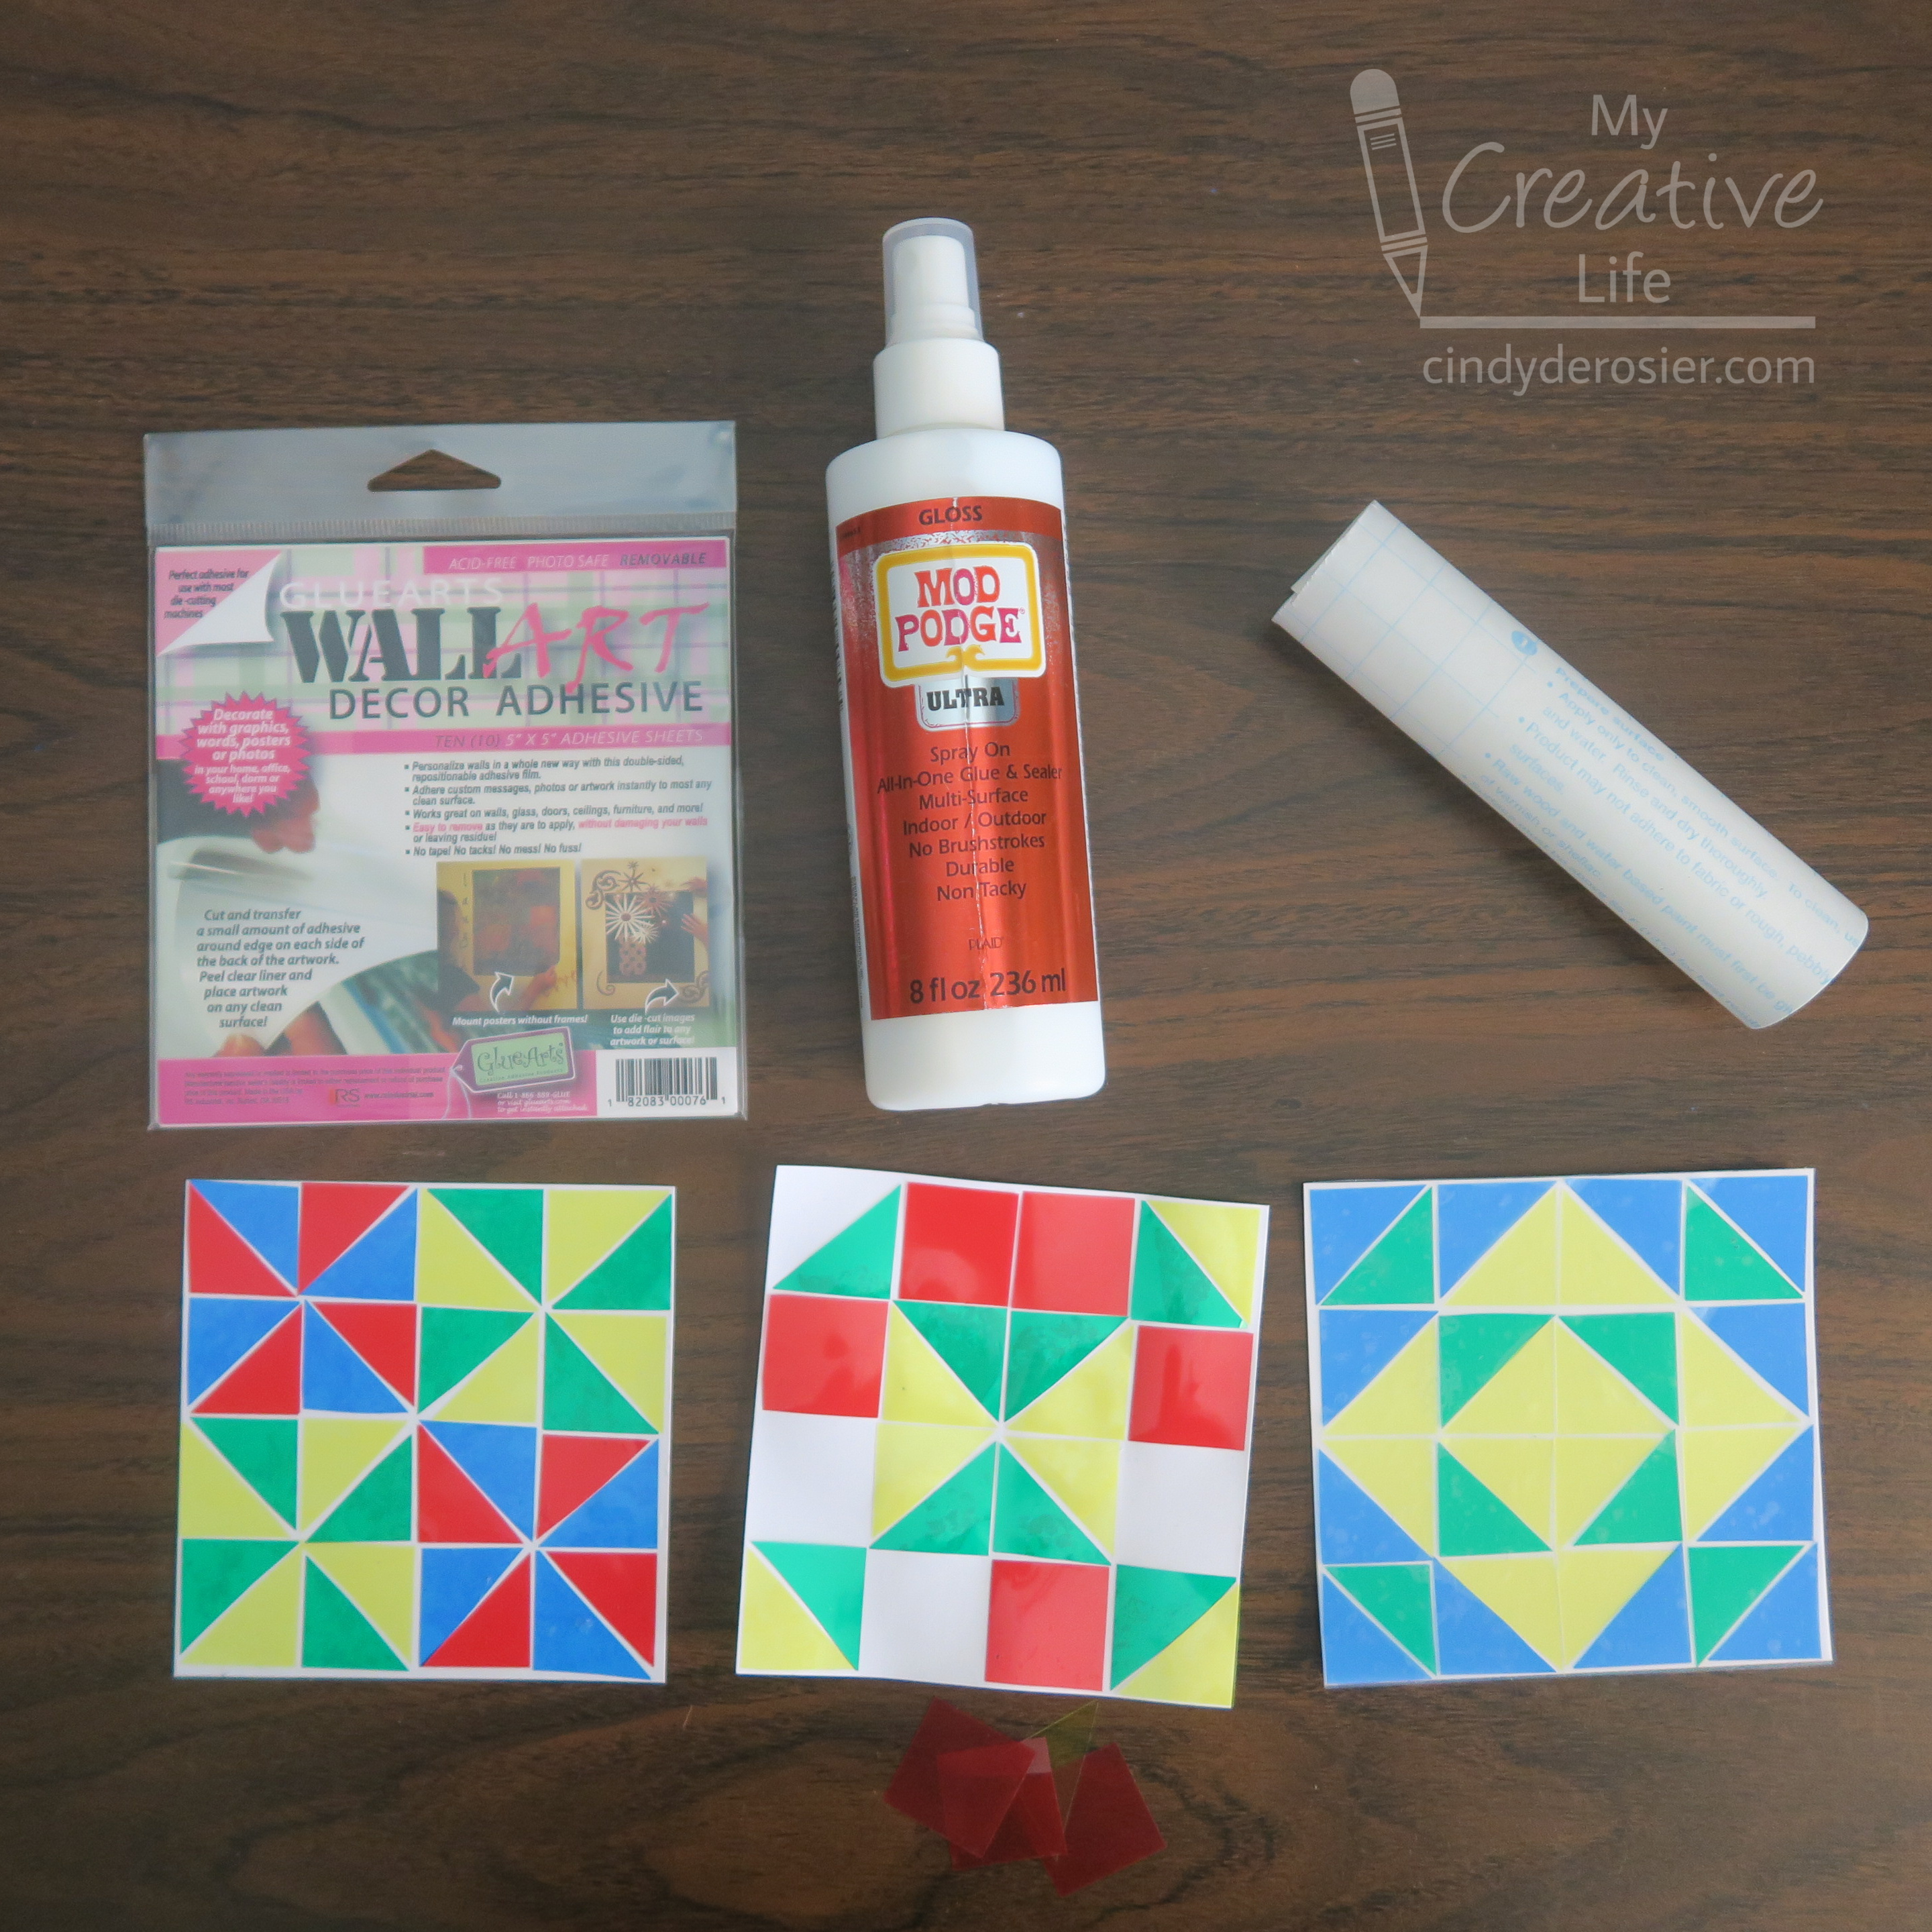
I actually made three pieces of faux stained glass, using a different adhesive for each. I'd intended to make my project using spray adhesive (affiliate link here and throughout the post), but discovered that my can, which I hadn't used in years, wouldn't spray. I dug through my adhesives drawer to find some alternatives. My main goal was finding something that would dry clear without clouding the adhesive, but hold tight onto the slick acetate. Not an easy combination. 

The three adhesives I tested include: Glue Arts Decor Adhesive (no longer sold, but similar to these double-sided adhesive sheets), Mod Podge Ultra, and clear contact paper. As you can see below, the double-sided adhesive and the contact paper both worked well. The Mod Podge Ultra, while a fantastic product with many uses, did not hold onto the glossy transparencies as well. 


The double-sided adhesive held really well, but was more visible in the finished craft than the contact paper. It's especially visible under the green and not great under the blue. 


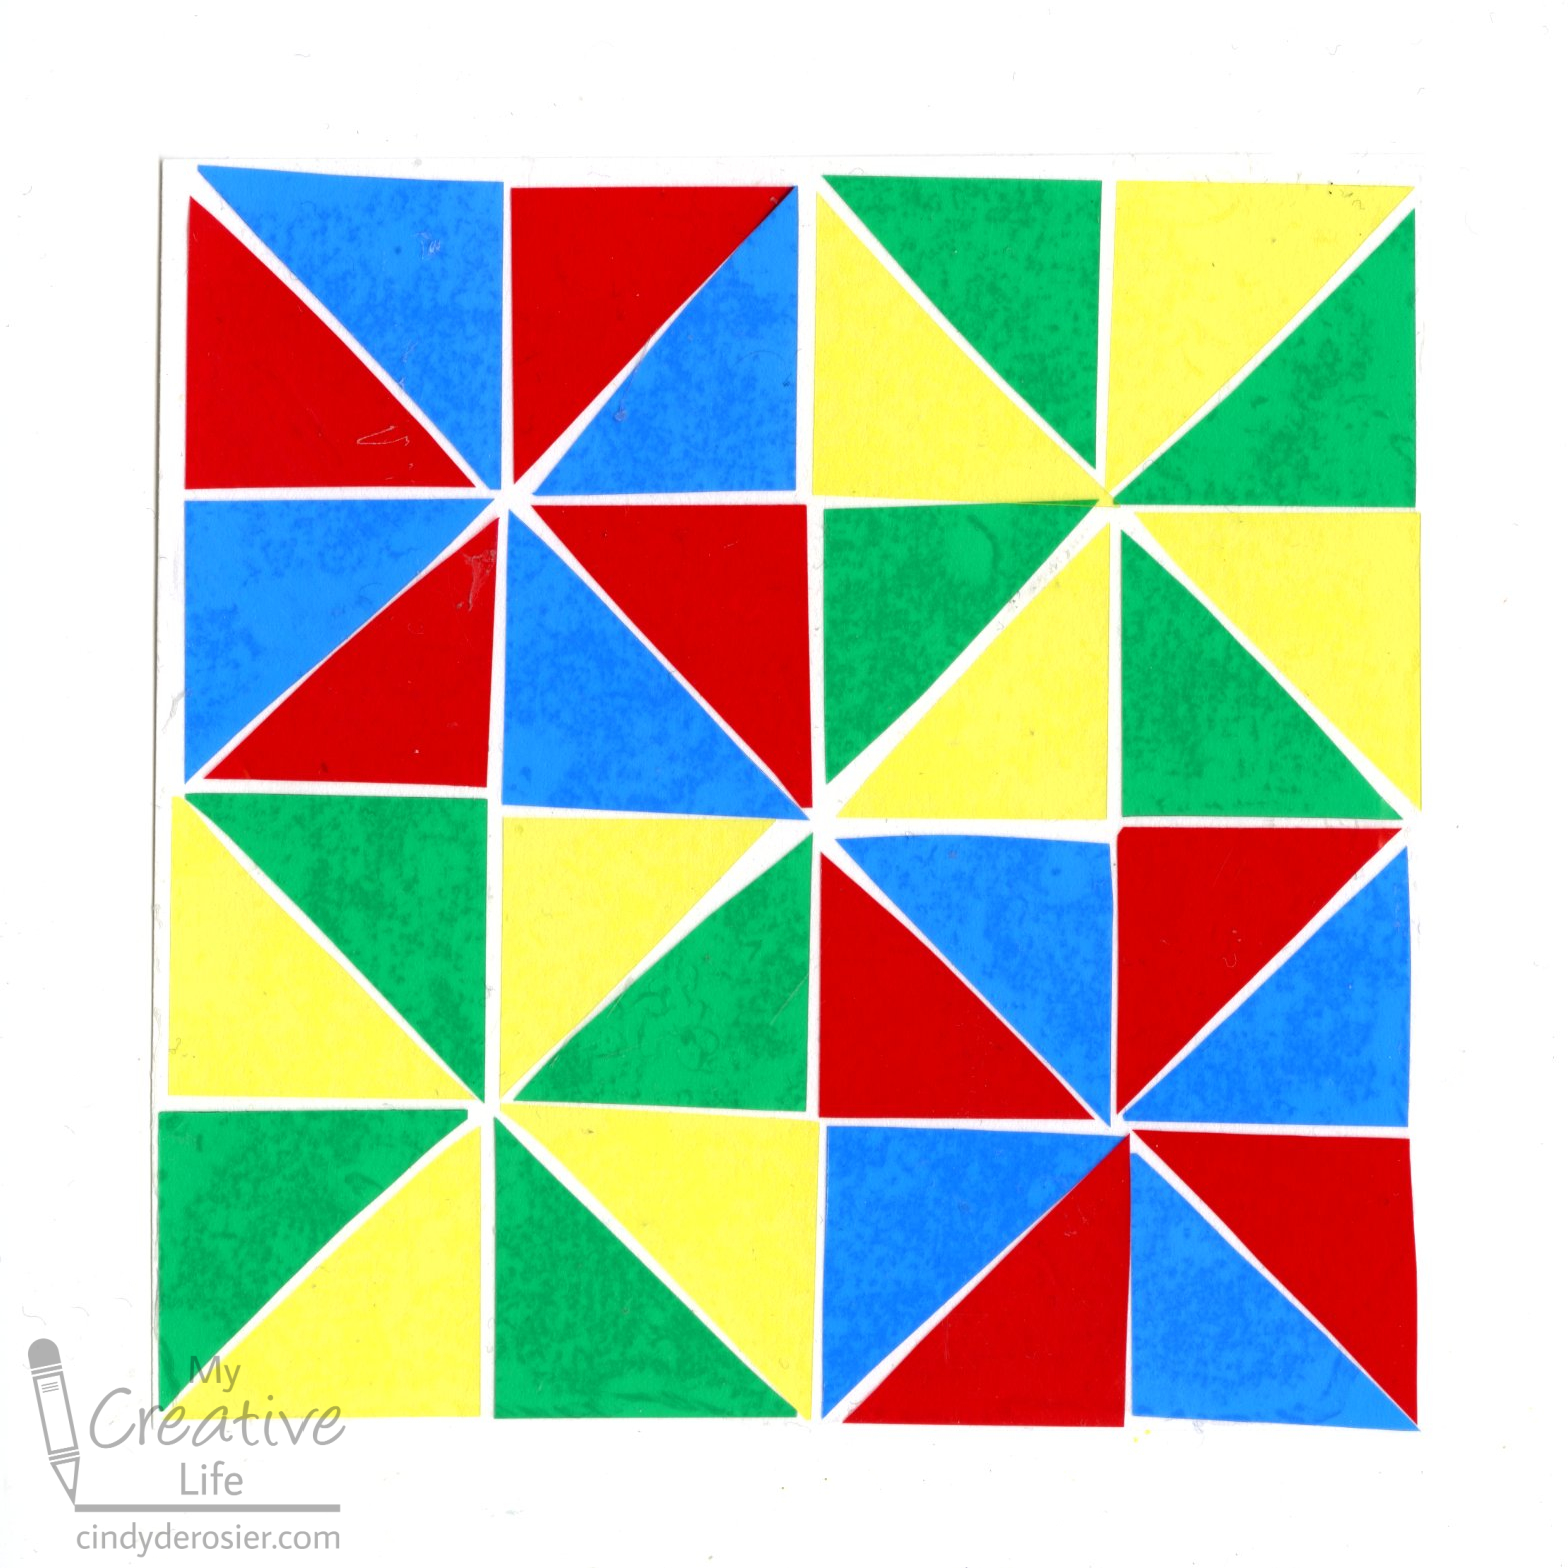
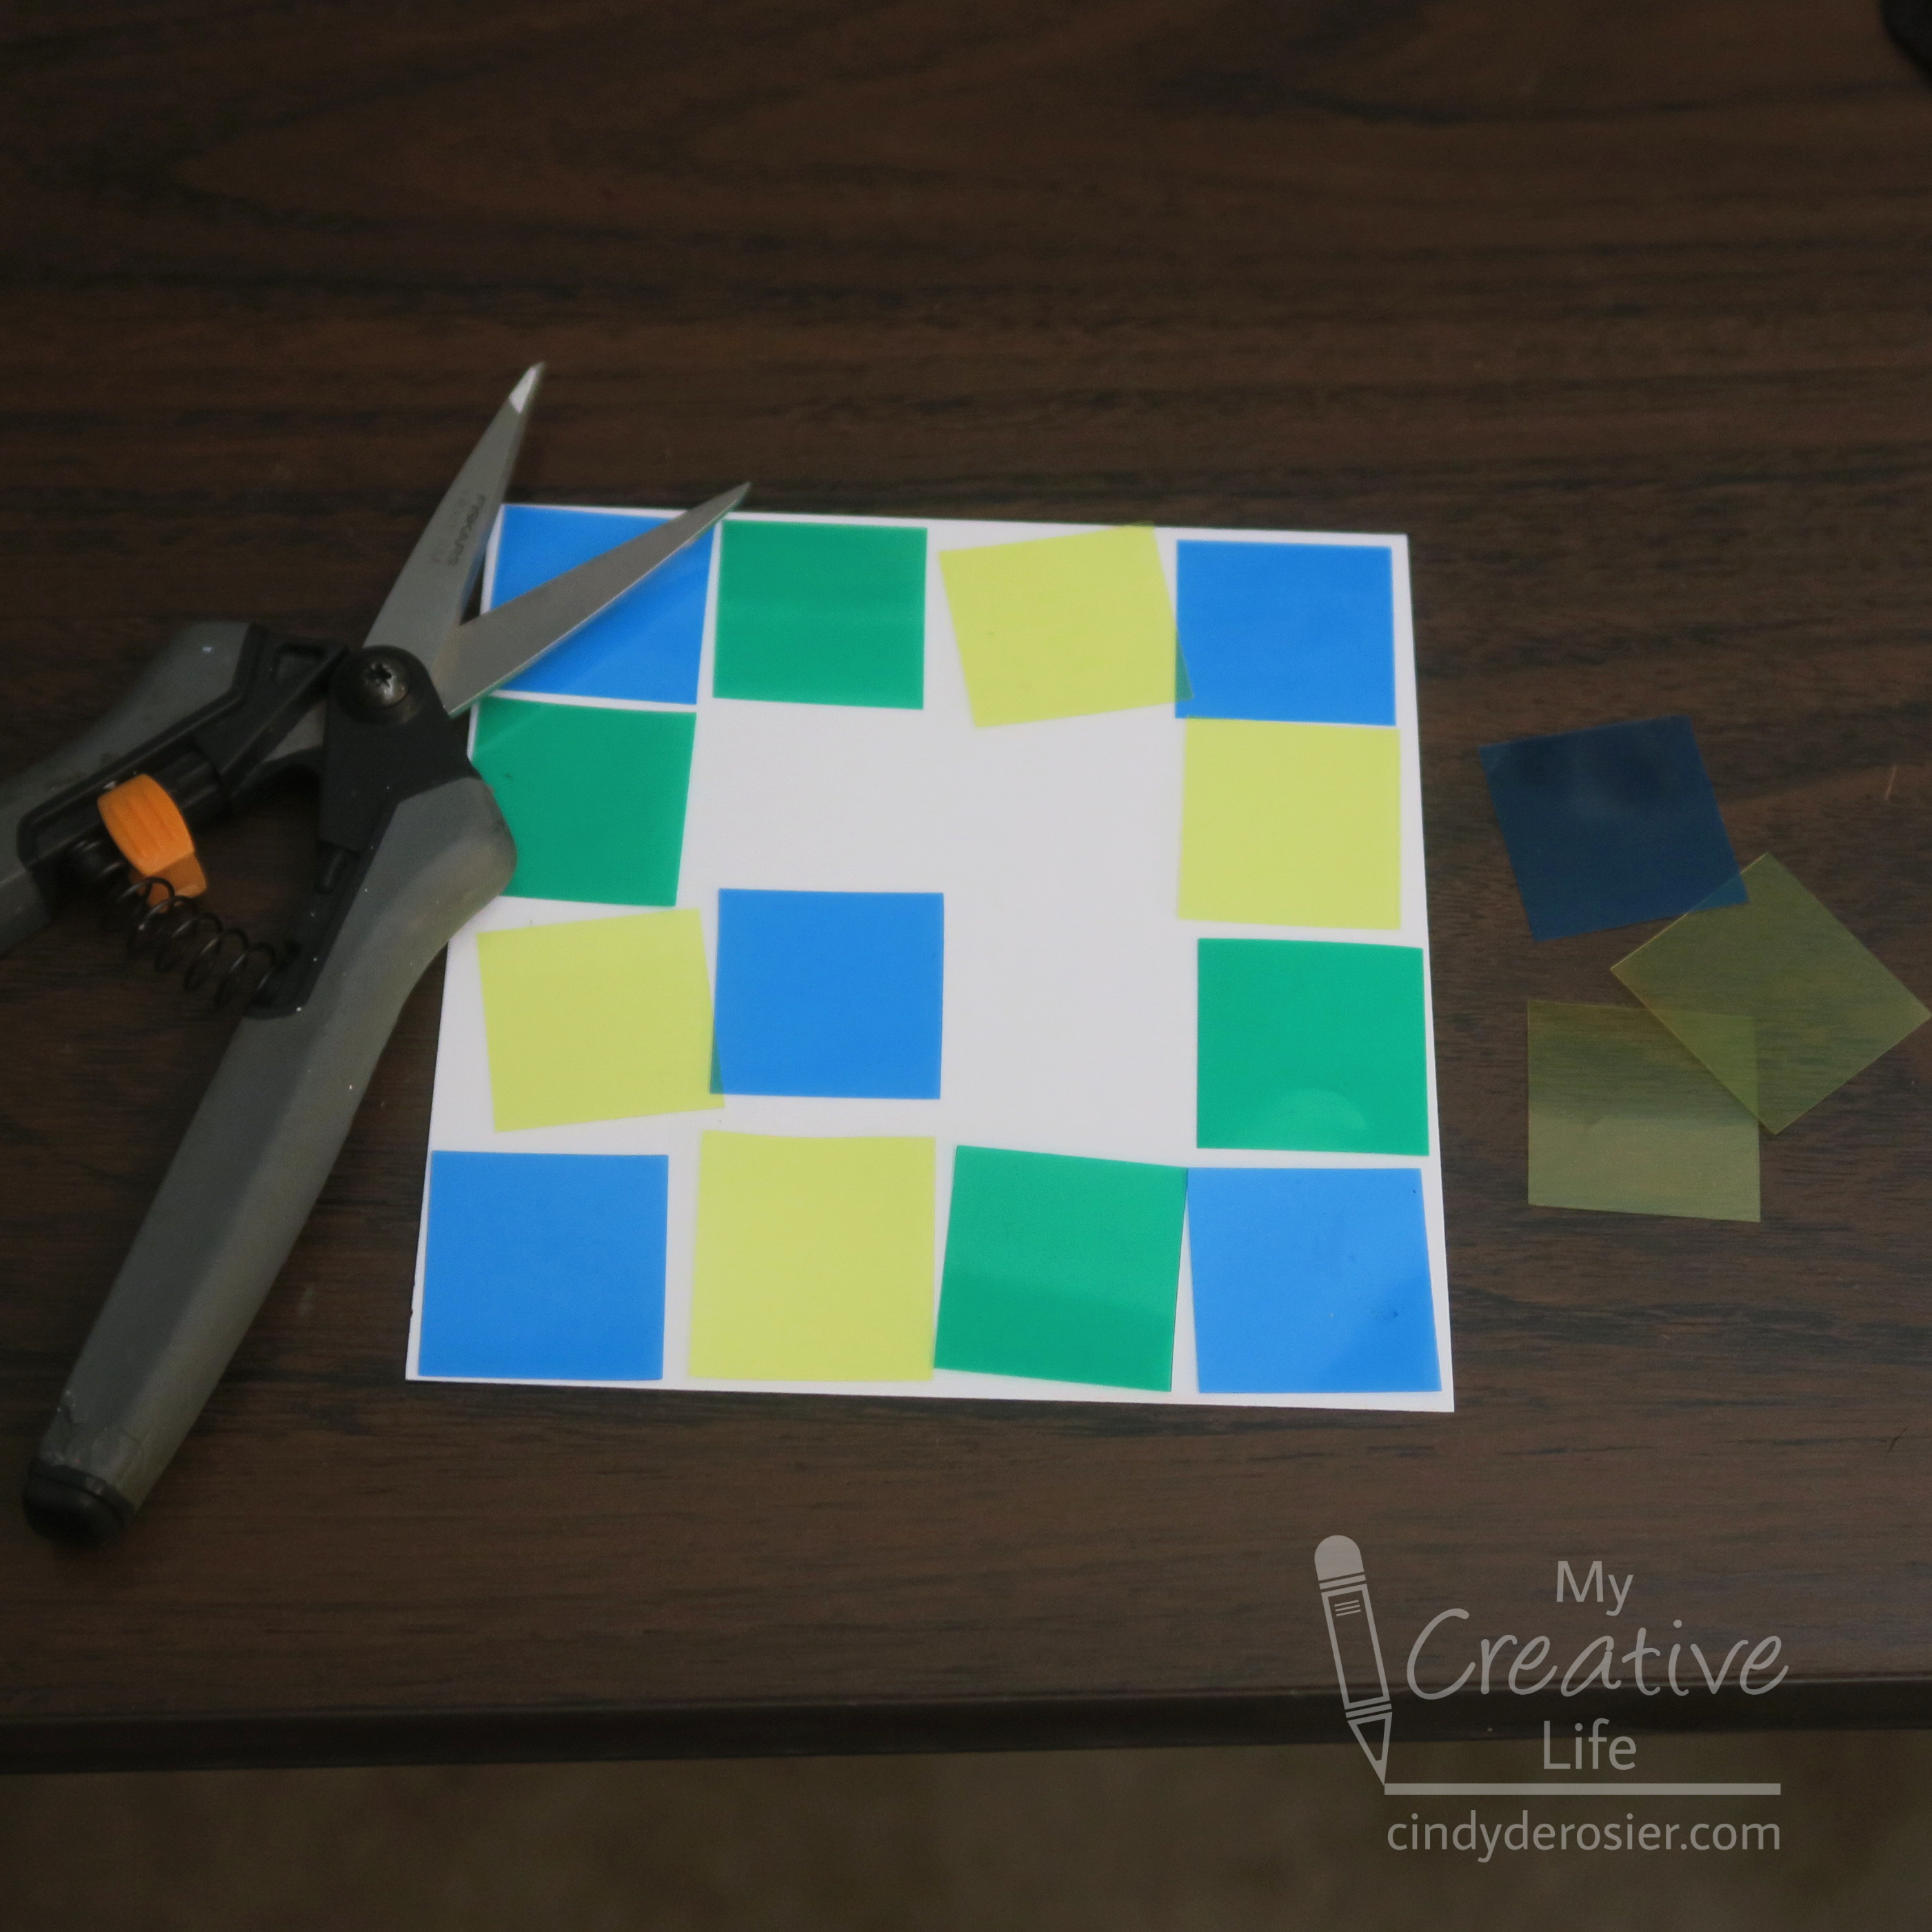
So I recommend using contact paper for this project. Start by cutting a piece of white cardstock into a 4.5" square. Then cut colored transparencies into 1" squares. I strongly recommend using the heavier lighting gels I linked to, as opposed to thin cellophane. The heavier weight cuts better, lays down more smoothly, and generally makes the project less frustrating. I actually had lightweight orange and purple transparencies in addition to the heavier red, yellow, green, and blue, but I ended up not using them. 


Arrange the squares on the white paper, then cut some (or all) on the diagonal to make triangles. Play with the pattern possibilities until you find one you like. 

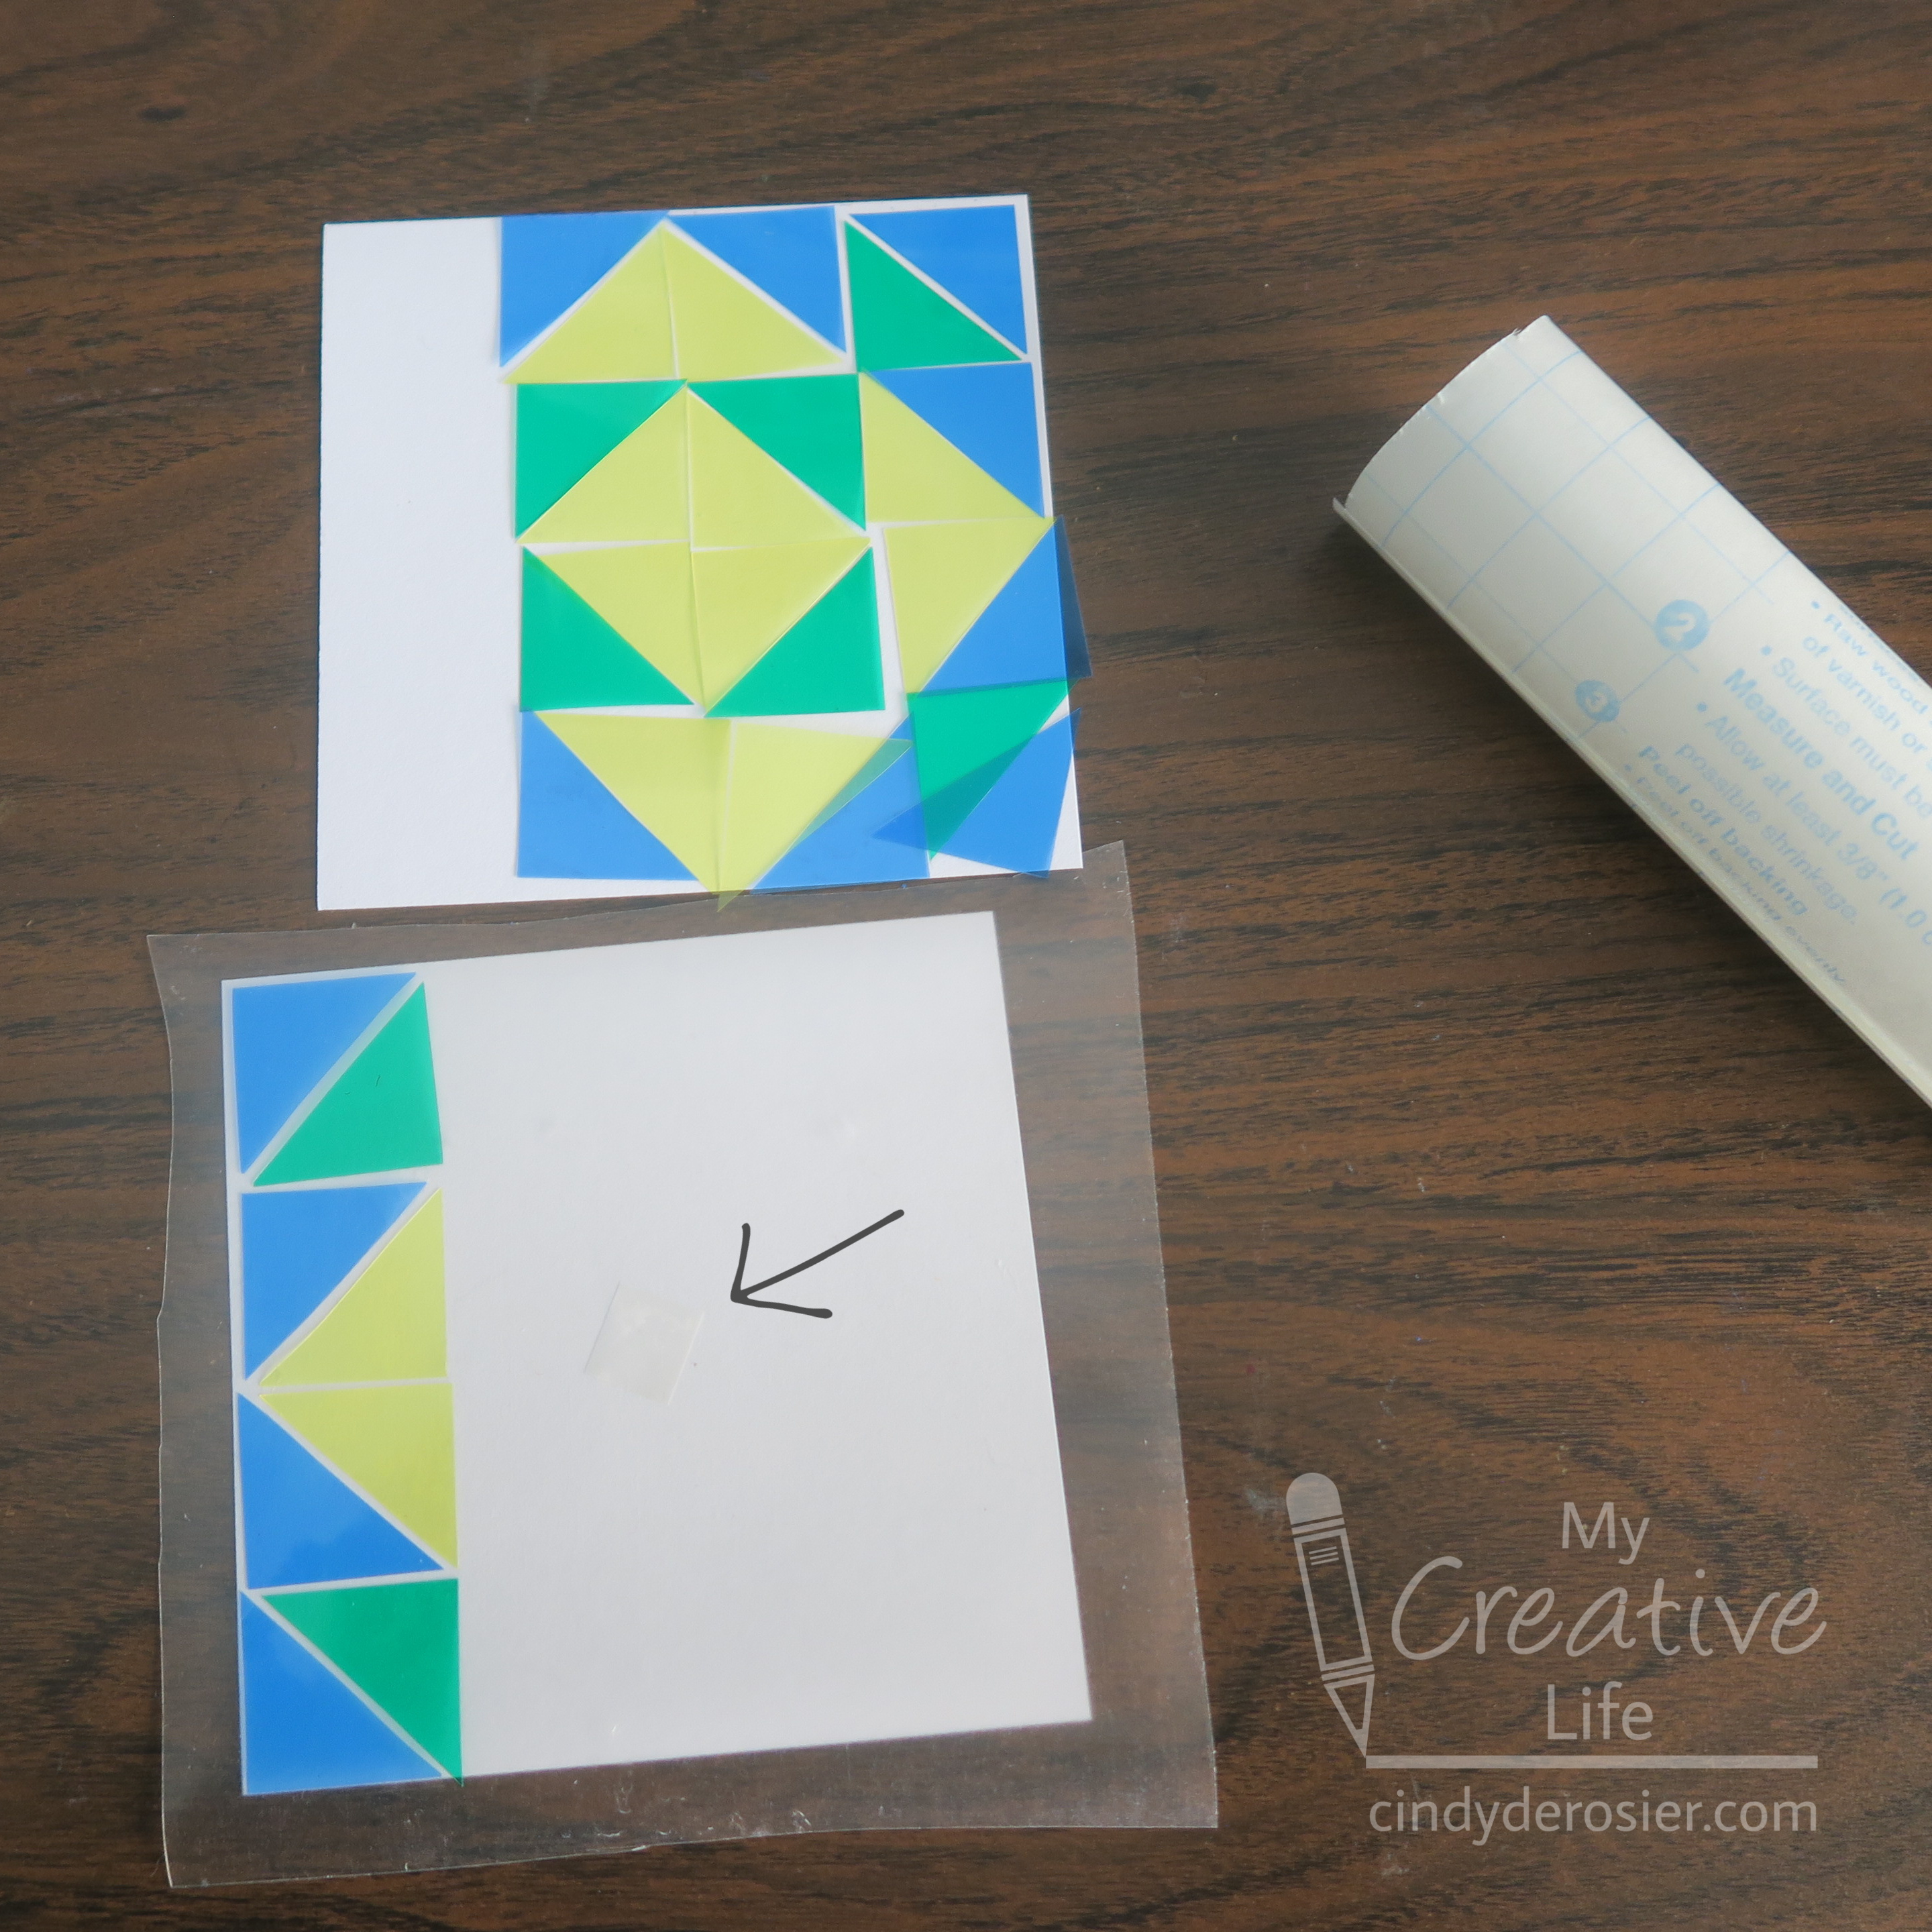
Cut a second piece of white cardstock into a 4.5" square and set it on your workspace. Put a repositionable mounting square (indicated by the arrow below) onto the cardstock. Cut a piece of contact paper into a 5" square. Peel off the liner and place the contact paper STICKY SIDE UP onto the mounting square. Now transfer your design to the contact paper, one piece at a time. 


When the whole design is transferred, remove the mounting square and then place the contact paper STICKY SIDE DOWN onto the cardstock. Wrap the sticky edges around the sides of the cardstock to secure them together. 

The last step is burnishing the contact paper so that it lays perfectly flat against the transparency bits. Use a bone folder or craft stick to press them together. 

Unlike most sun catchers, this faux stained glass doesn't need to be displayed in a window to really shine. It looks just as good displayed on a wall or tabletop as it does in a window. Enjoy!

2/2/22

Swirly Yarn Heart for Valentine's Day

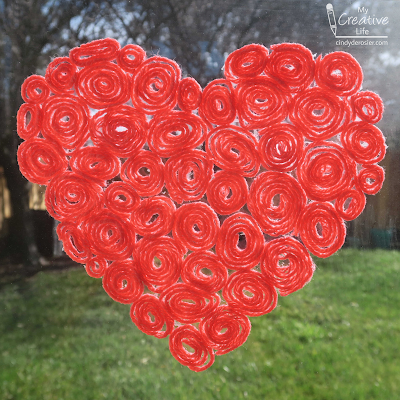
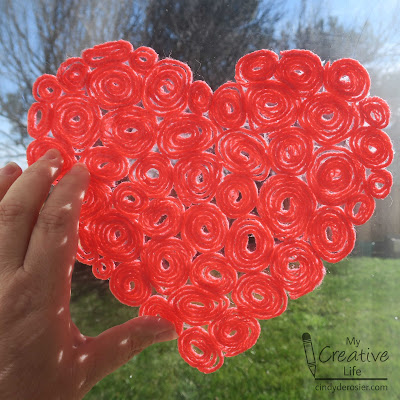
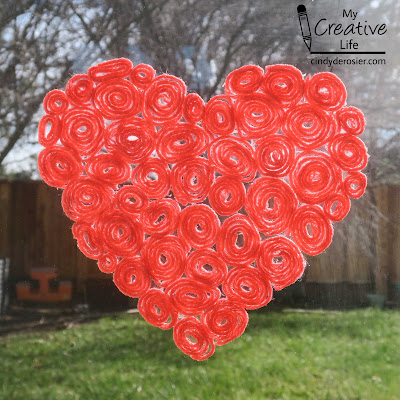
As I was making today's heart art, I wasn't sure if my idea was going to work. It was so exciting when it came out exactly how I'd hoped! I love how it looks in the window. Affiliate links below. 


Swirly Yarn Heart for Valentine's Day


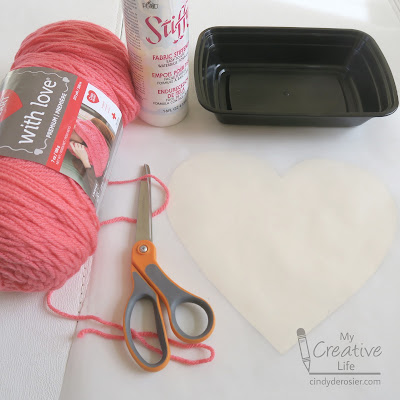
Materials:


Steps: 


Set up your workspace with a sheet of parchment paper covering the manilla heart pattern. 


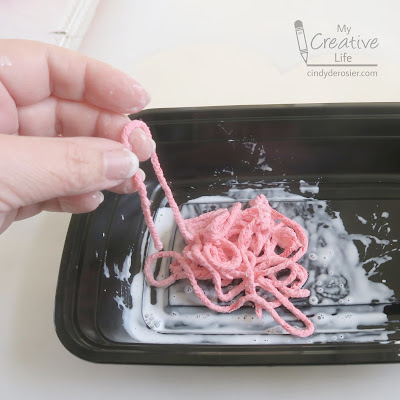
Cut about 50 lengths of yarn, ranging from about 2" to about 6". How many you need depends on the size of your pattern and how tightly you swirl the pieces. Put about 10 pieces into the empty container, then pour in fabric stiffener. You want enough so that the yarn is completely saturated, but not dripping. The contrast won't be dramatic with every color, but with Papaya the wet yarn was very pale compared to the dry yarn.  


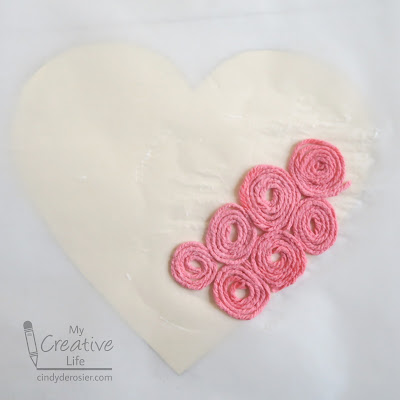
Pull out a single piece of yarn and form it into a swirl directly on the parchment paper. Continue making swirls with each piece of yarn. The swirls must be right up against each other. 

For the swirls that are along the edge of the heart, flatten that side slightly so that it follows the pattern. Fill in smaller spaces with swirls made from the shortest pieces of yarn.  


Continue the process of soaking the yarn in the stiffener and making swirls onto the pattern until it is completely filled. Carefully lift the parchment paper onto a cooling rack and let it sit undisturbed for at least 24 hours. 

After 24 hours, check to see if the heart is completely dry. If it is, the yarn will have returned to its proper color and the backside of the parchment paper will feel uniform in texture and temperature. If it's not completely dry, give it more time. You will ruin the heart if you try to remove the parchment paper too soon. 

When the yarn is completely dry, carefully invert the heart onto a flat surface, then gently peel the parchment away from the yarn. The resulting heart will be rigid. I took this picture immediately after removing the parchment paper.


To hang it, I added small rolls of tape behind three of the swirls and pressed it gently to the window. 


Your craft will stay intact as long as it remains flat (horizontally or vertically). Any sort of twisting or bending will cause the swirls to break apart from each other. Enjoy!

4/1/21

Easter Egg Sun Catcher

I love sun catchers. Part of what I like about them is how different they look as the daylight shifts. They also have a completely different look hanging on a window versus a wall, which you can see here:


But what I like most about them is that they're easy to make and always pretty. Affiliate links below. 

---------


Easter Egg Sun Catcher


Materials:


Steps:


Cut two pieces of contact paper that are slightly larger than you want your finished sun catcher to be. Make a pattern for your egg, then use a Sharpie to trace the pattern onto the paper liner of one of the pieces of contact paper. Do not draw on the contact paper itself!

Cut narrow strips of tissue paper.


Place the piece of contact paper with the pattern drawn on it on your work surface. Peel the liner off the other piece of contact paper only, and place it sticky side up on the other piece. Now add strips of tissue paper and rows of sequins to the sticky surface. The tissue paper should extend beyond the edges of the pattern, while the sequins need to stay inside the lines. 


Slide the lower piece of contact paper out from under the one you've been working on. Remove the paper liner and set it aside. Press that piece of contact paper on top of the first, sticky sides together, sandwiching the tissue paper and sequins inside. 

Place paper liner with the pattern underneath the sun catcher, adjusting it so that it is lined up properly. Use paper clips to hold it in place if necessary, then cut along the line.  

Poke a hole in the top of your sun catcher with the craft pick, then insert a length of embroidery floss. Tie a knot to make the hanger. Then hang it on a wall...


... or in a window!


If you do hang it in a window, be sure to check back at different times of day to see how the light changes.

8/4/20

Tissue Paper Stained Glass

I put my huge stash of crumpled tissue paper I've rescued from gifts to good use and made faux stained glass. You can't even tell that the tissue paper wasn't pristine! This is how it looks flat on the table...


... and this is how it looks in the window with the evening sun shining through. Affiliate links below. 


Tissue Paper Stained Glass


Materials:


Steps: 


Cut a piece of clear contact paper that is twice the size of a piece of black construction paper. Set it aside. 

Use the trimmer to cut out the center of the black construction paper, leaving a frame. Cut the center portion into strips. 

Peel the lining off half of the contact paper and place the construction paper frame on the sticky side. 


Arrange the black strips on the frame, pressing down to secure them in position. 


Trim off the overhanging black strips. Then cut pieces of tissue paper to fit into each of the empty spaces. I found that the easiest way was to cut a piece that was slightly too large, smooth it onto the contact paper, then use the scissors to cut away any excess. 


Continue until you've filled all the spaces. Remove the liner from the other half of the contact paper and fold it over. Smooth everything, then trim off any excess contact paper. Hang your artwork in the window and enjoy!

5/22/20

Woven Tissue Paper Suncatcher

Remember the painted newspaper collage inspired by the book by The Carle Museum? Today's project is based on a project from The Carle's blog. Their artwork starts with folia paper (affiliate link) and is on a much larger scale than my tissue paper version. 


Woven Tissue Paper Suncatcher


Materials:

  • tissue paper
  • foam stamps
  • Folk Art acrylic paint
  • scissors
  • large cardboard tube
  • clear tape
  • twine


Steps: 


Choose 5+ colors of tissue paper and paint that you like together. Stamp patterns onto the tissue paper. If you don't have stamps, use bottle caps, the end of a cardboard tube, or anything else you can find around the house to make a pattern. Or, you can fingerpaint! 


I did a tone-on-tone and a different stamp for each of the colored tissue papers, then used all of the colors and stamps on white tissue paper (which I didn't end up using for this project). You can do whatever you want for your stamping. There's no right or wrong. 


When the paint is dry, cut the tissue paper into strips. Mine are about 2" wide. 


Tape one end of the strips to the cardboard tube until you have filled the length. I was able to fit 10 strips on my tube. 


Now weave additional strips through the existing strips. The easiest way is to fold back every other strip, lay down the new strip, and then wiggle it into place. Tape the two ends and trim any excess off the edges. 


Repeat the process of folding back alternating strips and taping horizontal strips in place until you near the end. I fit seven strips before I stopped. Cut the ends to make fringe. 


Put a piece of twine through the tube. The easiest way to get the twine through the cardboard tube is to attach a binder clip to one end of the twine, hold the cardboard tube vertically, then drop the binder clip through the tube and let gravity do the work for you. Remove the binder clip and tie the two ends of twine together to make a hanger. 

Here's what it looks like hanging on the wall. 


And here's how it looks on a window where the light can shine through it. 


This was a lot of fun to make and the colors make me happy. Try it yourself!

7/18/19

Gallery Glass: Unicorn Sun Catcher

Check out my unicorn sun catcher! 


The Plaid Ambassadors each received the Gallery Glass Sun Catcher Kit (affiliate link here and throughout the post) to play with. I'd never tried Gallery Glass before. The verdict? Super fun!


To make your own sun catcher, you need Simulated Liquid LeadingGallery Glass Window Color, and Stencil Blanks. It also helps to have the design you want drawn out. The Sun Catcher Kit comes with a large idea book so I used that, but you can use coloring pages or draw your own designs instead. 

Place a stencil blank over your design. Trace the lines with Simulated Liquid Leading. There is a learning curve to this. At least, there was for me. You can see my first attempt here. Obviously, I wasn't keeping the pressure steady, nor letting gravity work for me.  


I did some more practicing before moving on to the pineapple, my fifth shape and the first that turned out well. The key was to think of the leading like frosting a cookie. Pipe with even pressure, holding the tip just above the surface, and let the leading fall gently into place. 


I drew a few more shapes, including the unicorn at the top of the post. In all, I made a dozen window catchers and there's hardly a dent in my 8 oz. bottle. 

Let the leading dry for at least 8 hours. I left mine overnight. Then fill in the spaces with the Window Color. It is much more fluid than the leading, but not enough to self-level. You want to fill in all the spaces so that they're almost overflowing. It looks like I filled in the pineapple completely...


... but once it dried, it's obvious that I didn't quite fill it all in.


Anyway, fill in all the spaces as full as you can get them. If any bubbles show up, poke them with a pin or a toothpick. Let the Window Color dry for at least 8 hours. 


When it is dry, gently peel the design off of the Stencil Blank. Then attach it to a window. You can remove it and reposition it as often as you want. 


Oh, the possibilities! I'm imagining all sorts of holiday and seasonal window catchers decorating the windows at Casa deRosier. Any suggestions for other things you'd like me to make with Gallery Glass? Better yet, try it yourself!