Showing posts with label witch. Show all posts

10/26/23

Serendipity Witch Drawings

First zombies, then monsters, now witches! 


I used the same materials and followed the same basic steps, but with two exceptions. First, I started out with random shapes that were relatively symmetric, since witches are living humans (unlike zombies and monsters).


When I added facial features and hats, I made each different. No two mouths, noses, or sets of eyes are the same. And I intentionally avoided the the offensive, stereotypical witch nose


I varied the hairstyles, length, and color. And I used a variety of skintones, leaning heavily on greys like I did with the zombies.  

As I was drawing my witches, I was imagining their different personalities. As my mind wandered, I thought how ridiculous (and fun) it would be to choose four of my witches and design a sitcom around them living together in the Golden Girls' Miami house. Speaking of which, have you ever noticed how much Golden Girls merch there is on Amazon (affiliate link)?! It's surprising, yet awesome. Anyway... witches. I had a lot of fun drawing them. I encourage you to give it a go! Like before, it's a great project for someone who "can't" draw. 

10/20/23

Witchy Halloween Frame

Halloween crafts are some of my absolute favorites. This time I made what I'm calling a witchy frame. Witchy because it is green with warts and embellished with a broom. Affiliate links below. 

Steps: 


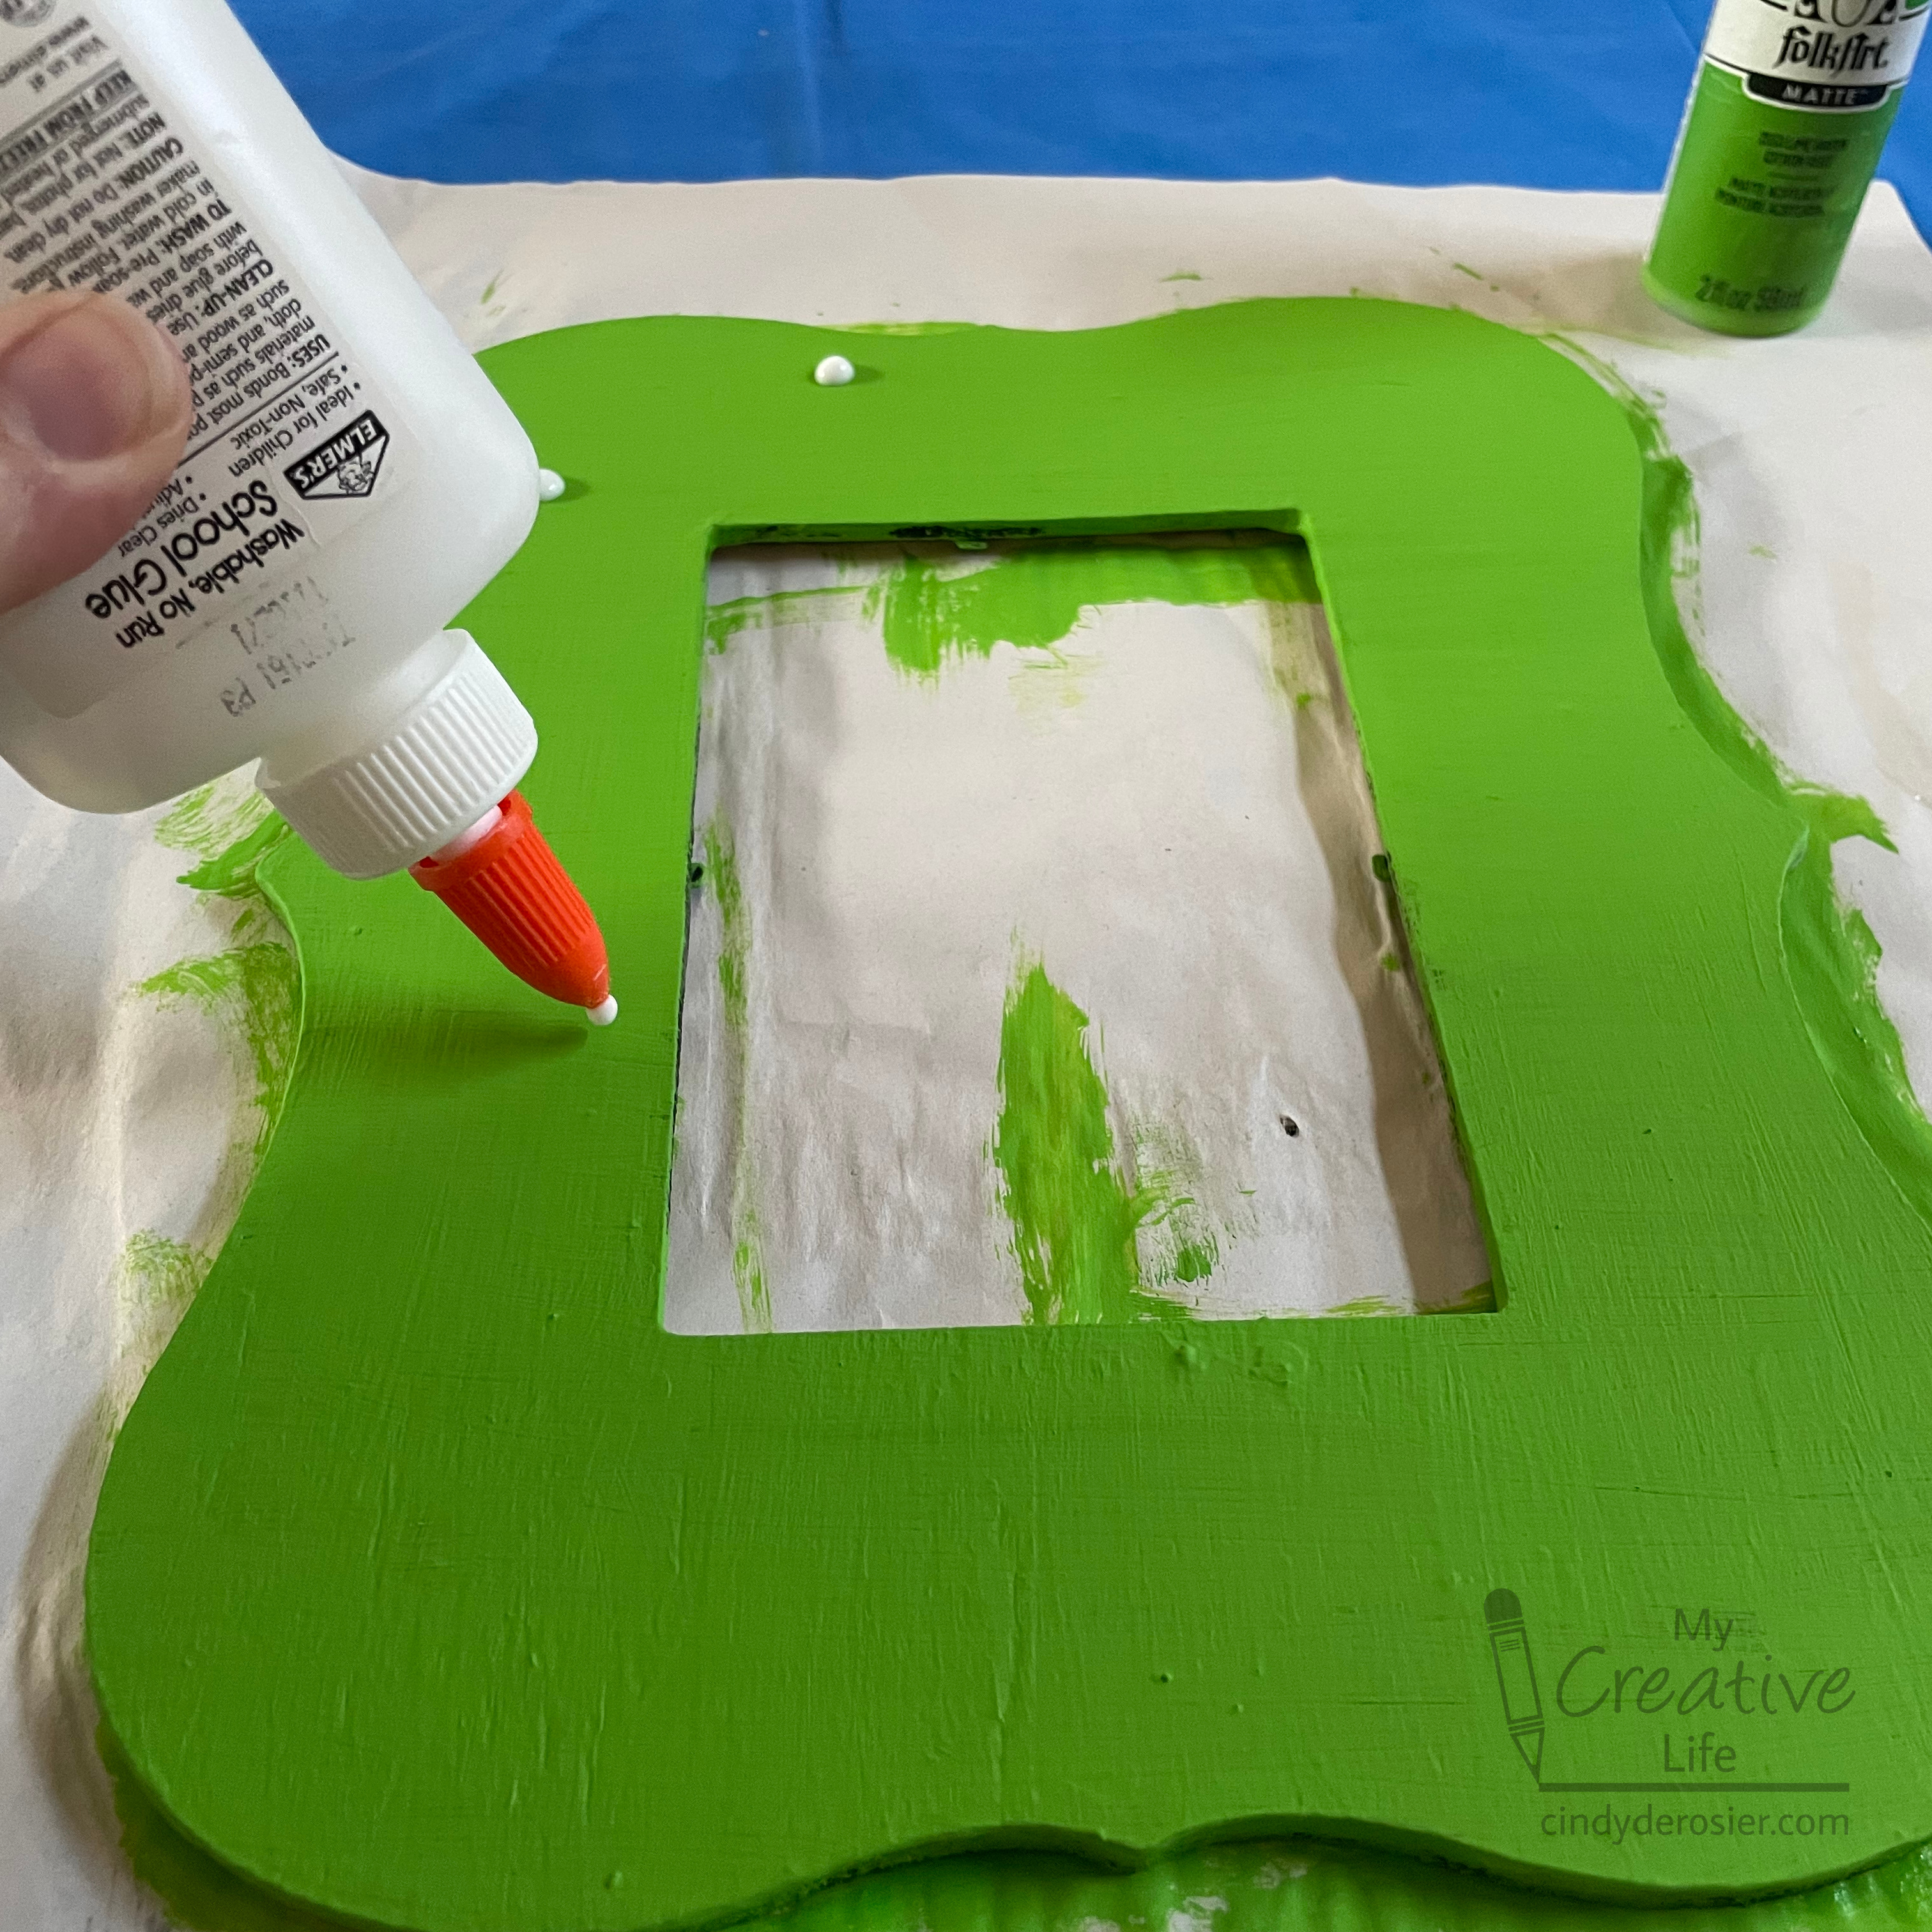
Paint the frame lime green. Let the paint dry completely, then add dots of glue randomly on the frame. They will dry flatter and larger than the original drop. 


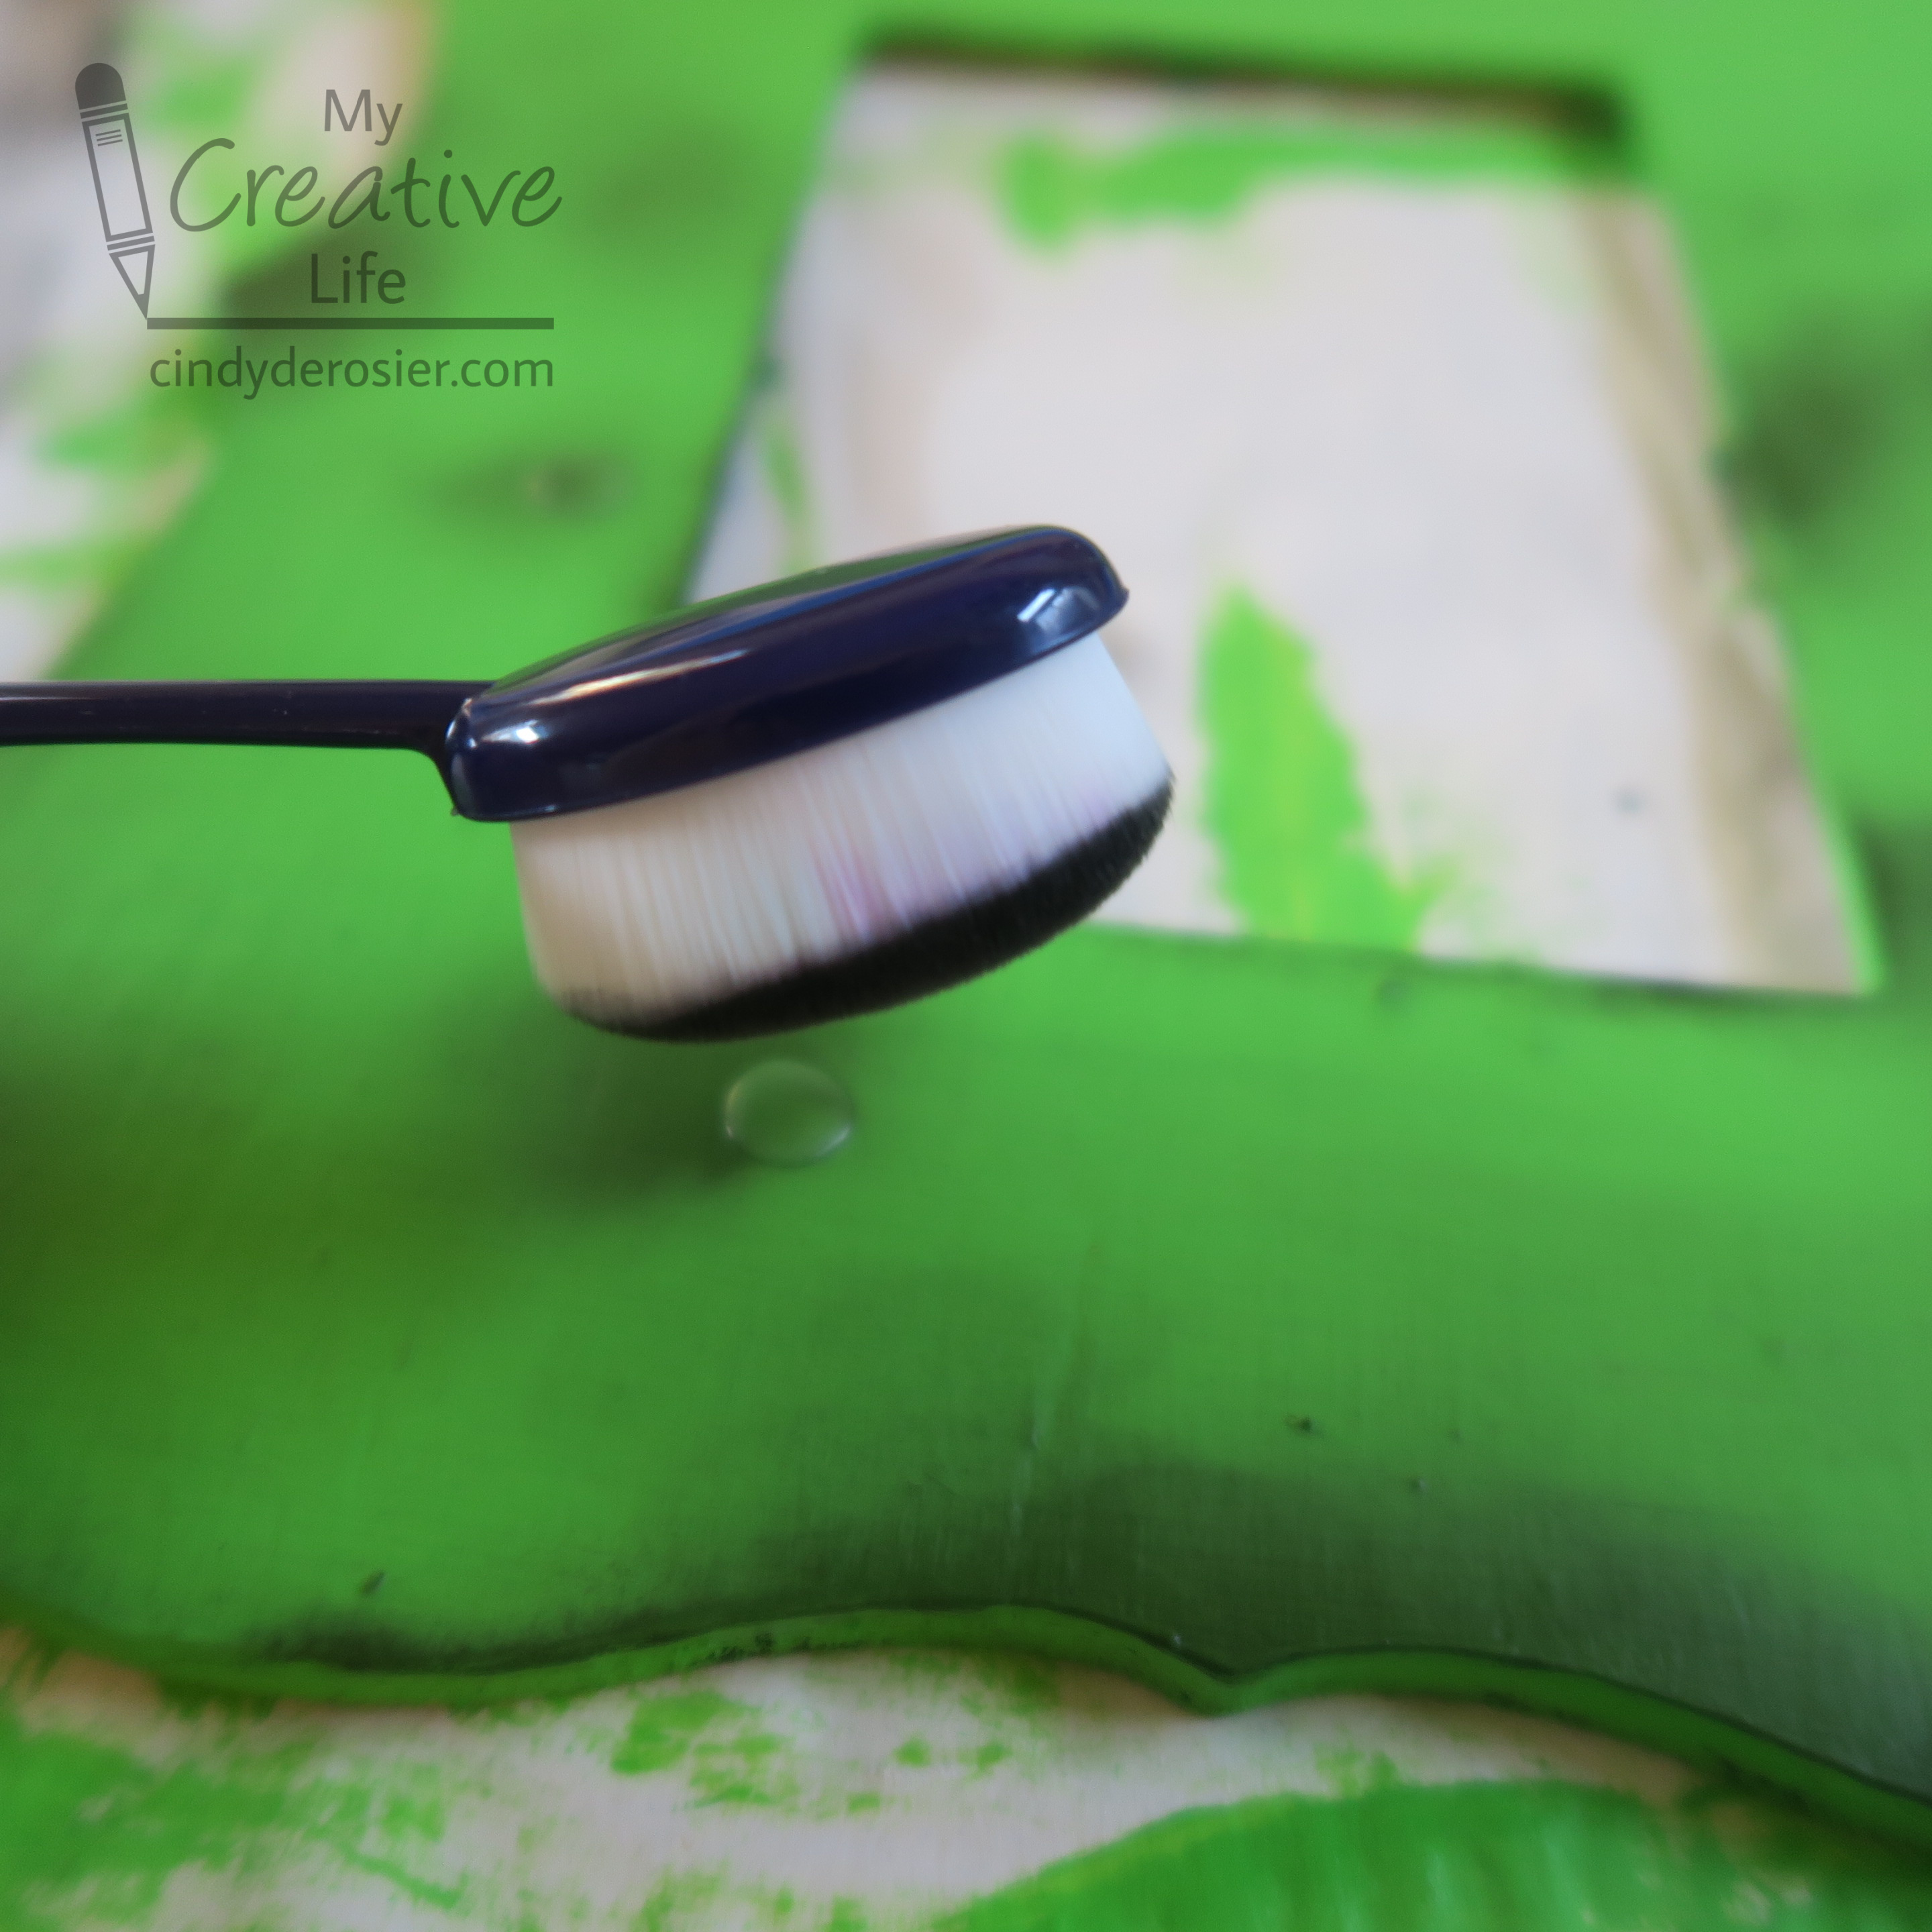
Let the glue dry completely. This could take a full day or more. When the glue is dry, use a blending brush to apply a small amount of grey or black ink over the dried spots of glue. Add some ink to the edges of the frame as well. 


This is how mine looked when I was done with the ink. That's the top of the frame facing the camera. 


Use Supertite to glue a broom and a spider to the frame. When the glue is dry, add a Halloween photo or message to the frame. 


I don't think I've mentioned it on the blog, but Trevor got braces early last week. I'm eating braces-friendly food in solidarity with him (because it would be super rude for me to expect him to avoid popcorn, caramel, and other favorites while I eat them in front of him), so I'm going to need to think what Halloween candy looks like this year. My favorites and Trevor's favorites are a no-go. Any suggestions for braces-friendly Halloween candy?

10/15/21

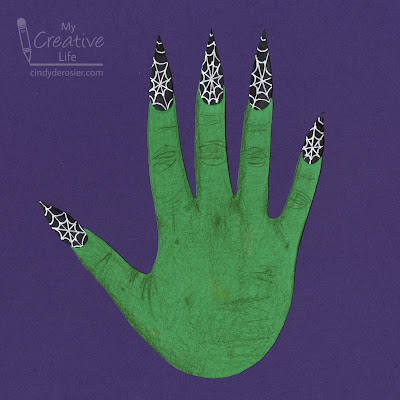
Witch Hand with a Spiderweb Manicure

I love handprint crafts. It's so much fun thinking of clever ways to transform a handprint into something entirely different. This time, I turned my handprint into....  a hand.  


A witch hand, to be specific. So it's not the most clever transformation of all time, but it was really fun to make. Affiliate links below. 


---------

Witch Hand with a Spiderweb Manicure


Materials:


Steps: 


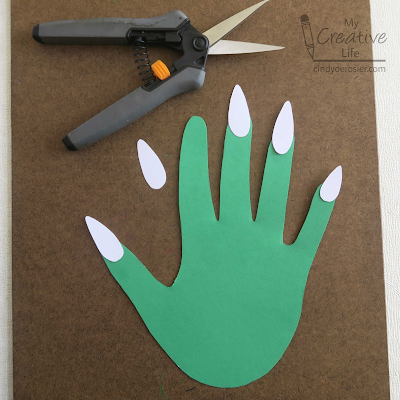
Trace your hand on green construction paper and cut it out with microtip scissors. Cut a pointy nail for each finger from black cardstock. (I used white and ended up coloring the fingernails black with a Sharpie. Save an unnecessary step and start with black cardstock.)


Use the back of your hand as a guide to draw knuckles, lines, and shadows on the witch's hand. Add texture to the skin by lightly coloring in small circles over the lines you've drawn. Add moles/blemishes as desired. Draw a spiderweb pattern on the fingernails using the white pen, then glue the fingernails to the hand. 

I love the way it turned out. I'm tempted to make enough for a banner, which is exactly how I'd display them if I had a classroom's worth of witch hands. 

10/22/20

Candy Melt Witches

After making my peanut butter graham cracker owls, I was playing around with the leftover candy eyes and candy corn and realized they'd make awesome witches. My witches are green, because I was born after 1939. Fun fact: People who grew up before 1939 grew up seeing witches portrayed with red or orange skin. Affiliate links below. 


Candy Melt Witches


Materials: 


Steps: 


Put a sheet of parchment paper onto your work surface. Prepare the Candy Melts according to the package directions, then spoon a blob of melted candy onto the parchment. Drag the spoon through it to create a chin. 

Place a piece of candy corn in the middle of the face for the witch's nose. Drizzle additional melted candy over the top. Put the eyes in place, then choose two black jimmies as eyebrows. Push additional jimmies up against the edges of the still-melted candy for hair. Finally, add a sugar pearl wart on the witch's nose. 


Let the candy set for approximately 15 minutes, then peel it from the parchment paper. Every witch is going to turn out a bit different, which is half the fun!


I'd intended these for Halloween, but they would also be fun for a Wizard of Oz themed party. Turn the finished witches upside down, put a lollipop stick on each, then 'glue' the sticks in place with more melted candy for a super fun Witch-on-a-Stick treat. Wouldn't they look cute alongside this famous quintet? (Answer: Yes.)


*Same problem as with the owls. It appears the Wilton candy eyeballs printed with the eyelashes are discontinued. Make your own by drawing eyelashes onto the candy eyeballs I've linked above using a black edible marker

9/10/20

Paper Plate Cauldron

Halloween crafts are some of my absolute favorites! I particularly like ones where each crafter's personality can shine through, like today's Paper Plate Cauldron. I had great fun deciding what to put in my cauldron and eventually I settled on an eyeball, frog leg, finger, and bone. Technically, the spider is on the cauldron and not part of the recipe. Affiliate links below.    


Paper Plate Cauldron


Steps:


Cut a slim arc off a paper plate, then trim two pieces off the arc to make the cauldron feet. Paint the cauldron and the feet black. Glue the feet to the cauldron.

Layer a piece of lime green cardstock on top of a piece of black cardstock. Line them up with the cut edge of the cauldron. Using the arc of the paper plate as a guideline, cut the two papers. Turn the papers the other way so that the arc curves upward instead of down. Then slide the black paper up about 1/2" above the lime green paper. Glue the two papers behind the cauldron. 

Now it's time to fill your cauldron! Anything goes. To make the eyeball, cut a circle of white cardstock, then draw in a black pupil, colorful iris, and wiggly red lines. I cut the frog leg from kelly green cardstock, then bent the end and draped it over the rim. I used my own finger as a guide for cutting the finger and fingernail, then drawing in the lines of the knuckles. After cutting the bone shape, I snipped the end on a sharp angle so that it would look like it was popping up from the liquid. Finally, I cut the spider and glued it on the edge of the cauldron. 

---------

I made today's project as a part of Creative Crafts Halloween Edition, hosted by some of my favorite craft bloggers. Take some time to check out all the creative ideas! Leave comments along the way. Rumor has it, there's a prize for a lucky someone!