Showing posts with label candy corn. Show all posts

10/31/22

"I Am Not Candy Corn"

To understand today's craft, take a look at this homework assignment that Trevor completed 10 years ago as a first grader. It's adorable, and so is my version (if I do say so myself. And I do.) Then look at this Candy Corn Character I made last Halloween. When I dug him out of the Halloween decoration box, it got me thinking that October is to my candy corn guy as November is to that turkey. So I gave my candy corn character a disguise. He can wear it until Halloween has safely passed and then return it to the turkey.  
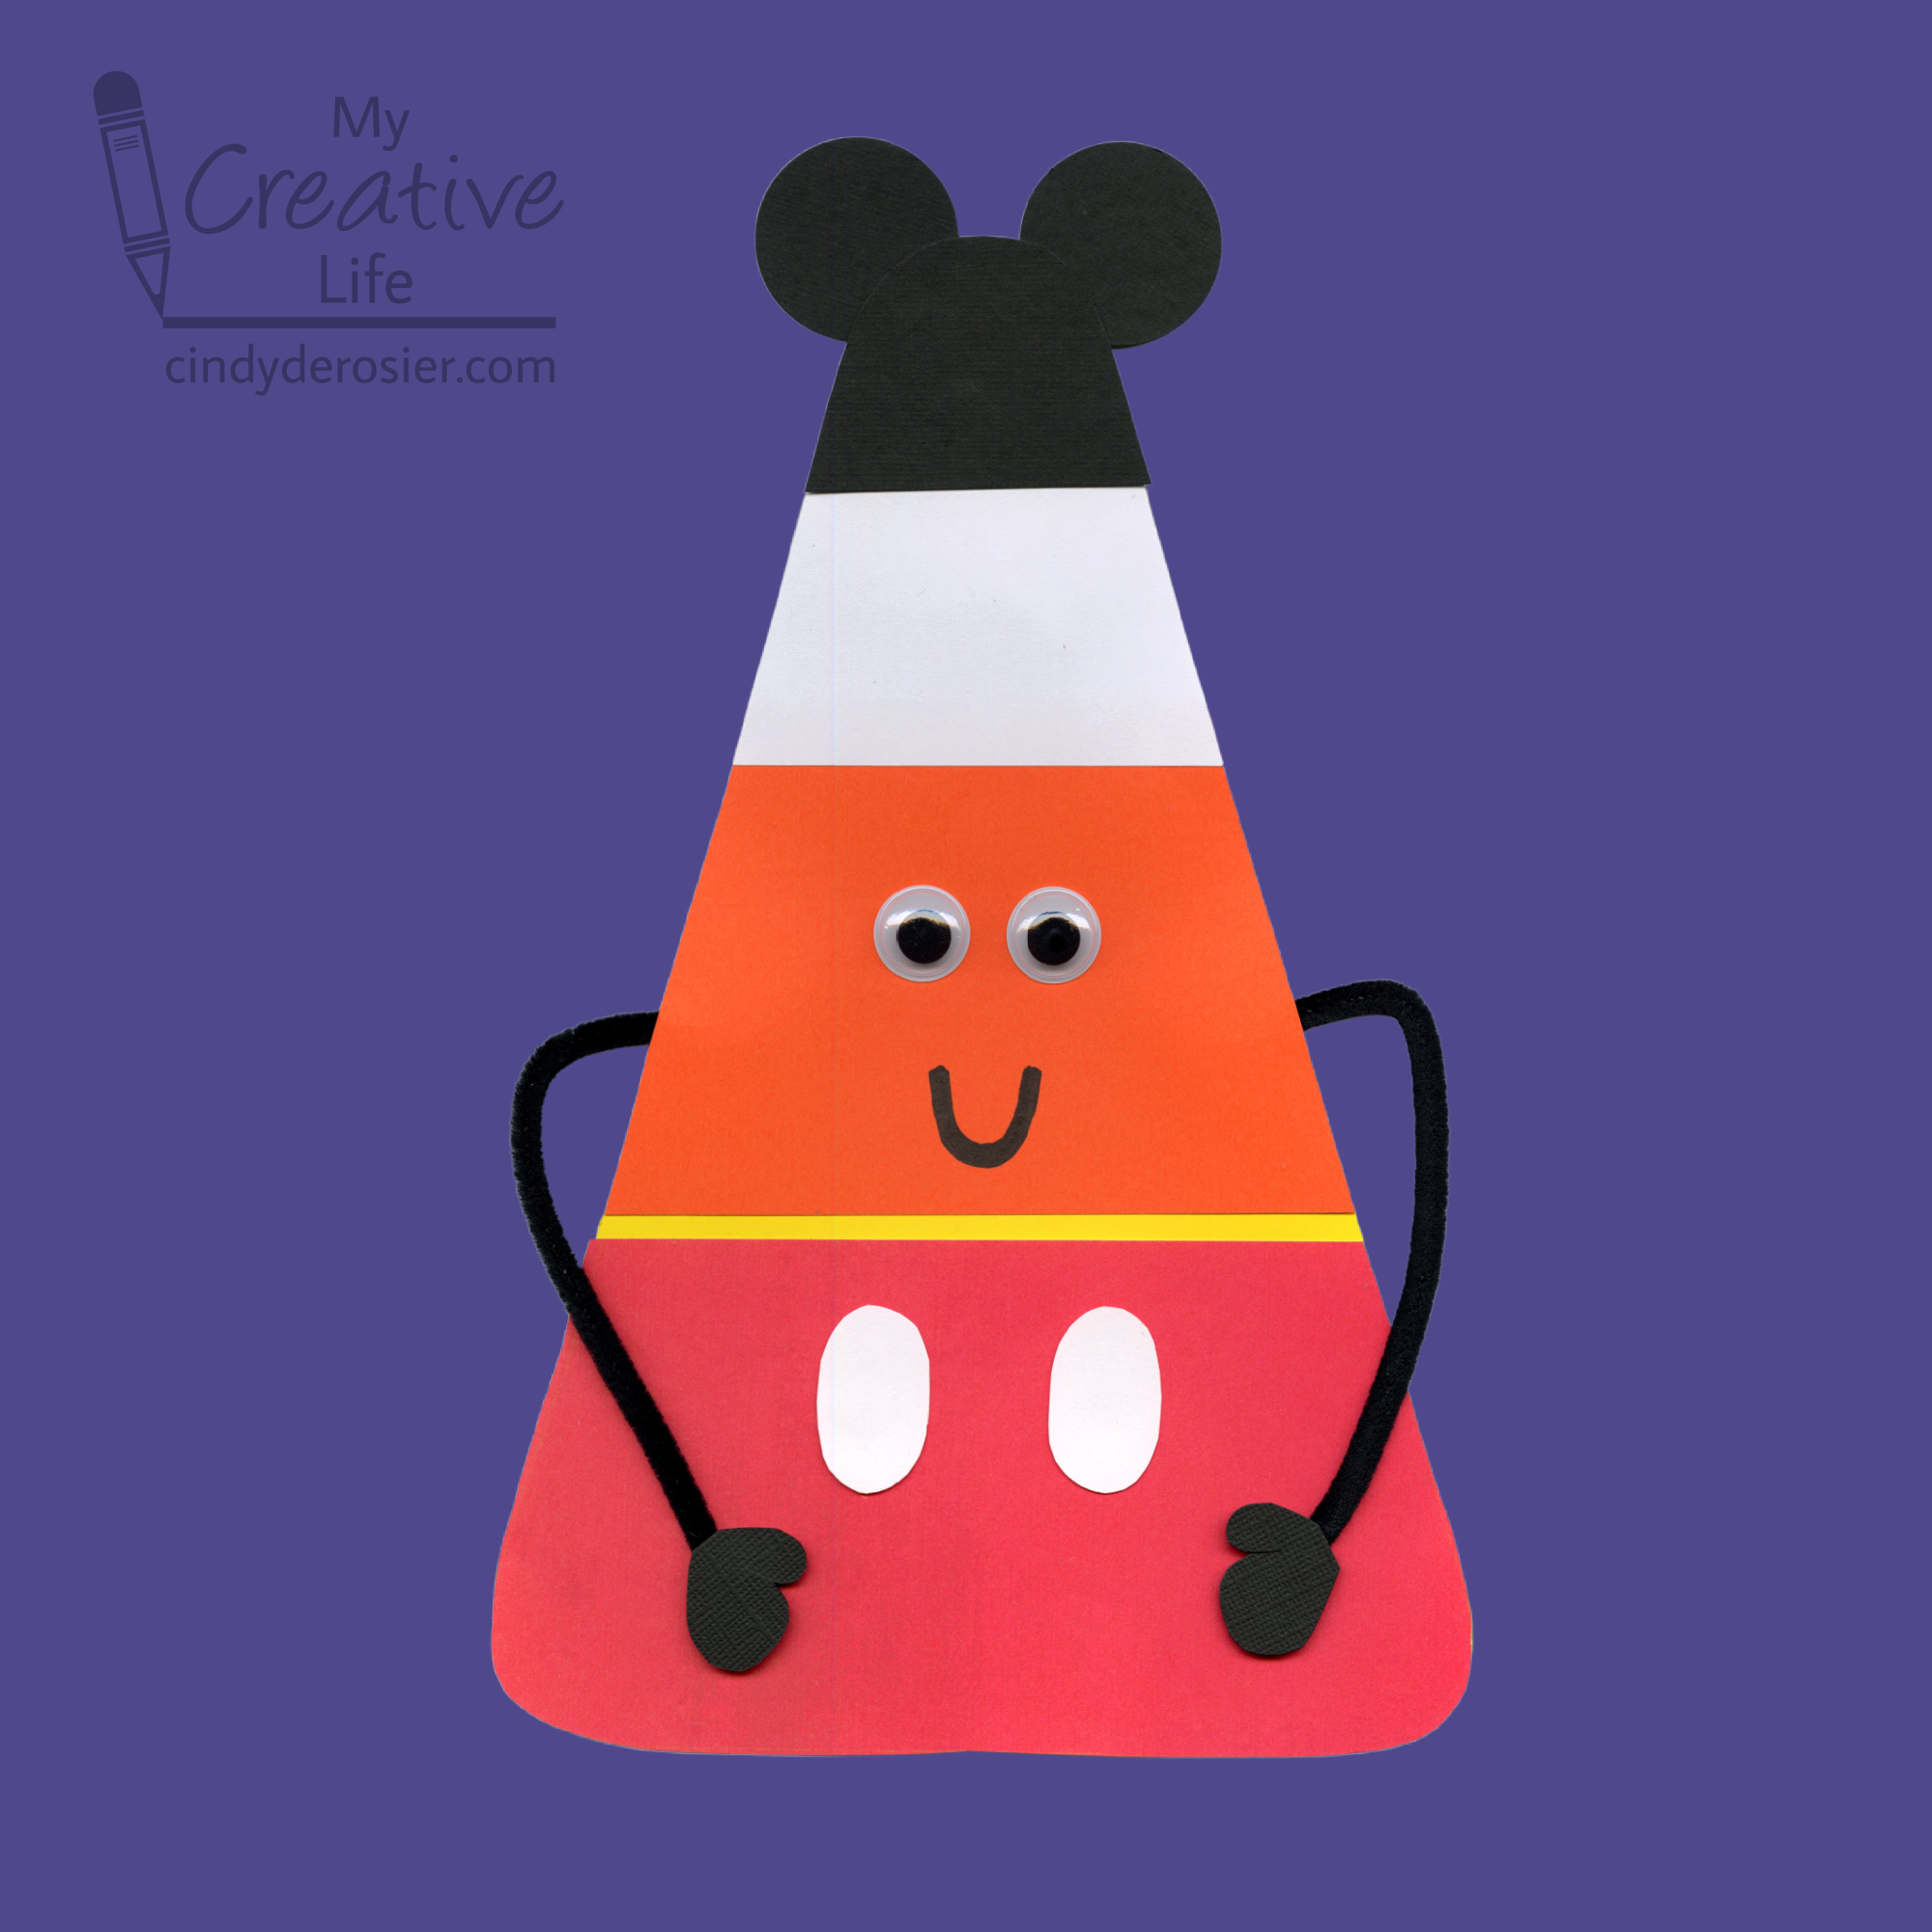

I don't know what all this talk about candy corn is... all I see is Mickey Mouse! 

I would love to have seen how 6-year old Trevor would have disguised his candy corn. Unfortunately, 16-year old Trevor has too much homework and too little interest in crafting with me anymore. Sigh. 

If any of you have 6-year olds with lots of creativity, I'd love to see their versions! Follow the directions to make the Candy Corn Character, then you can add whatever you need for the costume. All I used was black, white, and red cardstock, scissors, and glue. 

By the way, it would be completely inappropriate to snack on candy corn while making this project, but all other candies are on the table. Here's an affiliate link to one of my all-time favorites, which inexplicably is not universally popular. Happy Halloween!

10/14/22

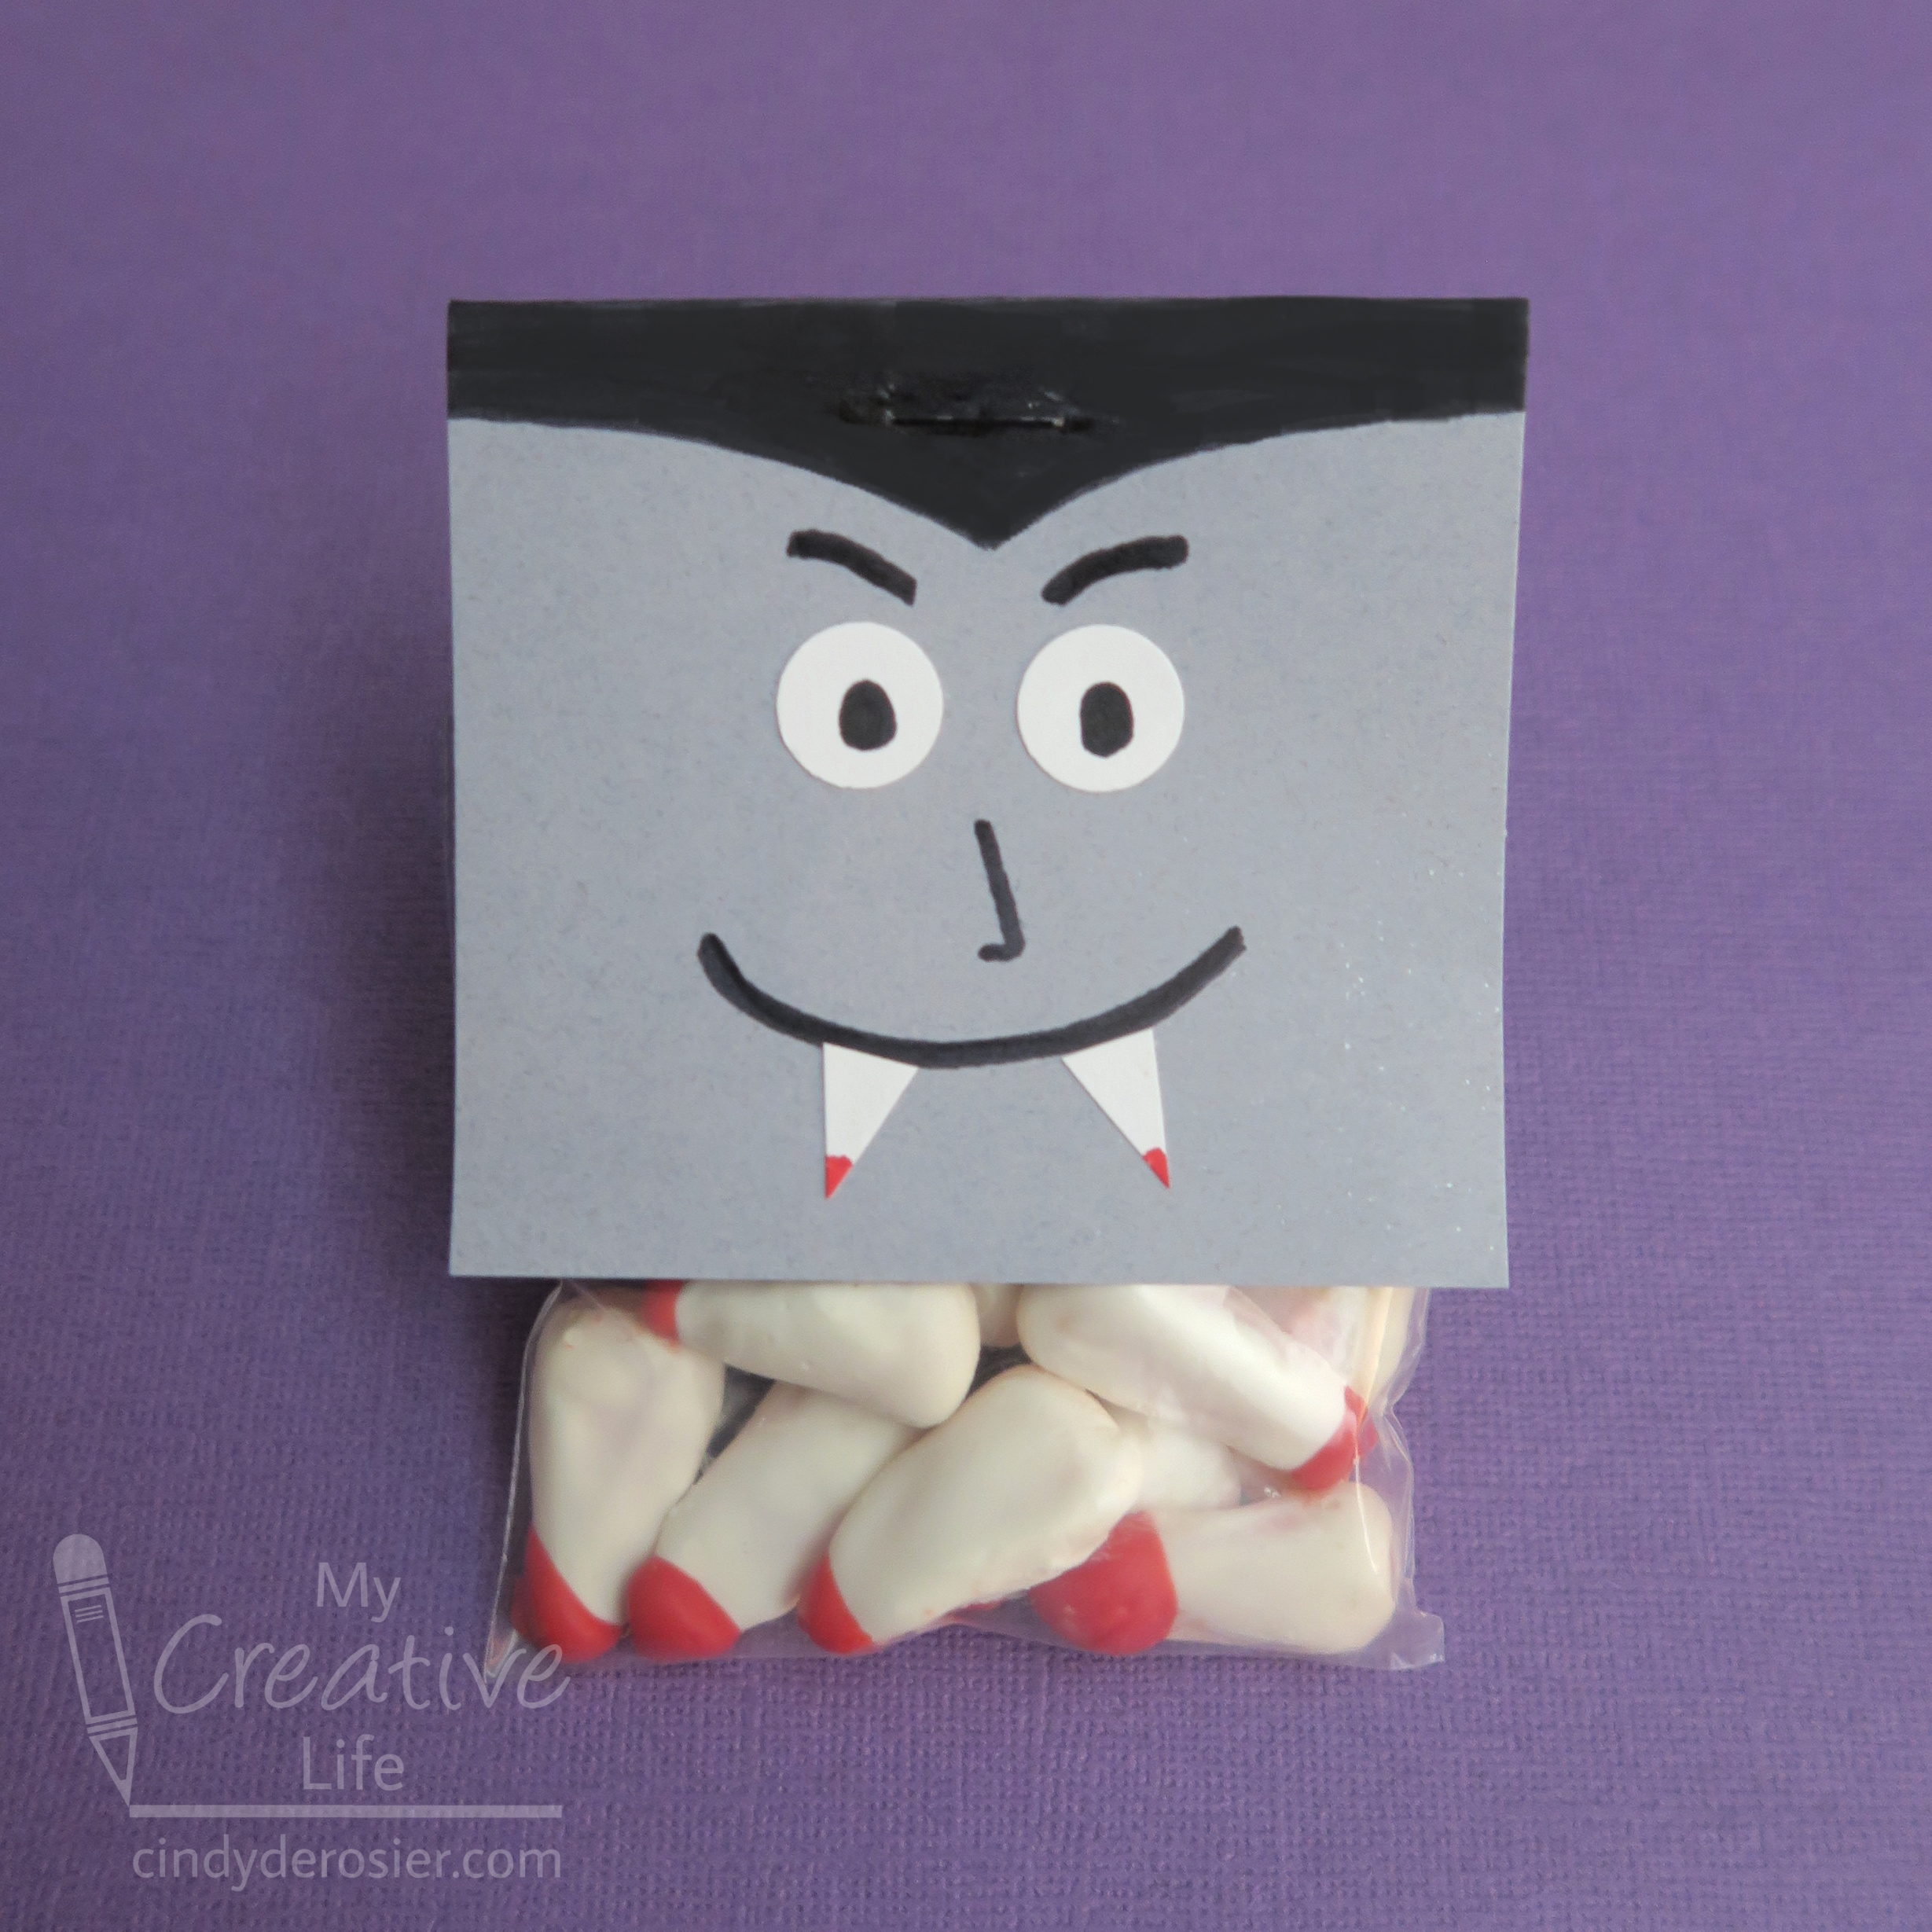
Vampire Fang Treat Bags

If you're one of those weirdos who hates candy corn, or if you can't get behind the idea of candy-coated candy, today's craft isn't for you. Feel free to check out my other Halloween craft ideas

Still with me? Good! Because if you think adding a candy coating to candy is fine, you're probably also fine with giving out edible bloody vampire teeth on Halloween. You're my kind of people. Affiliate links below. 


Vampire Fang Treat Bags


Materials:


Steps: 


Melt the white candy according to the package instructions. Coat the candy corn with the melted candy and let the excess drip off, then set it on a piece of parchment paper. 


When the candy is completely set, melt a small amount of red candy and dip just the tips. Allow the candy to set completely. Put about 12 fangs into each treat bag, then set them aside. 

Cut one 3" x 6" rectangle for each vampire you're making. Fold the paper in half so that the face is a 3" x 3" square. Punch two eyes from the white cardstock, then cut out two tiny triangular fangs. Use the black pen to draw the vampire's widow's peak, using the fold line as a guide. Draw pupils on the eyes. Add a tiny bit of red to the ends of the fangs.


Glue the eyes to the face, then draw eyebrows, a nose, and a smile with the black pen. Glue the fangs in place. Staple the treat toppers to the bags of candy fangs and you're ready to dispense your candy-covered candy.

If you need another idea for an edible vampire craft, be sure to check out my Dracula Smores!

10/13/21

Candy Corn Character

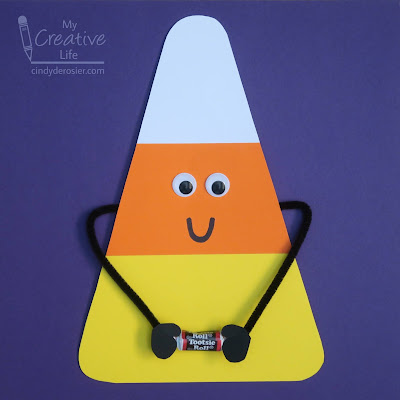
It's a proven fact that googly eyes make everything cuter. Add them to a construction paper candy corn and you have cuteness overload. Not only is this guy adorable, but he'd like to offer you some candy. Affiliate links below. 


Candy Corn Character


Materials:


Steps:


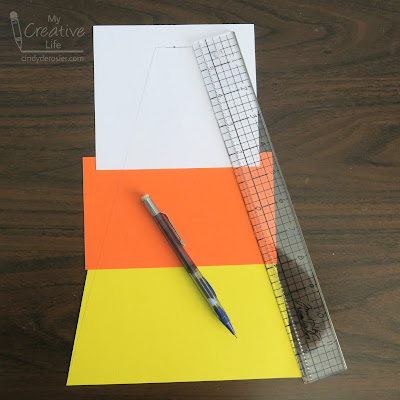
Cut the yellow cardstock into a piece approximately 6"x4", the orange 5"x4", and the white 4"x4". Layer the pieces with a slight overlap and glue them together, as shown below. 

Use a centering ruler (or eyeball it) to find the center of the white cardstock. Mark it with a dot. Extend that line an equal amount (about 1/4") in each direction and mark those points. Use a straight edge to draw lines from each corner of the yellow to the points you just drew. 


Cut along the two lines to form a triangle. Then round off the three corners to make the iconic candy corn shape. 

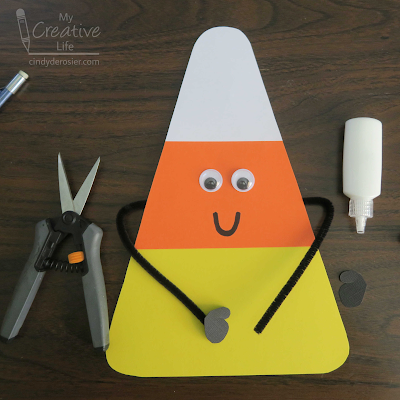
Glue the googly eyes in place, then draw a Sharpie mouth. Cut a pipe cleaner in half, then bend them to form arms. Glue them to the back of the candy corn. Cut two hands/gloves from black and glue them to the ends of the pipe cleaner pieces. 


When the craft glue is dry, use a Glue Dot to attach the candy to the candy corn. If you're careful, you'll be able to remove the candy in the future without damaging your character. 

Are you a fan of candy corn? For fun, I searched "weird candy corn" to see what came up and I was not disappointed. Perhaps I can interest you in these, um, unique flavors

10/22/20

Candy Melt Witches

After making my peanut butter graham cracker owls, I was playing around with the leftover candy eyes and candy corn and realized they'd make awesome witches. My witches are green, because I was born after 1939. Fun fact: People who grew up before 1939 grew up seeing witches portrayed with red or orange skin. Affiliate links below. 


Candy Melt Witches


Materials: 


Steps: 


Put a sheet of parchment paper onto your work surface. Prepare the Candy Melts according to the package directions, then spoon a blob of melted candy onto the parchment. Drag the spoon through it to create a chin. 

Place a piece of candy corn in the middle of the face for the witch's nose. Drizzle additional melted candy over the top. Put the eyes in place, then choose two black jimmies as eyebrows. Push additional jimmies up against the edges of the still-melted candy for hair. Finally, add a sugar pearl wart on the witch's nose. 


Let the candy set for approximately 15 minutes, then peel it from the parchment paper. Every witch is going to turn out a bit different, which is half the fun!


I'd intended these for Halloween, but they would also be fun for a Wizard of Oz themed party. Turn the finished witches upside down, put a lollipop stick on each, then 'glue' the sticks in place with more melted candy for a super fun Witch-on-a-Stick treat. Wouldn't they look cute alongside this famous quintet? (Answer: Yes.)


*Same problem as with the owls. It appears the Wilton candy eyeballs printed with the eyelashes are discontinued. Make your own by drawing eyelashes onto the candy eyeballs I've linked above using a black edible marker

10/19/20

Candy Corn Black-eyed Susan Edible Flowers

Candy corn seems to be a polarizing treat - people either love it or they hate it. I'm one of the rare people in the middle. I like it, but not enough to buy it over a different sugary treat. No matter your stand on candy corn, I think you'll agree that it is beautiful when you turn it into flowers. Specifically, Black-eyed Susans.  


Candy Corn Black-eyed Susan Edible Flowers


Materials: 


Steps: 


Place a piece of parchment paper on your workspace. Follow the instructions to melt the yellow Candy Melts. Place a small dollop (about the size of a nickel) of yellow candy on the parchment paper, then arrange seven pieces of candy corn to make the petals. Repeat until you have the desired number of flowers. Let the candy set for 15 minutes. 


Pour the jimmies onto a cutting board and chop them into small bits, the way you would mince garlic. 

Melt the cocoa Candy Melts according to the package instructions. Dip a piece of candy corn into the melted candy and then press it to the center. Remove the piece, then sprinkle the wet candy with the minced jimmies. 


Let the candy harden for 15 minutes and your beautiful Black-eyed Susans are ready to serve!


Fun fact: The Black-eyed Susan is the state flower of Maryland. I'm going to be on the lookout for them the next time we visit the Old Line State!

10/15/20

Peanut Butter Graham Cracker Owls

 Meet the Owlan family. 


Here are Mr. and Mrs. Owlan with her sister, Owlicia Owlexander. 


Can you tell I had the best time making these? Because I totally did. They were a hit with my family and you should definitely make some. Affiliate links below. 


Peanut Butter Graham Cracker Owls


Ingredients:


Steps: 


To make Owlice, use a knife to spread peanut butter onto a graham cracker. Add two eyes and a candy corn beak. Follow the package directions to melt the Candy Melts, then use that to add the forehead and wings. 


Owlejando is basically the opposite. Start with the cocoa candy melts, add the facial features, then use peanut butter to make the forehead and wings.

To make Owlicia, I spread the peanut butter smoothly, then used a toothpick to draw in the forehead, wings, and tail feathers. 

The owlets (Owlison and Owlex) are made with half a graham cracker each. The easiest way to get them to split cleanly is to use a sharp chef's knife and press down along the score line with equal pressure along the whole knife. Spread peanut butter on each, then pounce the knife up and down repeatedly against the peanut butter to create their fluffy feather texture. Add the eyes and candy corn beaks.   

*I wasn't able to find the Wilton candy eyeballs printed with the eyelashes that I used anywhere online.  I've had them for awhile and it looks like they might be discontinued. You can make your own version by drawing eyelashes onto the candy eyeballs I've linked above with a black edible marker