Showing posts with label Olympics. Show all posts

2/8/24

Standing Olympic Snowboarder Craft

Last week was a bobsled craft; this time it's a snowboarder! Mine is competing at the Olympics for Team USA. It stands up on its own, so you can pose it however you'd like. Affiliate links below. 


Standing Olympic Snowboarder Craft


Materials: 


Steps: 


Sketch a snowboarder and a snowboard onto a piece of watercolor paper. You can draw the arms and hands in any position you want, but make sure the feet are slanted as shown below. 

Color the snowboard with paint pens. Use colored pencils to color the face and goggles of the snowboarder; use the paint pens for the rest.  


Cut out the snowboarder and board with the microtip scissors. Bend the feet upward so that they are at a 90° angle to the rest of the body. 


Apply a thin coat of Mod Podge to the snowboard, then position the snowboarder onto the wet Mod Podge. You may need to support the snowboarder while the Mod Podge dries. Mine stood just fine, but I propped it up against the bottle just in case. When the Mod Podge dries, the board will be shiny and the snowboarder will be permanently connected to their board. 

 

I had a lot of fun designing my snowboarder. What Olympic athlete should I do next? Maybe curling! Besides skiing and figure skating, it's the only other Winter Olympic sport I've tried.  

1/15/24

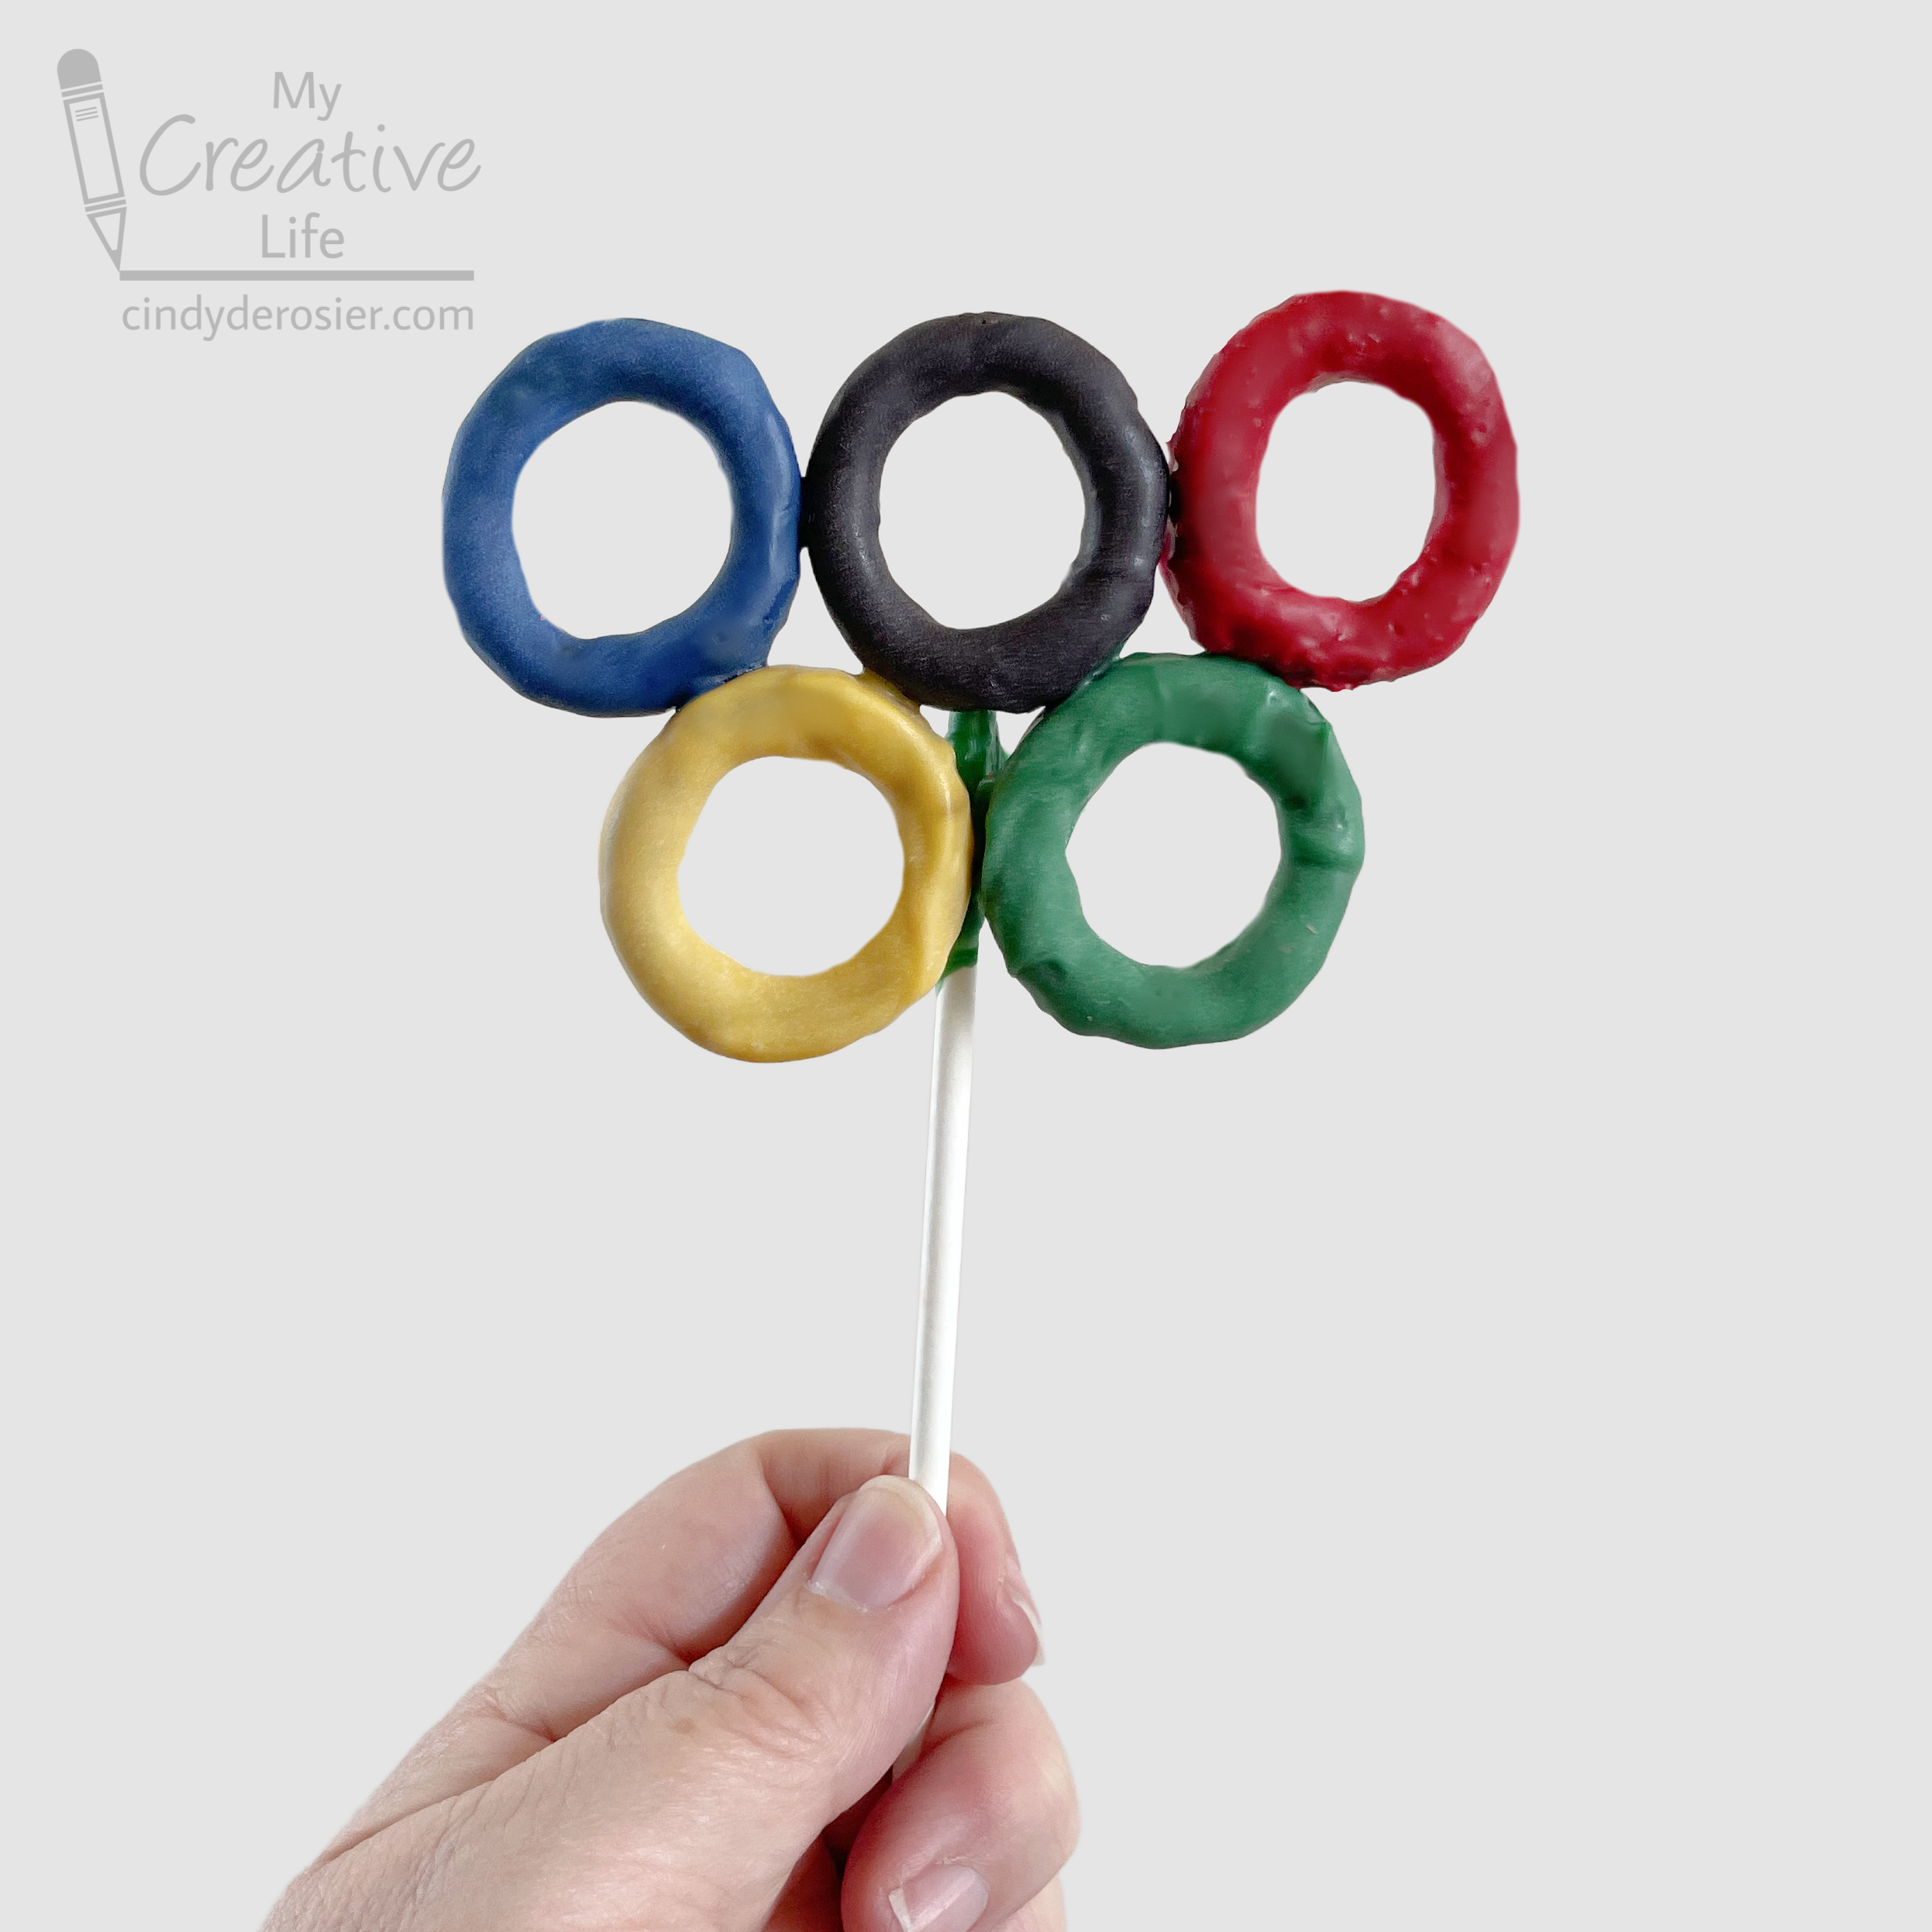
Olympic Rings Treat on a Stick

Back in December when I spotted round pretzels at the store, my first thought was "Olympic rings!" I ended up using them to make an edible Christmas wreath first, but now I made my rings. Affiliate links below. 


Edible Olympic Rings on a Stick


Materials: 


Steps: 


Working with one color at a time, prepare the Candy Melts according to the package directions. Dip a pretzel and allow the extra to drip off, then set it onto a sheet of parchment. Repeat the process until you have blue, black, red, yellow, and green rings. Let the candy set.

Arrange the rings in order on a clean sheet of parchment paper. You can line up your pretzels next to each other, or with 'interlocking' rings like I did on the bottom left. I used broken pretzel pieces to prop up the blue, black, and red rings on top of the yellow and green ones. In the end, the side-by-side rings were easier to make and stayed together better. 

Light the candle and place it nearby. 


Connect the rings by holding a blue pretzel over the candle for a second or two. Replace it on the parchment, pressing gently against the black and yellow rings. 


Melt the green ring and press it against the yellow and black rings. Finally, melt the red ring and press it against the black and green rings. 

When the joints are solid (about 5 minutes, depending on the temperature), flip the joined rings upside down. Melt some white candy and dip the end of a lollipop stick in it, then press it behind the black, yellow, and green rings. Do as I say and not as I do: I used green candy and it shows through. 


If you're looking for other Olympics crafts, I have a bunch! You can also find ideas for crafts inspired by many of the summer and winter events among my Sports Crafts for Kids. Enjoy!

2/5/18

Olympics: Ski Jump Craft

The Winter Olympics open Friday in Pyeongchang and I'm so excited! My favorite sports are the ones that seem impossible, because I enjoy thinking about the physics behind what looks impossible but obviously isn't. I also like imagining what it must be like to try some of these sports for the first time. I'm thinking that a person doesn't forget their first attempt at ski jumping, for example.

The closest I'll ever get to ski jumping, besides watching the Olympics, is this ski jump craft. I'm excited to add this to my growing collection of Olympics crafts!


If you follow Fun Family Crafts (and you should), this project might seem familiar. Long story short, the site owner (Amanda Formaro) made a ski jump project years ago for a site that is now closed down. When that happens, we host the project directly on FFC so that it's not gone forever. I'm the one who takes the image and instructions and writes them up using our format. 

The completed tutorial for Amanda's project is here. It includes a pattern, which is something I generally avoid. But in this case, I printed out Amanda's pattern and decided to make my own version of her craft, using different materials than she did. My goal would be to stay 100% true to the pattern (very hard for me). 

Step 1 was digging through my scraps of patterned papers. I found a green plaid and used it to cut out triangles. I fit them directly on her pattern before gluing them together to make trees. 


I found a glittery blue and some smooth white. By holding the papers and the pattern up against the window, I was able to trace and get the exact same angles. 


Here's Amanda's pattern on the left and my version on the right (minus the skier). So far, it's a perfect match. (So rare for me!)


I did end up deviating ever-so-slightly with the skier. I cut two skis from silver paper rather than the one shown on the pattern. I removed the scarf from the pattern and added an arm, held low next to the body. I put goggles on the face, mostly to avoid having to draw facial features. 


Make this fun craft by following Amanda's directions, using my instructions, or by creating your own version! If you make one, I'd love to see it!

So what are your favorite sports at the Winter Olympics?

1/15/18

Olympic Torch Craft

Today's craft is inspired by Mr. Giannetto's Olympic torch craft, my MLK Day peace craft, and my core belief that people around the world are valuable, important, and deserving of basic human rights. I love that the Olympics focuses on the best of what each country has to offer athletically, where all who compete, regardless of their place of origin, have overcome obstacles and demonstrated determination, commitment, and dedication. The Olympics is so much more than sports. It's about our global community coming together and celebrating talent and hard work.  

Mr. Giannetto's craft features hands holding up the Olympic torch. Mine is about the passing of the torch, the connection of one person to the next. That together, we make up one human race. Affiliate links below. 


---------


Olympic Torch Craft


Materials:


Steps:

Cut the paper towel tube so that it is about 6" long. This will be the main part of the torch. Use the scrap to cut a piece that is about 1" long. It will form the top of the torch. Discard the rest of the tube.

Paint the cardboard tube pieces silver. Set them aside to dry. 

Trace your hand on construction paper that matches your skin tone and cut it out. Trace a friend's hand on construction paper matching his or her skin tone and cut it out. 

Tear pieces of tissue paper to make the flame. Tape the bottom of the tissue paper together to form a bundle. 

Assemble the torch by cutting vertically through the 1" piece to open it up. Flatten it slightly, then glue it to the top of the main portion of the torch. Glue the tissue paper bundle in place. Wrap the fingers and thumb of one cut-out hand around the torch and glue it in place. 

Glue the torch to the background paper. Fold the extra portion of the arm that extends beyond the edge of the background paper and tape it securely to the back. 

Glue the receiving hand to the background paper. Again, wrap the extra portion of the arm around the back and secure it in place. If you want to add dimension, use foam dots or built-up construction paper scraps to pop the hand off the page instead of gluing it flat. 

6/17/16

Olympics-Themed Thank You Card

What kind of thank-you notes do you send after an Olympics-themed party? These:


-------

Olympics-Themed Thank You Card

Materials: white cardstock, paint (blue, black, red, yellow, green), cardboard tubes, pen


1. Dip a cardboard tube into black paint, then stamp it on the card. It should be centered near the top of the card. 

2. Stamp the blue ring to the left of the black, allowing a slight overlap.

3. Stamp the red ring to the right of the black, allowing the same slight overlap.

4. Stamp the yellow ring below the blue and black rings, allowing overlap.

5. Stamp the green ring below the black and red rings, allowing overlap.

6. Use the pen to add "Thank You!" to the card.

4/18/16

Olympics Bracelet

I'm not a sports fan by any stretch of the imagination, but I do love the Olympics. The Summer Games open in Rio in just over 3 months and I'm really looking forward to watching as much as I can. I *think* I have convinced Trevor to go with an Olympics theme for his birthday party this year. There are so many possibilities for fun crafts and activities.

I love the symbolism behind the Olympic flag. The five interlocking rings are said to represent the 5 continents that come together for the Oympics. The colors of the flag (blue, yellow, black, green, red and white) were the colors of the flags of all nations at the time it was designed (1912). Here's a really simple and inexpensive bracelet inspired by the Olympic flag that would work equally well as a party activity or a favor. Affiliate links below. 


-------

Olympics Bracelet


Materials:


Steps: 


Cut a piece of clear stretch cord about 2-3 inches longer than the desired wrist circumference. Attach to a binder clip to one end (to prevent the beads from fall off one end as you thread them on the other). Start threading the beads on the cord, beginning with 8 whites. Then add 1 each of blue, yellow, black, green, and red. Add 8 more whites and test the fit. Add or subtract white beads until the bracelet is the correct size.

To finish your bracelet, remove the binder clip and tie the ends together tightly using a normal overhand knot (the first step in tying a shoe). Tie a second knot using a surgeon's knot. It is basically the same thing as an overhand knot but you put the end through the loop an extra time. Pull tightly to secure it. Trim the excess cord or thread it back through the beads to hide the ends. You can add a drop of glue to the knot to make sure it's extra strong, but it's not necessary.

-------

I'll announce the winners of the giveaway later today. Good luck!

7/18/14

The Cursive Project: Javelin

We had a lot of fun with the homemade football in the backyard, so when it was time for Letter J of The Cursive Project, I was really excited to make a javelin. Trevor had all sorts of ideas for fun ways we could use it for more backyard games.

We gathered our materials: a long cardboard tube (that once held wrapping paper), newspaper, and tape.


We rolled a chunk of newspaper into a cone and added a piece of tape to hold it in place.  


We tested to be sure the cone would fit snugly over the end of the cardboard tube, which it did. (On the first try!)  We wrapped the whole cone with black gaff tape to strengthen it.


It looked like this when we were done.


We slid the tube into the cone and headed to the backyard.


We each did a few tosses to make sure it would hold together and sail straight.  It was perfect.


We set up one of Trevor's plastic rings on the far side of the lawn and aimed for it.  We earned a point when the tip of the javelin was inside the ring.


Trevor added more rings and assigned different point values to each color (including some that had a negative point value) to make the game more interesting.


I like this picture.  It's fun to see the javelin sailing out of the frame.


We played with the javelin for a good hour and it held up beautifully.  So much fun!