Showing posts with label decoupage. Show all posts

3/24/26

Decoupage Backgrounds for Cards

Recently, I've shared how to make flowers, a dolphin, and a cross using decoupage. You can use the same techniques to make backgrounds for cards. Affiliate links below. 


Decoupage Backgrounds for Cards


Materials:


Steps: 


For each card, cut a piece of Bristol vellum in half to make two pieces that are 8.5" x 5.5".  Fold one of the halves in half in order to make a 4.25" x 5.5" card base. You'll use the other piece for the decoupage. 

You can decoupage with sheets, strips, or torn pieces tissue paper. You can mix colors or use just one color. If you are going to use strips or pieces, tear those before moving on to the next step. 

Pour some Mod Podge into a cup and dilute it with a little bit of water (about 3 parts Mod Podge to 1 part water). If you're using an intact piece of tissue paper, paint a coat of the watered-down Mod Podge onto a half-sheet of paper. Carefully lay the tissue paper onto the moist paper. Load the brush with more Mod Podge and paint a coat over the top of the tissue paper. Use the brush to smooth any wrinkles as best you can. Don't worry about any overhanging tissue paper. If you are using strips or torn pieces, work on one area at a time. Paint a coat of Mod Podge onto the bottom inch of the paper, lay down a strip or piece of tissue paper, then paint over that to seal it. Add Mod Podge to the next section of the paper, then add the tissue paper, slightly overlapping the previous piece. Seal it. Repeat until you've covered the entire half-sheet. 

When the decoupage is completely dry, trim the decoupaged sheet to make a 4" x 5.25" piece. Adhere it to the card base. Decorate with stickers. 


* For the Happy x 3 card, I used Gloss Mod Podge and stickers from Happy Planner - Celebrate


* For the unicorn card, I used Matte Mod Podge and stickers from Echo Park's Birthday Girl


* For the make a wish card, I used Sparkle Mod Podge and stickers from Echo Park's Happy Birthday Boy

3/13/26

Tissue Paper Flower Bouquet

I've shared dozens (and dozens) of flower crafts over the years and I never get tired of making them. I've made so many flower crafts that I actually had enough to put together a round-up of just my favorite edible flower crafts! Today's project isn't edible, but I'm happy to add it to my collection of flower crafts. It's so pretty. (And did you notice the colors I used?) Affiliate links below. 


Decoupage Tissue Paper Flower Bouquet 


Materials:


Steps: 


Choose the colors of tissue paper you want to use for your bouquet. Tear the tissue paper you're using for the vase into irregular pieces. Pour some Mod Podge into a cup and dilute it with a little bit of water (about 3 parts Mod Podge to 1 part water). Working on one area at a time, paint some of the Mod Podge onto the paper, then place a piece of tissue paper onto the moist area. Paint over the top to seal it. Repeat the process, overlapping the pieces as much (or as little) as you want. 


Cut or tear the remaining colors of tissue paper so that they are slightly larger than the paper they'll be covering. Working with one color at a time, spread a coat of the watered-down Mod Podge onto the paper. Carefully lay tissue paper onto the moist paper. Load the brush with more Mod Podge and paint a coat over the top of the tissue paper. Use the brush to smooth any wrinkles as best you can. Don't worry about any overhanging tissue paper. Repeat the process until you have prepped the papers for the three flowers, the leaves, and the flower centers. 

When everything is completely dry, cut out a vase, two flowers from each color (total of six), three flower centers, and three leaves. It is easiest to draw the shapes you want on the back of the paper before cutting. 


Arrange the two layers of flowers so the petals are off-set and glue them together. Glue the flower centers in place. Adhere the flowers to the vase, starting with the one in the center back. Finally, add the leaves. 


You might have noticed that my purple flower is sparkly. I experimented with Sparkle Mod Podge, which gives the flowers some extra dazzle. The choice is totally up to you and the look that you want!

3/5/26

Decoupage Tissue Paper Dolphin

I'm going to go out on a limb and guess that you like dolphins. Everyone likes dolphins, right? Three states like dolphins enough to have named them as their official State Saltwater Mammal (Florida), State Water Mammal (Mississippi), and State Marine Mammal (South Carolina). Read on for how to make a cool dolphin craft using tissue paper. Affiliate links below. 


Tissue Paper Dolphin


Materials:


Steps: 


Prepare the Bristol vellum. You will need a total of two sheets: a full sheet for the light blue and a half-sheet each for the dark blue and silver. 

Cut or tear a piece of light blue tissue paper so that it is slightly larger than the full sheet. Set it aside. Tear thin strips of dark blue tissue paper. Don't cut them; you want them to be irregular to mimic the movement of the ocean. (Remember - tissue paper has a grain!) Cut a piece of silver tissue paper that is slightly larger than the half-sheet of paper. 

Pour some Mod Podge into a cup and dilute it with a little bit of water (about 3 parts Mod Podge to 1 part water). Spread a coat of the watered-down Mod Podge onto a half-sheet of paper. You want it to be moist but not puddly. It is important that it is completely covered. Carefully lay the silver tissue paper onto the moist paper. Load the brush with more Mod Podge and paint a coat over the top of the tissue paper. Use the brush to smooth any wrinkles as best you can. Don't worry about any overhanging tissue paper. 

Use the same technique to apply the light blue tissue paper to the full sheet of paper. Wrinkles are probably going to happen; gently smooth them out if possible. Don't overwork the tissue paper or you'll risk tearing it. 

To make the water, it is easiest to work on one area at a time. Paint a coat of Mod Podge onto the bottom inch of the paper, lay down a strip of tissue paper, then paint over that to seal it. Again, don't worry about overhanging tissue paper. Add Mod Podge to the next section of the paper, then add the tissue paper, slightly overlapping the previous piece. Seal it. Repeat until you've covered the entire half-sheet. 

When all three colors are completely dry, use scissors to trim the excess tissue paper from all four sides of the light blue and from three of the four sides of the dark blue. Tear or cut the fourth side in the shape of waves. Glue the dark blue paper onto the light blue. (I trimmed mine down to a square because I like squares, but you don't have to do that.)

Draw or trace a dolphin on the back of the silver paper, then carefully cut it out. Make a dot for its eye. Apply foam mounting squares to the back of the dolphin, then position it onto the paper. 

6/19/23

Popsicle Stick Puzzle Craft

Trevor is 17, so it's been a long time since I stuffed my purse full of things to keep him entertained when we left the house. But I remember those days well. The biggest challenges were at meetings where he needed to stay quiet and entertain himself independently while I was busy. If you're still at that stage, today's craft is for you. Affiliate links below. 


Popsicle Stick Puzzle


Materials:


Select the images you want to use for your puzzle. What you choose will determine the difficulty, so keep that in mind based on the age of the child. The size of the puzzle will also impact the difficulty level. When you've selected an image, lay out craft sticks onto it to determine how many will fit. Here you can see that I've put 7 mini craft sticks onto the beach image. 


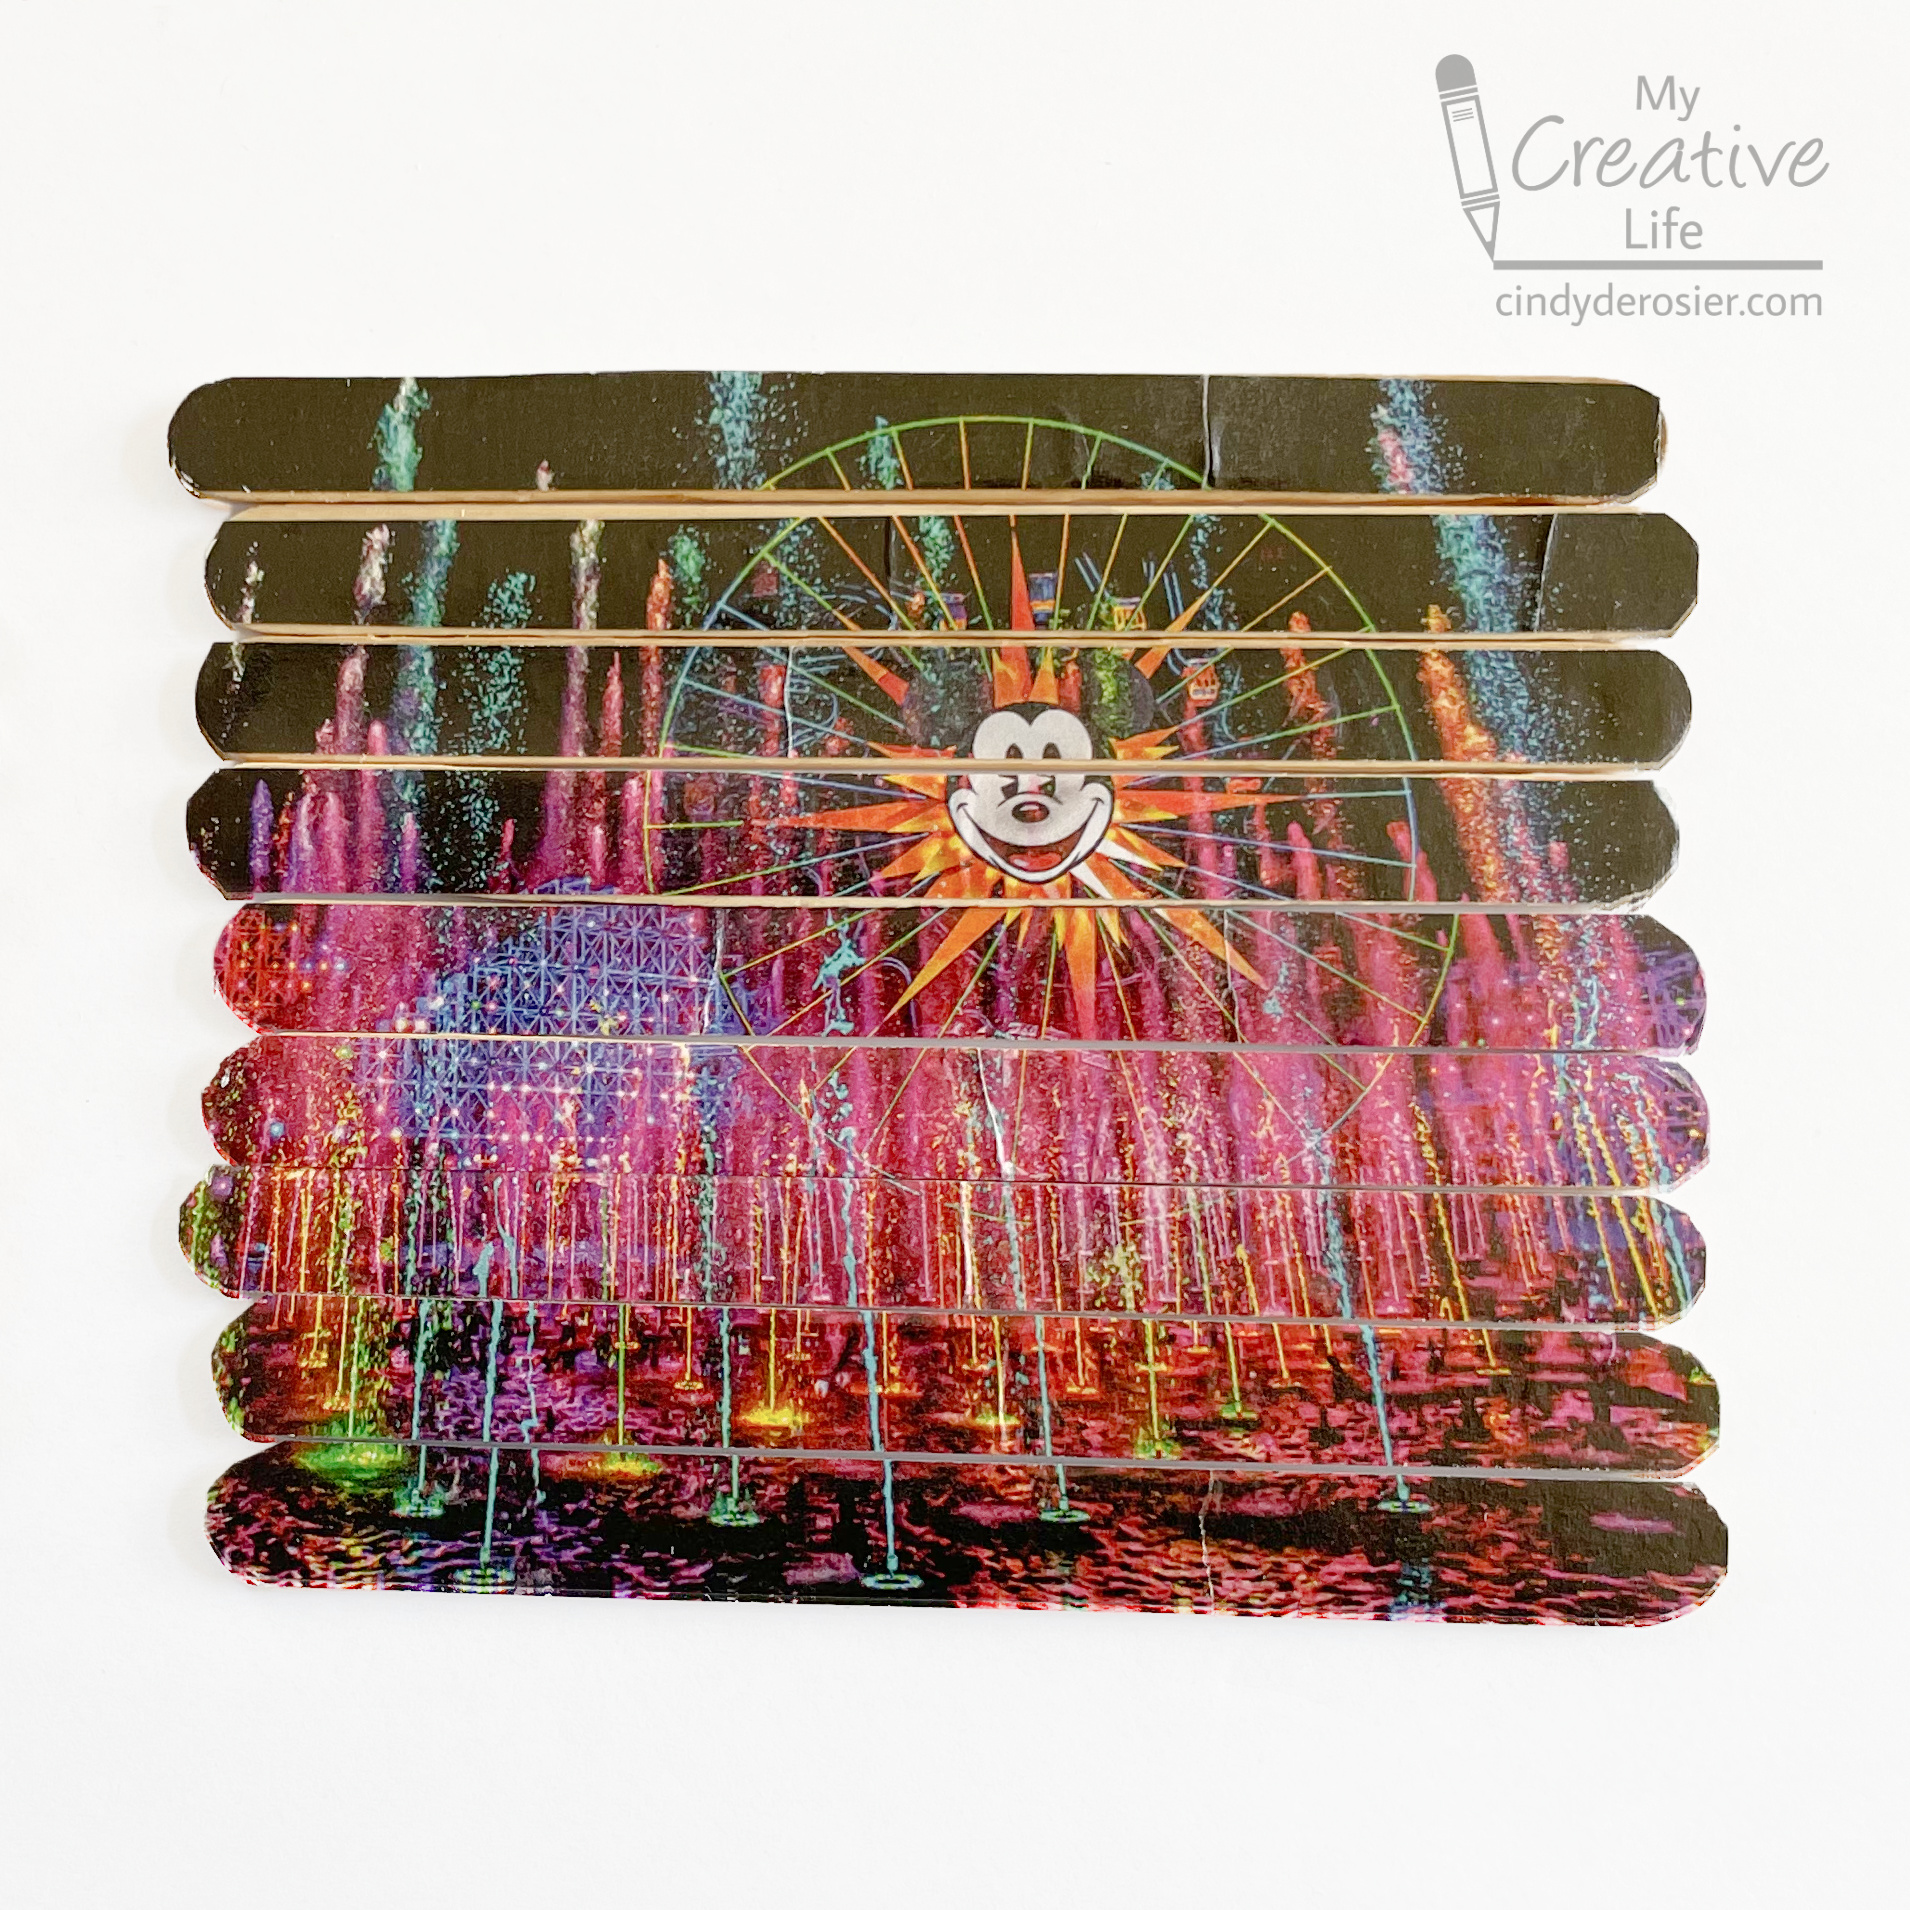
When you've figured out how many craft sticks you puzzle will have, cut the image into strips using the paper trimmer. The strips should be as close to the width of the craft sticks as possible and slightly longer, as you'll be trimming away the excess to round the corners later. Here you can see nine strips of Disneyland's World of Color ready for nine standard-sized popsicle sticks. 


Coat each stick with a thin layer of Mod Podge and smooth the strips in place. Let them dry completely. When they are dry, round off the excess paper from the ends. The microtip scissors make this much easier than with regular scissors. 

Add a coat of Mod Podge over the top of the image to seal it in place. When it's dry, your puzzle is ready. 


Store each puzzle in a zip-top treat bag. 


I used magazine images, but family photos would be great. This is also a fun way to use completed coloring pages. Just make sure whatever image you use gives you enough clues to solve it. Enjoy!

5/22/23

Decoupage Watermelon Flower Pot

I don't know why, but I have an abnormal love of things that look like food but aren't actually food. While the flower pot I made is a bit small for growing an actual watermelon plant, you can use the same technique for a larger pot, preferably at least 7 gallons. Affiliate links below. 


Decoupage Watermelon Flower Pot


Materials:


Steps: 


Paint the entire clay pot, inside and out, with a coat of gesso. When that is dry, paint the pot red and the saucer green. 


Tear the two shades of green tissue paper into strips. Put a coat of Mod Podge on the inside of the saucer, then add strips of light green radiating out from the center. Paint each strip in place with more Mod Podge. Then add dark green strips to fill gaps between the light green. 


As an aside, you'll see classic Gloss Mod Podge in the photo above. A few minutes after I took this picture, I realized that a flower pot needs to be waterproof. So I switched to Outdoor Mod Podge for the rest of the project. 

Speaking of Mod Podge, this beloved craft supply turned 56 on Friday! Since I'm 51, it's no wonder I feel like Mod Podge has been around forever. On Friday, I took a quick photo of my paint shelves and discovered I have 17 different types of Mod Podge within easy reach. Believe it or not, there are more bottles in my craft closet. 


When you have decoupaged the inside of the saucer, let it dry completely and start covering the inside of the pot with red tissue paper. I like to put projects on these paint stands while they're drying. 

Use the same process as before to decoupage the underside of the saucer and the outside of the pot. You can add as many (or few) layers of tissue paper as you want. Use scissors to cut teardrop shapes from the black tissue paper and decoupage them around the rim of the pot. Let everything dry completely, then add an additional coat of Outdoor Mod Podge to make sure it is completely sealed. 


Since my watermelon flower pot is too small for growing healthy watermelons, how will I use it? It'd be great for growing smaller plants, like flowers or herbs. Or, it would make an adorable container to hold plastic silverware or whatnot for an outdoor BBQ or party. I made a piñata for a strawberry-themed party years ago; this could be the inspiration for a watermelon-themed party. Lots of possibilities!

4/21/22

Decoupage Scout Sign from a Paper Bag

I take a fabric tote with me every time I shop, no matter what I'm buying. I have dedicated totes that are only for groceries and others for non-food items. Each time I bring a tote shopping, that's one fewer paper or plastic bag that will ultimately be thrown out. 

When paper or plastic bags do enter our house, I do my best to reuse them as many times as possible. And occasionally, they become part of a craft project, like this bag from the Scout Shop. Obviously, you could use any design or logo from your favorite store for this project and you could put it onto lots of different surfaces besides the wood panel that I used. Affiliate links below. 


Decoupage Scout Sign from a Paper Bag


Materials: 


Steps: 


Paint the wood panel black. While the paint is drying, use the microtip scissors to carefully cut out the design, which in this case was the BSA fleur-de-lis. Apply a thin coat of Mod Podge to the panel where you'll be putting the design, then add a thin coat to the back of the design. Carefully position the design and let the Mod Podge dry, approximately 15 minutes. Add a coat of Mod Podge over the entire surface to seal it. If you'll be hanging this, one coat is fine. If you'll be using it as a desktop tray or something similar, add at least one more coat of Mod Podge after the previous one dries. 

3/29/22

Bunny Week 2022: How to Decoupage Napkins onto Coasters

Welcome to Day 2 of Bunny Week 2022!

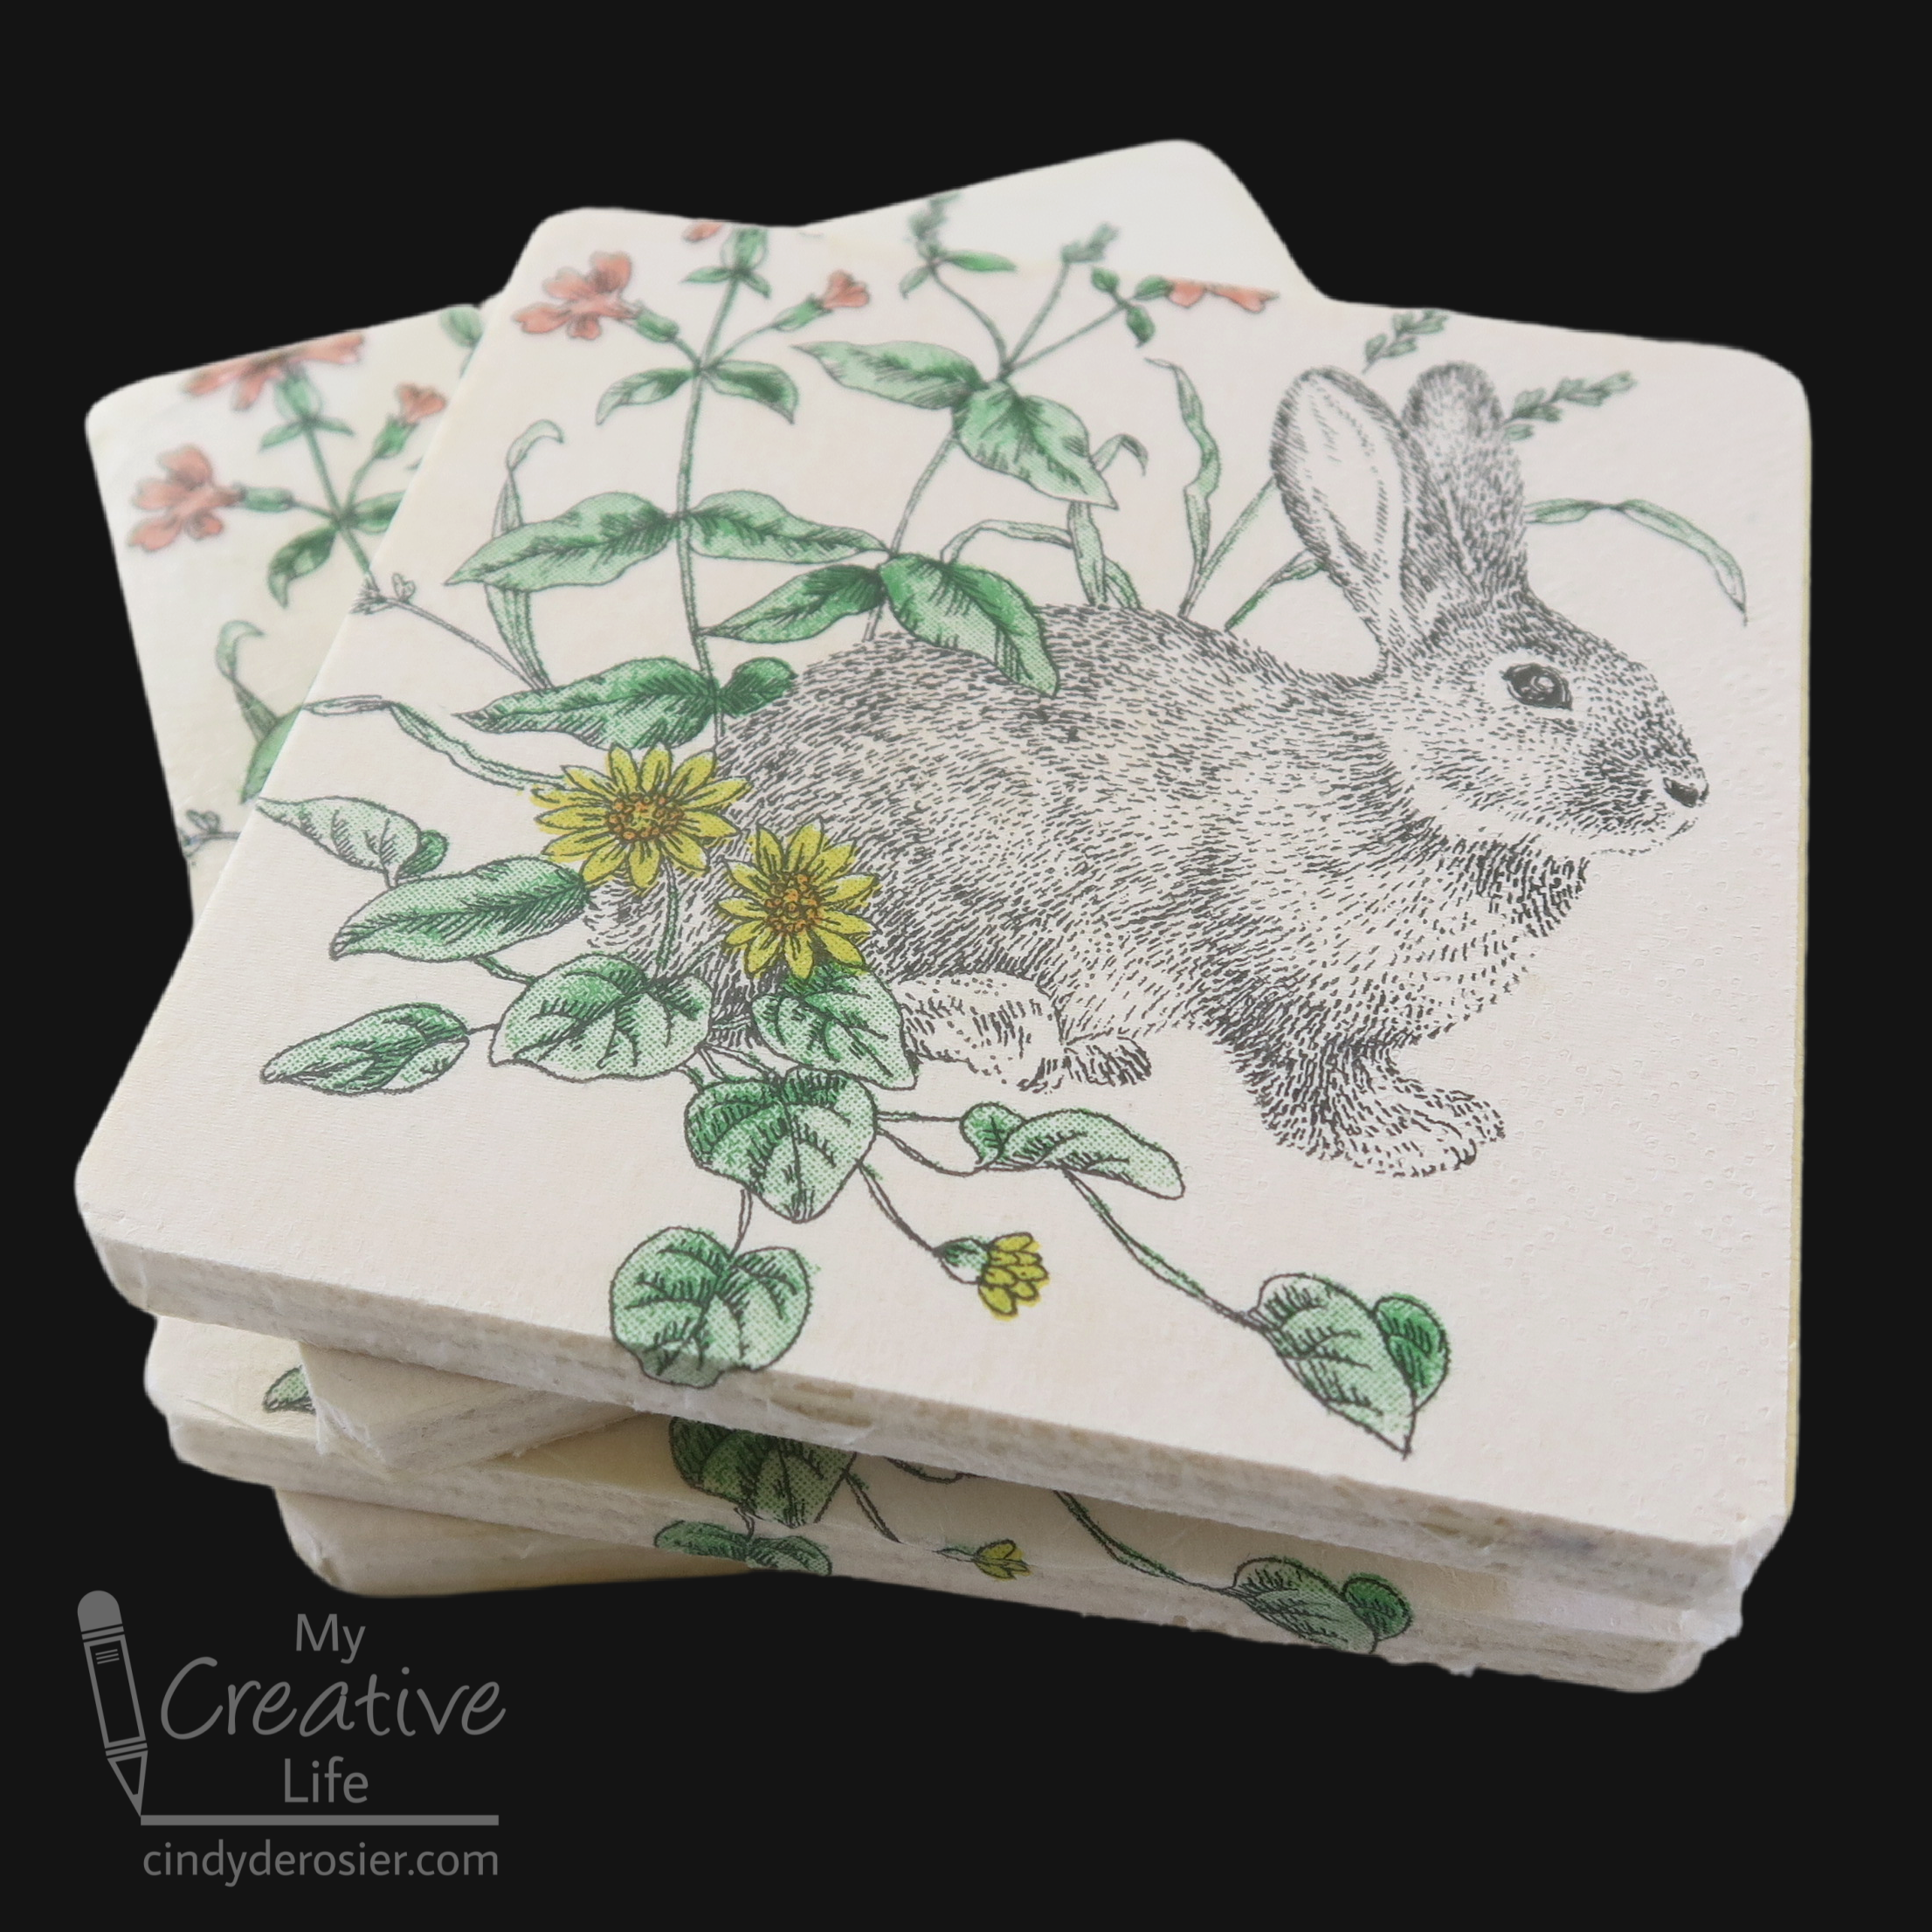
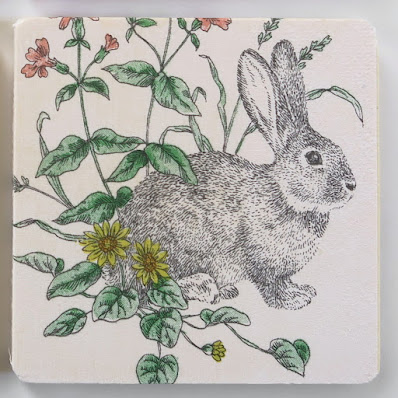
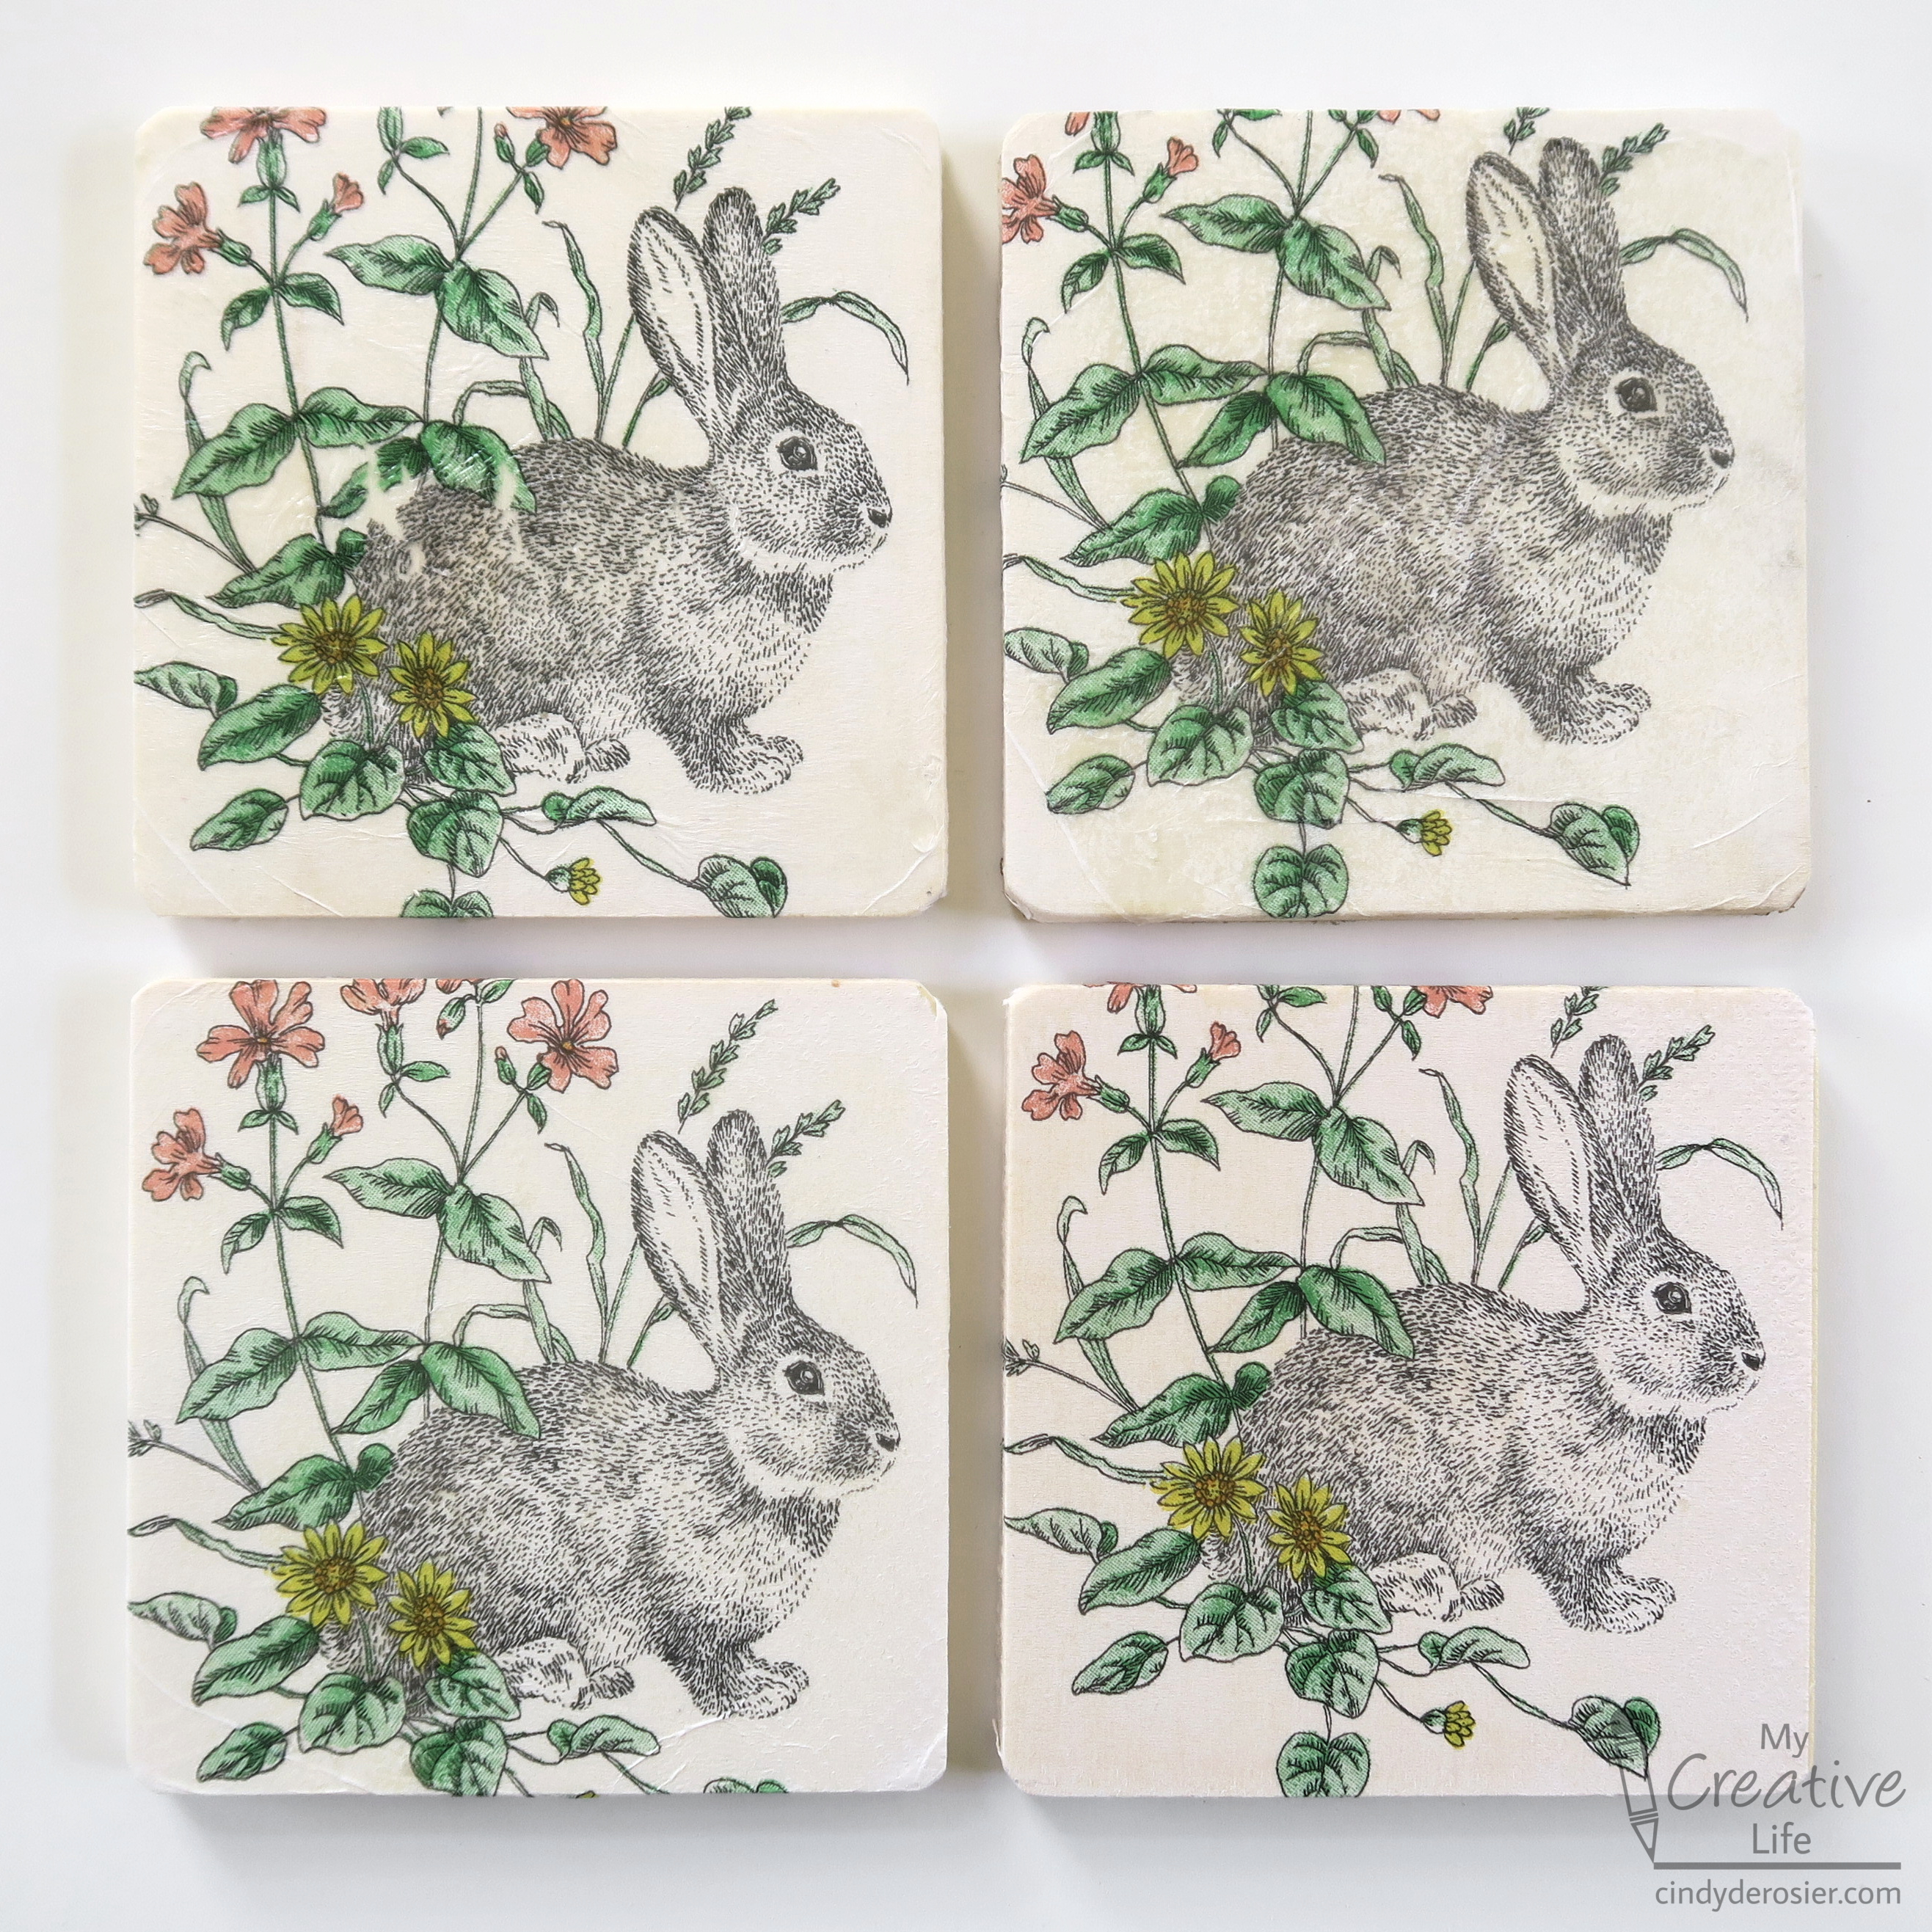
My 50th birthday celebration was everything I'd hoped it would be and more. One of the "and more" details: Suzzi brought beautiful bunny napkins featuring a rabbit that looks just like Trouble. I loved them. I brought the extras home and used a variety of decoupage techniques to make a set of coasters. 


I don't have a lot of decoupage experience. The little I've done has been with patterned paper or fabric, neither of which are nearly as delicate as a napkin. But despite not having done it myself, I've seen a lot of tutorials about the best ways to decoupage napkins. Not surprisingly, what is "best" varies from person to person. I decided to try four techniques I've seen to determine my personal favorites. Affiliate links below. 


---------


Four Ways to Decoupage Napkins onto Coasters


Materials:


For all techniques: 

For certain techniques:

Steps: 


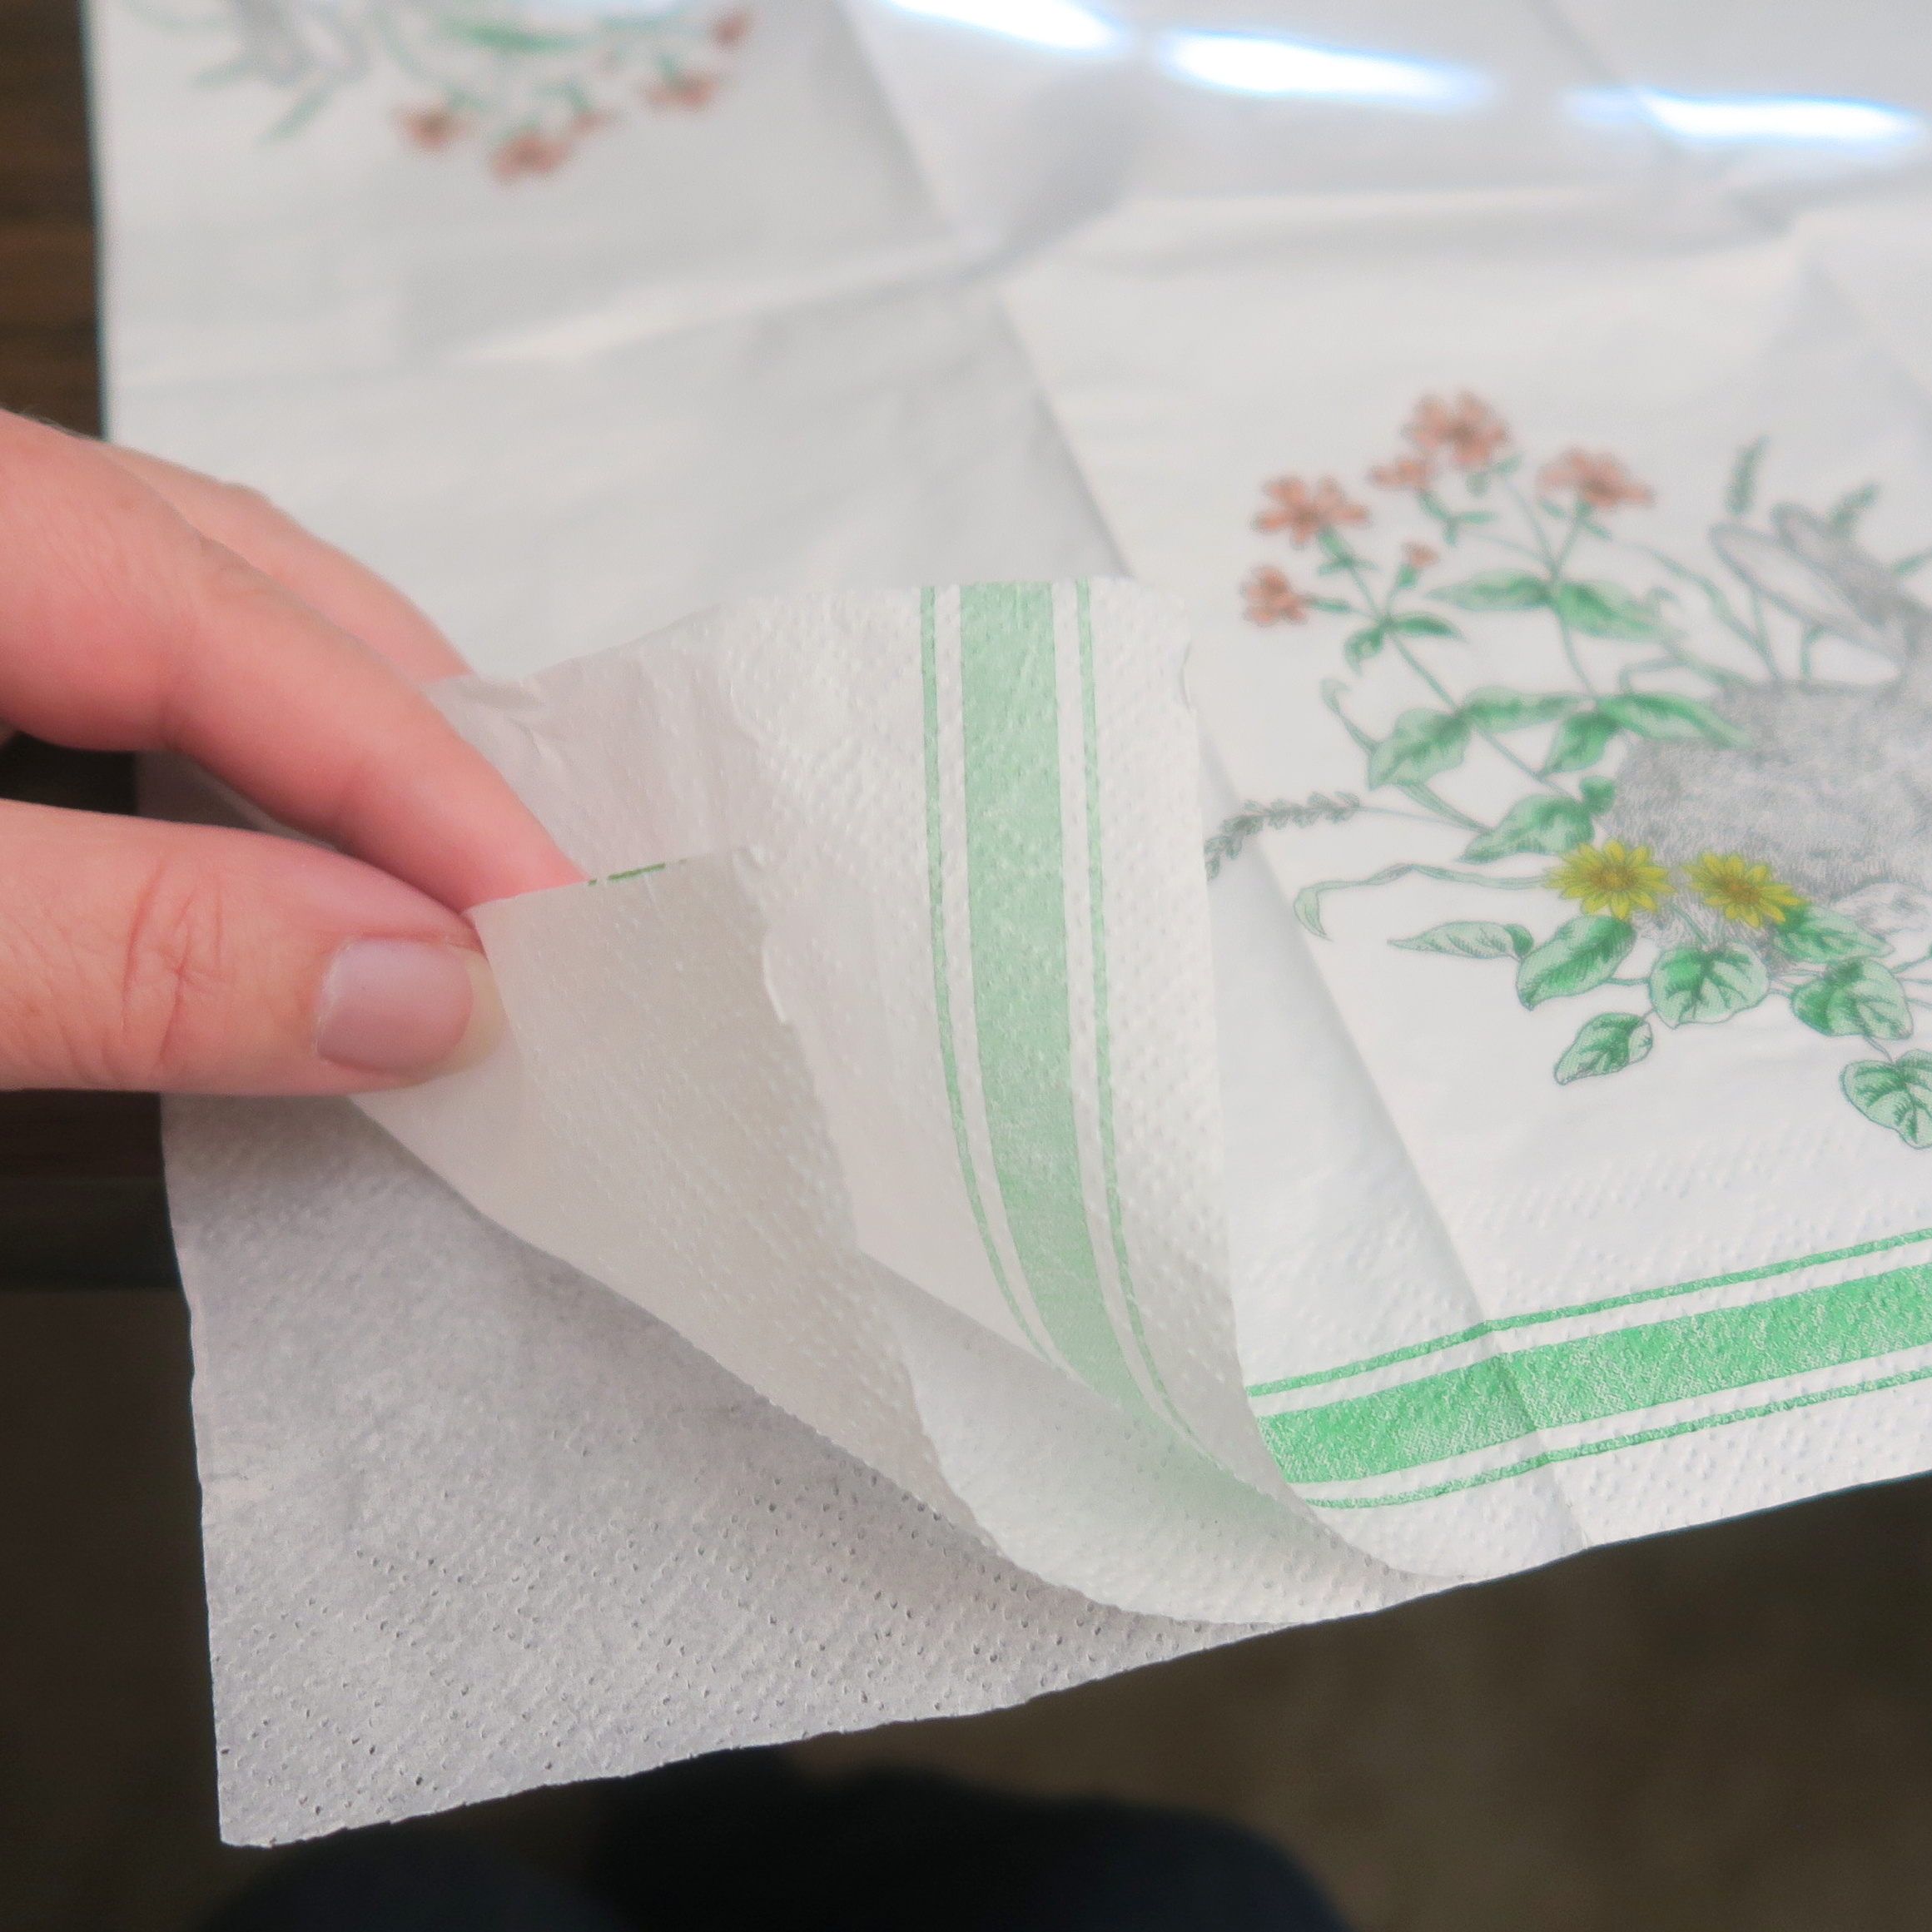
Most napkins are either 2-ply or 3-ply. You will only be using the top (printed) ply. The easiest way to separate the plies of the napkin is to barely moisten your fingers and rub gently at the corner. 


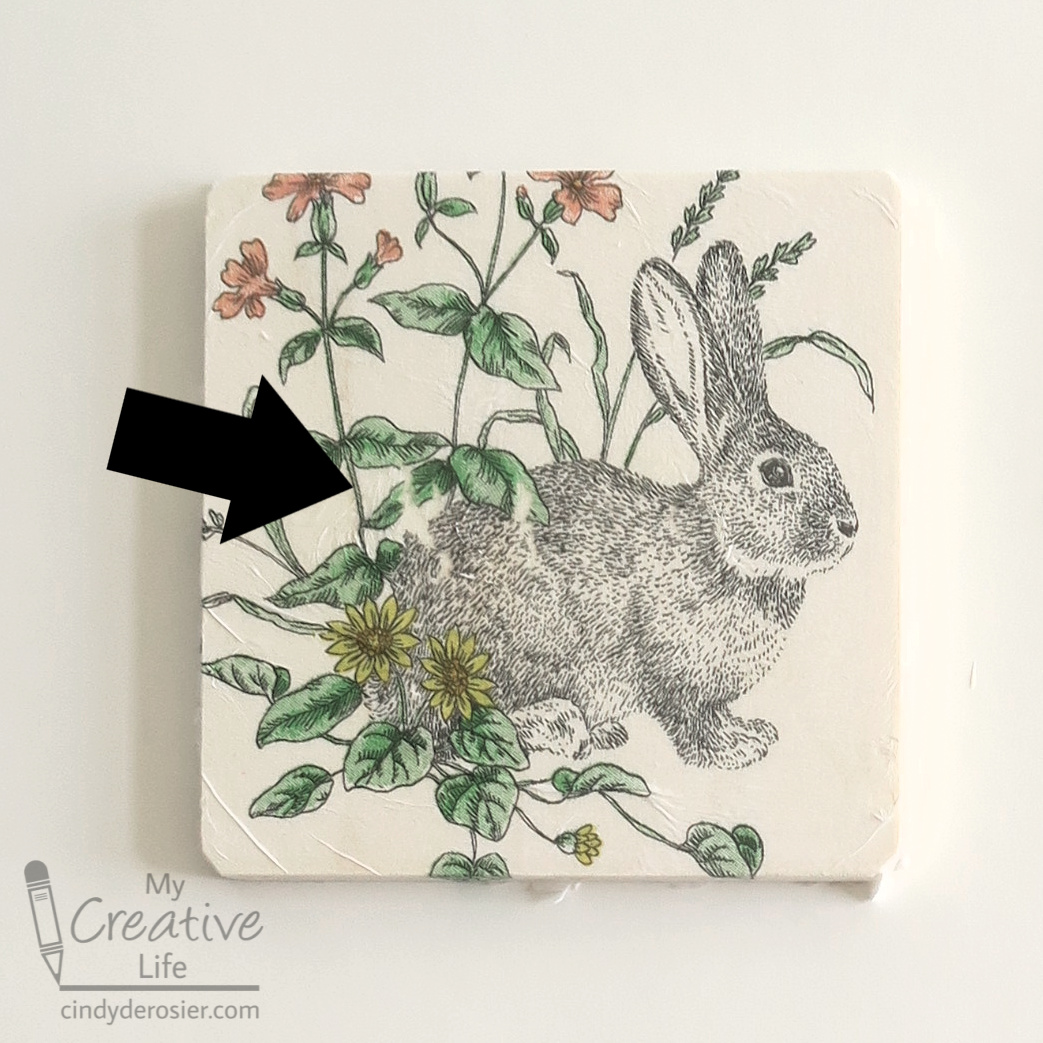
For my first coaster, I used the brush to put a generous coat of Mod Podge onto one coaster, then carefully lowered the napkin onto the surface. Starting from one corner, I gently used my fingers to smooth the napkin. This technique works with heavy paper, but (spoiler alert) it is a terrible method for napkins. As you can see, there are wrinkles I didn't get out (particularly in the bottom left), but the bigger issue is that the napkin started to tear in the center. 


For my second coaster, I started by putting a generous coat of Mod Podge on the coaster. I placed the napkin down, covered it with a piece of plastic wrap, and gently smoothed the wrinkles, starting at the center and working out. When I got to the edges, I added more Mod Podge and gently smoothed each down with the help of the plastic wrap. There was no tearing at all, and only minor wrinkling, so this was a huge improvement over my first coaster. 


Technique #3 was the one I was most excited to try because it just seemed so crazy. I did all the same steps as with #2 (Mod Podge on coaster, napkin on top, plastic wrap over that, smooth out wrinkles, add Mod Podge to edges, smooth down napkin), but then things went an entirely different direction. 


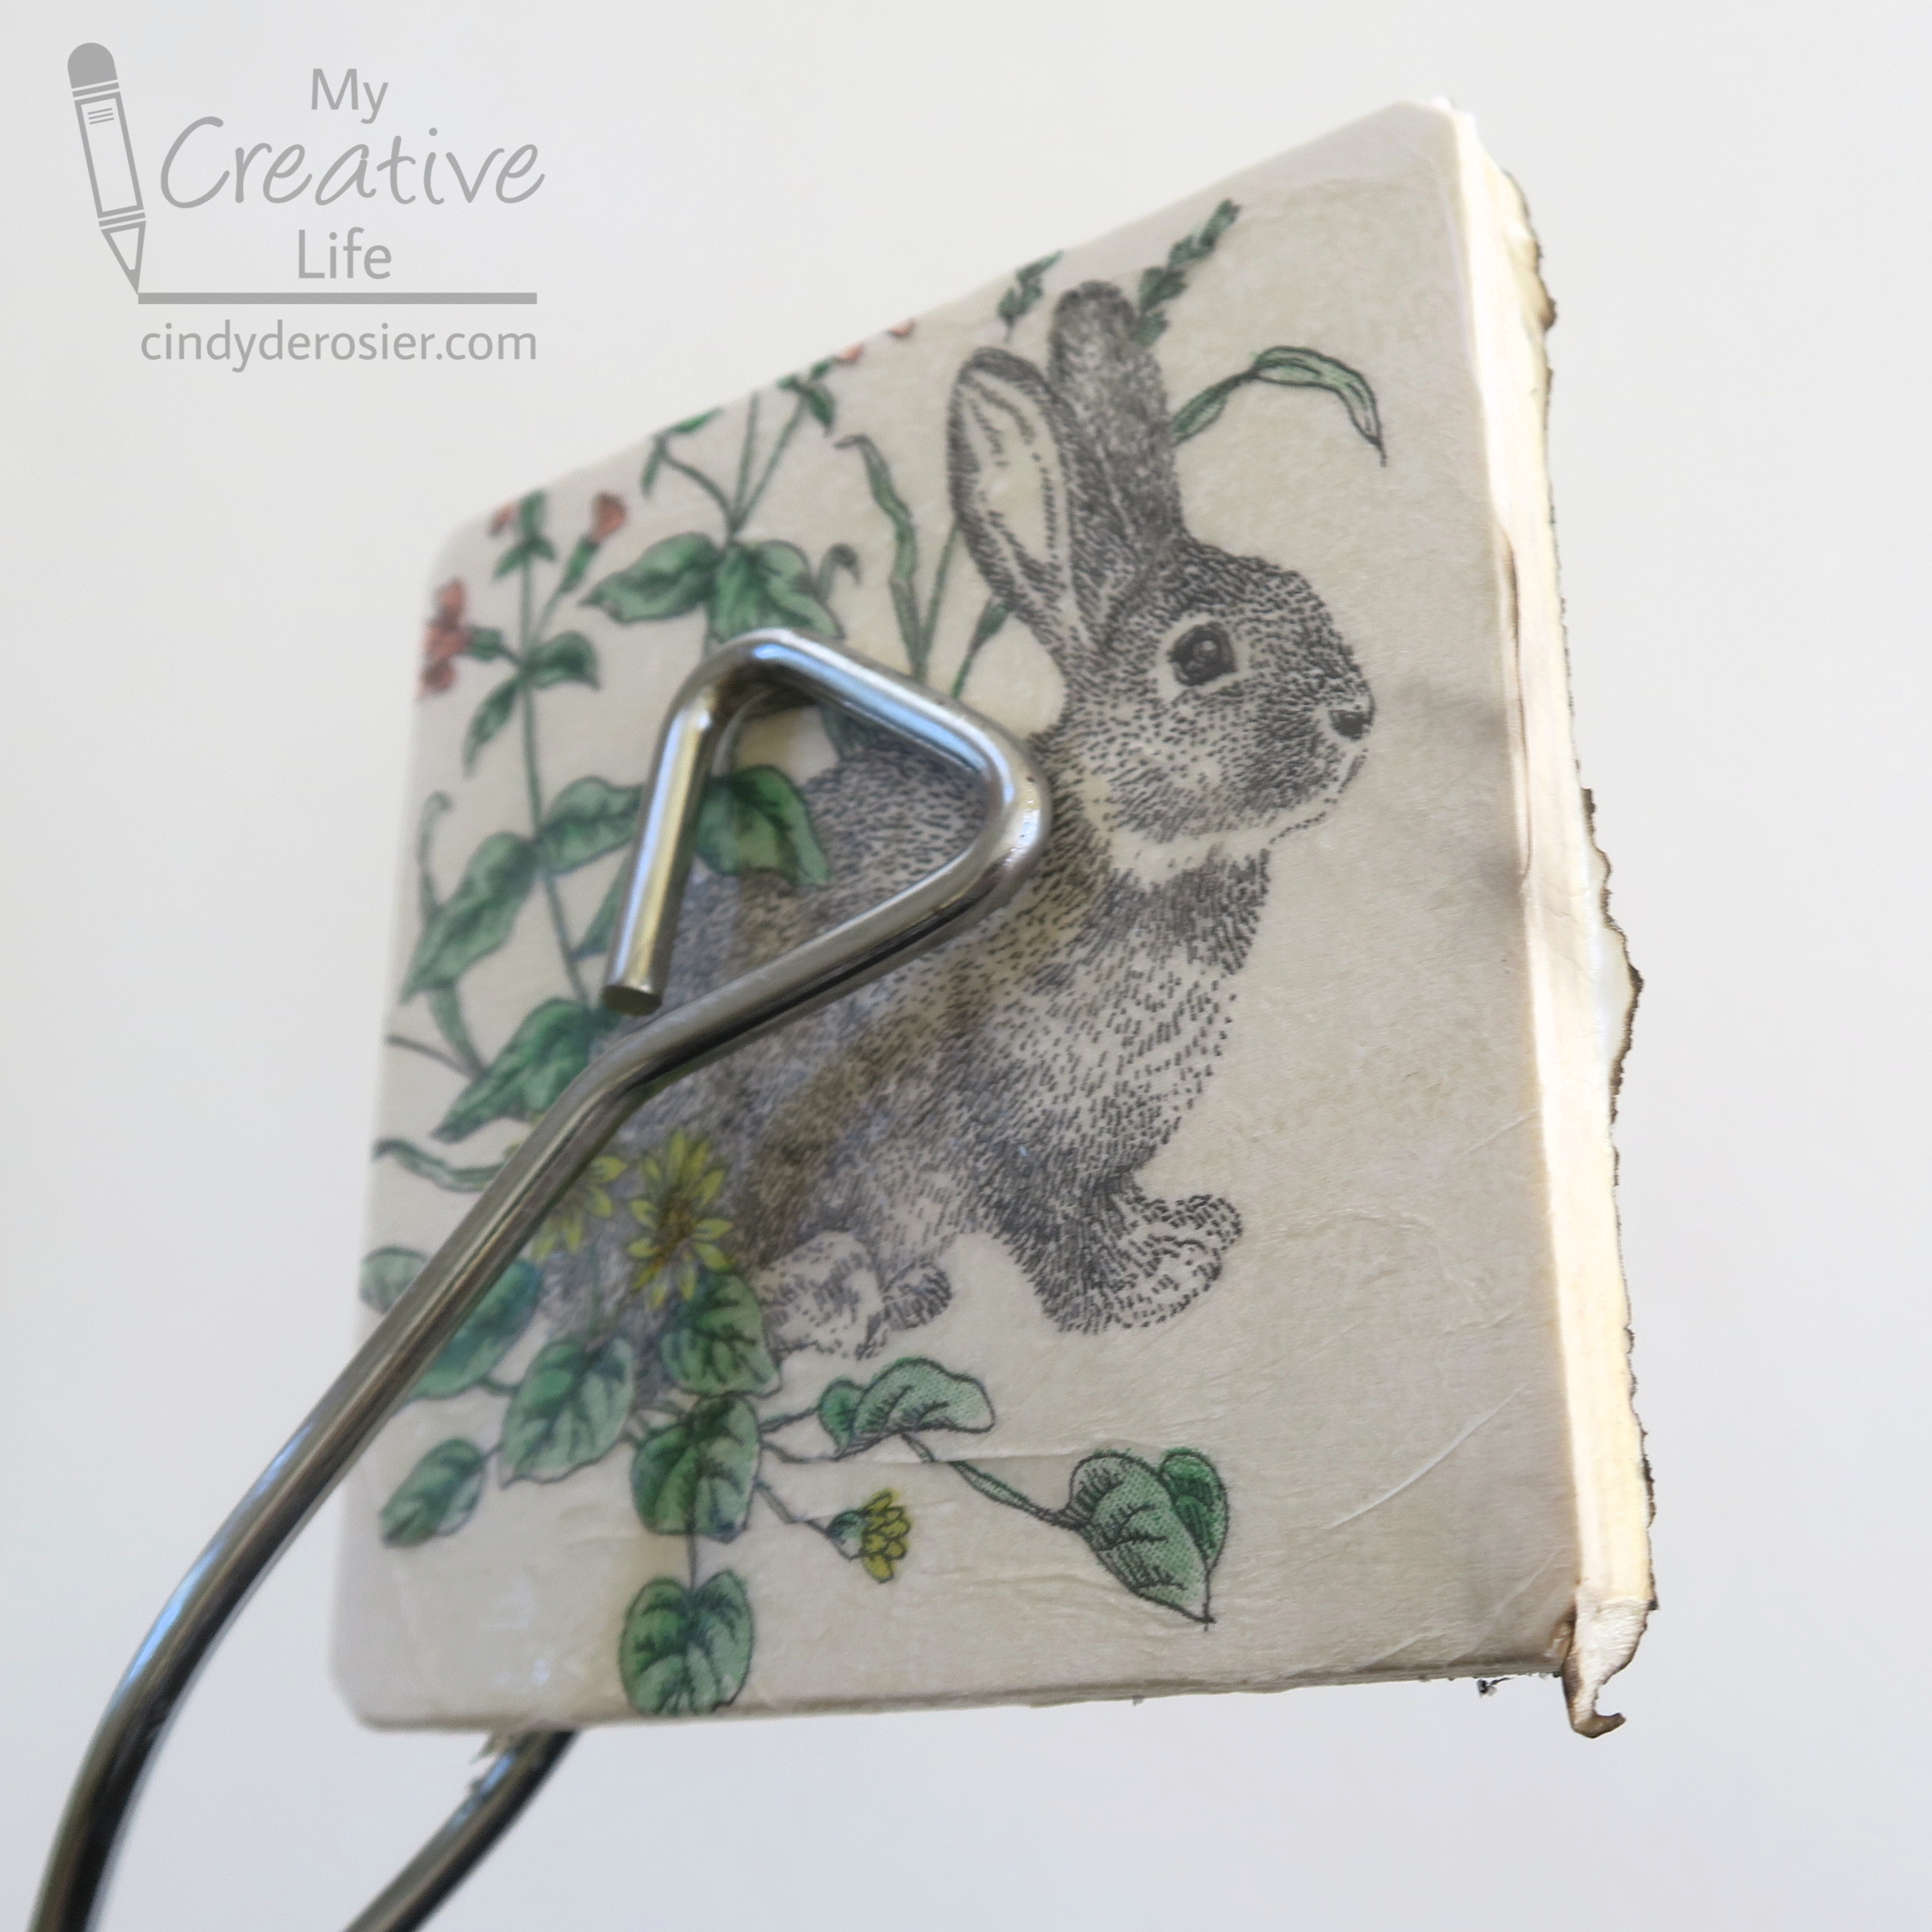
And an entirely different location: outdoors, on a concrete surface. Holding the coaster in my left hand and a lighter in my right, I lit the napkin on fire. The excess burned away, but when it reached the decoupage, it stopped. Sort of. You can see a small amount of singing by the bunny's nose.


Here's how the back looked. I did not expect the outline of the tongs to show like that. 


My fourth technique was my favorite by far. Easy alignment, no wrinkles, no stress. I put a generous coat of Mod Podge onto the front and sides of a coaster, then walked away and let it dry completely. When it was 100% dry, I put the napkin on top, covered it with a piece of parchment paper, and used a hot iron to press it. When the top was sealed, I did each side individually. Check it out - it's perfect!


For each of the coasters, I added two topcoats of Mod Podge, allowing the first coat to dry before adding the second. Then I used a file along the back edges to remove any extra napkin (or napkin ashes). Finally, I glued felt squares to the back. 


This was such a fun experiment and makes me interested in diving deeper into decoupage in the future!

9/30/16

Tissue Paper Yarn Pumpkin

Here's the yarn trivet I made with the Premier's "Mint Swirl" Sweet Roll yarn. As promised, I'm sharing the tutorial for the pumpkin. If it's not obvious, it's made of yarn too.


I actually made a second yarn balloon using the technique I shared yesterday. Follow the steps up through popping the balloon. Then, simply tear orange tissue paper and apply pieces of it to the hardened yarn using Mod Podge. 


While that is drying, dip two strands of green yarn (approximately 2 feet each) into white glue and wrap them around a plastic fork. 


Let it dry completely (overnight, to be sure), then slide it off the fork.


Brush the yarn tails with white glue and wrap them around pencil stubs. Let that dry and you have curly vines attached to the stem. 


Glue the stem to the top of the pumpkin. 


Thanks again to Premier Yarns for providing me with these versatile yarns!