Showing posts with label conversation heart. Show all posts

2/13/23

Conversation Heart Valentine Holders

I miss the elementary school version of Valentine's Day. I loved it as a kid, I loved it as a teacher, and I loved it as a parent. I loved making and receiving cards, eating lots of candy (especially conversation hearts!), and doing all sorts of valentine-themed crafting. 

As a bit of a throwback, I made these valentine holders for my two loves, Steve and Trevor. This was the first time I've ever sewn craft foam, something I will definitely be doing again. It's a great way to introduce young crafters to hand sewing. Affiliate links below. 
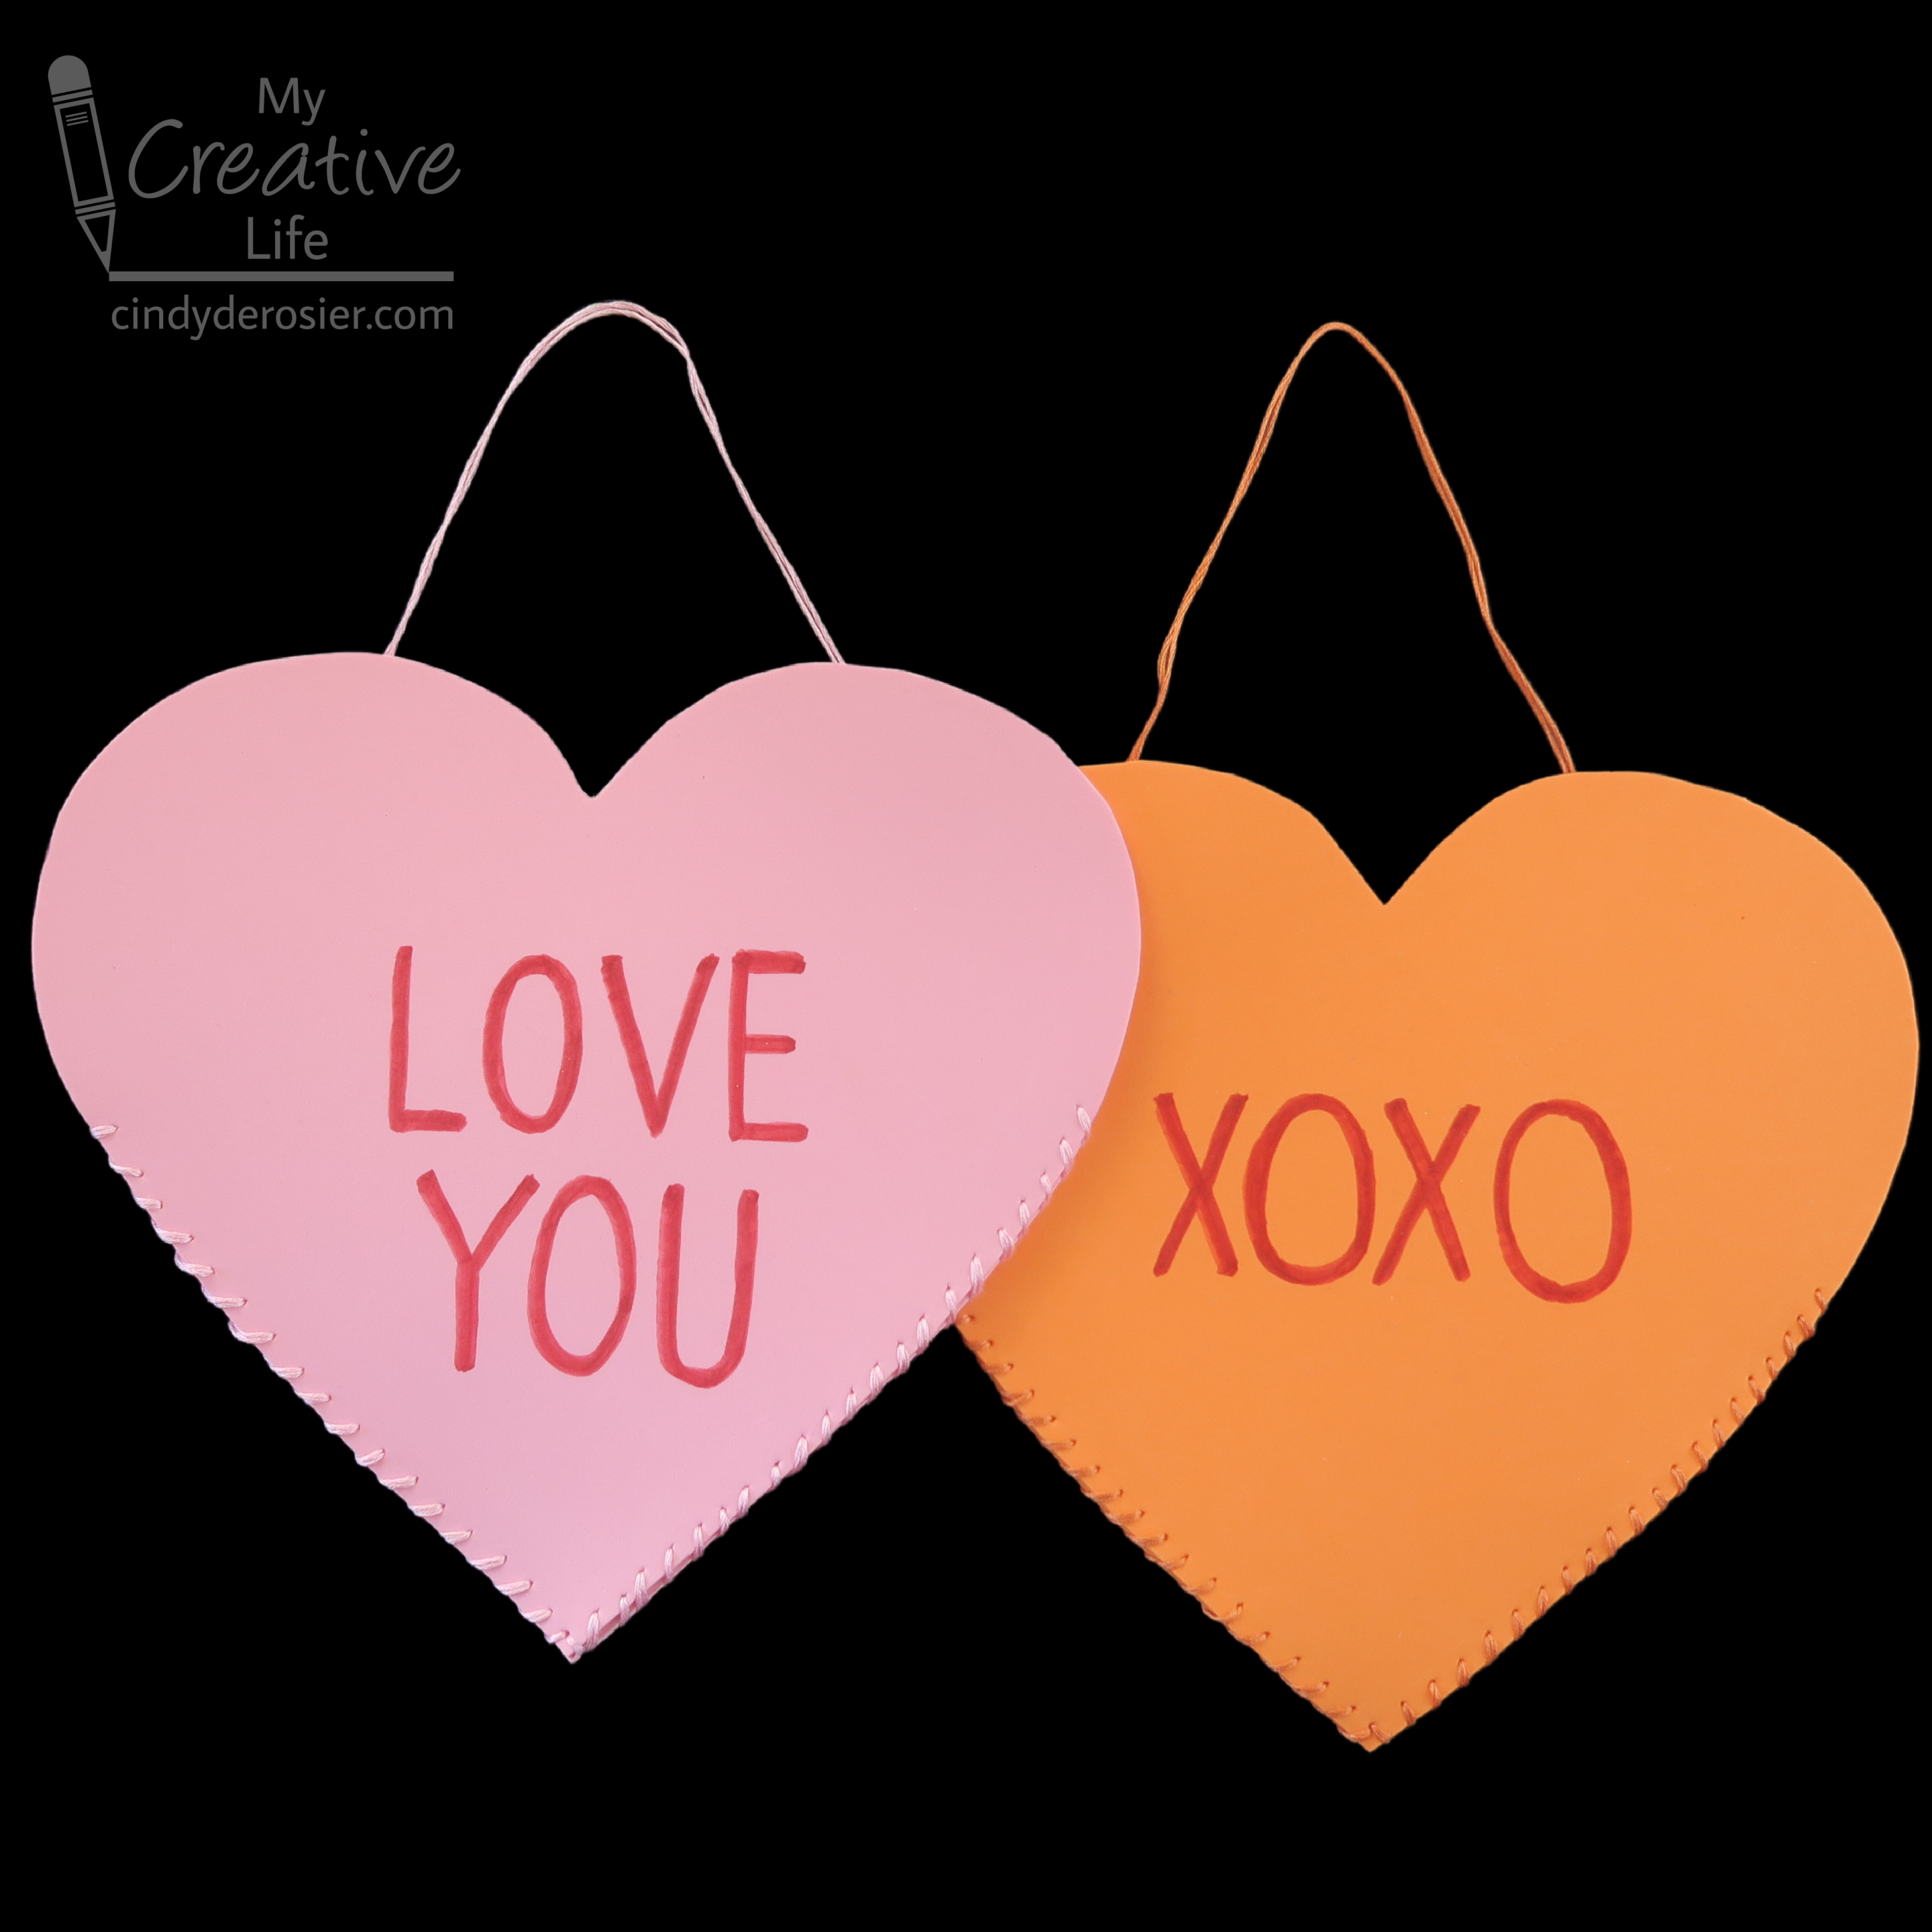


Conversation Heart Valentine Holders


Materials: 


Steps: 


Create a heart template using scratch paper. It should be big enough to hold cards and whatever else you'll be putting inside. Trace the template onto a sheet of craft foam, then cut out the heart. Repeat this step so that you have two hearts. 

Using conversation hearts as inspiration, think of a message for your valentine holder. You can write the message directly onto the heart with a red pen, or try this trick to make sure you get the spacing even. Write the message on a piece of binder paper, then center the paper onto the heart. Trace over the message with a pencil, pressing firmly. This will make grooves in the craft foam, which you can then trace with the red pen. 


Cut a long strand of embroidery floss. The amount you need depends on the size of your heart, how close you want your stitches to be, and how long you want the hanger to be. I used about 6 feet of floss. I sewed with it doubled up (two 6-strand pieces) but that is optional.  

Tie a knot at the end of the floss. Line up the two pieces of foam and start sewing approximately where your message starts. Don't stitch too high or you won't be able to put stuff into your valentine holder! Conversely, if you stitch too low, your stuff will fall out. Aim for the middle. 

Hide the knot inside the holder, then use a whipstitch to sew down one side toward the point. I went down the left and up the right, but you can do the opposite if you want. 


When you get to the point, do another whipstitch and re-enter the previous hole. Then continue up the other side. 


If you've never sewn craft foam before, let me tell you - it is a dream. Every beginner should learn stitches on craft foam. It's sturdy enough that you don't need to hold it taut like fabric and the needle glides through it with little pressure. 

You're finished sewing when you reach the point opposite where you started. Don't cut the floss yet! To make the hanger, stretch out the amount of floss you want. Put the needle into the very first place you started, but do not pull the floss tight. Bury a knot inside the hanger, then cut off any extra floss. 


Your valentine hanger is ready to fill with cards, candy, stickers, small toys, and other goodies!


Those Peanuts valentines peeking out are leftover from my teaching days (16+ years ago). I went poking on Amazon to see if they still make them, which led me down a path of all sorts of Peanuts-themed valentine stuff. Enjoy!

2/9/22

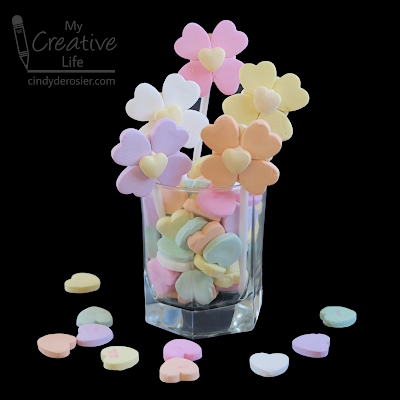
Conversation Hearts Bouquet of Flowers

This bouquet of flowers takes yesterday's flower cupcakes one step further. They're so festive and would be just as fun for a springtime party as they are for Valentine's Day. Affiliate links below. 


Conversation Hearts Bouquet of Flowers


Materials:


Steps: 


Prepare your materials. For each flower, you will need four large hearts of the same color, plus one yellow Sweet Tart Heart. You will also need one lollipop stick. 

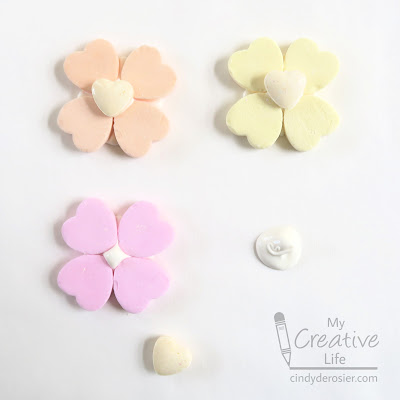
Prepare 4-5 Candy Melts, following the package instructions. Put a dollop of melted candy onto the parchment paper, then immediately press the four large hearts into it. They should be message-side down, with their points facing in. Place the Sweet Tart Heart on top. 

It took me awhile to figure out the right amount of melted candy. If you look closely at the orange flower, there is some candy showing between the petals. There's less on the yellow flower, but it's still an issue. The pink flower has the right amount - none is showing, but there's still enough at the top for the center candy to stick. The dollop on the right is the correct size. It should be close in size to the Sweet Tart Heart. 


Let the candy harden (approximately 15 minutes), then gently peel it off the parchment paper. Place the flowers upside down on the parchment paper. Re-melt the candy, then add a generous dollop on top of the existing candy. Press the lollipop stick in the candy, then let it set completely. 


Fill a vase (or a drinking glass) with candy hearts, then nestle the flowers into them. You can make your bouquet as full as you'd like. 


In addition to looking great on a buffet table or as a centerpiece, his bouquet makes a wonderful Valentine's Day gift for someone special. 

2/8/22

Sweet Tarts Conversation Hearts Flower Cupcakes

I am a conversation heart connoisseur, if such a thing exists. Some people hunt for Girl Scout cookies this time of year, but those don't tempt me nearly as much as conversation hearts. While my absolute favorites are these classics (affiliate link here and throughout the post), I really like these as well. They're Steve and Trevor's favorites, so I used them to make these cupcakes. I love the way the pastel colors look against the chocolate frosting. 


Sweet Tarts Conversation Hearts Flower Cupcakes


Materials: 


Steps: 


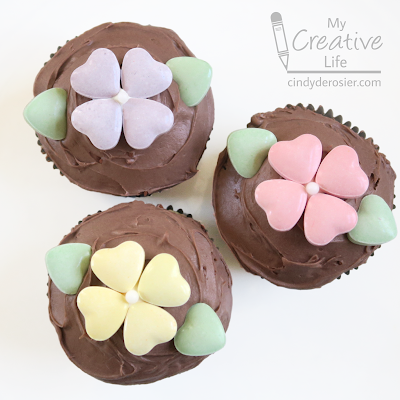
For each cupcake, you need four Sweet Tart hearts of the same color, plus two that are green. You also need one white pearl. Have these ready to go. 

Follow the package directions to prepare 2 Candy Melts. Put a dollop of melted candy (about the size of a large pea) onto parchment paper, then arrange the four hearts upside down on the melted candy, with the points facing in. Put the pearl in the tiny hole at the center. Repeat until you have the desired number of flowers. Let the flowers sit 15 minutes to harden.

Gently peel the flowers off the parchment paper and place them onto the frosted cupcakes. Place the leaves on either sides of the flowers. 

2/4/22

Conversation Heart Candy Necklace

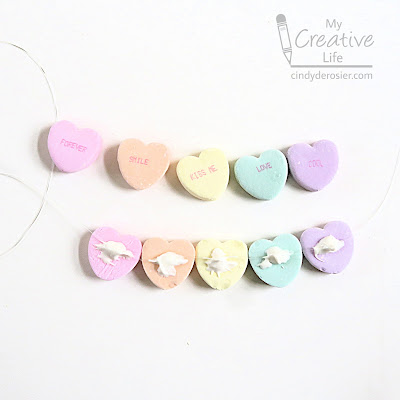
Whether you're a kid, or just a kid at heart, this Conversation Heart Candy Necklace is a really fun craft for Valentine's Day. To test its durability, I took mine on and off repeatedly, then left it on for hours. It held up surprisingly well. Give it a try! Affiliate links below. 


Conversation Heart Candy Necklace


Materials:


Steps: 


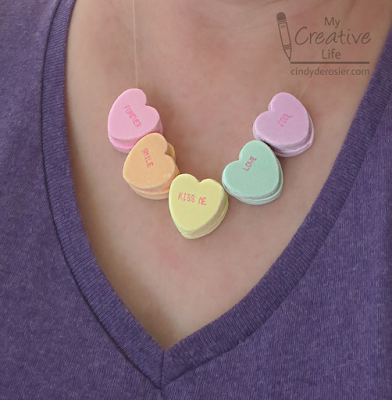
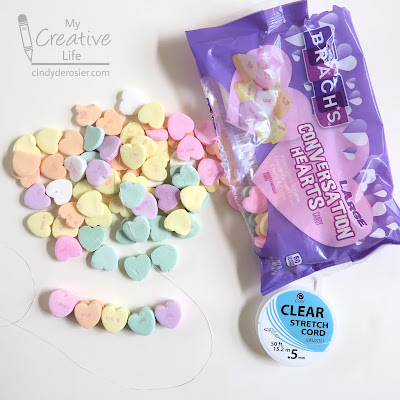
Cut a length of stretch cord large enough to fit around your neck with room to tie a knot. Select the five colors/messages you want for your necklace and set them aside. The necklace is reversible, so you're choosing two of each color (a total of 10 conversation hearts). 


Put a few Candy Melts into a small container and melt them according to the package instructions. Arrange the hearts so that half of them are message-side down. Dab a small amount of melted candy onto each, then lay the stretch cord into the warm candy. 


Immediately press the matching candy on top, trapping the stretch cord inside. Allow the candy to set up completely (30 minutes at room temperature, or 10 minutes in the fridge), then tie it around your neck. Remember - it's reversible, so you can flip the candies around if you want to send a different message. Enjoy!

1/31/22

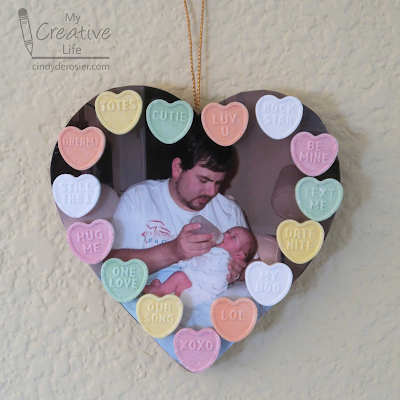
Conversation Heart Photo Frame Ornament

It's hard to believe Valentine's Day is just around the corner. (Since we were traveling, our Christmas decorations didn't come down until two weeks ago.) Time has been flying by. And yet, some things feel like they were a lifetime ago. 

The photo I used for this project is a good example. Sometimes I feel like I blinked and my tiny baby grew up. On the other hand, it feels like a lifetime ago. Affiliate links below. 


---------


Conversation Heart Photo Frame Ornament


Materials:


Steps: 


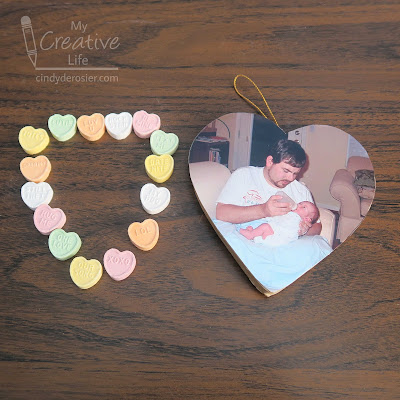
Select a photo that is at least as large as the heart ornament. Trace the ornament on the photo, then cut it out. Set the photo aside. 

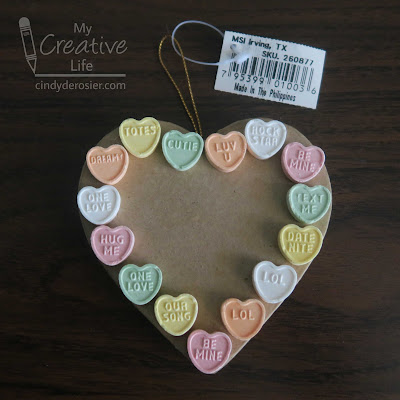
Lay out the conversation hearts along the edge of the ornament. I recommend using Heart 2 Heart candies instead of the much tastier traditional conversation hearts with the red printed messages. I'm concerned that the ink on those will run when you seal your project. Also, the Heart 2 Heart ones are double sided, so you get two choices of message for each candy. 


Remove the hearts, then glue the photo to the ornament.


Then glue the hearts in place. Let the glue dry completely. Apply 2-3 thin coats of sealant, allowing each to dry before adding the next. 


When your ornament is completely dry, hang it where it will brighten your day. 

2/8/21

"You've Stolen My Heart!" Raccoon Valentine

While brainstorming ideas for my money valentine cards, an idea popped into my heart for a raccoon valentine. With their adorable little robber's masks, raccoons are the perfect way to tell someone, "You've Stolen My Heart!" Affiliate links below. 


"You've Stolen My Heart!" Raccoon Valentine


Materials:


Steps:


Wrap grey cardstock around the box of conversation hearts, leaving the side you open uncovered so that the recipient can eat the candy. Use the scraps to cut out a face, two ears, and a tail. Use the black pencil to draw the mask and the nose on the face, the center of the ears, and stripes on the tail. Add accents to the snout and forehead with the white pencil.  


Glue the googly eyes and the ears to the face. Cut a thin rectangle of grey cardstock and accordion-fold it to make a neck. Glue one end to the back of the face and the other end to the box. Glue the tail behind the other side of the box. Punch a heart from pink cardstock. 

Write "Valentine, you've stolen my heart!" on it. Glue the heart to the box. 


2/11/19

Beaver Valentine - "I Chews You!"

Continuing with my cute animal + pun theme, here's another idea for a homemade valentine.


---------


Beaver Valentine - "I Chews You!"


Materials: 

  • construction paper (white, red, brown)
  • scissors
  • red pen
  • craft glue
  • black Sharpie
  • treat bag
  • pretzel sticks
  • conversation hearts
  • foam dots


Steps:


Cut a piece of white construction paper so it is about the same size as your treat bag. Fold it in half to form the base of the treat topper. Write "Valentine, I chews you!" in red pen on a strip of white paper. Mat it on a strip of red paper and then glue that near the top of the folded treat topper. Cut two teeth from the white scraps and set them aside.

Cut a rough semi-circle from brown construction paper to make the beaver's head. Cut a slightly smaller oval for his tail. Use the scraps to cut two ears and nose. 

Use the Sharpie to add two eyes to the beaver's face. Color in the nose and the inner ears. Draw parallel diagonal lines on the the tail, first in one direction, then again so the two sets of lines meet at a 90° angle. 

Fill the treat bags with pretzels and conversation hearts. Staple the treat topper to the filled treat bag. 

Glue the ears behind the head, then glue the head to the front of the treat topper. It should hide the staples. Glue the teeth behind the nose, then use foam dots to attach the nose. Glue the tail to the back of the treat topper. 


A little update on my massive 'organize my animal crafts' endeavor. I am working on the mammals, doing a handful each day. I'm around 80 and counting. As you can imagine, there are quite a few rabbits, but the rest is a fairly balanced mix. Well, other than reindeer and beavers, which are both over-represented. No matter. I'm really enjoying looking back on my animal crafts. Having them all in one place will make things so much easier and is already inspiring me to make the animals that are not well-represented yet. 


2/7/19

Conversation Heart Valentine Art

Oh Necco Sweethearts, February just isn't the same without you! I'm dulling my pain with Brach's Conversation Hearts, which inspired this project. There are affiliate links throughout this post. 


---------

 Conversation Heart Valentine Art


Materials: 


Steps:

Pour a large handful of conversation hearts into a dish. Remove one of each of the colors and set them aside, then eat the rest while you make this craft. 

Cut a piece of watercolor paper into five chunks that are each approximately the size of an index card. Trim the scraps so that you have five smaller rectangles. You'll be using these to try to match the colors of each of the conversation hearts before painting the larger pieces of watercolor paper.


Working with one color at a time, mix a small amount of paint into a slightly larger amount of white. Adjust until the color looks like a match. Paint it on the sample piece. If it's a match, paint the larger piece of watercolor paper. Repeat this process for each of the colors, except Baby Pink. It is a perfect match straight out of the bottle. Let the paint dry completely. 


When the paint is dry, punch out as many hearts as you can from the papers. 


Cut the white cardstock to make a card base (mine is 4" x 5 1/4"). Glue the hearts haphazardly to the cardstock, working from the outside in on all sides. The center area does not need to be covered.

Let the glue dry, then give the card a vigorous shake. If any hearts come off, add glue. When the glue is dry and all the hearts are very secure, continue. 


Cut a white cardstock heart that covers the empty spot on the card. Use a red colored pencil to write your message in capital letters. Use foam dots to adhere the heart. 


My card fits nicely into an envelope. You can make yours larger if you'll be hanging it on the wall, or smaller to use it as a gift tag. For a more durable piece of artwork, try using Mod Podge to add your faux conversation hearts to a canvas or a frame. So many possibilities!

2/4/19

Bear and Cat Valentine Treat Toppers

I've been out of sorts since learning that there won't be any Sweethearts Conversation Hearts this year. I'd been a victim of the Great Necco Wafer Panic, unable to buy one of my favorite candies in 2018. And now this. Sigh.

Not only do I love Sweethearts, but they're a February staple for a kids' craft blogger. Fortunately, Brachs is still producing conversation hearts. I bought a big bag. While they're quite not as tasty as Necco's Sweethearts, they're a fine substitute and my Valentine's Day will not be ruined after all.

I did some experimenting with two sizes of treat bags to see approximately how many conversation hearts each would hold, then whipped up some treat toppers to fit each size. Read on to make your own. There are affiliate links in this post.


---------


"You're a PURRfect Friend" Cat Treat Topper


Materials:


Steps:


Fill a treat bag halfway with conversation hearts and set it aside. Cut the white construction paper into a piece approximately 3" x 6.5". Fold it in half. Cut a semicircle and two triangles from the grey construction paper, then punch a pink heart nose. Draw eyes and whiskers.


Glue the cat's face to the folded construction paper, curling the ears forward slightly. Staple the topper to the treat bag. Cut a piece of pink construction paper and write "You're a PURRfect friend!"


Glue the cat's nose in place, then glue the message to cover the staple. 


---------

"You're a BEARy Great Friend!" Bear Treat Topper


Materials:


Steps:


Fill a treat bag partway with conversation hearts and set it aside. Cut the white construction paper into a piece approximately 5" x 8". Fold it in half. Cut a semicircle and two round ears from the brown construction paper. Draw eyes and a nose, and darken in the inner parts of the ears. Glue the bear's face to the folded construction paper, curling the ears forward slightly. Fold over the top of the treat bag and staple the topper to it. Cut a piece of lavender construction paper and write "You're a BEARy great friend!" Glue the message to cover the staple.

1/11/17

Conversation Hearts Bunny

I love conversation hearts and I love bunnies. Hence, this:


It only takes a few minutes to turn a box of conversation hearts into an adorable bunny. And you don't have to take apart the bunny to get to the candy!


I made this Conversation Hearts Bunny as part of the Valentine's Edition of Craft Lightning. Visit the links each day this week to see lots of other ideas for quick Valentine's Day crafts. 


---------

Conversation Hearts Bunny

Materials: 

  • Box of conversation hearts
  • White construction paper, approximately 6" square
  • Scissors
  • Glue
  • Pink heart sticker (or pink cardstock and a heart-shaped punch)
  • Sharpie
  • White pom pom

Steps: 


Fold the construction paper around the box of candy, creasing it along each edge of the box. Unfold the paper. Leaving the center part intact, cut out rectangles on either side, as shown in the picture. Save the rectangles, as you'll use them later.


Line the bottom of the box up with the bottom of the paper. Make vertical snips along each fold line, down to the height of the box. These will be flaps to cover the top of the box.


Cut the tall center portion of the construction paper into the shape of bunny ears. Use the rectangle scraps from before to make a matching pair of bunny arms (slightly shorter and thicker than the ears). Cut a rectangle that is the same size as the box top.


Put the box UPSIDE DOWN on the construction paper. This lets you get at the candy without taking apart the bunny.


Glue the construction paper in place. Fold down the tabs and glue. 


Add the small rectangle to the top to hide any gaps. 

Use the Sharpie to add eyes, nose, mouth and whiskers to the bunny. Write a short message on the sticker, then attach it to the bunny's tummy. Glue the ams to the heart, making sure they don't cover the message.


Wrap the arms around the box and glue them in place. Add a pom pom tail and it's done!