Showing posts with label rose. Show all posts

2/19/24

Bread Rose Wreath

Remember the rose wreath that I made out of air-dry clay? I made an edible version (bread dough instead of clay). 


The shaping process was somewhat similar, but the bread dough was much more difficult to manipulate than the clay. Still, it was a fun experiment with delicious results. I used the same basic recipe as for the Sixty-Minute Cloverleaf Rolls, then veered off in a different direction for the shaping and baking. 


---------


Bread Rose Wreath


                                                    3.5 to 4.5 cups flour                            1 cup milk
                                                    3 tablespoons sugar                            1/2 cup water
                                                    1 teaspoon salt                                    1/4 cup butter
                                                    2 packages Fleishmann's yeast


In a large bowl, mix 1.5 cups flour with the sugar, salt, and yeast. Set it aside. Combine milk, water, and butter in a saucepan (or microwavable bowl) and heat until liquids are 120-130°F. Add the liquid ingredients to the dry ingredients and beat at medium speed for two minutes, scraping bowl occasionally. Add 0.5 cup flour and beat at high speed for two minutes. Stir in enough additional flour to make a soft dough. Turn out onto a floured board and knead until soft and elastic, approximately 5 minutes. Place in a greased bowl, turning to grease top. Cover, then place in a warm place (approximately 98°F) for 15 minutes. 

Turn the dough out onto the floured baking mat. Divide dough in quarters, then divide each quarter into three equal pieces. You should have 12 balls of dough, each the same size. Roll 9 of the balls into long ropes, approximately 18" long. Braid three ropes together. 


Curl the braid into a wreath and place it on a Silpat-lined baking sheet. Repeat with the other 6 ropes to make three wreaths in all. 

Divide each remaining dough ball into 9 pieces. Roll the pieces into balls, then smoosh them with the ball of your hand to make petals. 


Pick up one petal, then roll it up to form the inside of the rose. Pick up the next petal and roll it around the center of the rose. Continue the process with the rest of the petals. Place the finished rose on the baking sheet.  

Loosely cover the dough and let rise in a warm place, for approximately 15 minutes. Meanwhile, preheat the oven to 425°F. Bake for 15, then check the roses for doneness. Remove them from the oven and bake the wreaths for another 10 minutes or until done. While the wreaths are still hot, nestle the roses into the wreaths. Let the bread cool on a wire rack for at least 10 minutes. 


Shop my affiliate links! 

                                  Silpat                                            Sili Bake                                         Fleischmann's Yeast

1/21/24

Clay Rose Wreath for Valentine's Day

I made this rose wreath using air-dry clay and acrylic paint, with Valentine's Day in mind. Now that I'm seeing it on the screen, I'm wondering if I could have used bread dough to make an edible version. I may have to try that! Affiliate links below. 


Clay Rose Wreath for Valentine's Day


Materials:


Steps: 


I used four 1-ounce packets of Model Magic for my project. You can obviously use more or less clay to make a larger or smaller wreath. I used a blend of colors of Model Magic because that's what I had on hand; painting would have been easier if I'd started with colors closer to what I wanted the finished wreath to be. 

Knead the clay to condition it, then divide it into fourths. Set one portion aside; you'll use it for roses and leaves. Roll the other pieces into long ropes. They should be approximately the same size and thickness. Press them together at one end.


Braid the ropes. When you reach the end, form the braid into a circle and gently press the ends together to make a wreath. Set it aside to dry. 

Divide the remaining clay into four equal pieces. Three will become roses and one will be leaves. For each rose, you'll have four petals. Divide the clay into four balls and roll each flat. Pick up one petal, then roll it up to form the inside of the rose. Pick up the next petal and roll it around the center of the rose. Do the same with the next two petals. If you don't like your rose, smoosh it and start over! 

To make the petals, roll the clay into tiny balls. Smoosh them with your thumb, then gently drag your thumb. This will curl the edges and make a point. 
 

Let the finished shapes sit overnight. Turn them upside down and let them side until they are completely dry.

Paint the wreath brown, the roses pink, and the leaves green. When the paint is dry, ink the edges of each piece. It's a small touch, but it makes a big difference. Finally, glue the roses and leaves to the wreath. 

4/18/23

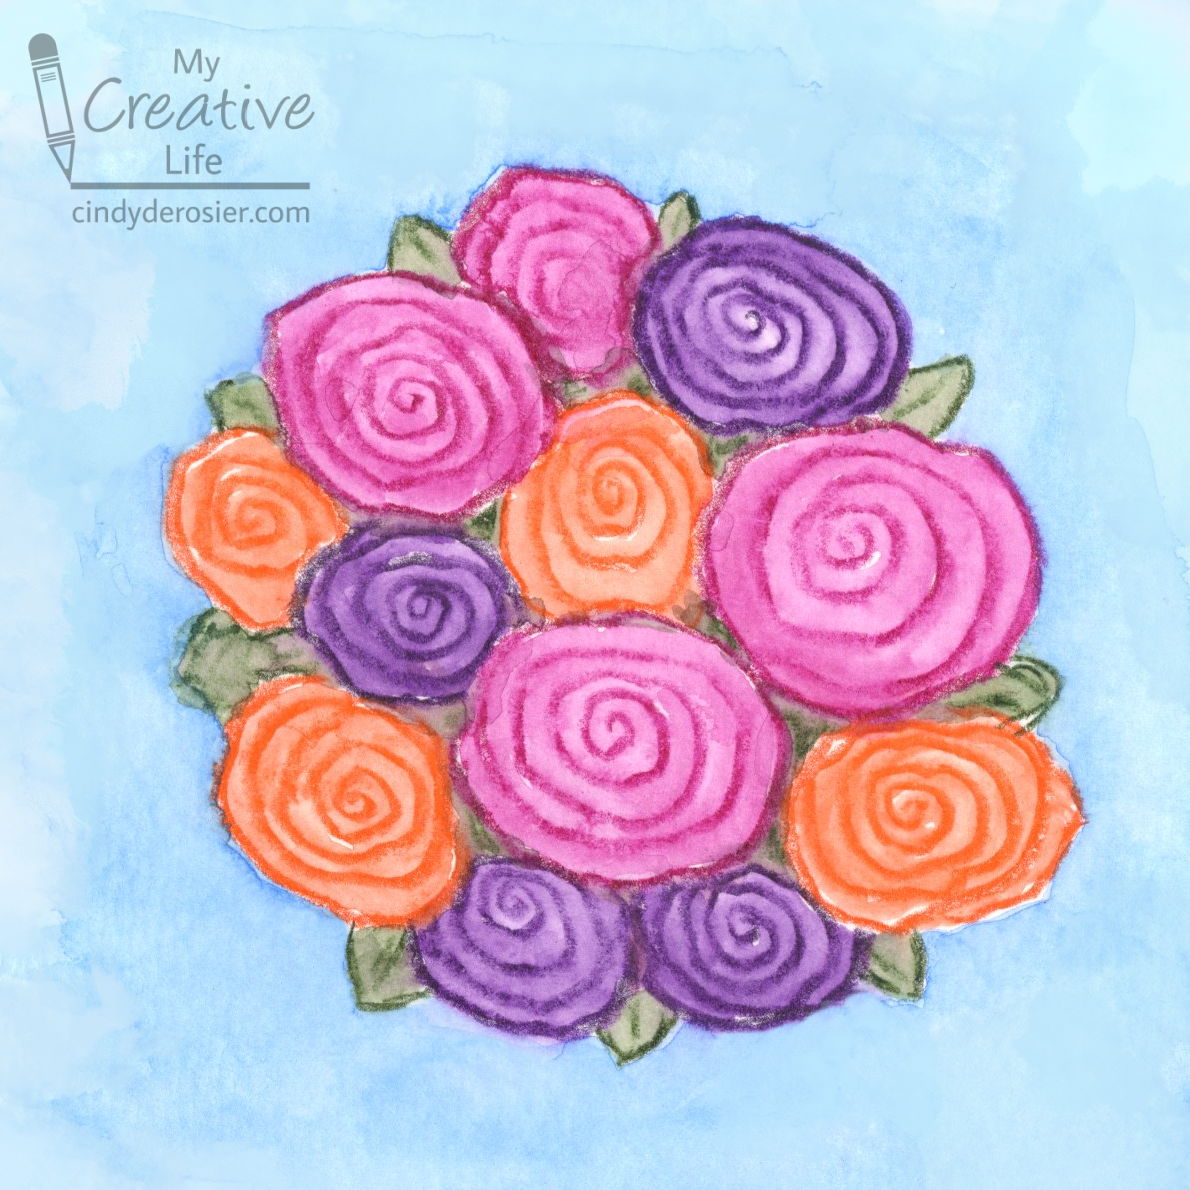
Scribble Roses Made with Inktense Watercolor Pencils

I couldn't wait to play with the Derwent Intense watercolor pencil set I got for my birthday. I used them to paint some scribble roses. In my wedding colors, of course. 


Scribble roses is the name I use for the technique of drawing wavy spirals to mimic our national flower. (You did know the US has a national flower, right?) Scribble roses are easy for even young kids to make, because you really can't mess them up. If I were making this project with preschoolers or children in early elementary school, I'd have them use crayons instead of watercolor pencils, because the wax forms a barrier to prevent the colors from bleeding into each other. But for those who have developed good fine motor control, this project is a great way to explore what watercolor pencils can do. Affiliate links below. 


---------


Scribble Roses


Materials:


Steps:

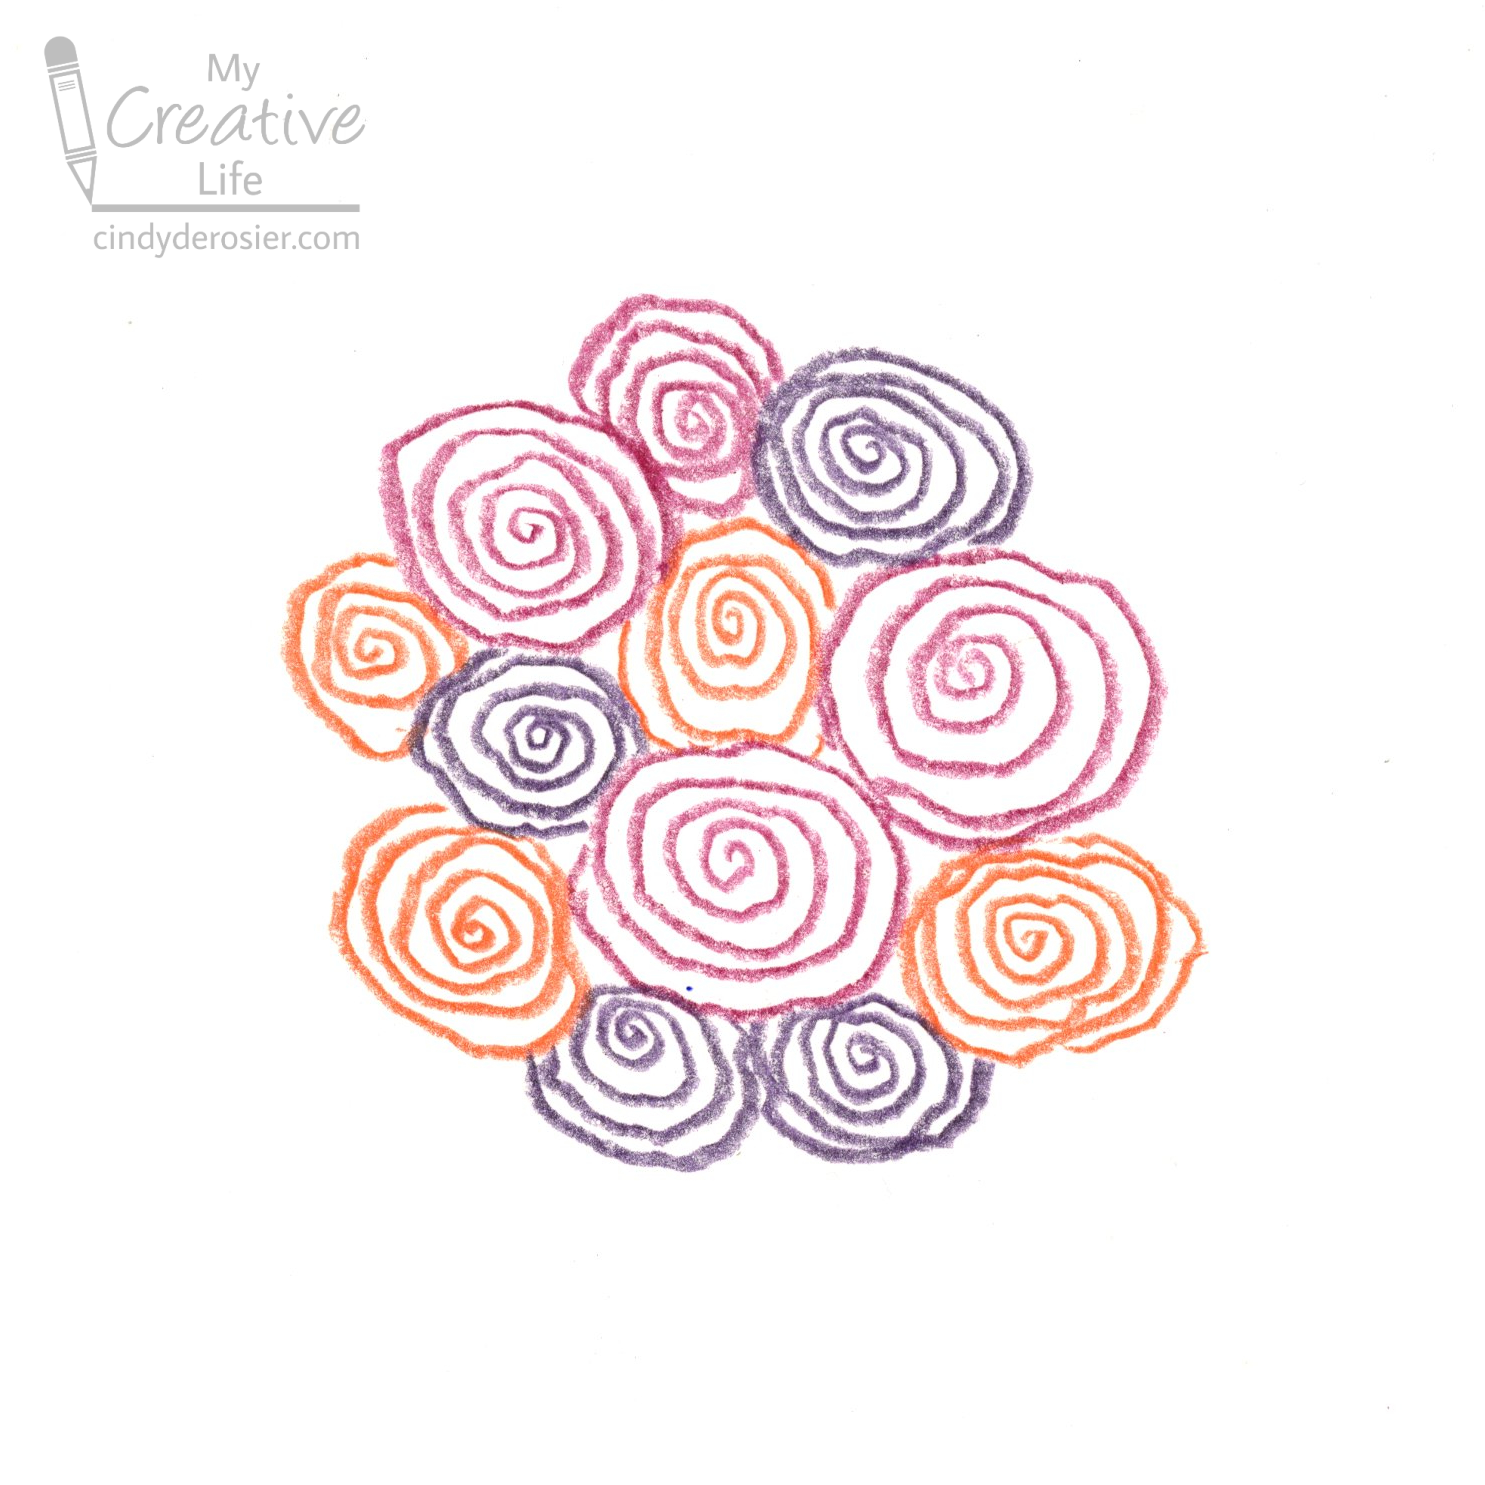
To make scribble roses, you're going to draw spirals. Allow your hand to waver slightly so that there is some variation in the petals. When you reach the end of the spiral, connect the line up with the rest of the rose. I recommend practicing a few times with a regular pencil on scratch paper. 

Start by drawing three spirals in one color near the center of the paper using an Inktense pencil. Leave some space between them, or don't. Vary their sizes and orientations, or don't. There's no right or wrong. 


Repeat the process with a second color, and then a third. Continue adding flowers in different colors to shape the bouquet so it is roundish. Balance the colors as appeals to you. You can choose to make as many roses as you want. I went with a dozen.


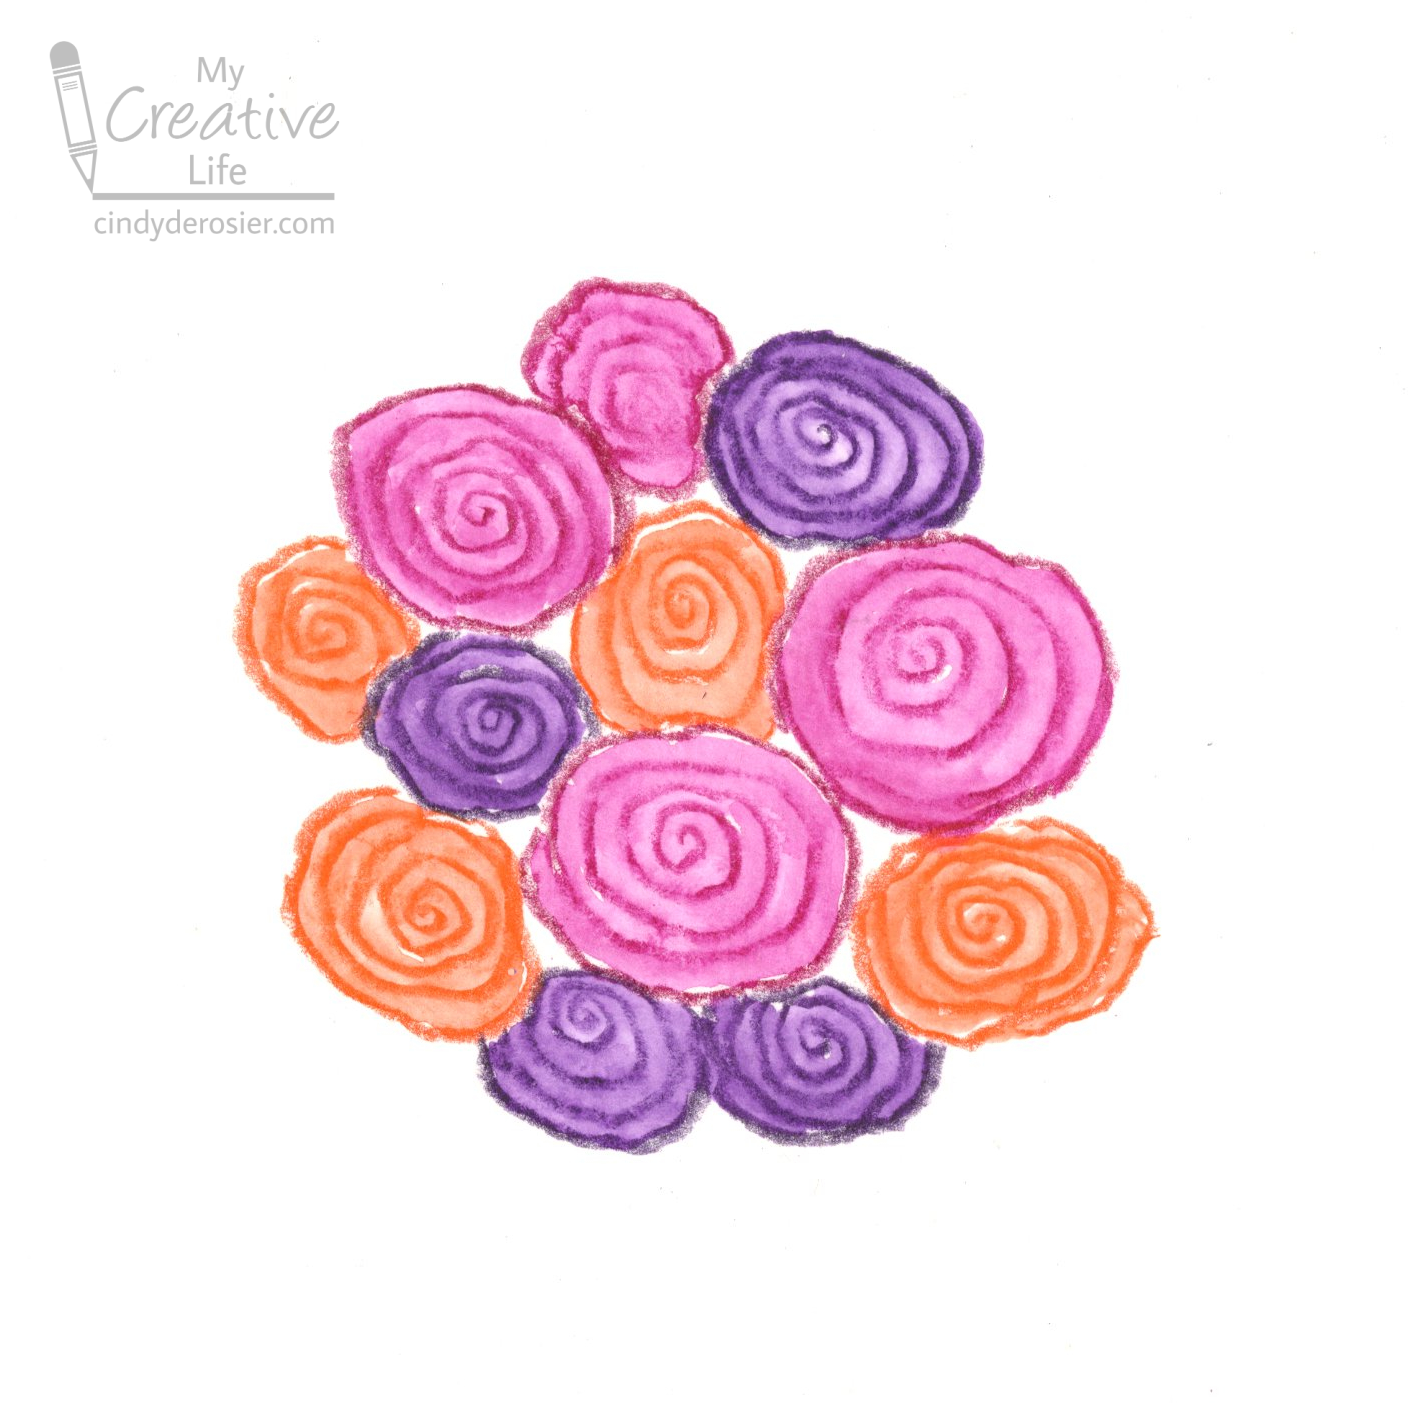
Use a paintbrush to activate the watercolor pencils. I had the most success using a wet (but not dripping) brush to retrace the spirals the same way I drew them. Do all of one color first, then rinse your brush before doing the next ones. As you can see, I didn't wet the outermost edges of the flowers that were touching another, since I didn't want the colors to run. (You may want that, which is totally fine.) I wanted to scan this step to show you, then I went back and wet this area after the rest was dry. 


Fortunately, the Inktense pencils dry very quickly, so I was ready for the next step right away. Use a dark green to color in the spaces between each rose. Then add V-shaped leaves with lines down their centers to any spaces around the exterior where there is a gap between roses. Activate these with a wet paintbrush.   


The final step is to add a background. While it is possible to scrub out lines when you activate them, the lines will mostly stay visible. So when coloring your background, you have two choices if you don't want to be able to see lines. One option is to color very, very lightly and to not leave any lines. The easier option, and the one I chose, is to color on a scrap of watercolor paper, then use that as a palette to lift the paint and color your background. 


I'm super happy with my Inktense watercolor pencils. As you can see, the colors are beautiful and vibrant. The pencils feel great in my hand and perform exactly as expected. The colors dry quickly and permanently. And even more fun - you're not limited to using these on paper. Inktense watercolor pencils work well on fabrics, including silk and cotton. I'm eager to give that a try. I'll let you know when I do. In the meantime, get some of your own and start creating. They're amazing!

5/8/20

Edible Roses on Ice Cream for Mom

I love edible crafts. These candy melt roses are a fun and easy ice cream topper that will make Mother's Day (or any occasion) extra special! Affiliate links below. 


---------


Edible Roses on Ice Cream


Materials:


Steps:


Make ice cream (I recommend Lazzberry). Scoop it into the ramekins and freeze until firm. 

Spread a piece of parchment paper on your work surface. Then follow the directions on the package to prepare the yellow candy melts. I use a glass container and do 45 seconds on 50% power and then stir until they're completely melted, but every microwave is different. 

Use a spoon to drop a dollop of candy melts onto the parchment, then swirl the spoon through the candy to make circular patterns. The candy is very forgiving. You can keep working it for quite awhile. If you mess one up, wait a few minutes until it is set, peel it up, re-melt it, and try again!


Prepare the green candy melts. Using about half the amount as you used for a rose, pour a small dollop. When almost all of the candy has landed on the parchment, move your hand to form a tip, then let the last bit fall back on the leaf to form the vein.  


Let the candy set up. It only takes a few minutes in a cool house, or you can speed the process up by putting the sheet of parchment into the refrigerator or freezer. When the candy has set, peel it from the parchment paper, then arrange it on top of the ice cream. 


Happy Mother's Day to my mom and to all of you moms who are reading this! I hope you have a wonderful day and lots of ice cream. 

1/30/20

Model Magic + Cookie Cutters = So Many Possibilities

When I made my King Cake necklace, I had some extra white Model Magic left. While opened Model Magic will stay soft if carefully wrapped properly, I'm not a 'carefully wrapped properly' type of person. I'd much rather play with the extra clay to see what I can make now than risk coming back to it later and finding that it wasn't wrapped as well as I'd thought.

First, I made bunnies.


I got a new bunny cookie cutter for Christmas (affiliate link here and throughout the post) and this was the perfect chance to give it a test run. I rolled out the leftover Model Magic on a sheet of wax paper, then started cutting out rabbit after rabbit. 


When I had a fluffle of bunnies, I set them aside on a piece of wax paper to dry overnight. Then I made hearts. 


I combined bits of white and red Model Magic, kneading until they were marbled. Then I rolled out each piece and cut out hearts. Obviously, you could use any shape you want. I did a quick search and discovered that there so many adorable cookie cutters out there! Check out these dinosaurs! This woodland set is awesome. Look, California! And tools! Oooh, llamas and cacti! And fruit! I hear lemons are trending

(I can't stop looking at cookie cutters. Send help.)


ANYWAY, I mixed all the scraps together with the last bits of red and used them to make a rose. It's really easy. 


Start by rolling a bunch of little balls. Flatten them with your thumb. They don't need to be the same size; in fact, your rose is more realistic if they aren't. 


Take one petal and roll it to make the center of the rose. Then wrap another petal around the outside. Keep adding petals on opposite sides until the rose is the size you want. Rest the finished rose on loosely balled foil. This will allow it to keep its shape as it dries. If you just set it down on the table, it will slump. 


I'm not sure yet what I'm going to do with my rose, but I have plans for the bunnies and hearts. I'll show you those soon.

5/17/19

Rose Diamond Art and a Queen Bee

Have you gotten into Diamond Art yet? I absolutely love it. I find it so relaxing. And despite my aging eyes, my awesome magnifying lamp means I can see actually see what I'm doing, day or night! I recently finished Leisure Arts' gorgeous Rose Diamond Art. I cut away the background and temporarily set the rose down onto a piece of blue cardstock to get an idea of how it would look for a project I'm considering. 

I love the rose against the sky blue and will probably proceed with the project I have in mind. But in the meantime, the rose makes the perfect accessory for my latest kids' craft, a Queen Bee. 


---------

Queen Bee


Materials: 


Steps: 


Use the scissors to cut the following pieces, as shown in the picture:
  • large yellow body
  • small yellow head
  • pointy black stinger
  • thin pink wand
  • small silver star
  • silver crown
  • 2 wax paper wings


Set aside the pink and the black scraps. You'll need them later.

Use the Sharpie to draw vertical stripes on the body. Curve them as shown. 


Assemble the bee by gluing the head in front of the right side of the body. Glue the stinger behind the left side of the body. Glue one wing to the front of the body, pointing toward the back. The other wing goes behind the body, pointing toward the front. Attach the crown to the head and the star to the end of the wand. 

Draw eyes, eyelashes, and a smile on the bee's face. 

Cut six very skinny legs from the black cardstock scraps and glue them to the body. Three go in front (the bee's right side) and three go in back (the bee's left side). I positioned the right legs to match up with the black stripes. 

Cut 3 tiny diamonds from the pink cardstock. Cut one in half vertically, then add these 'jewels' to the crown. Cut an even tinier heart to make the queen's lips. 


Note that I temporarily added black paper behind the wings in order to get them to show in the photo. In real life, they are just wax paper and look good, but they simply wouldn't photograph or scan well. 

Another project for my Invertebrates page!

8/11/16

Washi Tape Monogram

Several months ago, I found 12" monograms on clearance for well under a dollar. Quite a deal! I dug through the bin expecting to find nothing but Qs, Vs and Xs and was very pleasantly surprised to find a C, S and T. I decided it would be fun if the three of us decorated ours separately from each other without letting the others know what materials, colors, etc. we were using. 

Trevor was totally onboard. Within an hour of my bringing the monograms home, he had banished me from the craft area and secretly completed his. (You can see it at the end of yesterday's post.) I made mine once he had cleared out and hidden his T. As of right now, months later, the S is still plain. Crafts just aren't Steve's thing, which is fine. Trevor's been eyeing the blank S and will jump on the chance to decorate it as soon as I give him the go-ahead. 

Here's my monogram:

All I did was cover it with strips of washi. I alternated between the four rolls of red that I own. Rather than try to cut the pieces to size, I just wrapped them around the back and smoothed them down. I added a ribbon rose as an accent.

For more monogram inspiration, check out Decorate with Letters by Leisure Arts (affiliate link). I have my eye on that foam flower M on the cover, plus a few more of the painted monograms. The next time I find monograms on clearance, I'm going to buy every C I can find!

5/18/16

Decorate With Letters - Rose Monogram

I've been having great fun for the past few months creating projects inspired by craft books by Leisure Arts! In February, I showed how to make faux stained glass from a coloring page using the the gorgeous Art of Coloring Animals. In March, Trevor and I played with Crafting with Felt (affiliate links here and below). He made a felt rabbit electronics case and a rabbit finger puppet. April was Easy Foam Crafts and the Very Hungry Caterpillar Pencil. In May, we're playing with monograms.

I made this rose-covered wooden C, following the directions step-by-step from Decorate with Letters


Decorate with Letters is unusual in that it is really two books in one. Jennifer and Kitty O'Neil designed the projects in the first half of the book, which focus on decorating monograms with a wide variety of craft materials (such as yarn, fabric, stickers, shells and more). The second half of the book is all painting projects designed by Patti Wallenfang. Between the two halves, there's a lot of inspiration.

I've never painted roses before, but it seemed like the perfect way to cover my C since our last name means "of the rose." The directions were clear and easy to follow with plenty of helpful step-out photos. I also really appreciated the guide to painting techniques and types of paintbrushes at the beginning of the painting section. I don't have any training in painting (besides a 4-session watercolor class that I took as a teenager) so this was very useful. While there is definitely room for improvement, overall I'm very happy with how my C turned out.

This book, along with a plain monogram, would make a really cool gift for a child or adult who enjoys crafts. I'm already thinking about who will be receiving copies for upcoming birthdays!