

Tissue Paper Hearts
Materials:
- tissue paper (a variety of colors, cut into squares)
- watercolor paper
- liquid starch
- paintbrush
I save all the tissue paper we receive. If it is too wrinkled or torn to be reused for gifts, I cut it into squares. I keep all the Valentine's colors in this tub. (I also have a tub for ocean colors.)

Steps:
Paint a little bit of liquid starch onto a small area of your paper. Lay a piece of tissue paper down on the moist area, then paint over the top with more liquid starch. Do not use too much starch- it should be moist, not puddly.Continue until you have filled the page.

Allow the paper to dry overnight. Check the paper- all pieces of tissue paper should be sealed. If any are loose or any ends are sticking up, paint some liquid starch over that area and allow to dry thoroughly. The paper will curl a bit as it dries. This is fine. You won't notice the curling when you cut out your shapes. If it bothers you, you can turn the paper upside down and iron it on a low setting or press it beneath heavy books.

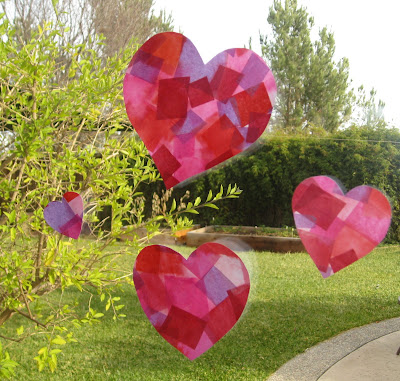
Draw or trace hearts on the back of the paper, then cut them out. Now display your hearts! I like taping them to windows. I love the way the colors seem to glow.
I hope you enjoy making these as much as I do!

I've been looking for an easy Vday project for Allie! This looks so cute! Thank you!
ReplyDeleteHow fun!! LOVE them! :):):):):):):):):):):)
ReplyDeleteOooh...they look so pretty on the window! What a fun project! :)
ReplyDeleteIt's good activity for our kids. Thank you.
ReplyDelete