Yelp recently published an article called
The Best Tour in Every State. To find their winners, they identified businesses in the Tours category, then ranked them based on the total volume and ratings of reviews. The list is interesting and there are plenty of tours on it that I would enjoy. Others, not so much. (There are three alligator tours on the list and two of them mention "hold" or "hands-on" which are
major red flags.) Boats are a common theme, but there are plenty of tours for those who want to stay on dry land. Almost every tour is guided, but they did include a self-guided tour on the list. A few are seasonal - you won't be taking a snowmobile tour in the summer, nor doing whitewater trips in snowy states in the winter. Anyway, it's an interesting list.
One of the neatest things about having
been to all 50 states is that I can make lists like this too. But first I had to decide what the definition of a tour is. Obviously, when you get onto a bus, boat, train, wagon, etc. and someone drives you around telling you about stuff, that's a tour. If you're on a Segway (
ugh), bike, scooter, or just walking and there's someone leading the way and telling you about stuff, that's a tour. If you put on headphones and move from one location to another as directed by the narration, that's a tour. It's still a tour if the narration starts when you press a button, or if you just read signs that take you from the first stop to the next. Basically, a tour involves being told where to start and where to go next, with factual information conveyed along the way. If you can wander around and look at what interests you with no obligatory path, maybe skipping some items, maybe returning to something... that's not a tour. So I don't consider most museum visits to be tours. Likewise, a bus, boat, or train ride is not a tour if there isn't a narration component along the way.
With my definition in place, let's look at the first ten states. If you click on the name of the state at the beginning of each entry, it will take you to a list of all the activities we've done in that state. The link within the text will take you to the narrative about the specific tour I've named the best.
---------
The best tour that Steve, Trevor, and I took in Alabama was at
Oak Mountain State Park. It was absolutely fantastic. Oak Mountain is gorgeous, even in the middle of the winter. I can only imagine it would be stunning in other seasons. You can find ranger-guided tours and educational programs at the Treetop Nature Trail, the Alabama Wildlife Center, the Oak Mountain Interpretative Center, and more.
We've done so many incredible tours in Alaska that it's really hard to pick a favorite. But I'm going to give that honor to the
Musher's Camp Tour and Sled Dog Experience that we did in Skagway. It was so much fun and such an iconic Alaska experience. That was before I was blogging about travel, so there's no post to link to. But here's a picture of us with one of the dogs who pulled our sled.
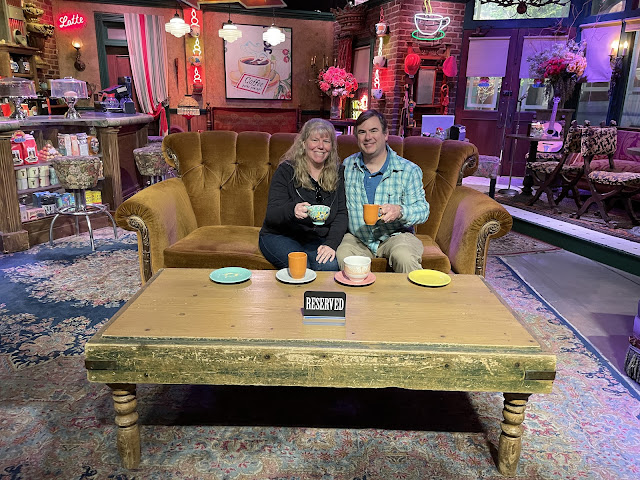
The best tour I've taken in Arizona was by
Rising Phoenix Tours. I learned so much about the past and present of Phoenix and what makes it unique. In addition to seeing the sights, we also stopped at a bunch of creative businesses. (It was during an AFCI-sponsored trip, so Steve and Trevor weren't with me for this tour.)
The best tour we took in Arkansas was at
Little Rock Central High School National Historic Site. Actually, it is one of the best tours I've taken anywhere, in my entire life. Ranger Rebecca did an amazing job bringing the history to life. This tour was one of the highlights not only of this particular trip, but of our entire time visiting all 50 states.
This one is really tough. I've taken dozens, if not hundreds, of tours during my 53 years in California. I've done city tours, food tours, gold mine tours, boat tours (traveling on rivers, lakes, and the ocean, as well as tours of stationary historic boats), cave tours, redwoods tours, butterfly tours... the list goes on and on. I've toured the Jelly Belly Factory at least a dozen times. There are so many outstanding tours I could name and I hate picking one since it means leaving others out. But pick I must. Probably due to the recency effect, I'm going to select the
Warner Bros Studio Tour as the best tour I've taken in California.
This is an easy one. The best tour I've taken in Colorado is the
Celestial Seasonings Tea Tour. I've taken the tour twice and loved it both times. It is so interesting seeing all the raw ingredients and learning how they are transformed into products ready to ship. My favorite part of the tour is the Mint Room, where mint explodes at your senses in the very best of ways.
We spent a full day in Connecticut doing a lot of fun things... but none of them were tours. My favorite non-tour activity was going to the
Pez Visitor Center.
The best (only) tour we took in Delaware was a
docent-guided tour of the Old State House. We enjoy taking guided tours of current and former Capitol buildings when we can, but the timing doesn't always work out. Fortunately, it did in Delaware.
I've been to Florida at least 7 times, but I can only remember a single tour I've taken there. I was about 13 when we took a
bus tour at Kennedy Space Center. On account of it being the only tour I've taken in Florida, it is now officially my favorite. I don't have a photo from our visit, so I'm using one of the media photos from their website. I don't remember it looking like this in the mid-80's, but it might have. I really don't remember much about it at all.
My favorite tour in Georgia was the 5-hour
Atlanta City Bus Tour. Our guide was fantastic and we learned so much about the history and culture of Atlanta. Highlights of the tour included Martin Luther King Jr. National Historic Park, the Atlanta Beltline, Ponce City Market, and much more.
That's the end of Part 1, Alabama through Georgia. I'll be back tomorrow with Part 2, Hawaii through Maryland!


