2/28/17

40-4-Steve: Brazilian Rodizio

Have you ever had Brazilian rodizio? If not, drop everything and go! I bought a Groupon for Cleo's Brazilian Steakhouse as part of the 40-4-Steve project, as neither Steve nor I had eaten at a Brazilian steakhouse before. 

The restaurant has a large buffet with a wide variety of delicious Brazilian dishes, but the real treat comes on skewers. Waiters stop at each table with their offerings, and carve off slices of whatever you want to try. They keep coming as long as you keep the sign on your table flipped to green. When you can't eat another bite, you flip it to red and they no longer come to your table. Brilliant!

Oh, the food! It was amazing. Well, most of it. We tried every dish, including chicken hearts. It turns out that none of the deRosiers like chicken hearts. At all. I'm glad we tried them though. Especially Trevor. So many of my friends struggle with getting their kids to eat perfectly ordinary foods, and my son is willing to try chicken hearts. 

It's impossible to pick a favorite dish, as everything (except the chicken hearts) was sublime. If I HAD to choose, I'd say the roasted pineapple smothered in cinnamon was my absolute favorite. 


We'll be back. No doubt.

2/27/17

40-4-Steve: Award-Winning Books

Steve's 40th birthday has come and gone, and with it, the official end of my 40-4-Steve project. However, since I have only scrapped and shared 23 of the 40 adventures, you can expect 17 more blog posts in the near future. Well, sixteen more after this one. 

The deRosiers are voracious readers (remember Library Roulette?) so I wanted to give Steve a reading challenge. I found the Newbery, Caldecott and Hugo award winners from the year he was born, 1976. He hadn't read any of them and loved the idea of reading them. He highly recommends all three books. 


When I checked out these books for Steve, I also got the winners from 1972 (when I was born) and 2006 (when Trevor was born). Someday, I'd like us to read all of the Newbery winners, but that's easily a year-long project just by itself!


(Interesting that the library versions have different covers.)

2/24/17

Colonial Quilling, Love Cards, and Inspiration from the Beatles

Valentine's Day fell on a Tuesday, the day I teach social studies to Trevor's fifth grade class. By happy coincidence, it was the day I planned to teach quilling, which was common during the colonial era. We added a bit of a Valentine's Day twist to our craft projects by creating quilled valentines for our families. 

I gave each student thin strips of colored copy paper, a toothpick, white glue, and construction paper, then demonstrated how to make the basic rolls and scrolls. I showed several examples, including the rebus valentine. And then I set them loose to create.


Look what this lucky mama received. My sweet boy.
 

Trevor said that even though my initials are CMJ, he chose to make CMd. He tried a J first but didn't like it. 

Trevor's teacher wanted some samples to show future classes when she teaches quilling, so I used some of the shapes I made when demoing to the class to whip up some cards for her. They're similar to ones I've shared on the blog before, with the exception of this Beatles-inspired card.


All You Need is Love Quilled Card


Materials:

  • red cardstock
  • white cardstock
  • paper trimmer
  • 3 strips black construction paper
  • 1 strip red construction paper
  • quilling tool or toothpick
  • white glue
  • black pen


Steps: 


Cut the red cardstock to make a card. Cut the white cardstock slightly smaller than the red and adhere it to the base. 

Quill two of the black construction paper strips into loose circles and glue. Quill the red construction paper strip into a heart. 

Bend the third black construction paper strip to form a U, then fold to give it right angles. Trim it to size, then glue it to the black circles to form music notes. 

Write "All you need is" toward the bottom of the card. Glue the quilled heart next to it. Glue the music notes above it. 

Add a message inside. 


2/23/17

Quill Pen Calligraphy and Colonial Hornbooks

Did you notice anything in the background of the post about pease porridge (hot)? Perhaps this?


While we enjoyed pease porridge (hot), we made our version of colonial hornbooks. This is my sample:


I gave each student a feather to use as a quill pen, watered down black tempera paint to use as ink, a copy of a calligraphy alphabet, and two sheets of white paper.


They practiced on the first sheet. 


Then they did a final version on the second sheet. 


Pease porridge (hot) in one cup, ink in the other. Don't mix them up!


After the ink had dried, the kids glued their completed sheet to a piece of manila paper, cut out in the shape of a colonial hornbook.


The classroom is starting to fill up with all sorts of history-related art. I love it!


2/22/17

Pease Porridge (Hot)

You're familiar with the nursery rhyme Pease Porridge Hot, I hope? Pease porridge is an English dish that was brought to the US by English colonists. They ate it hot, cold, or even 9 days old... though I think it would have been fairly unusual to have that quantity of leftovers. It is made, not surprisingly, with peas.

As part of our study of Colonial America, I taught Trevor's fifth grade class how to make Pease Porridge (Hot). I told the kids that they could wait and eat it when it was cold, or even nine days old, but they all chose to eat it hot. I've never seen a group of kids wolf down peas faster and I'm surprised how many asked for seconds. Cool.


Pease Porridge (Hot)


We kept the recipe ridiculously simple, just one package of split peas and 16 oz. of veggie broth in the crockpot on low for 4 hours. You can, of course, add other vegetables or meats. You'd typically start with water and a hambone, but the veggie broth is cheaper and lets kids whose religious beliefs prohibit them from eating pork to try this. 

"What do you think of the pease porridge hot?"


Pretty much thumbs up throughout the room! 

2/21/17

Colorwear T-Shirt

Check out my new t-shirt! I colored it myself.


One of my goals at Creativation was to see for myself if the coloring book trend would be continuing strong in 2017. As I wrote in my trends wrap-up, the coloring craze had largely moved off the book and onto many other surfaces, such as wrapping paper, washi tape, canvases, and clothing. Colorwear was showing color-it-yourself t-shirts, so I stopped to check them out and snap some photos.

Their colorful shirts are printed in black and white and come with a set of fabric markers. And look how adorable the packaging is!


Colorwear has a wide variety of designs and colors available. Color-it-yourself shirts that I've seen in the past have always been printed on a white t-shirt. I love that Colorwear prints on colorful shirts. 

The ladies in the booth gave me the 'Grow' shirt so I could try it out. I brought it with me to a crafty get-together with my friends and colored while we chatted. Great friends, great food, great wine, and crafting - my favorite way to spend a day!


I'm always looking for cool gifts, particularly for kids. Colorwear t-shirts are a great choice. They're high-quality, with dozens of designs and colors. The price point is reasonable; you're giving an art project to do, a shirt to wear, and fabric markers that can be kept and used for many future projects. 

I've included links to the 'Grow' shirt, as well as to some of my other favorites. 


2/20/17

Hands-On Science: Creating a Sugar Water Rainbow

I love hands-on science and so does Trevor. (And pretty much every other kid, ever.) We've been having great fun conducting science experiments and writing about them for Little Passports. The latest is one about layering sugar water to make a rainbow


Conducting, photographing, and writing about a science experiment for a company like Little Passports is a different experience than doing the experiment for ourselves. For example, I need to pay attention to what Trevor is wearing or what's in the background of photos in a way that I don't for my own blog. I have to think about their target audience when writing up the steps, in a way that might be different than to publish here. And I need to wrap it all up in a coherent way that summarizes the science behind the activity, removing the personal information that I would add here. It's challenging, but in a good way. I honestly can't think of a better way to earn a living. 

But the downside is that my stories don't get told. The article concludes with the rainbow, lined up nice and pretty with the rest of the glasses. But that's not where the science actually ended for us. Trevor continued to mix and test and predict and guess. He swirled and squirted and poured, learning through play. 


Eventually, he didn't have a rainbow anymore. Instead, he had a dark brown, a dark green, a red-orange and a blue. This inspired a new thought. It's just sugar water - what if we add spices and flavorings to make it taste like the colors Trevor created?


The green looks like mint, so he added mint extract. The brown got vanilla and cloves. He added cinnamon oil to the red-orange, and ground ginger (?) to the blue.


Time to taste!


Delicious! And fun and educational, too. Thanks, Little Passports, for inspiring our science explorations!

2/17/17

Yarn Heart Greeting Card and Yarn Flower Gift Wrap

Ever use yarn to make a card?


How about to wrap a gift?


I used the Gelato Sweet Roll by Premier Yarns for both the card and the gift wrap. I love how they turned out. 


From February 19-25, JoAnn stores will be selling Gelato and the other 'flavors' of Sweet Roll Yarn at the low price of 3 balls for $10. What a deal!

---------

Yarn Heart Greeting Card

Materials:

  • cardstock
  • scrap paper
  • yarn
  • scissors
  • glue


Fold the cardstock to make a card base. Fold the scrap paper in half, then cut out a heart that fits nicely on the card base. Trace around the heart with glue. 


Remove the heart, then add yarn to the glued area.


Let the heart dry completely before continuing. This prevents the heart from shifting when you add the inner layers. 

Put glue in the center of the heart and add the next piece of yarn. You can alternate colors or make the whole thing a single color. Continue adding yarn until the heart is filled.


While the heart is drying, use a small loom to make a flower. It's so easy! 


Finish the gift by wrapping yarn around the box, then tying the flower around the box. If the ends aren't long enough to tie it all the way around the box, just tie it to the yarn that's already looped around the box. 


2/16/17

Explorers' Grog

To wind up our unit about the Age of Exploration, I taught the fifth graders how to make grog. Not the watered-down rum that sailors were given, of course, but a non-alcoholic version that's quite tasty. It's chock-full of Vitamin C to prevent scurvy. 


Explorers' Grog

Ingredients:

  • 1/2 gallon apple juice
  • 1 container of Limeade concentrate, defrosted
  • 1 cinnamon stick
  • 3-4 whole allspice berries
  • 3-4 whole cloves

Put the apple juice, limeade and spices into a large pot. You can put the spices into cheesecloth or a spice bag, or just put them loose in the liquid. Heat the mixture until it is warm, but not boiling. This recipe makes eight 8-oz servings. For the classroom, double the recipe so that each child can have a 4-oz. sample. 


Cheers! May your lives be long and free from scurvy.


This wraps up our study of explorers. On to Colonial America!

2/15/17

Diamond Dotz

This post contains affiliate links. 

One of my favorite things about attending Creativation is discovering new (or new-to-me) craft supplies and techniques. This year, I fell in love with Diamond Dotz. This new craft uses faceted dots to 'embroider' a design on fabric. Their booth was filled with spectacular, sparkly, eye-catching designs. I spent about 15 minutes trying this addictive craft before I needed to pull myself away to get to a class. They sent me home with a starter kit for Trevor to try. Here's what he made:


The kit includes the printed fabric (coated with adhesive and covered with a protective film), Diamond Dotz (sorted by shade), a stylus, craft tray and wax caddy. 


It couldn't be easier. You poke the stylus into the wax, then use it to pick up the rounded side of the Dotz. Touch the fabric, and the Dotz cling to it, releasing instantly from the stylus. 


After working on it for around 15 minutes, Trevor needed to leave for Cub Scouts. He simply recovered the fabric with the protective sheet and was able to come back to it the following day.


After about 15 more minutes, he finished the design. He picked out wood-grain patterned paper to mat it, as you see at the top of the post. 


Trevor and I both love Diamond Dotz and look forward to working on another design. Much like a jigsaw puzzle, it's a great activity to do while chatting or relaxing. We talked about how cool it would be to get one of the large designs and bring it along to our family reunion this summer, where family members could work on it while they catch up and enjoy each other's company. 

We also talked about what a neat birthday gift this would be. At $5 for the starter kits and $8 to $13 for the beginner kits, Diamond Dotz are an affordable gift that would appeal to boys and girls of a variety of ages. In fact, I told the folks at the Diamond Dotz booth that they should add a beginner-level cupcake or balloon or other birthday design and I'd buy one for each of Trevor's friends on their birthdays! I know I'm not the only one who would.

2/14/17

Twelve

In honor of Valentine's Day, I scrapped the photos of my valentine and me celebrating our 12th anniversary last May. I love how it turned out. (And it's been long enough that the memory of my Segway disaster has faded...)


Happy Valentine's Day!

2/13/17

Exploring North Dakota Through Little Passports

Our latest adventure through Little Passports took us on a virtual journey to North Dakota, another state that neither Trevor nor I have actually visited. We started with the activities in the travel journal, learning about agricultural jobs and crops in North Dakota, as well as the huge oil fields there. We did a word search using vocabulary related to paleontology and spotted differences between illustrations of two buffalo. Next, we did an activity based on the Lewis and Clark Expedition. We looked at photos of sculptures by Gary Greff along the Enchanted Highway. Then we wrote about the qualities we value in friends, inspired by the International Peace Garden on the border of North Dakota and Manitoba, Canada. It looks beautiful and we hope to visit in person someday! 

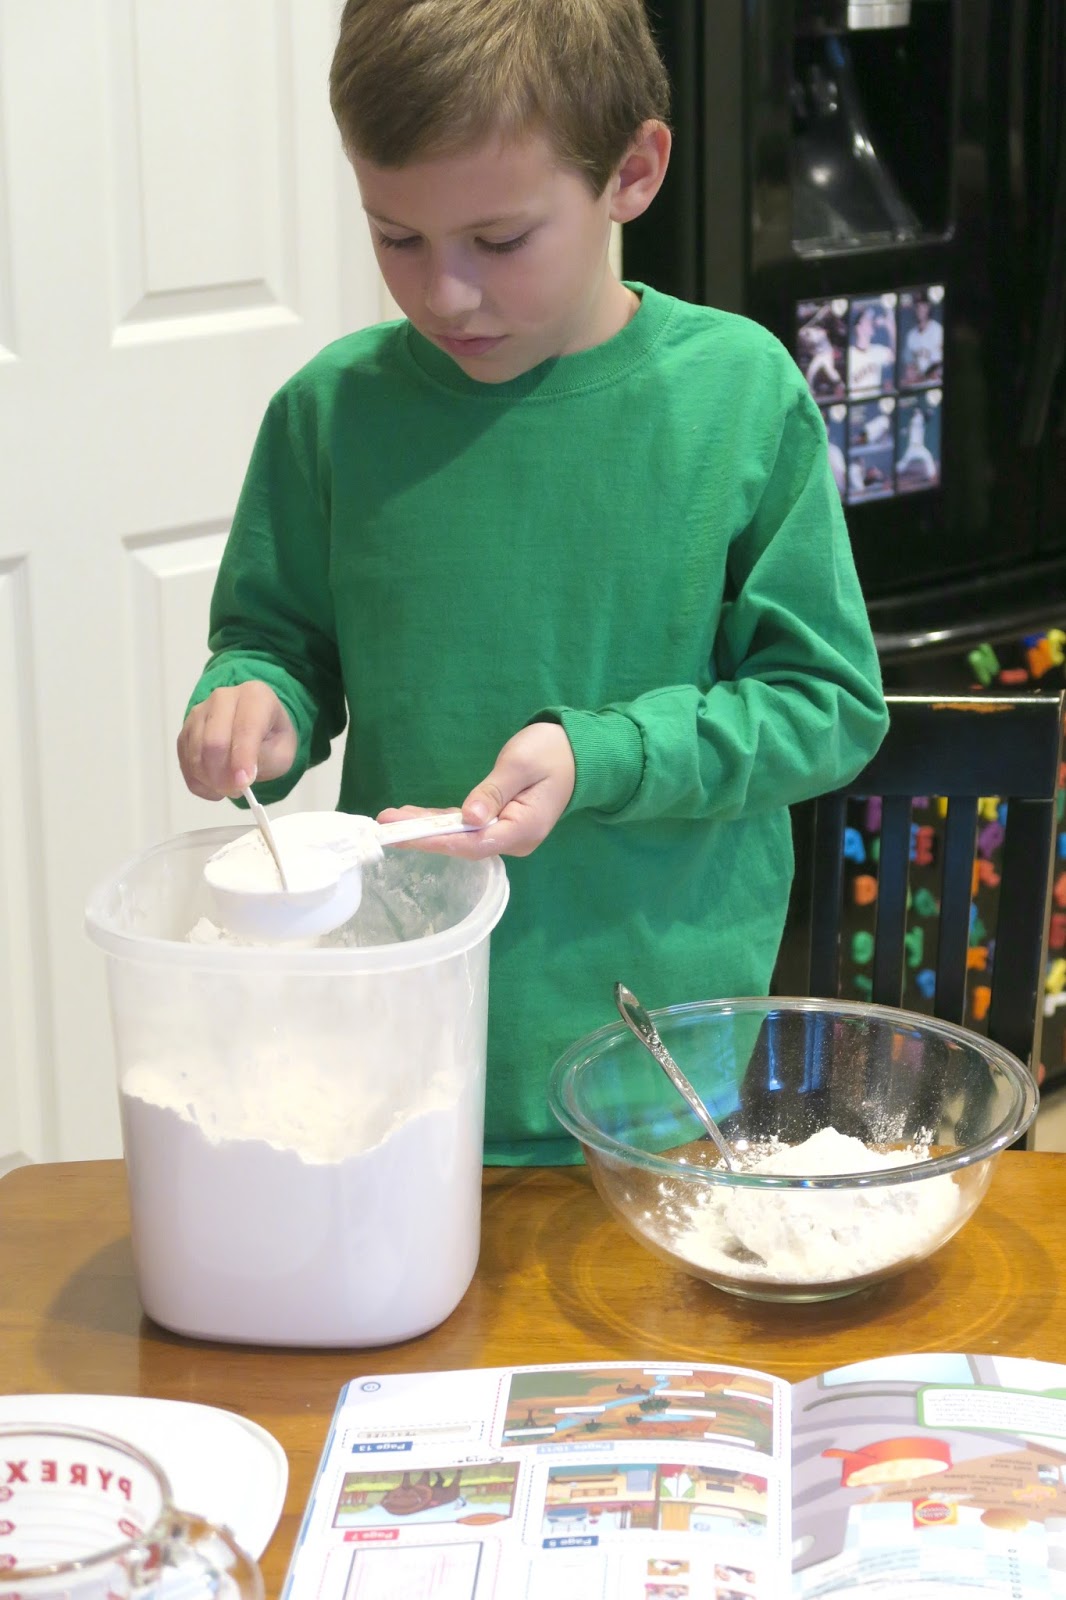
We jumped right in to the science experiments next. The activities explore how water bends light and makes objects look different. Trevor saw a penny in a bowl of water disappear and 'magically' reappear and then saw a fork 'break' in a glass of water!


The experiment was inspired by sun dogs, something I'd never heard of before. I'm not exaggerating when I say that I always learn something new from Little Passports!


While I cleaned up from the science experiment, Trevor built the model. It's a buffalo.


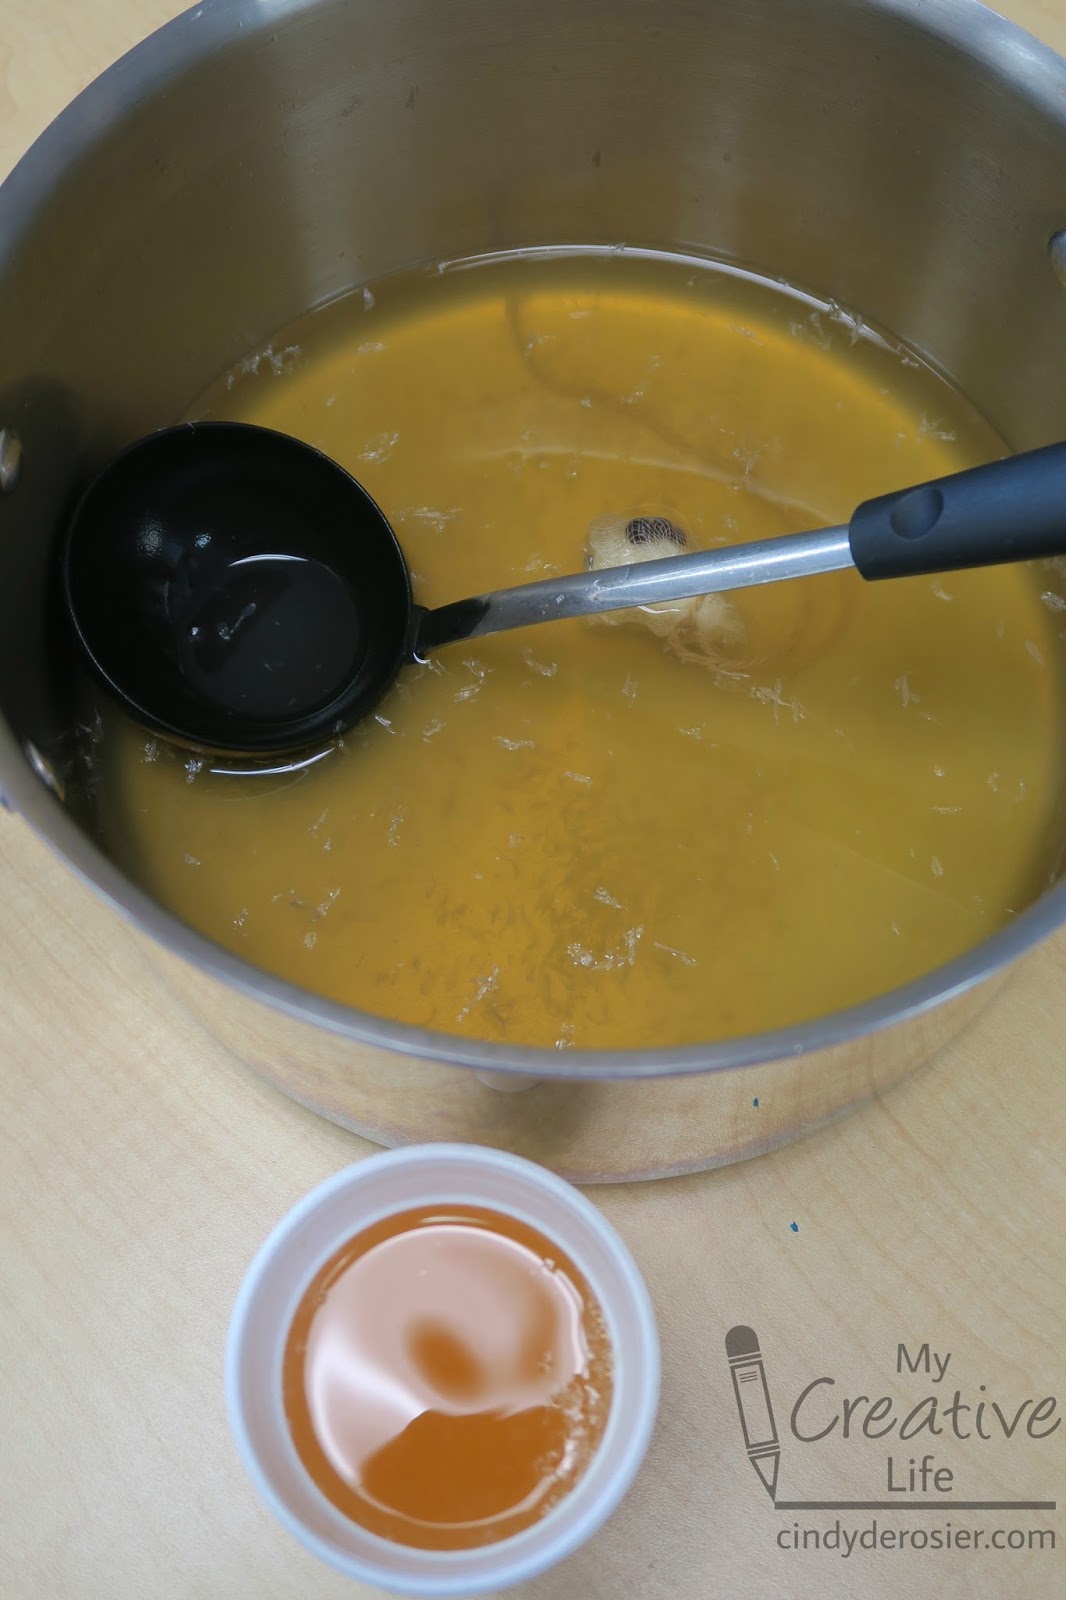
The next day, we tackled the recipe from the North Dakota journal: knoephla soup. Yet another thing Little Passports has introduced to me! It is a broth-based soup with flour dumplings of German origin. It is pronounced 'nip-fla.'


We made our dumplings a bit too big and the potatoes could have been cut smaller too, but no matter - the soup was delicious. Perfect for a rainy day, and we've had a lot of those recently. 


Our final activity from the North Dakota Little Passports was making dream catchers. Their version uses paper plates; we opted to use the two parts of an embroidery hoop for a more elegant looking dream catcher. Affiliate links below.

(Trevor's)

---------

Embroidery Hoop Dream Catcher


Materials: 

Steps: 


Separate the two parts of the embroidery hoop. You only need one half for each dream catcher. Paint it brown and let it dry completely. 

Select the beads. Trevor and I each used 16 wood beads in various shades.


Cut a piece of yarn approximately 6 feet long. Tie one end to the dream catcher and trim the tail close to the knot. Wrap a piece of scotch tape around the other end of the yarn to make an aglet. Wrap the yarn across the hoop, then across again in at a different angle. Occasionally, thread a bead onto yarn. Continue wrapping until you are happy with the shape you've made. Tie the yarn to the embroidery hoop. 

Before trimming the tail, thread the remaining beads onto the yarn. (This way, you don't have to make aglets for each piece of yarn that dangles down.) Adjust the beads and cut the yarn into three pieces. They can all be the same length, or the middle one can be longer. Tie each piece of yarn to the bottom of the embroidery hoop, adjust the beads where you want them, then tie knots at the ends and trim the excess yarn. Add a dab of glue to the end of a feather and insert it into each of the lowest beads. The feather will hide the knots. 

(Mine)

Thanks to Little Passports for another fantastic virtual voyage! We learned so much about North Dakota and can't wait to explore the next state together.