Showing posts with label Recipes. Show all posts

8/14/25

Creamy Lemonade

After an abnormally cool summer, things have heated up here in Northern California. Time for a refreshing glass of what I'm calling Creamy Lemonade. 
 

I became familiar with the joy that is Brazilian Lemonade in 2014 and promptly did a taste test to see if I could improve on the original. It was a delicious experiment. When I got a bunch of fresh lemons recently, I thought it would be fun to see what other directions I could take this drink. After some trials, tweaks, and simplifications, I'm happy with this frothy, refreshing, creamy version of lemonade. 


Creamy Lemonade

 
1/2 cup fresh squeezed lemon juice
3 T. sweetened condensed milk 
2 T. sugar 
1 cup milk


Put all ingredients in the blender and mix until frothy. Serve over ice. Garnish with a lemon slice and a dollop of whipped cream.

1/27/25

Chickasaw Molasses Bread

Visiting the Chickasaw Cultural Center was one of the highlights of our time in Oklahoma and a must-see if you will be in the Sooner State. The large campus is beautiful and has so much to see and do. One of the many things you don't want to miss is the Aaimpa Cafe. We loved trying traditional Chickasaw foods that we'd never had before. 

If you can't make it to Oklahoma, you can taste what you're missing with Ilimpac'chi': We're Gonna Eat! (affiliate link). This Chickasaw cookbook is packed with interesting recipes, as well as a lot of interesting cultural information, photos, and personal stories. The recipes are a mix of newer and more traditional Chickasaw recipes. 


Chickasaw language lessons are scattered throughout the cookbook. Bread ("paska") is my favorite food, so these are the most important phrases for me. 


I recently made Molasses Bread ("Paska Champoli'"), which is both in the cookbook and on their website. I was mystified by the instructions to bake it in an "oblong" pan - no size given. There wasn't enough batter for a 9x13, but an 8x8 seemed reasonable (even though it's square and not oblong!). But that's part of the fun of traditional recipes, right?! The bread was delicious.  

If you are interested in the cuisine of other Native cultures, there are a lot of indigenous cookbooks available on Amazon. If cooking isn't your thing but eating is, be sure to check out my article about the best indigenous restaurants in the US. And let me know if you have any to add. I'd love to check them out. 

10/22/24

Alabama State Cookies: Introducing the Yellowhammer

In 2016, our family visited New Mexico and tried their official State Cookie for the first time. When I wrote the blog post about our trip, I included this: 
"Note to self: Petition California's legislature to adopt an official State Cookie. I'm not sure what it should be, just that we should have one too."
 
It took two years, but in 2018 we set about inventing the California Cookie. Trevor and I, plus three of his friends, had a really great competition, picked a winning cookie, and wrote to the legislature. Unfortunately, our efforts to make it official were not successful, but it was really fun. 

While Trevor and his friends were not able to enter the annals of history through the invention of a State Cookie, an Alabama 4th grader named Mary Claire Cook did. Her cookie, called the Yellowhammer, is a pecan and oat sandwich cookie filled with honey and peanut butter. It's a great representation of the state, as peanuts are the State Legume of Alabama and pecans are its State Nut. Alabama is nicknamed the Yellowhammer State, after the state bird. 

When the Yellowhammer was adopted in June 2023, Alabama became the third state (after New Mexico and Massachusetts) with an official State Cookie.  


The Yellowhammer is a hefty cookie... and quite delicious. 


The filling is outstanding. 


This is the official recipe for Yellowhammer Cookies. Enjoy!


---------


Yellowhammer Cookies
Yield: 24 cookies

COOKIES:

  • 3 1/2 cups all-purpose flour
  • 2 teaspoons baking soda
  • 1/4 teaspoon baking powder
  • 1 teaspoon salt
  • 1 1/2 cups butter, melted and slightly cooled
  • 2 cups brown sugar
  • 2 teaspoons vanilla extract
  • 2 eggs
  • 4 1/2 cups quick-cooking oats
  • 24 pecan halves

FILLING:

  • 1 cup peanut butter
  • 2 tablespoons honey
  • 1 cup powdered sugar
  • 1/2 cup melted butter

BAKING AND ASSEMBLY:

  1. In a bowl, stir together flour, baking powder, baking soda and salt.
  2. In a separate bowl, using a hand or stand mixer, beat together butter, brown sugar, vanilla, and eggs. Add flour mixture and stir well.
  3. Add oats and continue beating until well mixed.
  4. Cover and refrigerate dough for two hours.
  5. Preheat oven to 350 degrees F.
  6. Form dough into 48 1-1/2 inch balls and flatten. Arrange on a parchment paper-lined baking sheet. Place a pecan half on 24 of the cookies, which will become the top of the finished treat.
  7. Bake for 10-12 minutes or until set.
  8. Make the filling: Mix peanut butter, honey, butter and powdered sugar and beat to combine, about three minutes.
  9. Spread filling between two cookies, topping with the pecan-topped halves and sandwich together.

3/1/24

Raspberry Lemon Cupcakes

Raspberry and lemon is one of my all-time flavor combinations. Raspberry lemonade, raspberry lemon sorbet, lemon cake with raspberry coulis... seriously yum. I did some experimenting and now I have a new favorite to add to that list: Raspberry Lemon Cupcakes. 


There are three components to my raspberry lemon cupcakes: the lemon and raspberry cake part, the raspberry frosting, and the cute raspberry lemon heart toppers. I started with a box mix for the cake; the frosting is from scratch. Affiliate links below. 


Raspberry Lemon Cupcakes


Ingredients: 


Put the frozen raspberries into a fine mesh strainer over a bowl. Set it aside. 

Grind the freeze-dried raspberries to make a powder. (Or buy powdered raspberries from the get-go). I put mine in a ziplock bag and used a meat mallet to pulverize them, which was fine for this purpose. You could also use a spice grinder. 


Spoon some raspberry powder into each of space in the heart candy mold. 


Follow the directions on the package to prepare the lemon candy melts. Pour the candy into each mold, then use a toothpick to swirl the powder into the melted candy. Let the candy set.


Follow the directions to make the cupcakes. Before putting the batter into the oven, spoon some raspberry powder on top of each cupcake. Use a toothpick to swirl it into the batter. Don't swirl too much - you want some to be visible. 


While the cupcakes are baking and cooling, pop the cooled candy hearts out of the mold. Then start the frosting. Press the now-melted raspberries through the strainer until you have 1/3 cup of puree. (Save any extra for something else.) 

Whip 1 cup butter until light and fluffy, then add the puree. Blend in enough powdered sugar so the frosting is piping consistency. Transfer it to a piping bag. 


Pipe a swirl of raspberry frosting (naturally a beautiful shade of pink!) onto each cupcake, making sure some of the speckled cake still shows through. Put a candy heart on top of each and enjoy!


What's your favorite dessert flavor combination? Let me know in the comments!

2/19/24

Bread Rose Wreath

Remember the rose wreath that I made out of air-dry clay? I made an edible version (bread dough instead of clay). 


The shaping process was somewhat similar, but the bread dough was much more difficult to manipulate than the clay. Still, it was a fun experiment with delicious results. I used the same basic recipe as for the Sixty-Minute Cloverleaf Rolls, then veered off in a different direction for the shaping and baking. 


---------


Bread Rose Wreath


                                                    3.5 to 4.5 cups flour                            1 cup milk
                                                    3 tablespoons sugar                            1/2 cup water
                                                    1 teaspoon salt                                    1/4 cup butter
                                                    2 packages Fleishmann's yeast


In a large bowl, mix 1.5 cups flour with the sugar, salt, and yeast. Set it aside. Combine milk, water, and butter in a saucepan (or microwavable bowl) and heat until liquids are 120-130°F. Add the liquid ingredients to the dry ingredients and beat at medium speed for two minutes, scraping bowl occasionally. Add 0.5 cup flour and beat at high speed for two minutes. Stir in enough additional flour to make a soft dough. Turn out onto a floured board and knead until soft and elastic, approximately 5 minutes. Place in a greased bowl, turning to grease top. Cover, then place in a warm place (approximately 98°F) for 15 minutes. 

Turn the dough out onto the floured baking mat. Divide dough in quarters, then divide each quarter into three equal pieces. You should have 12 balls of dough, each the same size. Roll 9 of the balls into long ropes, approximately 18" long. Braid three ropes together. 


Curl the braid into a wreath and place it on a Silpat-lined baking sheet. Repeat with the other 6 ropes to make three wreaths in all. 

Divide each remaining dough ball into 9 pieces. Roll the pieces into balls, then smoosh them with the ball of your hand to make petals. 


Pick up one petal, then roll it up to form the inside of the rose. Pick up the next petal and roll it around the center of the rose. Continue the process with the rest of the petals. Place the finished rose on the baking sheet.  

Loosely cover the dough and let rise in a warm place, for approximately 15 minutes. Meanwhile, preheat the oven to 425°F. Bake for 15, then check the roses for doneness. Remove them from the oven and bake the wreaths for another 10 minutes or until done. While the wreaths are still hot, nestle the roses into the wreaths. Let the bread cool on a wire rack for at least 10 minutes. 


Shop my affiliate links! 

                                  Silpat                                            Sili Bake                                         Fleischmann's Yeast

1/23/24

"Hard-Boiled Egg Drink" for April Fool's Day

I love food that looks like one thing but is actually something else. Remember the "bowl of cereal" I made for April Fool's Day a few years ago? Just like that, this "hard-boiled egg drink" is meant to fool the eye, but delight the palate. Can you guess what's in it?


Before I reveal the answer, it is worth mentioning that at least one cocktail made with hard-boiled eggs exists. I haven't tried it, but I suppose I'd be willing to. I'm far less interested in trying any of the hard-boiled egg smoothie recipes out there. 

Hard-boiled egg sliders, on the other hand.... sooo good!


Just split hard-boiled eggs in half, then add bacon, cheddar cheese, and mashed avocado. Use a toothpick to hold them together, then sprinkle salt and pepper on top. They make a fantastic appetizer; in fact, I served them recently when we had a friend over for dinner. 

I made two other egg-inspired dishes for that meal. For the entree, I cooked meatballs in mariana sauce with zucchini, then cracked eggs into the sauce and baked them in the oven. So yummy and a really easy one-pot meal!


I also made some spoonbread. I tried a recipe I'd pinned (as part of my creative resolutions for the year). It was fine, but not amazing. 


I served my "hard-boiled egg drink" for dessert. Have you guessed what's in it yet? Three things: vanilla ice cream, milk, and mango ice cream. (Fun fact: You can buy mango ice cream on Amazon (affiliate link here and below), but I don't recommend doing so unless you have significant money to burn.) 

I put vanilla ice cream and milk in the blender to make milkshakes and poured them into glasses. Then I used a small cookie scoop to make balls of mango ice cream and added them to the milkshakes. Obviously, you could make your own ice creams, but I went the easy route this time and used store-bought. 


It was delicious and such a fun treat. It would make a great addition to a meal on April Fool's Day!

1/16/24

Sixty-Minute Cloverleaf Rolls

Considering that bread is my favorite food of all time and I love making it, it's strange that I haven't shared most of my bread recipes here. Time to change that! These are my go-to rolls for holiday get-togethers. They're really easy to make and taste delicious, especially just out of the oven.  


This recipe, as well as many of my other favorite bread recipes, come from Fleishmann's Bake-It-Easy Yeast Book. That's an affiliate link. I'm shocked to see it available on Amazon, since I got my copy when I was a teenager and it wasn't newly written then. I don't see a publication date in mine, but according to the Amazon listing, my cookbook and I are the same age (51)!


---------


Sixty-Minute Cloverleaf Rolls


                                                    3.5 to 4.5 cups flour                            1 cup milk
                                                    3 tablespoons sugar                            1/2 cup water
                                                    1 teaspoon salt                                    1/4 cup butter
                                                    2 packages Fleishmann's yeast


In a large bowl, mix 1.5 cups flour with the sugar, salt, and yeast. Set it aside. Combine milk, water, and butter in a saucepan (or microwavable bowl) and heat until liquids are 120-130°F. Add the liquid ingredients to the dry ingredients and beat at medium speed for two minutes, scraping bowl occasionally. Add 0.5 cup flour and beat at high speed for two minutes. Stir in enough additional flour to make a soft dough. Turn out onto a floured board and knead until soft and elastic, approximately 5 minutes. Place in a greased bowl, turning to grease top. Cover, then place in a warm place (approximately 98°F) for 15 minutes. 

Turn the dough out onto the floured board. Divide dough in half, then in half again, then in half again. Divide each portion into three equal pieces. You should have 24 balls of dough, each the same size.

I like to weigh my pieces to see how accurate my dividing is. It's not necessary, but your rolls will bake evenly if they're the same size, so it's worth the extra few minutes. I put a piece of plastic wrap on my kitchen scale, weigh each piece, then adjust as needed. I've made these hundreds of times, so I'm fairly accurate. 


Shape each roll into a ball and place it in a greased muffin tin. Use kitchen shears to snip each roll in half, then in half the other direction. Cut almost to the bottom of the rolls. 


Cover; let rise in a warm place for about 15 minutes. Bake at 425°F for 12 minutes or until done. Cool on wire racks. 


Yum! There's nothing better. 

9/29/23

Cooking with Cranberries, and Introducing the Cranberry Faux-Mo

One of the highlights from our time in Massachusetts in June was touring a cranberry bog. It was really interesting and we learned so much about cranberries. Of course, we were several months too early to see the harvest, which is typically mid-September to early-November. If you are anywhere near the Bay State, many Massachusetts cranberry growers are offering public bog tours right now! 

The wonderful people of the Cape Cod Cranberry Growers Association (CCCGA) sent me a box of freshly harvested cranberries last week. What a treat! We don't get fresh cranberries around here, except in bags at the grocery store right before Thanksgiving. I freeze those so that I can have cranberries whenever I want, but nothing beats fresh. Look at these beauties! 


The CCCGA website (cranberries.org) has dozens of cranberry recipes that I've been eager to try. Some use dried cranberries or cranberry juice, but since those are easily accessible year-round, I focused on recipes that feature fresh berries. With a plan in place, I invited friends over and cooked up a cranberry-themed dinner. 

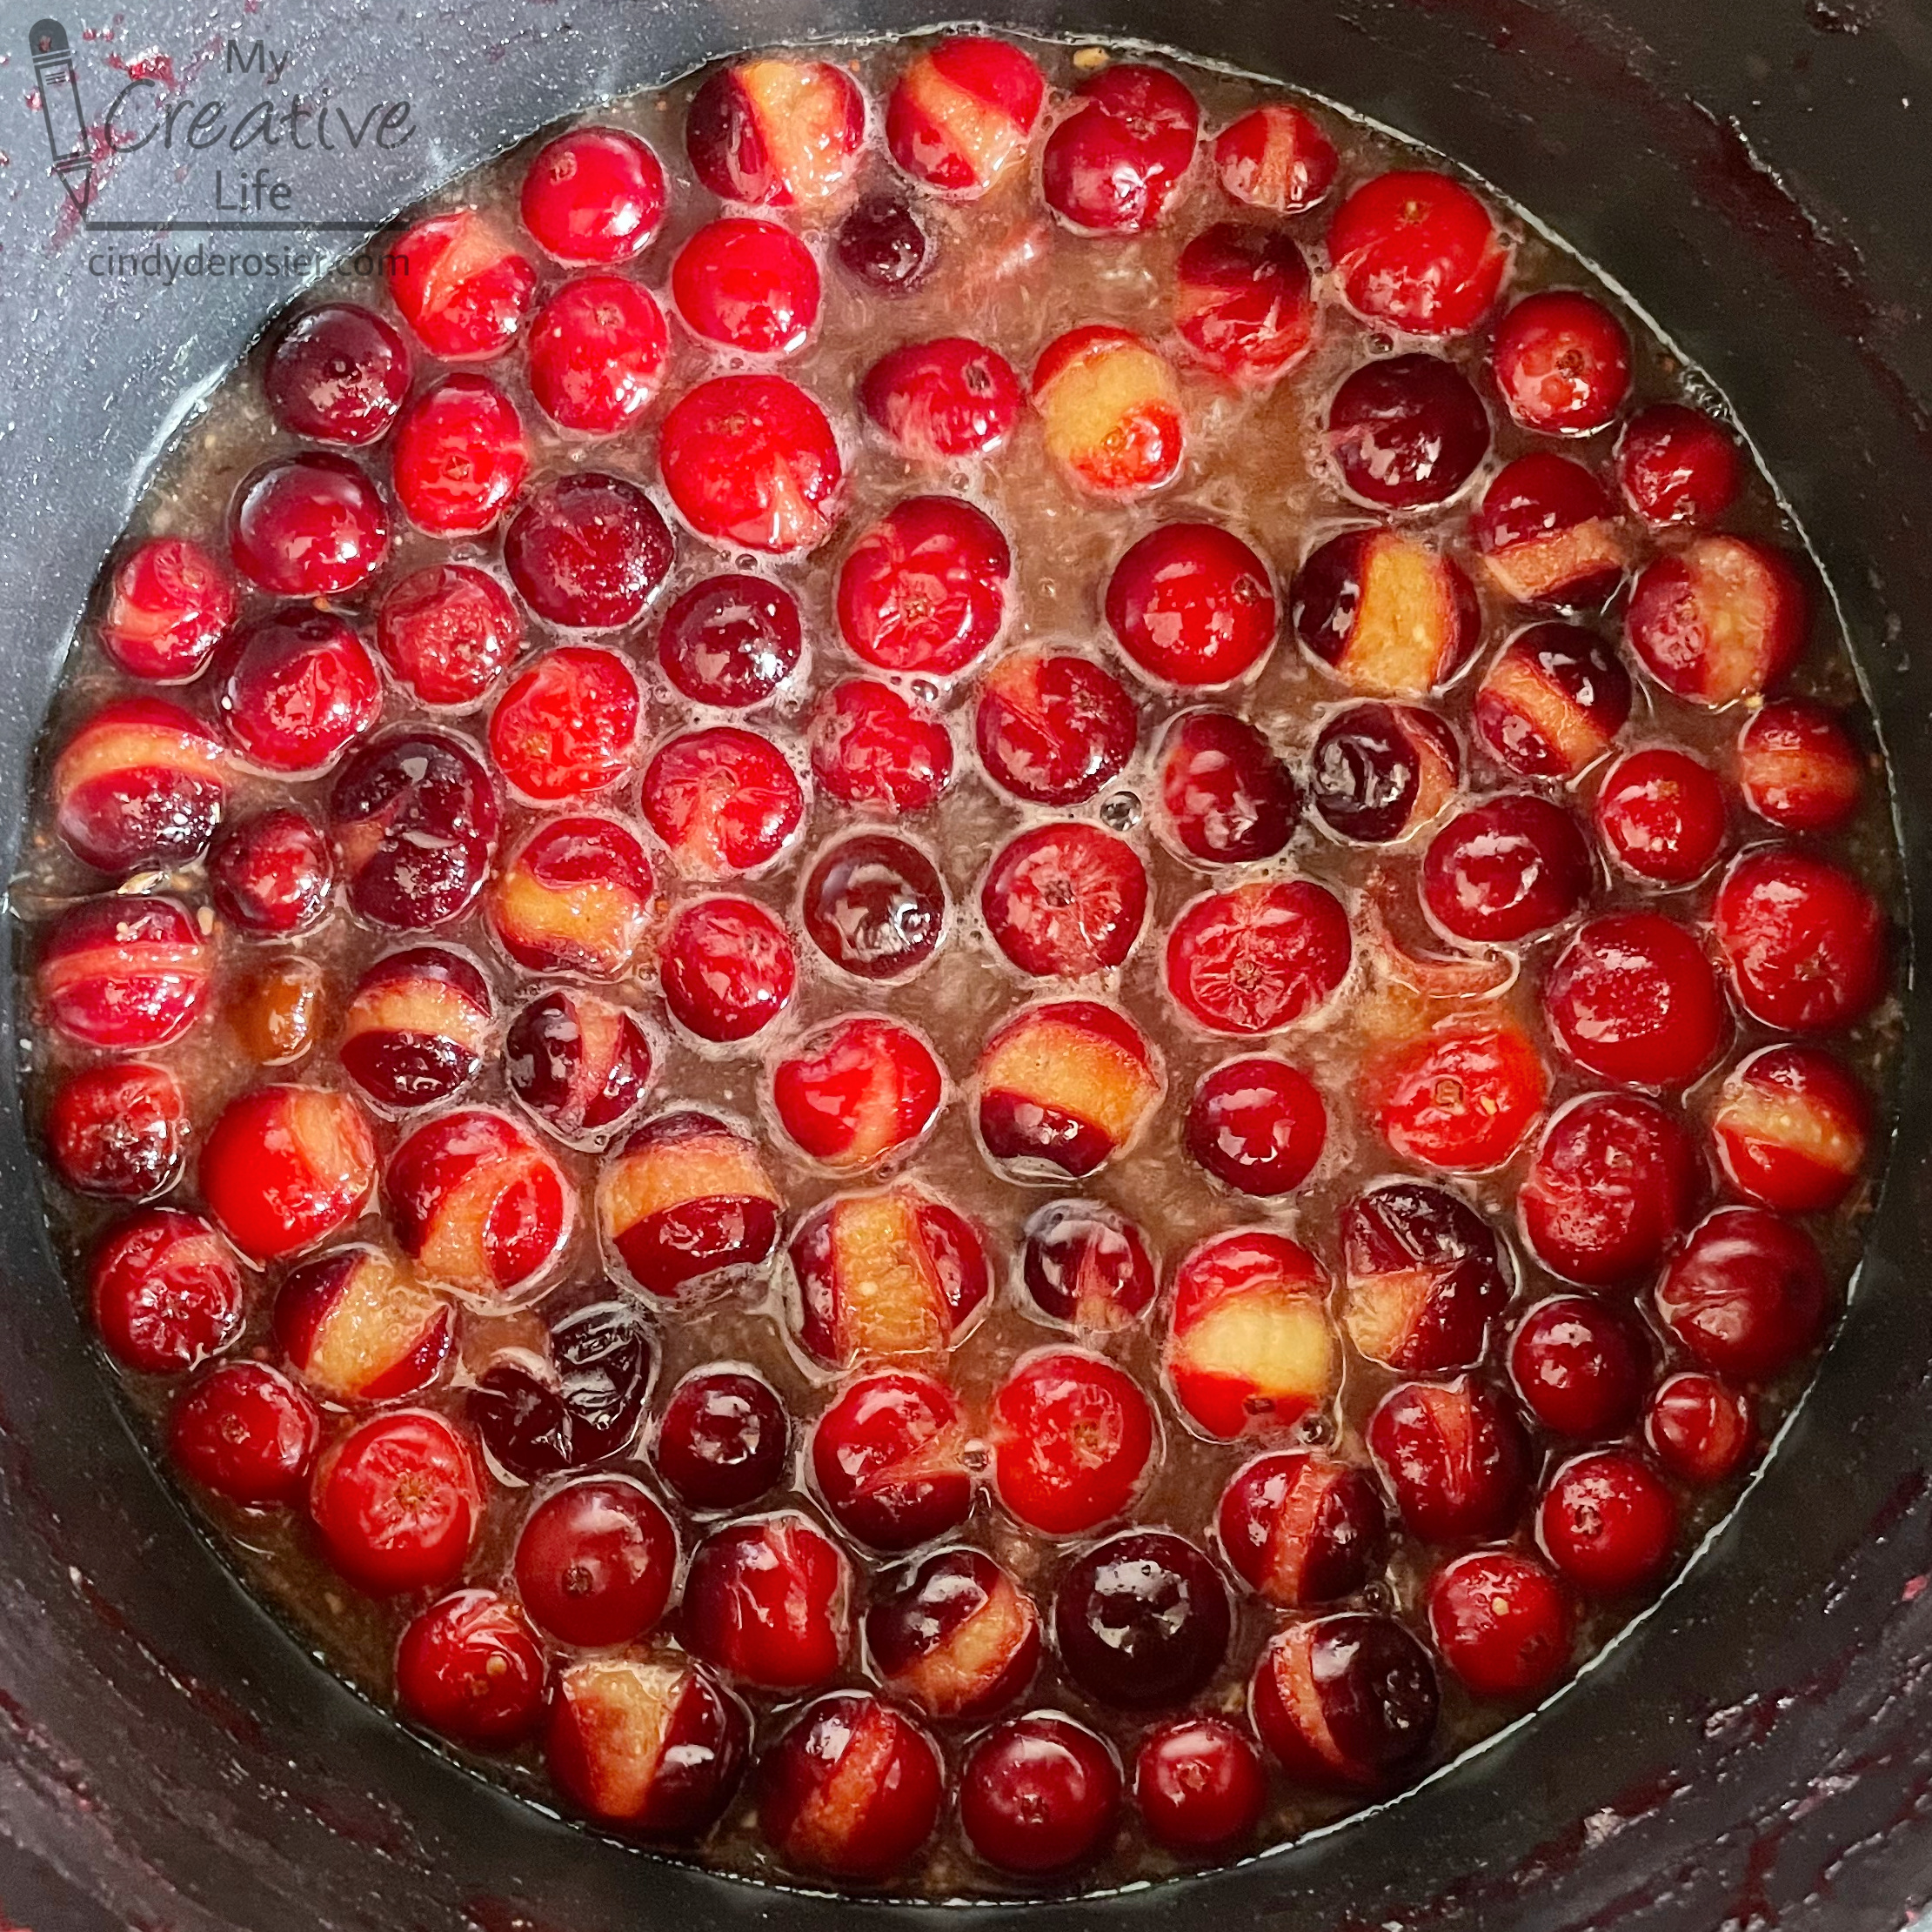
Many of the recipes start by cooking the cranberries in a small amount of water. I love watching (and hearing) them pop! 
 

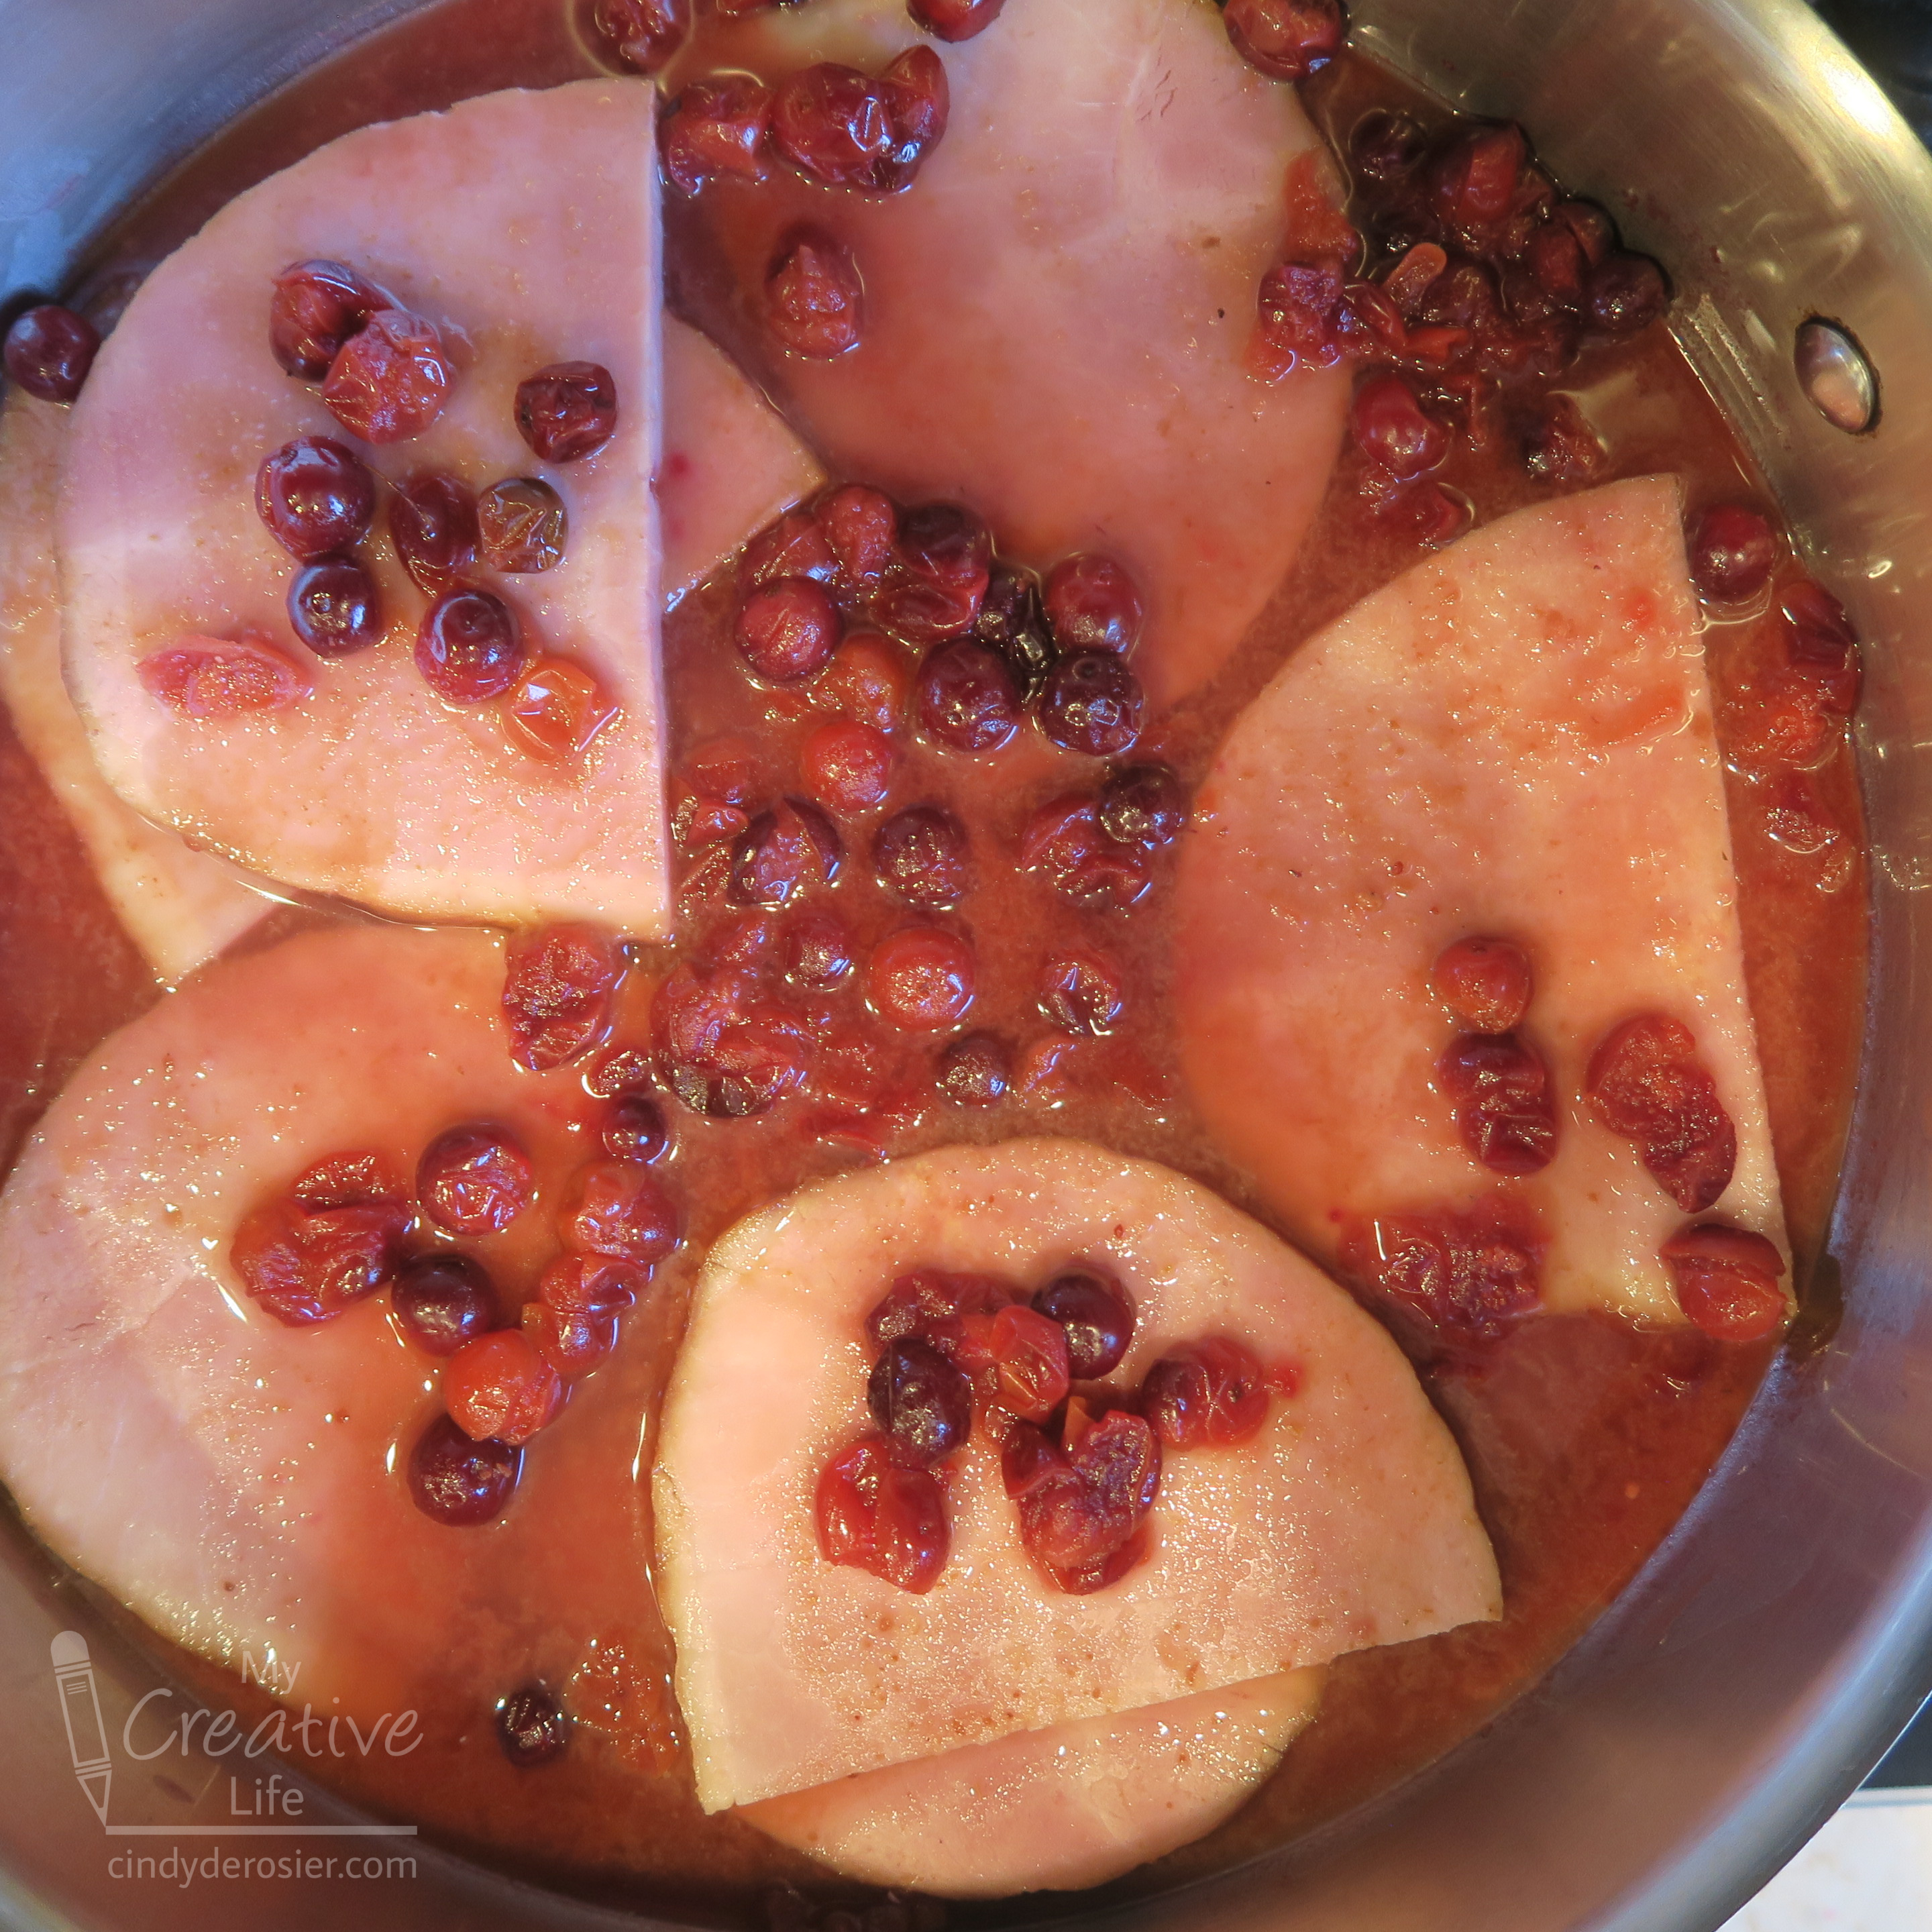
For the main course, I served ham with Cranberry Maple Pan Sauce. (Find all the recipes I mention at cranberries.org). The original recipe uses pork chops, but I traded one form of pork for another. It was delicious - a perfect balance of sweet and savory, with the right amount of tang. More than one person spooned the pan sauce over their baked potatoes and steamed broccoli, the two non-cranberry sides that I served!


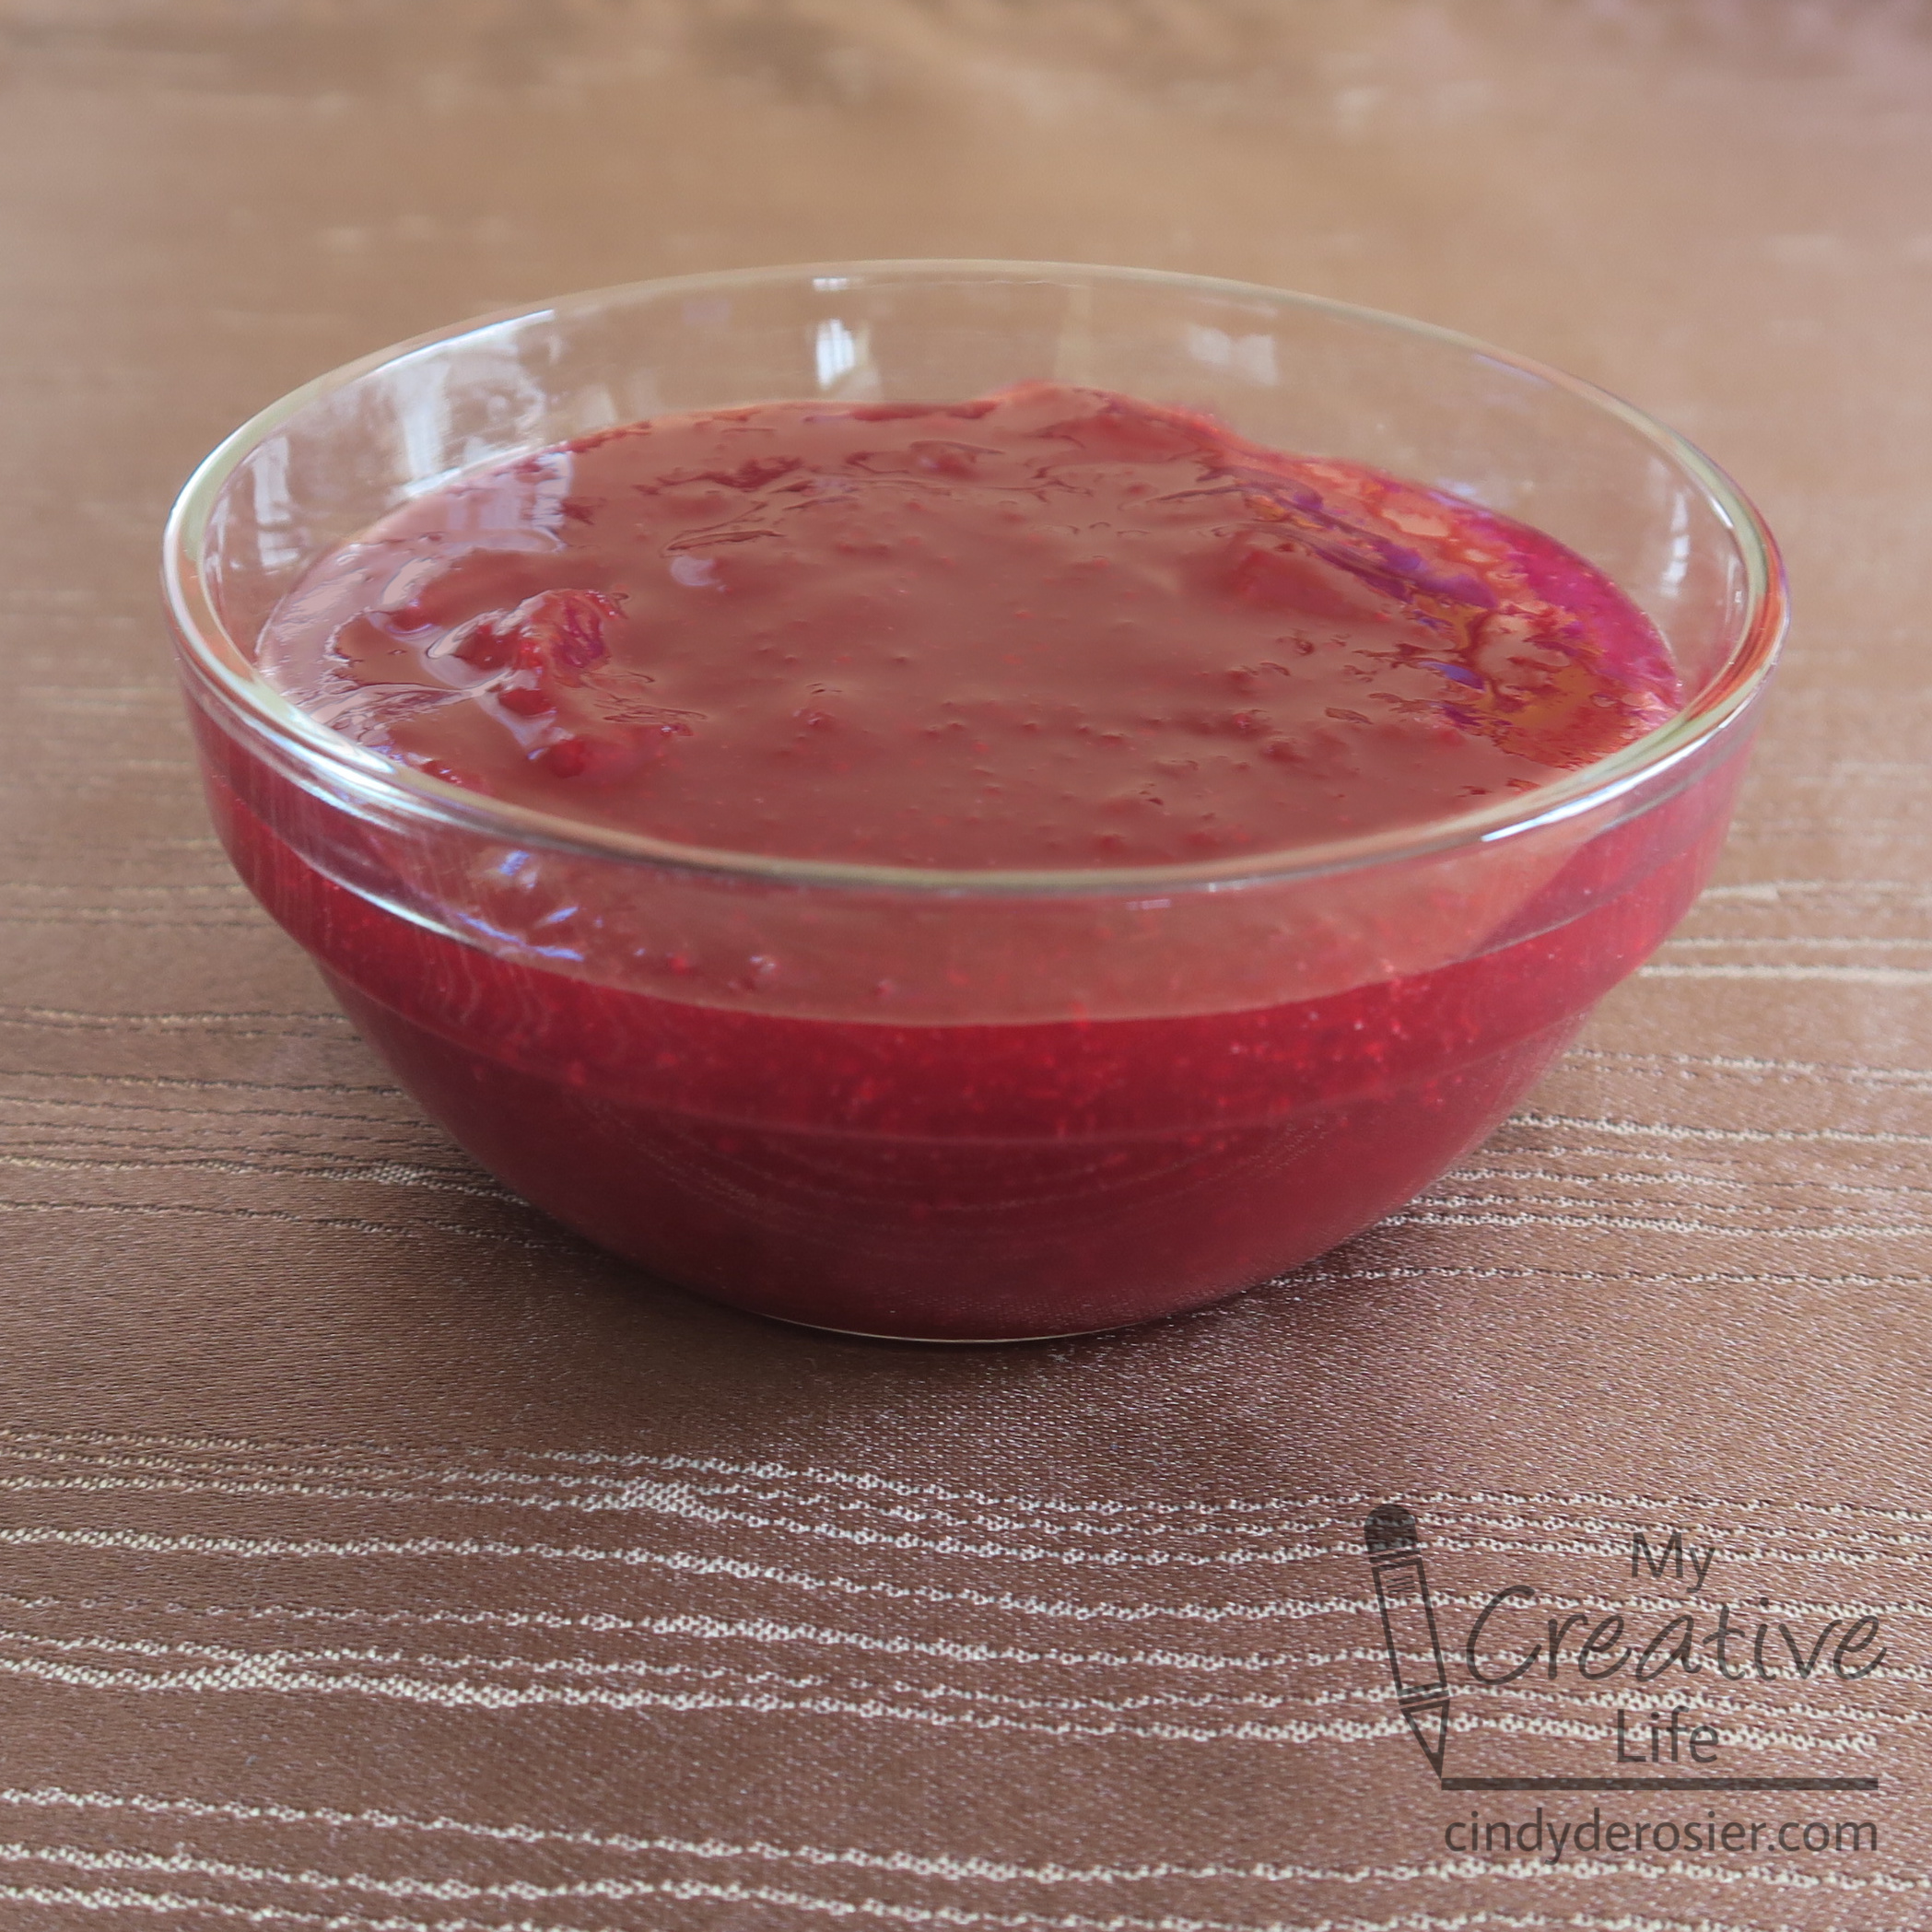
This 5-Minute Cranberry Sauce couldn't be easier and is so good. I've never put lemon juice in my cranberry sauce before and now I'm never going to do it any other way. 


These Cranberry Rangoons are listed as an appetizer, but I served them with the rest of the meal. The filling is delicious and very unexpected. I didn't love the way the wonton wrappers dried out in the oven, so next time I'll be frying them so that they're golden and crispy. 


Dessert was Chocolate Chip Cranberry Oatmeal Cookies. Yum!! They have walnuts as well, which provide such a great crunch and a contrast to the chewy cranberries. Both pair so well with chocolate. 


The inspiration for our drinks came from the Cranberry Mojitos recipe. I removed the alcohol to make it kid-friendly, tweaked the recipe a bit, and renamed the drink. 


Cranberry Faux-Mo


To make a Cranberry Faux-Mo, put a sprig of fresh mint and a scant teaspoon of sugar into a glass. Muddle them together to release the mint flavor. Remove the mint. Add equal parts of cranberry juice and limeade. Garnish with fresh cranberries and another mint sprig. 

-------


Our dinner was fantastic and it was so much fun to try out all the recipes. But I didn't stop there. I had more fresh cranberries to use and more recipes I wanted to try. So far, I've made Cranberry Sorbet...


..... and Cranberry Mousse. Soooo good!


There are a lot more recipes at cranberry.org that I am eager to try. I'm out of fresh cranberries, so I'll have to stick with the recipes that use dried cranberries or cranberry juice for now. But as soon as I get my hands on more fresh cranberries, I'll have to decide which of the recipes to try next!

If you live in a place where cranberries grow, shop local! You can find a list of growers in and around Massachusetts on the CCCGA website. Thanks again to the CCCGA for the delicious cranberries!


9/11/23

How to Throw a 50 State Party: The Food

It was tempting to go all out and serve 50 items at our 50 State Party. Instead, I focused on foods that we discovered during our travels that I thought might be new and interesting to most of our guests. I ended up serving 11 foods and 2 drinks (the third drink I'd planned didn't arrive in time). Everyone enjoyed trying regional favorites they hadn't had before and I had several requests for recipes. Affiliate links below. 

This is the last of three posts about hosting a 50 State Party. Part one is about the invitation, guest book, and decorations. Part two is about the games and activities. Part three is all about the food. 


How to Throw a 50 State Party


While I would have loved to introduce my friends to Kentucky's Burgoo, North Dakota's knoephla soup, Oklahoma's Onion Burgers, or even Ohio's City Chicken, I'm saving them for a future dinner party. For our 50 State Party, I went with foods I could serve at room temperature or straight out of the fridge. And with the exception of one item, all were finger foods. I guess you COULD eat pie with your fingers, but I provided forks. I created a label for each food using the flag icons from my website. 

Several people asked me if there are any foods we discovered during our travels that are now part of my regular repertoire. There are many, but the one I've made most often is Biscochitos. We first discovered them in Santa Fe in 2016. They are the official State Cookie of New Mexico and they are now my go-to potluck item. Everyone likes them. 


Steen's is now a favorite in the deRosier house. It is delicious on biscuits, which is how we first tried it in New Orleans in 2019. Steve has even used Steen's for homebrew!


The first time we had Fry Sauce (more specifically, Hires Big H Fry Sauce), was during our 2016 trip to Salt Lake City. It's mostly served on hamburgers and as a dipping sauce for fries and tots, but we saw it offered on all sorts of other menu items across Utah. It's not typically used as a dip for potato chips, but that was the easiest way for my friends to taste it. You can make your own fry sauce, but our taste test determined that it won't be as good as Hires. 


Kringles are a Wisconsin favorite (they're the official State Pastry) and now they're a deRosier favorite too! There are sooo many flavors of Kringle and they all sound great. 


We bought Buffalo Berry Candy on a whim in the Dakotas and loved it. None of us had heard of buffalo berries before, but it turns out they are delicious! At least, they're delicious once you add a bunch of sugar. We still haven't tried them on their own. But I'd love to! The candy is intensely fruity, tart, and perfectly balanced. I can't think of another fruit to compare it with. You just have to try it!


Speaking of berries and the Dakotas, we got to taste chokecherries directly off the bush during a ranger talk at Wind Cave National Park. Yum! And they're even tastier with a bunch of sugar in the form of chokecherry jelly! The flavor reminds me of pomegranates. Chokecherries are the state fruit of North Dakota. 


Popcorn is a big deal in Illinois. Chicago even has their own style of popcorn, which we first enjoyed at Garrett in 2018. Chicago popcorn is a half-and-half mix of cheddar cheese and caramel popcorn. I thought it was weird at first -  cheddar cheese and caramel is not a normal flavor combination. But the more I eat, the more I love it. The salty and the sweet are perfectly balanced. 


St. Louis is famous for a lot of unique foods and I was determined to try them all! The Gooey Butter Cake was even better than I expected. This recipe comes really close to what we tasted from the bakery in Missouri. 


If you love factory tours as much as the deRosiers do, go to Hanover, Pennsylvania! That's where we first learned about Utz Potato Sticks. They're soooo good! 


Hoosier Pie is the State Dessert of the Hoosier State. It's creamy and sweet and super rich. Cut really thin slices! I used this recipe for the party. 


Pan de Campo is the official bread of Texas. We first discovered it through Little Passports back in 2018. It's basically a giant biscuit, cooked in a cast iron pan or Dutch Oven, then cut into wedges or torn into chunks. Yum!


I don't like coffee, but I really wanted to try Rhode Island's iconic drink, coffee milk. I served it at the party and it wasn't half bad. I'd drink it again. It would be even better churned into ice cream. The tour guides we had in Providence said that Aristocrat is the proper brand for a true coffee milk, so that's what I used. 


The other beverage I served was pink cranberry juice from Massachusetts. We learned all about pink cranberries during our fabulous bog tour. We took pictures of it at the party, but since I put it in an opaque pitcher, you can't appreciate how pretty it is. Better to show you how pink cranberry juice looks in the original packaging. 


As I mentioned at the top of the post, I'd ordered a third drink to serve but it didn't arrive in time. I'd hoped to share Michigan's Faygo with my guests, but it wasn't to be.  

There are so many other amazing foods and drinks we've discovered during our travels. While I wish I could have a real maple creemee every day, or have a hot brown and Derby pie at the Brown whenever I want, those foods are special because I can't have them at home. They contribute so much to the memories of our travels. I'm always thankful to that Steve and Trevor are adventurous eaters, but particularly so when we visit new places. It's been so much fun discovering all this together and I'm glad we had a chance to share a little bit of that magic with our friends during our 50 State party.