I know we're two months into fall and thus it's a bit late for a fall craft, but we're just getting our fall color now here in northern California. Besides, fall technically lasts for another month.
Anyway, I had a lot of fun making this tissue paper sun catcher. All of the tissue paper is reused. I'm that person at birthday parties stopping people from throwing away barely-crumpled tissue paper. If you're not that person, I've included affiliate links for tissue paper and other supplies below.
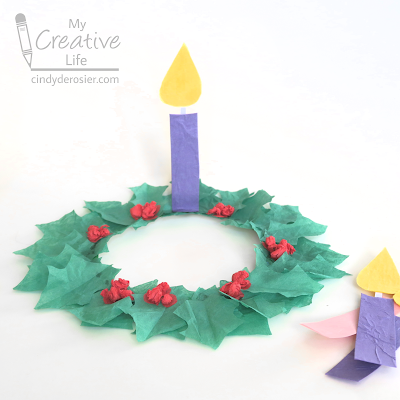
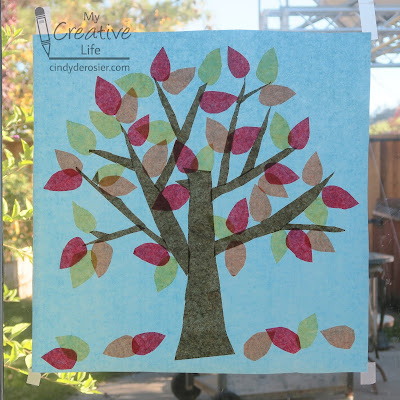
Fall Colors Tissue Paper Sun Catcher
Materials:
Steps:
First, find a location. You'll be making your artwork directly on a window or glass door. It worked perfectly for me to sit on the floor by our back door to make my project, but it would work just as well standing at a window.
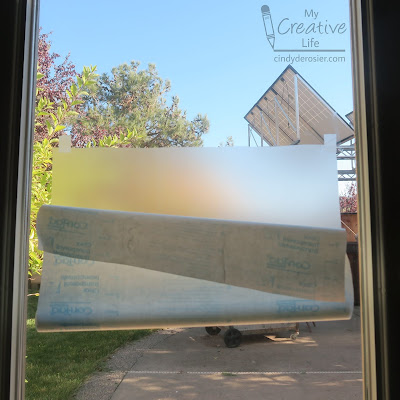
Cut a piece of contact paper that is slightly larger than you want your finished art to be. I used the width of the contact paper (18") by about 22" for mine. With the NON-sticky side against the glass, start peeling away the liner of the contact paper. Use two pieces of tape to hang the contact paper onto the glass.
Continue peeling away the rest of the liner, then tape the bottom of the contact paper to the window. The sticky part of the contact paper is facing you.
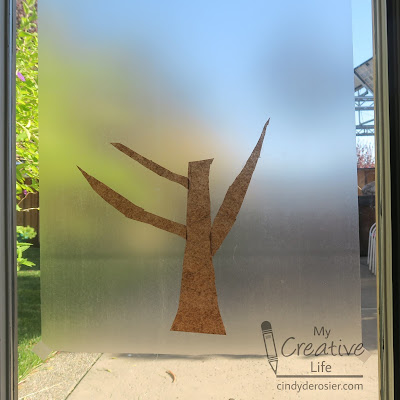
Cut a brown tree trunk and place it on the contact paper. Add a few limbs.
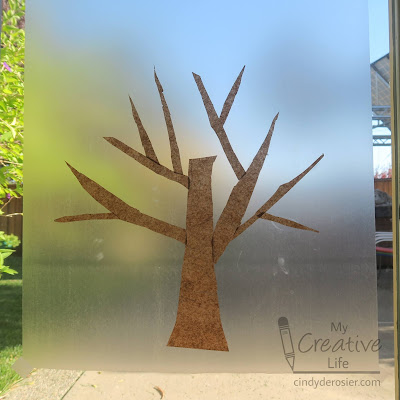
Continue adding smaller branches and twigs until you're happy with the shape of the tree. You'll notice my pieces are not cut evenly, which totally doesn't matter. You may also notice I got some fingerprints on the contact paper. That doesn't matter either.
Layer red, orange, and yellow tissue paper and cut out stacks of teardrop-shaped leaves. Attach the leaves to the tree. Don't forget to add a few that have already fallen!
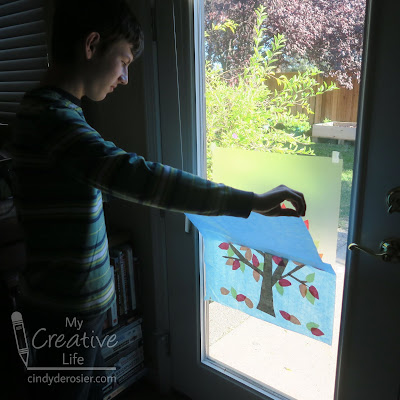
Next, layer a sheet of sky blue tissue paper over the entire design. I strongly recommend getting a helper for this. I had Trevor hold the top of the tissue paper taut while I smoothed the bottom section into place. I worked my way up, pausing halfway to snap this photo...
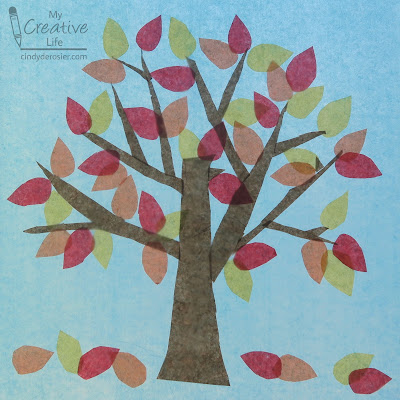
... then smoothed the rest of the tissue paper in place. This is how it looked, cropped to get rid of the door and surrounding glass. The fingerprints aren't visible.
You can leave your artwork on the window as is, or you can take it down and trim the edges, which is what I did. When I hung it back up, I put the tissue paper side against the glass where it is protected. Did you notice it was mirrored from before?
I'm taking tomorrow and Friday off from blogging. I'll be back on Monday with another tissue paper craft tutorial. Happy Thanksgiving!