4/30/21

Magazine Symmetry Art

The most challenging aspect of being an elementary school teacher is not the actual teaching part, where you explain or demonstrate how something is done. Sure, a teacher has to be a bit of an expert in everything (since they teach math, language arts, science, history, PE, art, music, and technology to a diverse group of 32 people with different ability levels) and that is definitely a challenge, but most people who go into teaching are quite good at explaining skills or demonstrating techniques across many subjects. That's not the hard part. 

The most difficult part of teaching is classroom management. Those 32 people with different ability levels also have different interests, arrive with varying amounts of background instruction, and have personal issues or circumstances that impact learning (whether positively or negatively). Even assuming all students exhibit excellent classroom behavior (a laughable assumption- in a group exhibiting no distracting behaviors, at least one child will rise to fill the void) and students are somehow so homogenous as to have the same base knowledge and familial situations (equally impossible), people naturally learn and work at different rates. 

All this to say, as a teacher it is really important to know how faster workers will spend their time without disrupting slower workers who require the attention of the teacher. Silent reading and creative writing are both obvious choices, as are independent extension activities like researching more about the topic at hand. You can also put students to work preparing materials.

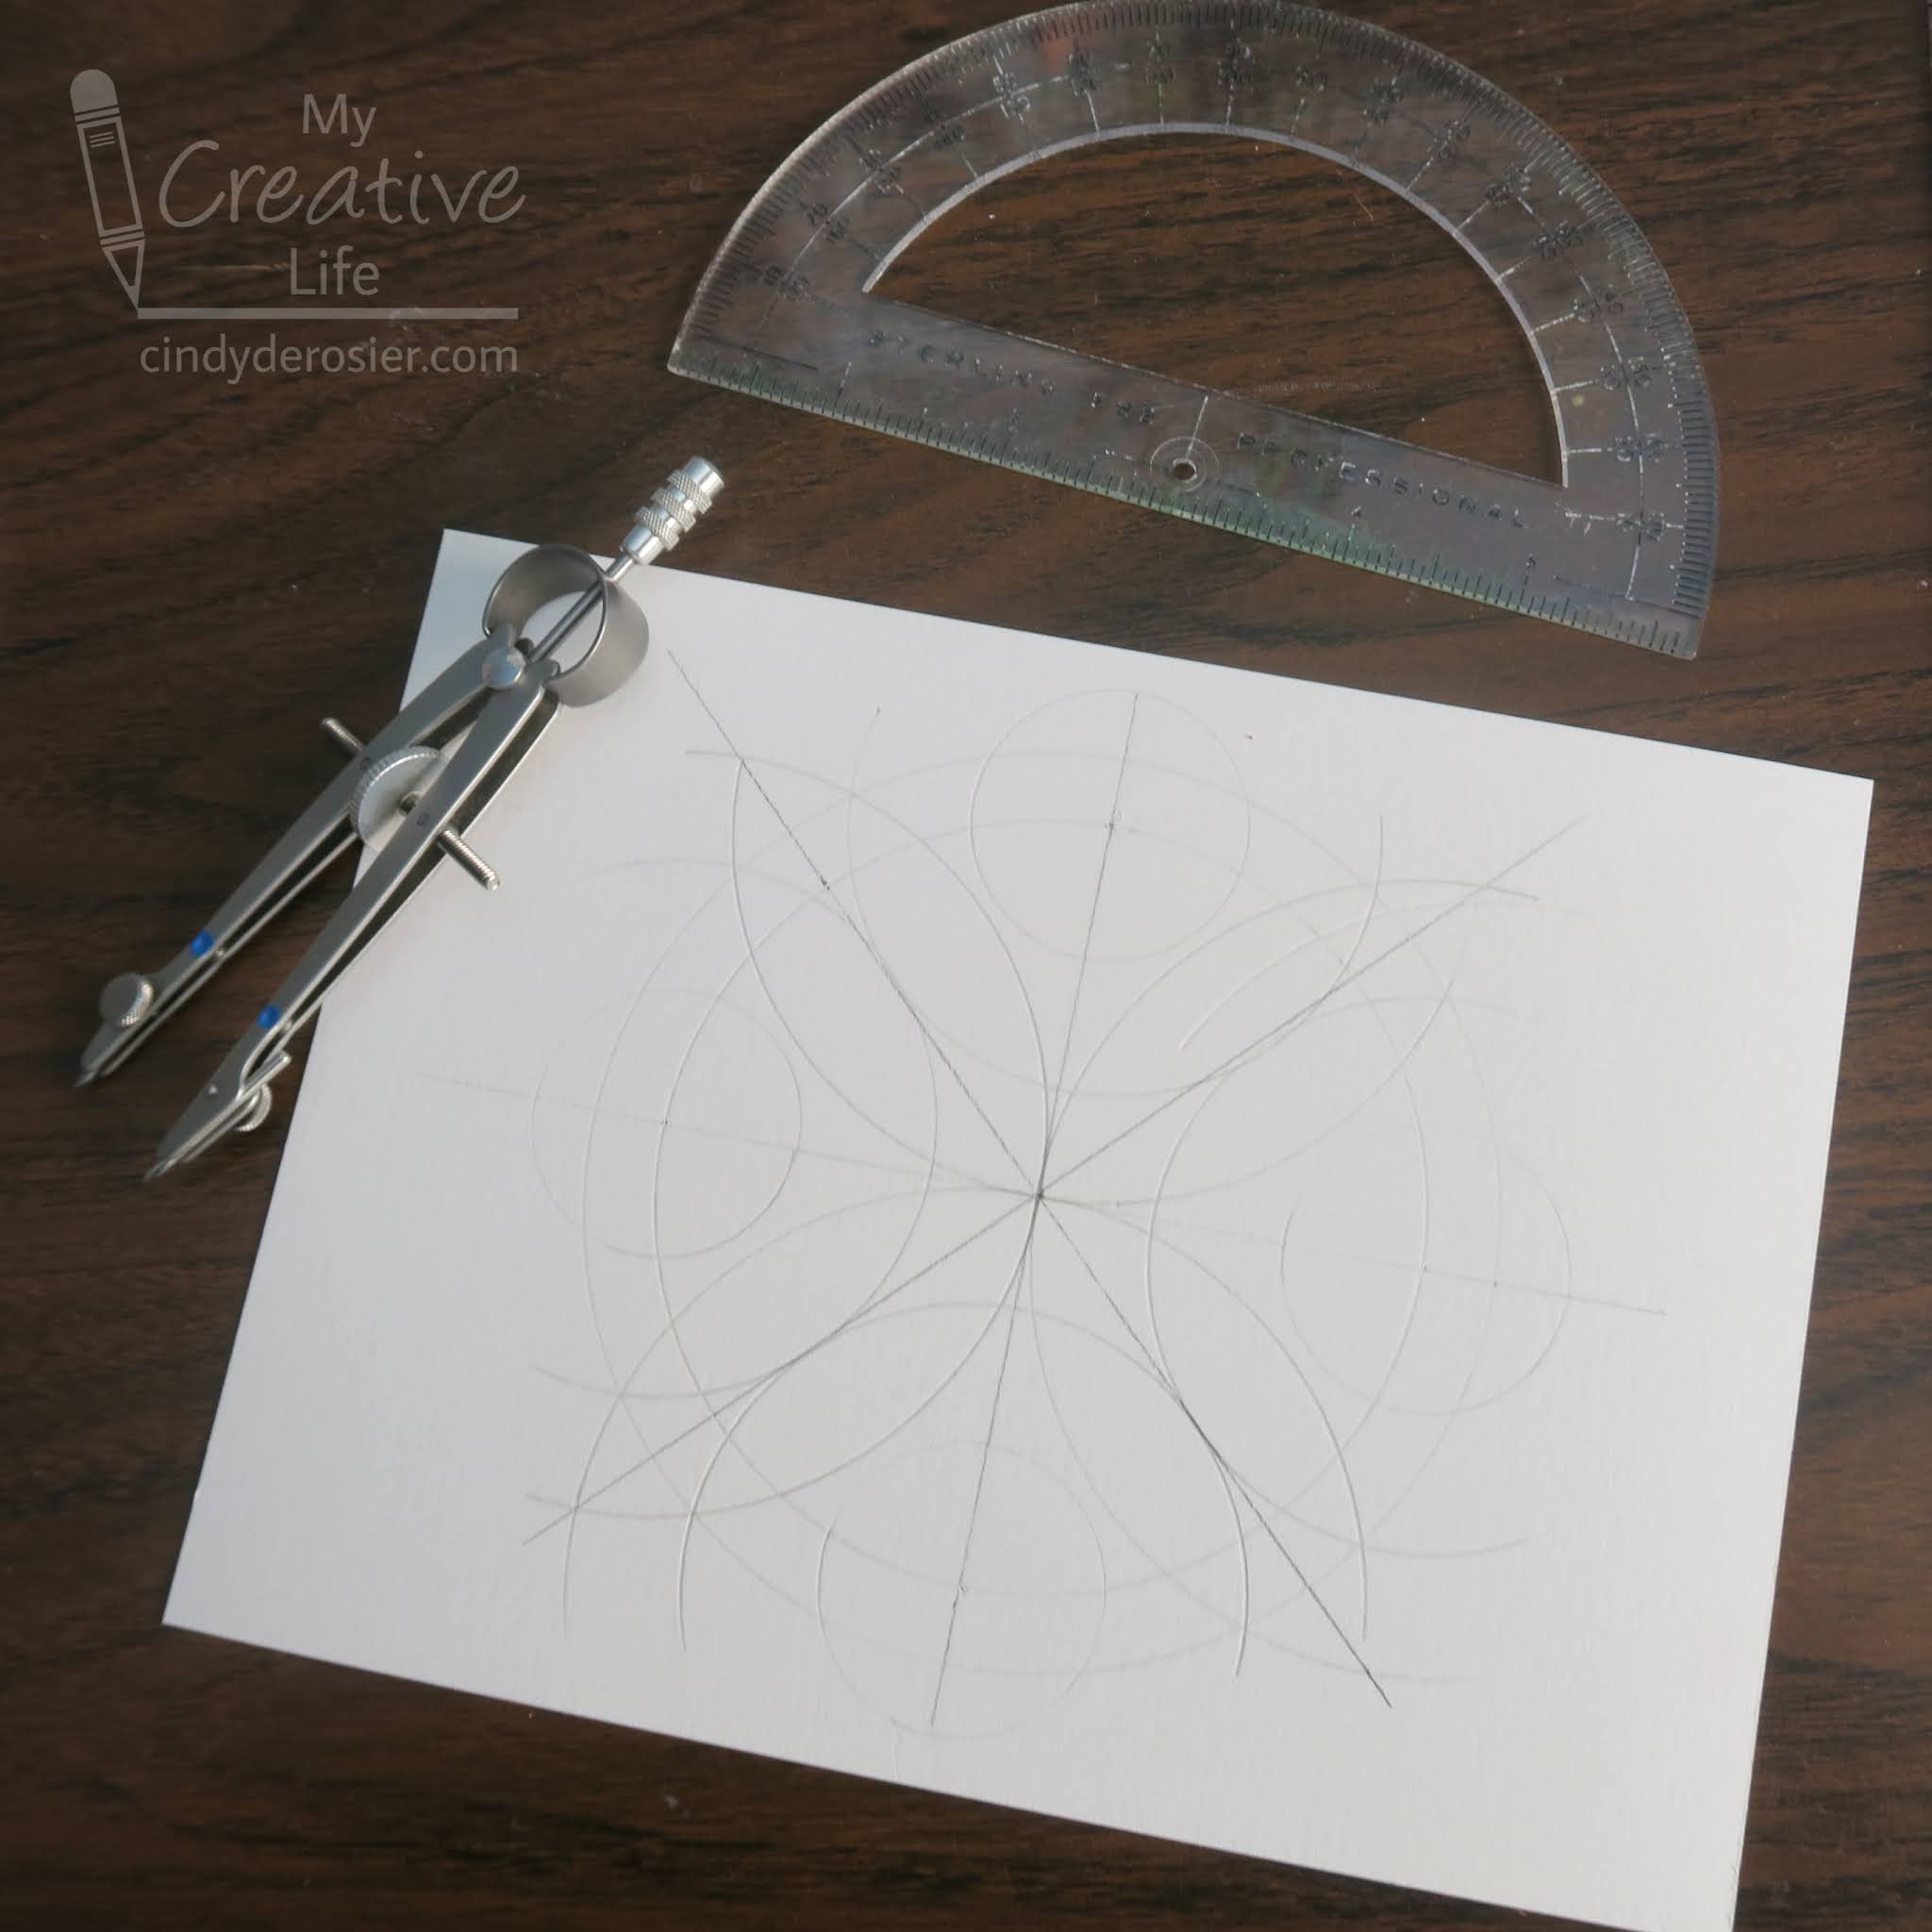
One of my favorite "if you finish your art project early" activities is Magazine Symmetry Art. Students who finish early could select an image from a stack and use color pencils or other art materials to fill in the missing half. Here are samples from Gabbi (owl) and Ralph (upside down boy). 


Early finishers prepped these for me so that we always had a stack available. They would go through old magazines looking for symmetrical images, cut them out down the line of symmetry, and then glue them to paper. It took some time for my helpers to develop an eye for which images work and which do not. For example, if a face is even slightly tilted or turned, it will look mighty strange when you add the mirror image.  


If you aren't juggling 32 kids in a classroom, you may still find that you need a short activity for 1 or 2 kids to do at home while you tend to something else. Magazine Symmetry Art is a fun choice.

4/29/21

How to Draw Duo, the Duolingo Owl

I started learning Spanish in 7th grade, way back in 1985. I continued with Spanish all the way through 12th grade and did well enough on the Advanced Placement test to end up in an advanced Spanish composition class during my freshman year of college. It was very challenging. Because it was so difficult and I already had more than enough language credits, I never took another Spanish class.

I rarely used my Spanish and my near-fluency disappeared. It was frustrating but not surprising; you can't expect to remain good at something if you don't practice it for 30 years. In January, I decided to relearn Spanish and started using Duolingo. I spend an average of 30 minutes a day, 7 days a week, and it's amazing how much I've regained. It's fun and motivating and I'm excited to keep at it and eventually complete the entire Spanish tree.

Yesterday, I hit a milestone (more on that below) and drew a celebratory Duo (the Duolingo mascot) to mark the occasion. He's easy to draw. Give it a go!


How to Draw Duo, the Duolingo Owl


Materials:

  • paper
  • pencil (I used Sharpie for the step-out photos so they're easier to see)
  • markers

Steps:


Begin by drawing Duo's shadow at the bottom center of the page. It looks like a worm. This will help you anchor the rest of the drawing. 

Now draw Duo's body. Duo is all curves with no sharp edges, so keep everything rounded.


Duo's feet look like Tic-Tacs and are disconnected from his body. Draw them between his body and the shadow. Then add wings. Keep them rounded!


Duo's beak goes in the center of his face. It consists of a semi-circle on top and a Tic-Tac on the bottom, with a curve for his tongue. Add Tic-Tac eyes on either side of the beak. Leave a circular gap at the top left of the pupils; these are white highlights. 


Now outline Duo's face. The curve starts and ends at the sides of his beak, follows his eyes, and has two feathers over each eye. Add three semi-circles to Duo's belly. 


Now it's time to color! Not counting the white of the paper, you will use 7 colors: leaf green for the body, light green for the face and tummy feathers, black for the pupils, pink for the tongue, orange for the feet and parts of the beak, light orange for the highlight on the upper beak, and dark orange for inside the mouth next to the tongue. 


So what is my Duolingo milestone? Yesterday I celebrated a 100-day streak, with no missed days. 


To be honest, it's been easy. I really enjoy my daily practice. Of course, I imagine it will be much more difficult to maintain my streak when we are eventually traveling again. But I'll deal with that when it comes. In the meantime, I'll be happily practicing from home.  


4/28/21

Recycled Items Hot Air Balloon

I keep a jar of lids in the craft room because you never know when you'll need one. I was putting a metal lid from a cylinder of orange juice concentrate into the container when I realized the red plastic screw-on lid from a tub of mixed nuts would make an awesome hot air balloon. I dug out a few more recycled items and made this:


Every time I look at it, it makes me laugh. The idea of my parents taking their three grandkids on a hot air balloon ride is improbable enough, but the fact that I positioned the photo so that Allison would be visible makes me imagine the impossibly long legs everyone appears to have. The picture was actually taken indoors at my sister's house in December 2018, not in a hot air balloon. Everyone had just come in from the snowy backyard, which explains the jackets but not why Mom is wearing her fanny pack and Dad is clutching a cold drink protectively. 

The main supplies in today's craft all are recycled, if you can count a photo I printed but didn't end up using for the scrapbook as recycled. I'm counting it. Affiliate links below. 
 

Recycled Items Hot Air Balloon


Materials:


Steps:


Decorate the plastic lid with Sharpies and gel pens. Obviously, you can use whatever colors and patterns you want. 


Cut a piece of chipboard about the size of an index card. Use a score board to create the basket texture, first by scoring the chipboard in one direction, then rotating is 90° and scoring again. It's difficult to get precise lines when working against the existing score marks, but that actually makes the basket texture most realistic. 


Rub brown ink on the scored chipboard. The transformation is amazing!
 

Score the sides and bottom of the chipboard so that you can fold them to make a dimensional basket. Use microtip scissors to cut the photo, separating the people from the background. Glue the people to the basket.


Turn everything upside down. Assemble the basket by folding the bottom under and the sides back, then gluing them into place. Cut two lengths of single-strand embroidery floss and glue the middle of the strands to the bottom of the plastic lid. 

When that is dry, stretch the pieces of floss so they are taut. Glue two to the back of the photo and two to the basket. 


When everything is dry, add glue to the edges of the lid and the basket, then carefully turn it over and place it on the cardstock. Let it dry completely before hanging. 


Up, up, and away!

4/27/21

Teacher Appreciation Day Gift Box

Teacher Appreciation Day is May 4, one week from today. This is a wonderful opportunity to tell those special teachers in your life just how much they mean to you. Teaching can be very challenging; a kind note from a student or a parent may be exactly what a teacher might need to temporarily forget the hard parts and remind themselves what a rewarding job it is. 

When I came across the owl drawing in Quirky Collages to Color, I thought it would be awesome to use it to decorate a gift box for a teacher. So that's exactly what I did.  


Did you notice the pull tab? It's attached to a bookstore gift card. This is my #1 recommendation when people ask me what gifts teachers want. I've never met a teacher who didn't spend their own money on books for the classroom, or who wouldn't love to buy some books for themselves to enjoy. Affiliate links below. 


Teacher Appreciation Day Gift Box


Materials:


Steps:


Color in the owl image using markers. With microtip scissors, carefully cut out the image. Place it on top of a gift box. Arrange the Chit Chat die cuts to the side of the owl and adhere them in place. Turn the owl upside down and apply adhesive along all the edges EXCEPT for the top edge between the two "ear" books. Carefully adhere the owl to the box. 

Cut a scrap of white paper and write PULL on it, layer it on a Chit Chat banner, then tape it to the end of the gift card. Slide it into place. 


So what should you put inside the box? Here are some ideas, based on what my fellow teachers and I frequently bought for our classrooms, using our own money:


Happy Teacher Appreciation Day to all of my former colleagues and all of the other hardworking teachers out there!

4/26/21

Quesadilla Octopus

I'm a huge fan of quesadillas. My favorite quesadillas have beef, black beans, tomatoes, corn, sweet bell peppers, caramelized onions, and lots of cheese inside, are cooked on the stove until crispy and golden, and are served with guacamole and sour cream. Delicious. Strip away everything except the tortilla and the cheese and a quesadilla is still really tasty. Take that humble quesadilla and make a few tweaks and now it's a friendly octopus. 


Quesadilla Octopus


Ingredients:

  • large tortilla
  • shredded cheese
  • sour cream
  • tomato
  • olives

Steps:


Sprinkle a conservative amount of shredded cheese onto half of a large tortilla, then fold the empty half over the cheese side. Cook the quesadilla until the cheese melts. Transfer it to a plate. 

Use kitchen shears to cut the quesadilla into three sections, as shown below. This is much more difficult with a knife; use shears.


Cut each of the side portions into fourths lengthwise.


Slide those pieces under the bottom of the center section. 


Use a sharp knife to cut a tomato smile and place it on the octopus' face. Then cut two tiny pieces from an olive. Put two drops of sour cream on the face for eyes (I used the tip of the knife). 


Place the olive bits into the sour cream to complete the eyes. 


I thought I was done at this point, but Trevor said the octopus needed suction cups. So I cut more olive bits and lined them up along the tentacles. I'm not sure it's worth the extra effort, but I'll leave that up to you. 


Either way, it's a lot of fun and definitely makes lunchtime memorable. 

4/23/21

Compass Art

Kids LOVE compasses. I'm talking about the circle-drawing compass, not the direction-finding compass (although kids love those too). It was always a very exciting day in 5th grade math when I passed out compasses for the first time. We always started with art so my students could become familiar with their compasses and play with them before jumping into geometry lessons. I made this compass art yesterday, but it's typical of what my students would have made back in the day. Affiliate links below. 


---------


Compass Art


Materials:


Steps:


Make a point in the center of the paper, then use the straight edge of the protractor to draw a horizontal line that passes through this point. Use the protractor to make a vertical line (90° from the horizontal line) and two vertical lines (45° and 135° from the horizontal line) that pass through the center point. This is shown in black below. 

Open the compass wide to make a circle that will nearly fill the paper. Place the point of the compass on the center point and draw the circle. Add a second circle that is slightly smaller than the first by slightly reducing the distance between the points of the compass and keeping the point of the compass on the same center point. This is shown in blue below. 


With this basic framework, I would set my students free to create. I encouraged them to play with different sizes of circles. Most kids chose to make symmetrical designs, while others went for asymmetry. Some filled their designs with dozens more circles of all different sizes, while others made a more minimalist piece. My goal was for them to practice compass skills and whatever artwork they created was the means to that end. 

For this sample, I've added 12 more circles (shown in green, orange, and pink). 


This design is similar to (but not quite the same as) the one I made on paper. 


The next step is coloring. 


Once it is completely colored, use a black Sharpie to outline the design.


Finally, add dots and curls in a few strategic places. (Strategic because the pencil lines show through and this hides them nicely.) 


Each design turns out completely different and they look beautiful all together. I'm kicking myself (for the thousandth time) for not taking photos of the bulletin boards and other displays in my classroom back in the day. If only I knew then how much I would want those pictures now!

4/22/21

Sketching Stuff Activity Book: Towering Slice of Cake

A few months ago, I found Doodlewash.com, started as a blog by Charlie O'Shields and now also a community of watercolor artists. It's a cool site with tons of inspiration. Particularly awesome: years' worth of monthly art challenges. I'll be using these when I tackle my 30-day craft challenge

I put O'Shields' Sketching Stuff Activity Book (the food version, because I love food) on my wish list and my parents bought it for me for my birthday (thanks Mom and Dad!). This is my first painting from the book. Affiliate links here and throughout the post. 


The towering slice of cake was not meant to be the first project for readers to do (it's on page 38), but it was the one I was most excited to paint so I did it first. This book provides a lot of information about sketching and painting, along with many plenty of hints and tips, but does not have step-by-step instructions to recreate the projects. I like this, as it allows me to more easily take the inspiration in my own direction rather than copy it exactly. 

Below is how I made my own towering slice of cake. My method is almost certainly not how O'Shields first drew his! Feel free to use my instructions, or totally do your own thing. And then buy your own copy of the Sketching Stuff Activity Book. There are so many cool projects in it. 

---------

Towering Slice of Cake


Materials:


Steps: 


I used scratch paper to play around with a variety of different angles for my cake slice. I found it most appealing when the frosting makes the shape of the number seven. (Random, I know.) So I actually started by drawing a large 7 very lightly in the middle of my watercolor paper. 

I drew a short line at the base of the 7 to be the bottom of my cake, then drew a diagonal line upward and toward the left that mirrored (approximately) the angle on the right. I extended the top of the seven to meet up with that line. 

Then I drew three parallel lines to divide the cake into layers. Then I added a second line to each of the frosting lines until I had this:


I created a generous wedge by drawing a line the starts at the tip of the 7 and travels diagonally up toward the right. Then I added four swirls of frosting. 


I added concentric ovals to the bottom to make the cake plate, then added a diagonal line for the edge of the countertop. 


Then, I painted. I started by adding a light wash of color to each layer of cake and then to the top of the frosting. While that dried, I added a wash to the countertop. Next, the wall. Finally, the plate. 

With the colors for each space defined, I went back to each in the same order. I added layers of colors to create shadows and left light spaces for highlights. 

The last thing I did was add the main shadow. 


Overall, I'm happy with my cake. I see areas that could use work, but that just motivates me to do more painting. But first, I obviously need to do some research in the form of eating cake. 

4/21/21

Ohio 2018

This is the final layout from our epic 2018 Midwest Adventure. The entire trip was planned around a wedding we attended in the Akron area. But obviously, we couldn't be normal and fly in the for the wedding, relax for a few days, and fly home. No way. We turned that trip into a 17-day, 6-state, 1-province, 11-city extravaganza with a bonus stay in the US Detention Center. Of those 17 days, we spent 5 in Ohio, visiting Toledo, Cleveland, Akron, and Columbus. It wasn't nearly enough time, but we packed in as much as we could.

Ohio 2018 (affiliate link)

This is about as simple as a scrapbook layout can get. Twelve photos, arranged in a grid, glued to white cardstock. A single piece of patterned paper for the background, one sticker functioning as a title, and a ton of journaling squeezed in. Artistically, it isn't much, but the pictures and the journaling means so much more to me.

4/20/21

Newspaper Math

Last week's edible factor trees reminded me of a math activity I used to have my students do. Using a newspaper, they cut out numbers and glued them to a piece of paper in order to create six grade-appropriate math problems: one each of addition, subtraction, multiplication, division, fractions, and percents. I stressed "grade-appropriate" because single digit addition, for example, is not something most 5th graders need to practice. My expectations would be much different for younger or older children. 

This is what I would expect of a typical 5th grader:


The first step was to cut out 15-20 numbers from which they could generate the six problems. If students had trouble finding numbers, I would direct them to advertisements. You can usually find dollar amounts, phone numbers, percents, model year numbers (cars), and other useful numbers there. Once they had their numbers, they needed to arrange them on the paper so that they made sense (no dividing by zero) and so that they can be solved (no fractions that can't be simplified). With the problems set, they needed to leave enough space between the problems to solve them before gluing them down. 

While some may question how much solving six problems of their choosing could possibly be of much benefit to students, there's actually a whole lot more going into this assignment than just solving six math problems. Students become familiar with the layout of a newspaper, practice scanning (critical for reading proficiency), use fine motor skills to cut out small numbers, think about how to solve six types of math problems, judge the difficulty level and their own capabilities, develop spatial awareness, and learn to apply the correct amount of glue (another fine motor skill, and something 90% of kids need to practice more often). All this before they ever solve the math problems. Best of all, most of my students really enjoyed this activity that was packed with (hidden) learning.  

Here's how the completed assignment looks:


Six little math problems, scissors and glue, and a whole lot of learning. 

4/19/21

Balloon Birthday Cards

I'm well on my way to completing my goal to make at least 25 cards using a variety of techniques. I used the scraps from 4 pieces of patterned paper to make 8 birthday cards. I only scanned four, as the others are fairly similar to these. 

Balloon Birthday Cards (affiliate link)

While my most recent set of cards all had heat embossing and the set before that used die cuts, these cards were all about creative solutions to use up partial pieces of paper. I had to think outside the box to make a set of cards using only scraps. It was a fun challenge. 

4/16/21

Ladybug Magnifying Glass Craft

Ladybugs are awesome. Even if they weren't as pretty as they are, they'd be awesome simply because they eat aphids. I've been fighting my annual backyard battle with aphids for the past two weeks and am thrilled when I find a ladybug who has joined me in the fight. Or, from its perspective, the buffet. 

There are already a gazillion ladybug crafts out there, but few portray ladybugs realistically, which was my goal with this craft. Affiliate links below. 


Ladybug Magnifying Glass Craft


Materials:


Steps:


Punch a 2" circle from black cardstock to make the base of the magnifying glass. Cut a long narrow rectangle for the handle. 

Cut a blue background into your desired size. (Mine is approximately 4" x 6".) Punch a 1.5" circle from the scraps. 

Punch a 1.5" circle from the green cardstock, then snip off the top and bottom. Cut the scraps into blades of grass. 


Cut three ladybug shapes from red cardstock. One should be about the same width as the green partial circle above, and the other two should be much smaller. 

Use a reference photo to draw the black details onto the ladybugs, using a Sharpie. Then add the white details with the gel pen. 


Now it's time to assemble. Glue the grass to the bottom of your background paper, making sure there's a long blade in the center. Then add the magnifying glass and handle. I tucked the magnifying glass under a few blades of grass and over some others. 


Center the blue circle onto the magnifying glass and glue it in place. 


Add the partial green circle, orienting it so that it looks like a magnified blade of grass. Glue the largest ladybug onto it, then drag its six legs. Glue the other two ladybugs to blades of grass that aren't being magnified. 


I had a lot of fun putting this together. Yea, ladybugs!

4/15/21

Quirky Collages to Color

I have a new coloring book that I absolutely love. Don Stewart's Quirky Collages to Color (affiliate link) includes 32 awesome illustrations to color. What makes this coloring book unique is that each illustration is a collage made up of dozens of smaller items that fit a theme. 

The first design I colored was The Right Brain. It was so much fun! I used my beloved Prismacolor art markers


As you can see, the shape of the brain is formed entirely by art supplies. They are listed on the back of the design. Can you spot each one? 

  • airbrush
  • craft stick
  • eraser
  • French curve
  • glue
  • loop tool
  • marker
  • paint
  • paintbrushes
  • palette
  • pen
  • pencil
  • pincushion
  • precision knife
  • ribbon
  • scissors
  • tape
  • triangle
  • utility blade
  • watercolor set


There is a quote associated with each design, too. The Right Brain's is by Frida Kahlo: "I never paint dreams or nightmares. I paint my own reality."

I received a copy of Quirky Collages to Color this week, directly from the publisher. But that wasn't the first time I saw the content of the book. Back in October, the publisher sent me a digital copy of the book to review. I loved it... in fact, I liked it enough that they printed my endorsement on the back cover!


You can see my name and review (multiple times) in the Amazon listing as well. 

I can't wait to color the next design! The hardest part is going to be choosing which one to do next.