
I couldn't wait to play with the Derwent Intense watercolor pencil set I got for my birthday. I used them to paint some scribble roses. In my wedding colors, of course.

Scribble roses is the name I use for the technique of drawing wavy spirals to mimic our national flower. (You did know the US has a national flower, right?) Scribble roses are easy for even young kids to make, because you really can't mess them up. If I were making this project with preschoolers or children in early elementary school, I'd have them use crayons instead of watercolor pencils, because the wax forms a barrier to prevent the colors from bleeding into each other. But for those who have developed good fine motor control, this project is a great way to explore what watercolor pencils can do. Affiliate links below.
---------
Scribble Roses
Materials:
Steps:
To make scribble roses, you're going to draw spirals. Allow your hand to waver slightly so that there is some variation in the petals. When you reach the end of the spiral, connect the line up with the rest of the rose. I recommend practicing a few times with a regular pencil on scratch paper.
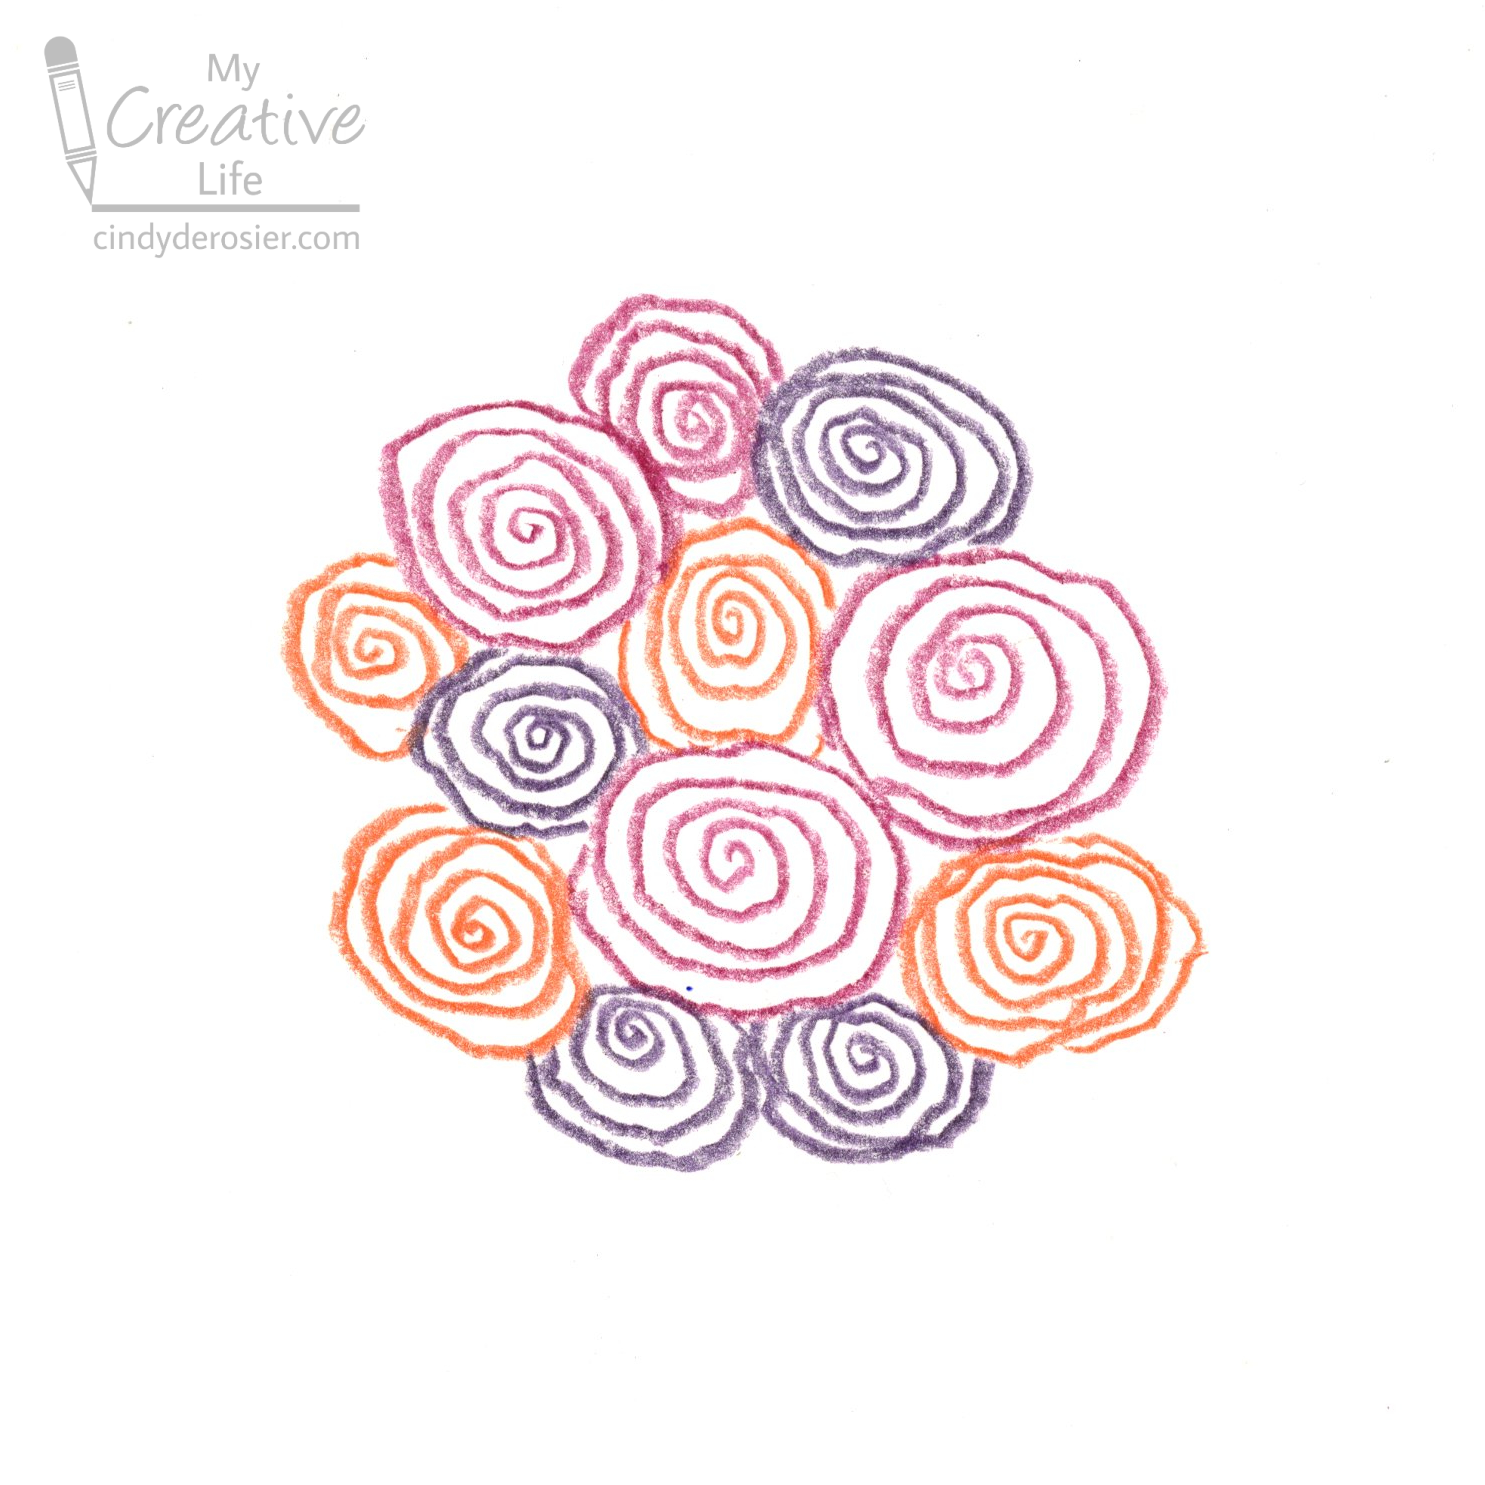
Start by drawing three spirals in one color near the center of the paper using an Inktense pencil. Leave some space between them, or don't. Vary their sizes and orientations, or don't. There's no right or wrong.

Repeat the process with a second color, and then a third. Continue adding flowers in different colors to shape the bouquet so it is roundish. Balance the colors as appeals to you. You can choose to make as many roses as you want. I went with a dozen.
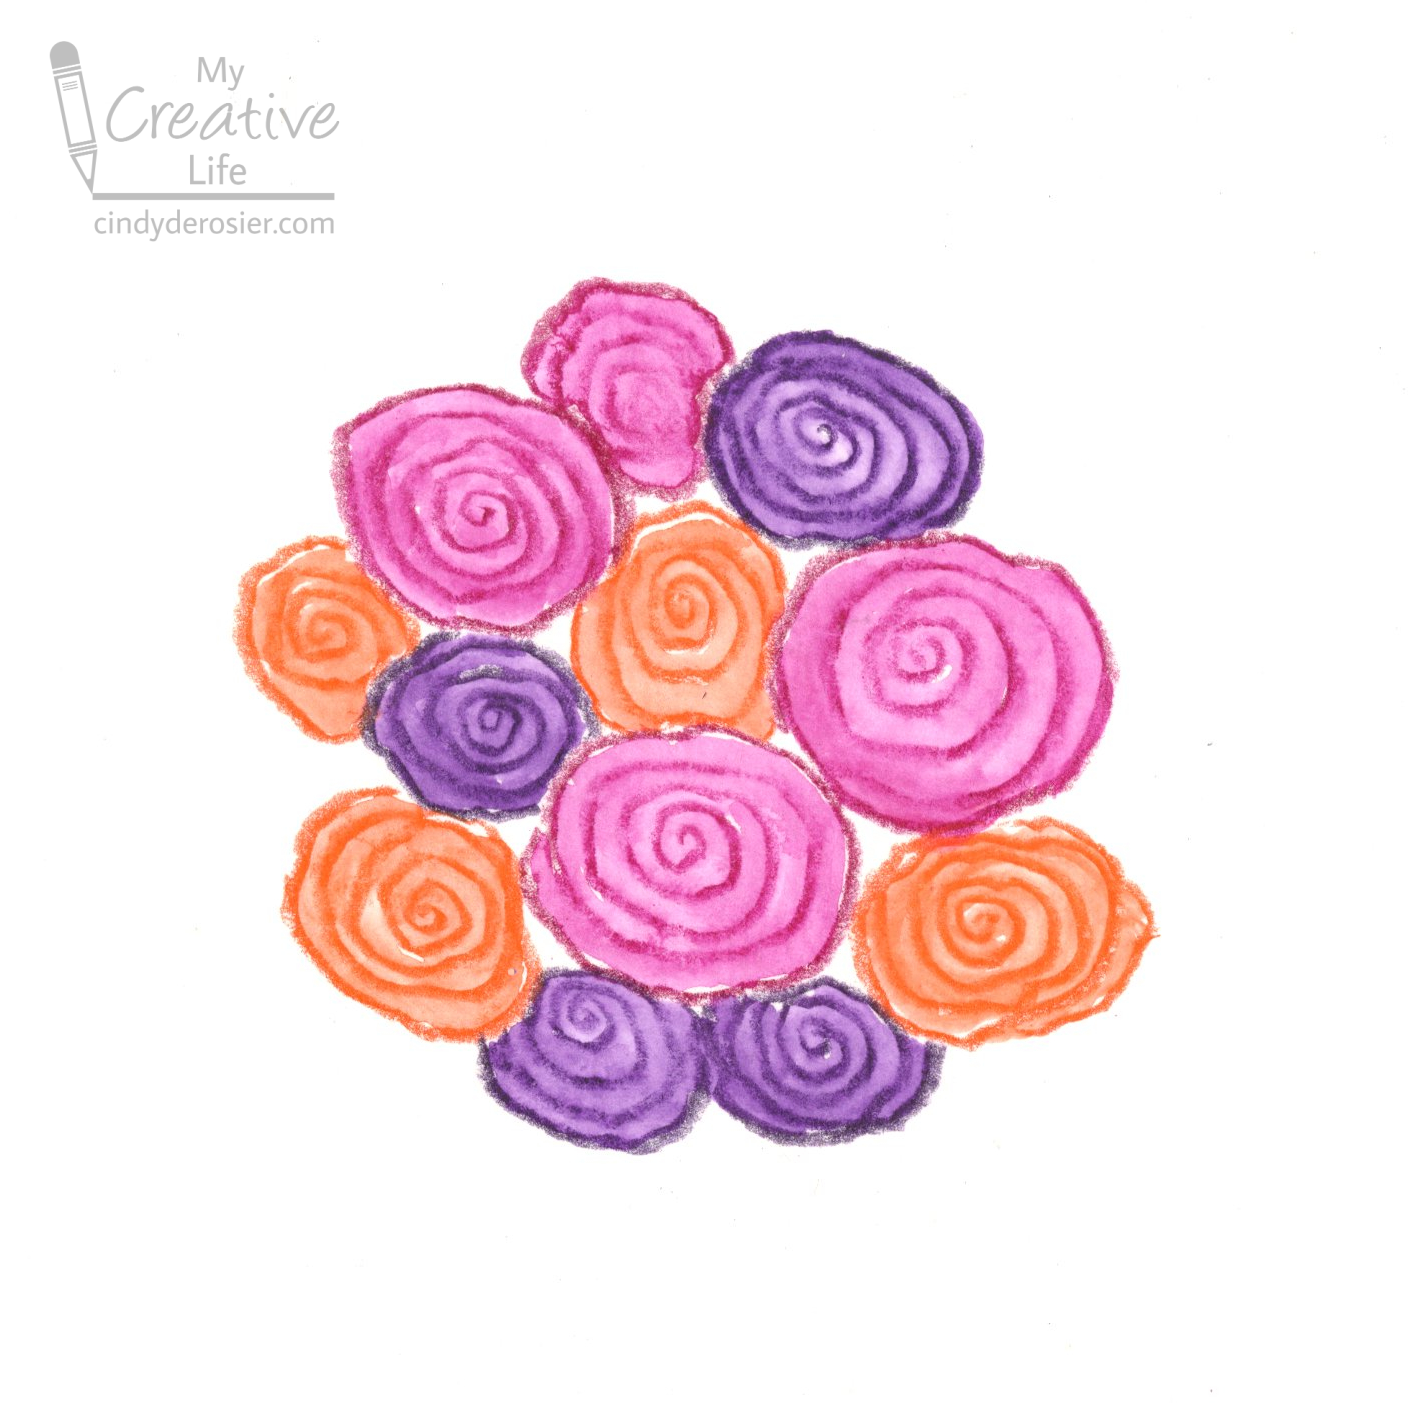
Use a paintbrush to activate the watercolor pencils. I had the most success using a wet (but not dripping) brush to retrace the spirals the same way I drew them. Do all of one color first, then rinse your brush before doing the next ones. As you can see, I didn't wet the outermost edges of the flowers that were touching another, since I didn't want the colors to run. (You may want that, which is totally fine.) I wanted to scan this step to show you, then I went back and wet this area after the rest was dry.
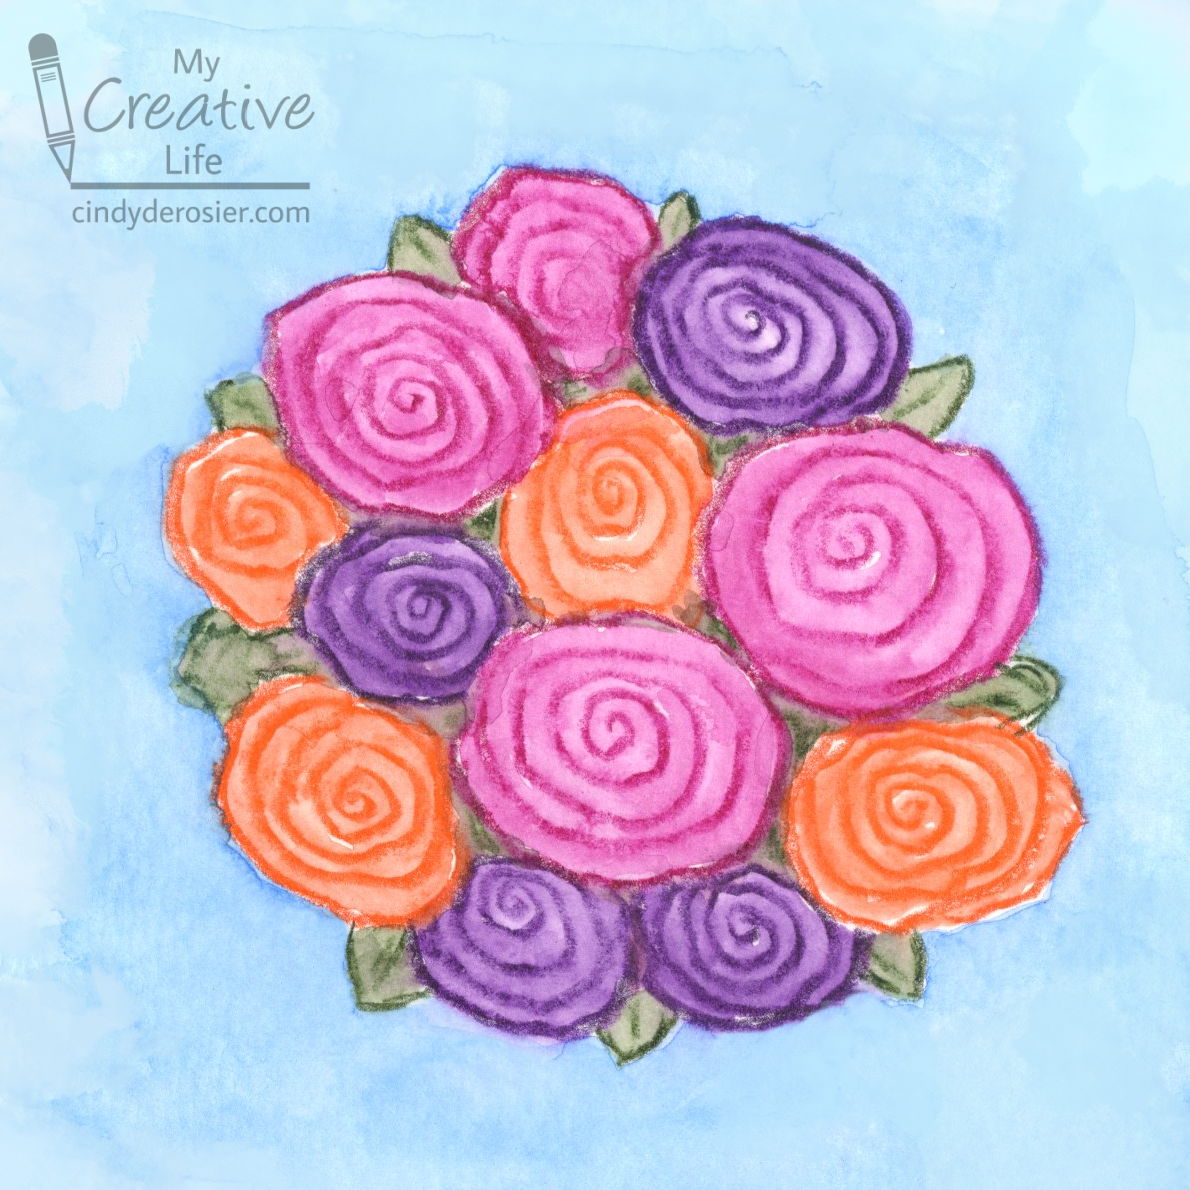
Fortunately, the Inktense pencils dry very quickly, so I was ready for the next step right away. Use a dark green to color in the spaces between each rose. Then add V-shaped leaves with lines down their centers to any spaces around the exterior where there is a gap between roses. Activate these with a wet paintbrush.

The final step is to add a background. While it is possible to scrub out lines when you activate them, the lines will mostly stay visible. So when coloring your background, you have two choices if you don't want to be able to see lines. One option is to color very, very lightly and to not leave any lines. The easier option, and the one I chose, is to color on a scrap of watercolor paper, then use that as a palette to lift the paint and color your background.
I'm super happy with my Inktense watercolor pencils. As you can see, the colors are beautiful and vibrant. The pencils feel great in my hand and perform exactly as expected. The colors dry quickly and permanently. And even more fun - you're not limited to using these on paper. Inktense watercolor pencils work well on fabrics, including silk and cotton. I'm eager to give that a try. I'll let you know when I do. In the meantime, get some of your own and start creating. They're amazing!

Glad you are having fun with your Inktense pencils...mine are crying for attention! lol
ReplyDelete