Showing posts with label feather. Show all posts

10/2/24

Blackberry Ink with a Feather Quill Pen

Have you ever made your own ink? There are many natural materials that can be boiled or juiced to make inks and dyes in a variety of different colors. Blackberries (the state fruit of both Alabama and Kentucky) produce a beautiful reddish-purple juice that kids can use directly on paper as ink. For extra fun, use a feather as a quill pen! Affiliate links below.     


Blackberry Ink with a Feather Quill


Materials: 


Steps: 


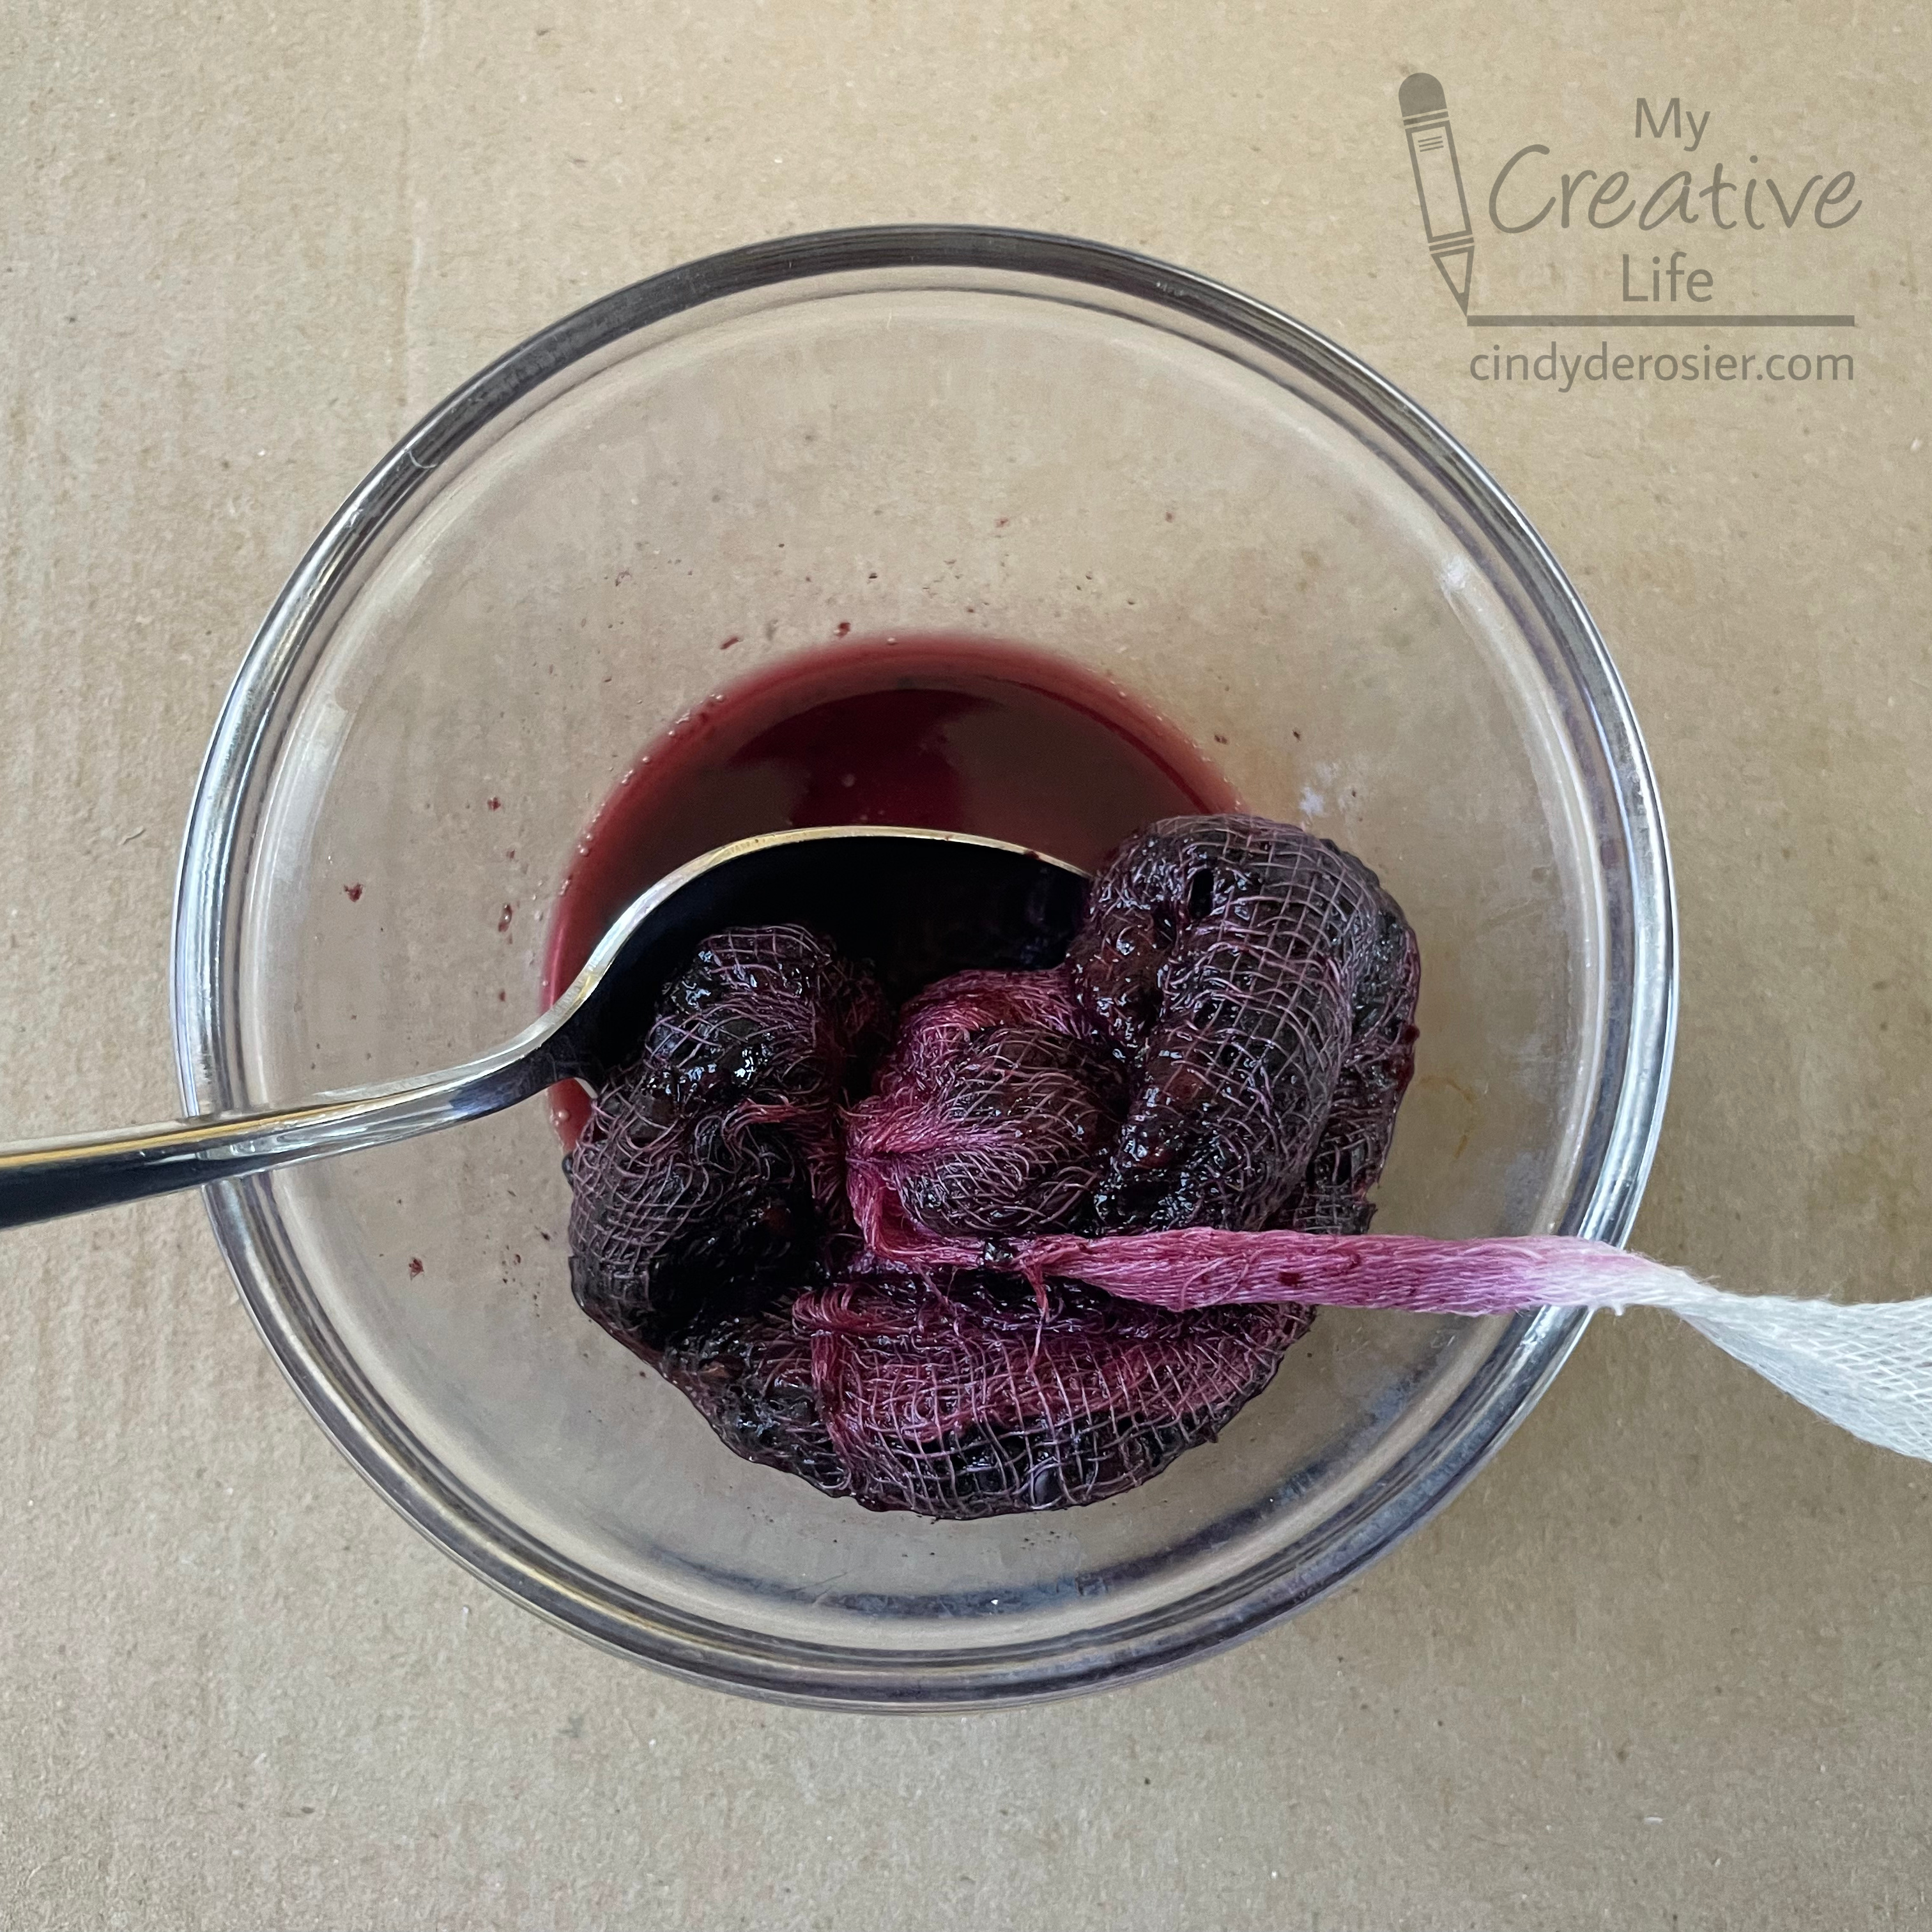
Wrap several very ripe blackberries in cheesecloth. Tie an extra strip of cheesecloth around the bundle to use as a handle (unless you don't mind purple fingers!). Put the bundle in a glass bowl, then press the blackberries with the back of a spoon. Continue to press until you've extracted as much of the juice as you can.

Discard the bundle of blackberries. Place a coffee filter over a second container (hold it in place with a rubber band, if necessary) and slowly pour the juice over the coffee filter. It will catch any bits that made their way through the cheesecloth. Now you can use your ink for drawing, coloring, and writing.

A note about feathers: I used what I had on hand, which were dyed. For a project about natural dyes, I'd use natural feathers, which is what you'll find above in the materials list. I used my feather straight out of the package; occasionally, you'll need to prepare the feather by pulling off any bits near the writing end and possibly trimming the very end to make it smooth. 


If you let the paper dry between layers (naturally or with a heat gun), you can add more ink on top to get darker colors. I did this several times to get my final blackberry drawing, although I didn't trace over my writing. 


Obviously, it is imperative to have extra blackberries on hand for snacking! So good. 


When you are done with the project, discard your ink. Because it wasn't boiled and there are no preservatives, it's not meant to last long-term. If you would like to make ink that will last, I recommend this excellent tutorial by Dana Driscoll. Enjoy!

7/18/17

Golf Flamingo

I found a random golf tee in the house, so naturally I painted it pink and made it into a flamingo. If that doesn't seem like the logical thing to do, you're probably not a craft blogger. I debated calling it a Golf Ball Flamingo or a Golf Tee Flamingo or a Golf Ball and Tee Flamingo, but for some reason I like Golf Flamingo best. Affiliate links below. 

---------


Golf Flamingo


Materials 


Steps

Use the sandpaper to rough up the golf ball and the tee. This will help the paint stick. Paint the golf ball and the tee pink. Let them dry.

Thread the pipe cleaner through the golf ball at the 1:00 and 8:00 positions. Take the 8:00 end and fold it back into the golf ball at the 7:00 position. Bend it so that it is secure. Bend the 1:00 end to make the neck. Fold the end in on itself to make the face. You might need to trim the pipe cleaner first. 

Use the glue to attach the golf ball to the tee. 


Glue one eye on each side of the face. Glue one feather on each side of the body.


Poke the flamingo into the grass. The extra long tee means that he won't be hidden if your grass is longish like ours. 


From this angle, it looks like he's giving me the side-eye. 


I'm strongly considering making a whole flock of these flamingos. I'm also thinking about how I can turn one into a Christmas ornament. Oh, the possibilities!

6/11/15

Paper Plate Peacock

Our neighborhood has a flock of about 200 peacocks. They've never come to our street; they hang out a few blocks away. We see them almost every day as we head to school or the park. The people in our neighborhood network are divided into two distinct groups: those who love the peacocks (us and everyone in our immediate area) and those who hate the peacocks (those who actually have peacocks in their yards, on their roofs, blocking their driveways, etc.). It's possible that if I were regularly cleaning up peacock droppings and watching them eat my landscaping I might not love them as much as I do. But since I love the peacocks, I decided to make a paper plate peacock. Affiliate links below. 


Paper Plate Peacock


Materials:


Steps: 


Use a variety of greens and blues to create a background. The colors should radiate from the center out toward the edges. 


While the plate is drying, cut a pear shape from the chipboard to make the body of the peacock. Paint it dark blue. Cut the scraps to make a tiny triangle beak and long, skinny legs. Paint the beak and legs grey. 

Use your pointer finger to dot light green evenly on the plate. These will be the peacock's eyespots, so they should radiate outward as well. When the light green is dry, use your pinkie finger to put a dark blue spot onto each green fingerprint. 

When everything is dry, it's time for assembly. Use a hot glue gun to attach a feather to the back of the peacock's head, then glue the bottom of the body to the edge of the plate. Glue the legs underneath that same edge. Add the googly eyes and beak. Here's a side view:


I really do love peacocks.

3/8/13

Q is for Quail Craft

Spring is just about here. I love spring for many reasons, but among them is the fact that we see baby quail running around the backyard each spring. One year, we had a nest in our hydrangea bush. It was awesome. There are few things more adorable than a line of baby quail running along after their mommy.

I've been wanting to do a quail craft for a long time, but I finally made it a priority when a friend asked me for ideas for a craft for "Q" week at preschool. I went through all the kids' crafts I'd blogged about and arranged them by letter, seeing if I happened to have a Q already. Nope. But going through all the posts did reveal a pretty good collection of A-Z kids' crafts. If you look up at the top of my blog, you can see I've added a page of kids' crafts from A-Z (or click here to go to the page). There are still seven empty letters, so expect to see some umbrella and yak crafts in the near future.

Here's the quail I made.


Steve walked in while I was photographing the finished quail and said, "Hey, the Partridge Family!" I immediately googled to look at the logo... sure enough, all I need is a little Keith, Laurie, Danny, Chris and Tracy following Mama Shirley. Well, that and a different color scheme.


I was going for the California Valley Quail, our state bird and the first wild bird Trevor was able to recognize when he was little.

Photo: Quality Quails

Here's how to make your own quail (or Partridge, if you prefer). Affiliate links below. 


Paper Quail


Materials:


Cut a half-circle from white paper and color it blue, brown and grey.  We used watercolor paper since it has great texture with crayons.  Cut a teardrop shape for the wing and color it brown.


Cut a rough half-circle from the black paper and glue it to the quail body.  Trim the excess, following the arc of the body.


Here are all the pieces you'll cut from black.  In addition to the face, you need two legs, a beak, and a topknot.


Glue all the paper features in place, then add a real feather for a tail.  Here's Trevor's finished quail.  I love how it turned out.


Happy Q Week, to all who celebrate!