Showing posts with label necklace. Show all posts

3/6/23

California Pride Necklace

Welcome to California Week, here at My Creative Life! 

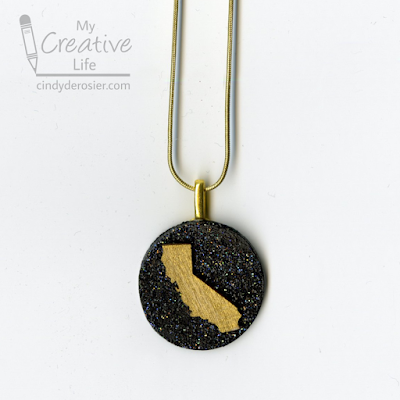
All week, I'll be sharing California-inspired crafts, activities, foods, and more. Why? This week I will be attending the 2023 Visit California Outlook Forum. It is the main event for California travel and tourism professionals. This year's conference is in downtown Sacramento. I can't wait for the interesting keynotes and seminars, the many great networking events, and the walking field trip they're offering. Naturally, I had to make my own California-themed necklace to wear to the conference. Affiliate links below. 


California Pride Necklace


Materials:


Steps: 


Paint the wood circle black. When it is dry, add a coat of Stickles to the front. Paint the California wood veneer in Treasure Gold. 

When the paint is completely dry, glue a jewelry bail to the back of the wood circle. Then glue California to the front. String the pendant onto a chain and wear it with pride.  

---------


If you're less of the do-it-yourself type or more of the buy-it-yourself type, check out these cute, ready-made California pride jewelry options in a range of price points. 

1/12/23

Hidden Money Gift: Necklace and Earring Set

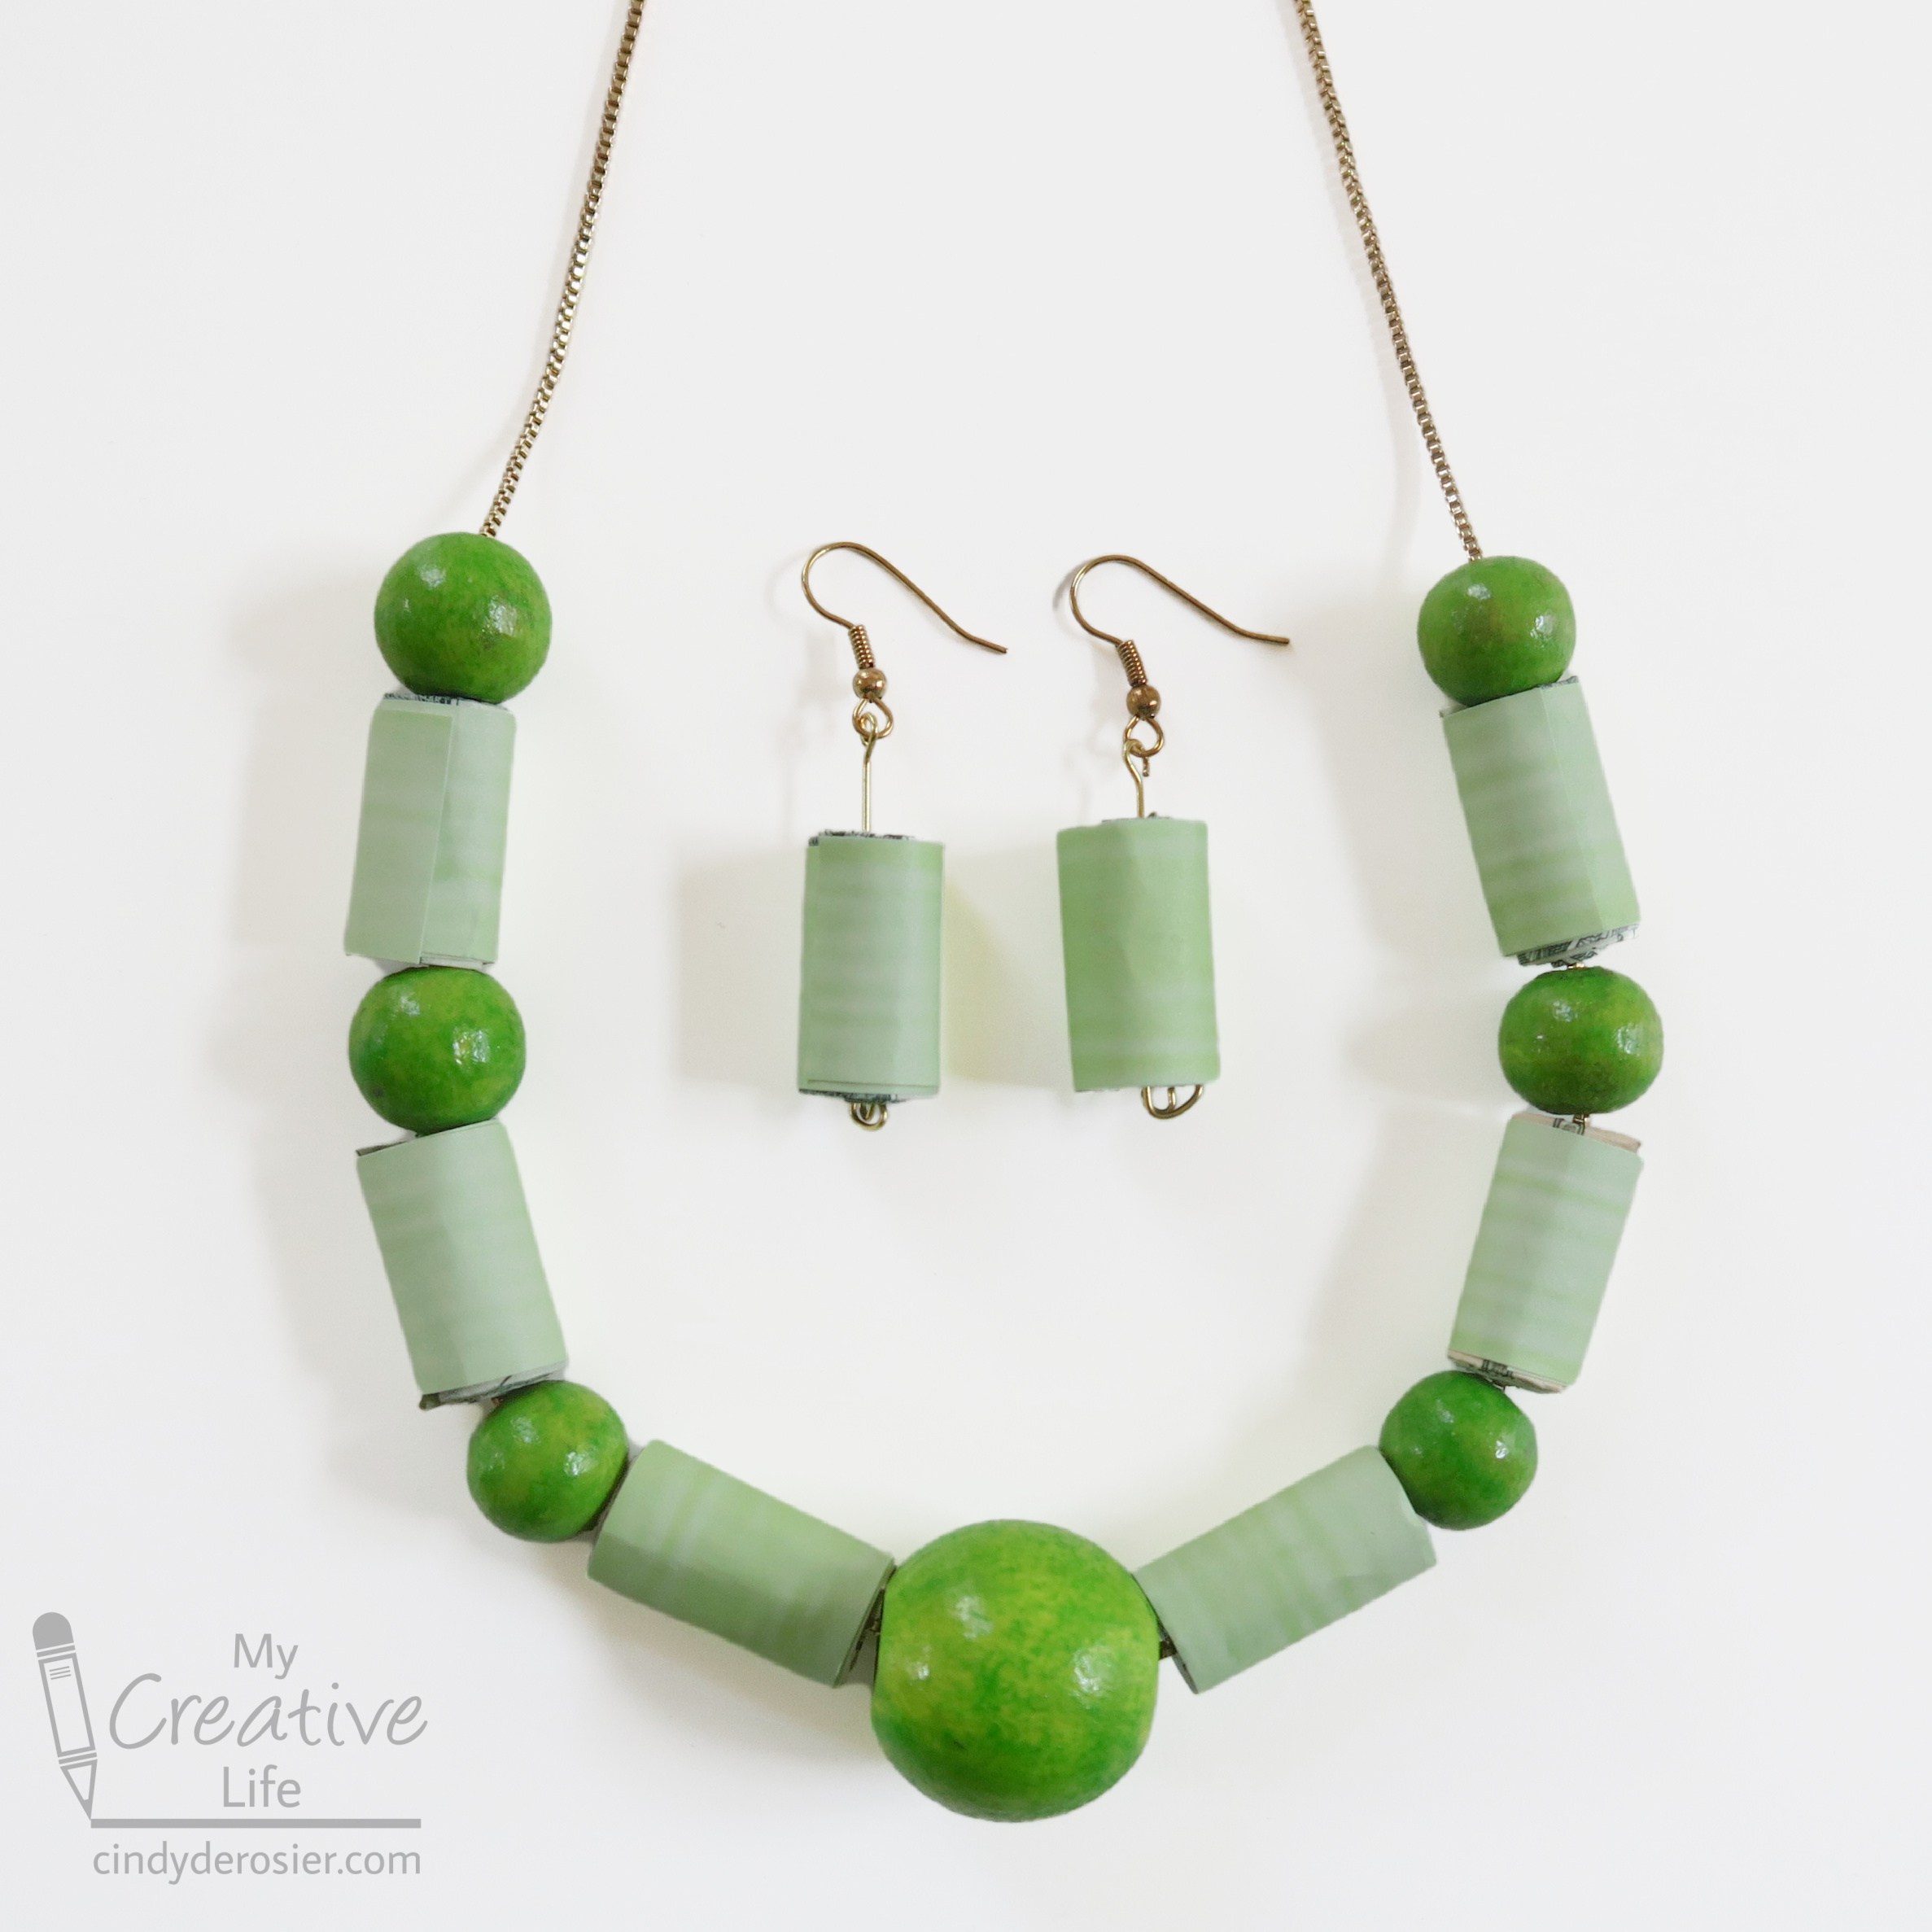
For Christmas, I made this necklace and earring set for my 22-year old nephew, Timothy. 


I haven't seen him for a couple of years, but as far as I know, he doesn't wear necklaces or earrings. In fact, I fully expected him to completely destroy this gift within 30 seconds of opening it. Why? Because he knows that every gift from me has hidden money inside. This one has 8 bills of varying denominations. Affiliate links below. 

---------


Hidden Money Gift: Necklace and Earring Set


Materials:


Steps: 

Paint the beads with acrylic paint. When the paint is dry, add Extreme Glitter. I found that putting the beads on a skewer and propping that up on paint bottles was the easiest way to paint them. 


Choose a patterned paper that coordinates with your beads. Cut 8 strips of paper, each slightly bigger than 3/4" wide by around 3" long. 

Working with one bill at a time, fold the bill lengthwise into thirds, creasing the fold well. Roll it into a tight bead. Wrap the patterned paper around it, adding glue only to the area where the paper overlaps itself. Don't get any glue on the money! Repeat for all 8 bills. 

In this picture, you can see the steps of prepping the money. The third bill is loose because I let go of it for the photo; you'll actually want it to be as tight as possible, as you can see with the finished bead on the right. 


Here's a look at a finished bead. 


To make the earrings, thread a bead onto an eye pin, then curl up the end to secure the bead in place. Use a jump ring to attach it to the earring hook. 

To make the necklace, arrange six paper beads (hidden money) and seven wooden beads in order. String them onto the necklace chain. Depending on the necklace and the beads, you may need to temporarily remove the clasp of the chain (if it's wider than the gap in the beads) and/or use a yarn needle to thread the beads. 


This is what the finished jewelry set looks like. 


Package your gift in an elegant jewelry gift box for an extra fun touch. Then wait and see how long it takes your recipient to notice that the necklace and earrings aren't actually the gift they think they are!

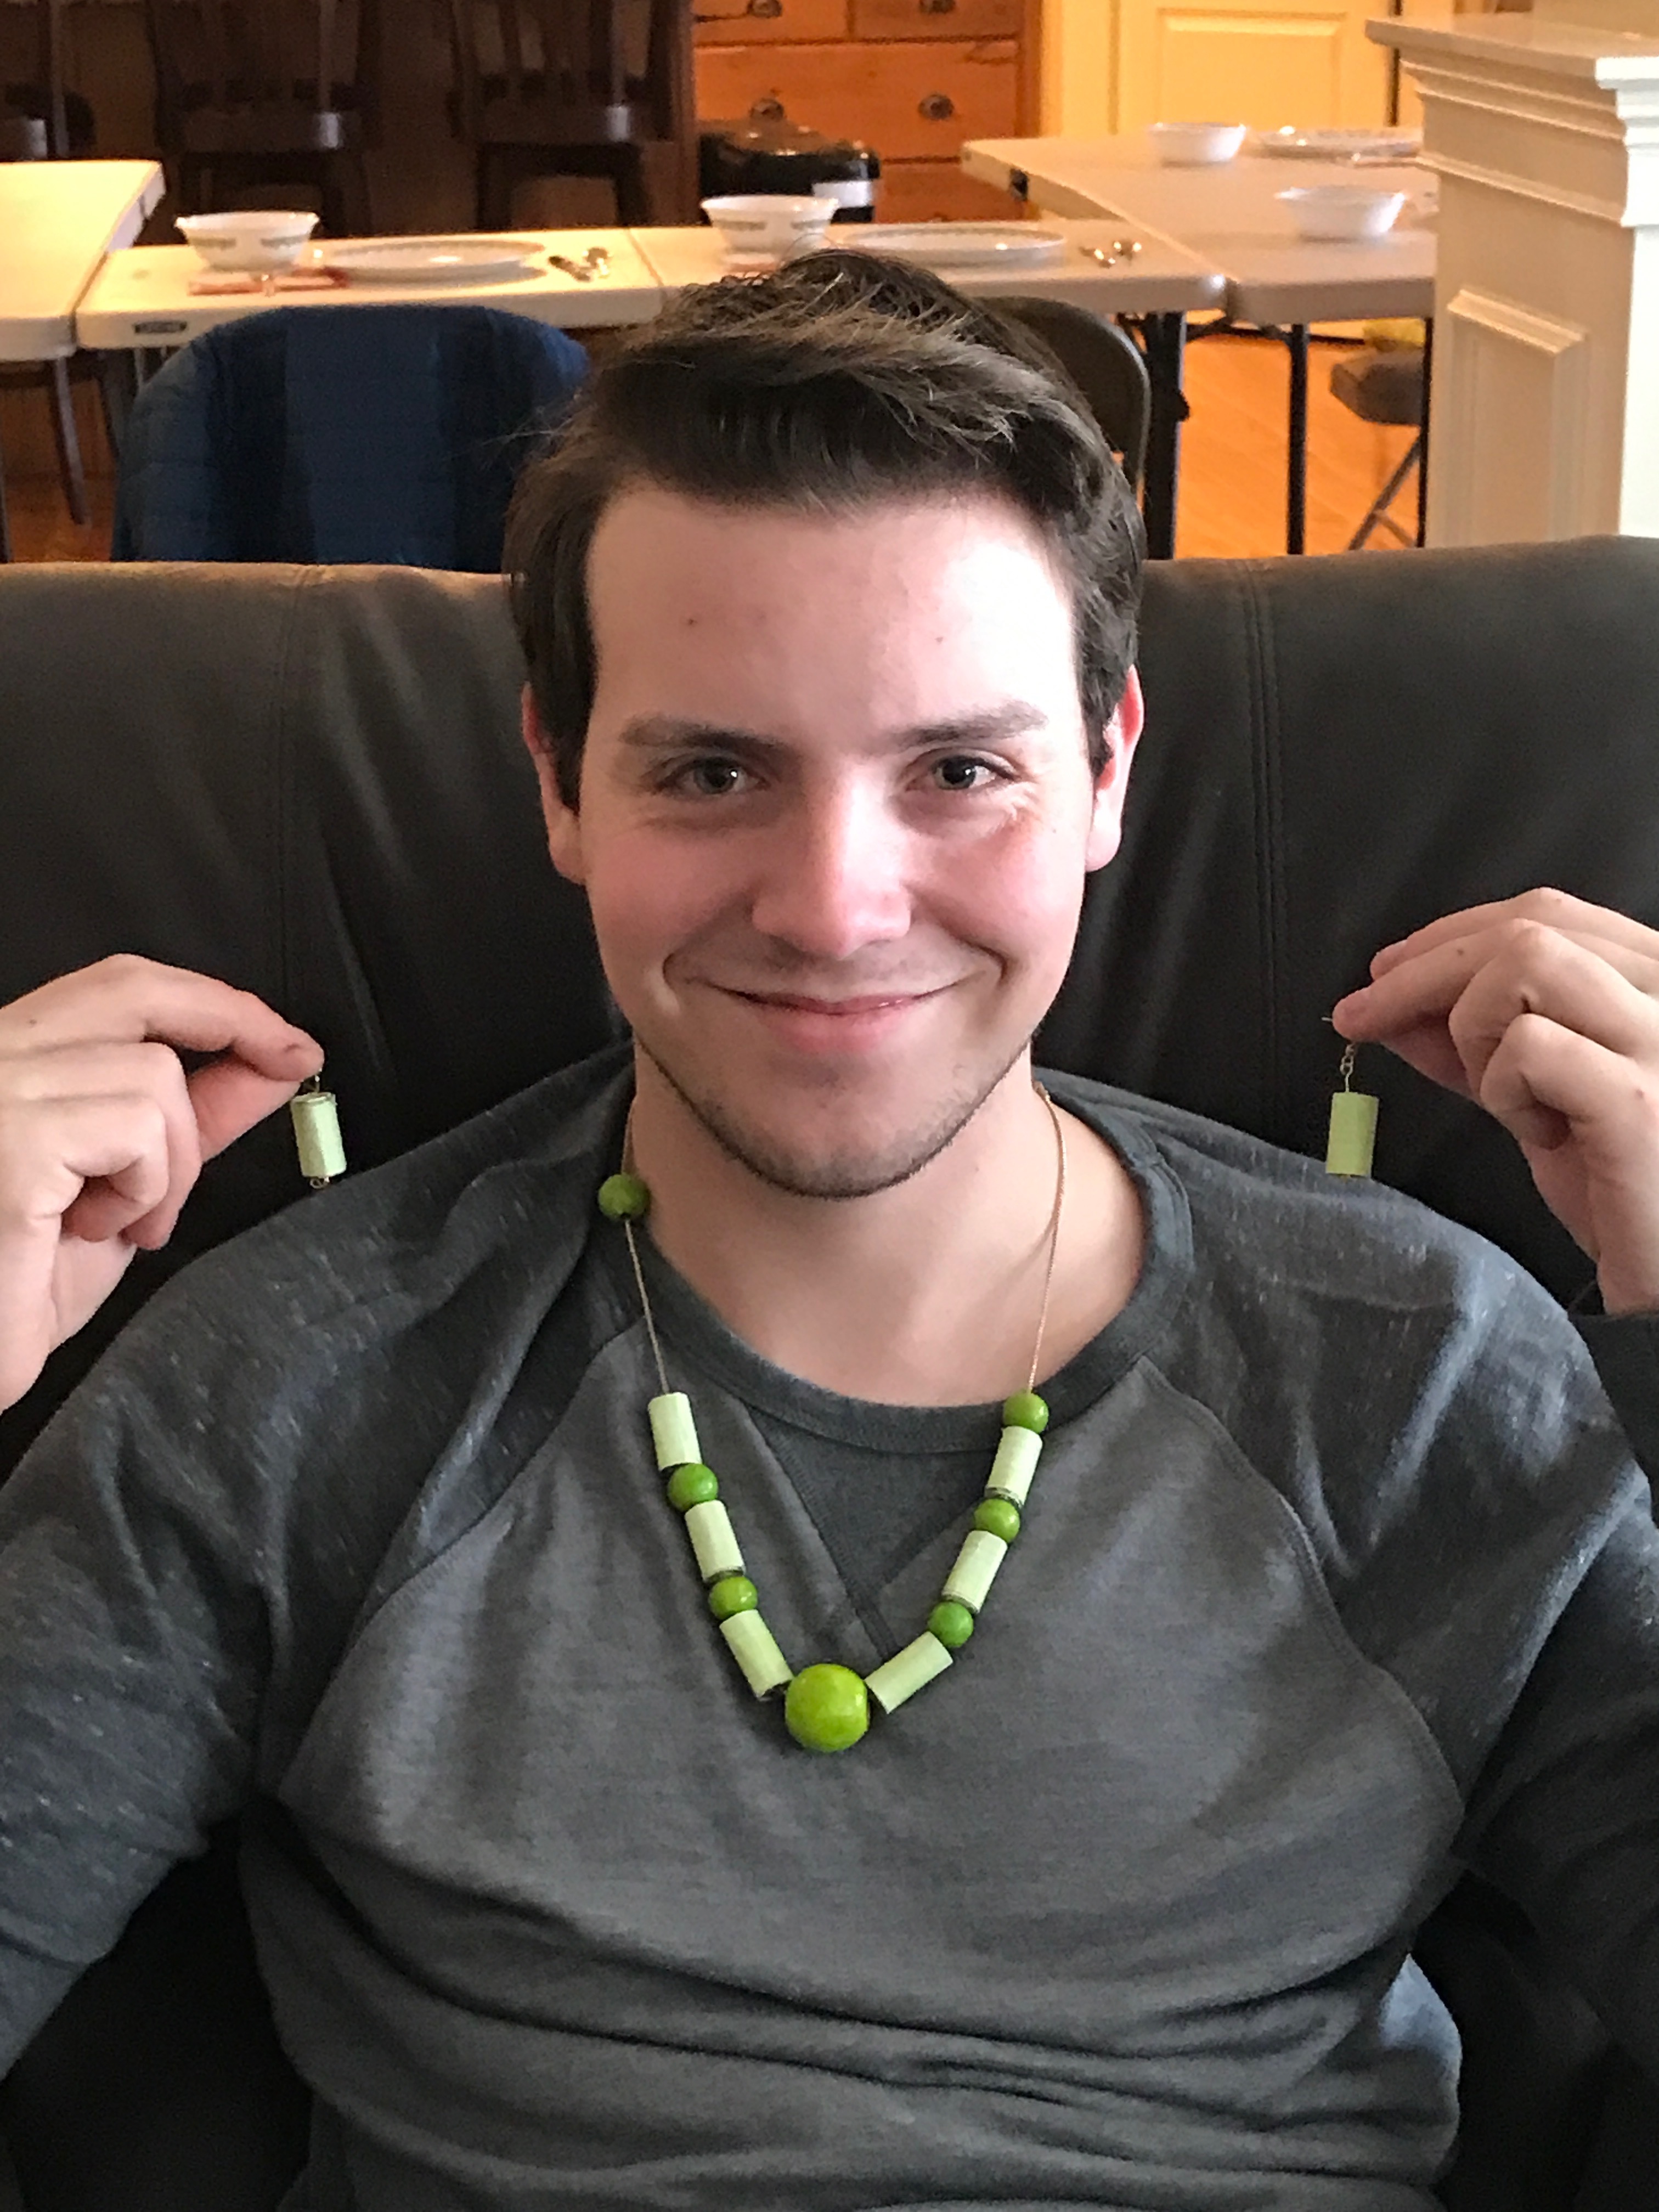
My sister sent me this photo of Timothy modeling his new jewelry (pre-destruction). I love it. 


Browse through the dozens of ideas for money gifts I've given to Timothy and others over the years. I love looking back at them. 

2/4/22

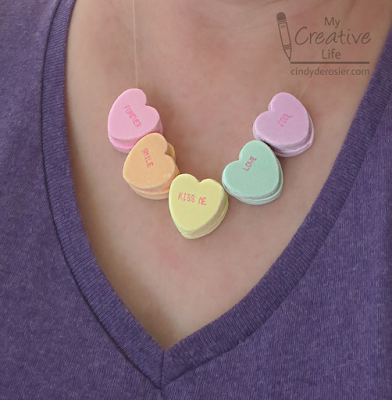
Conversation Heart Candy Necklace

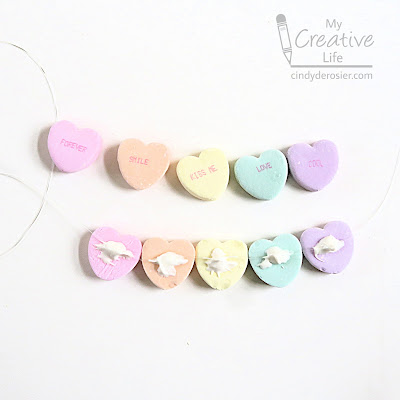
Whether you're a kid, or just a kid at heart, this Conversation Heart Candy Necklace is a really fun craft for Valentine's Day. To test its durability, I took mine on and off repeatedly, then left it on for hours. It held up surprisingly well. Give it a try! Affiliate links below. 


Conversation Heart Candy Necklace


Materials:


Steps: 


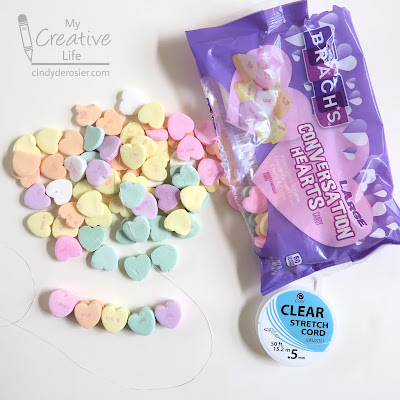
Cut a length of stretch cord large enough to fit around your neck with room to tie a knot. Select the five colors/messages you want for your necklace and set them aside. The necklace is reversible, so you're choosing two of each color (a total of 10 conversation hearts). 


Put a few Candy Melts into a small container and melt them according to the package instructions. Arrange the hearts so that half of them are message-side down. Dab a small amount of melted candy onto each, then lay the stretch cord into the warm candy. 


Immediately press the matching candy on top, trapping the stretch cord inside. Allow the candy to set up completely (30 minutes at room temperature, or 10 minutes in the fridge), then tie it around your neck. Remember - it's reversible, so you can flip the candies around if you want to send a different message. Enjoy!

5/12/21

Clay Watermelon Necklace

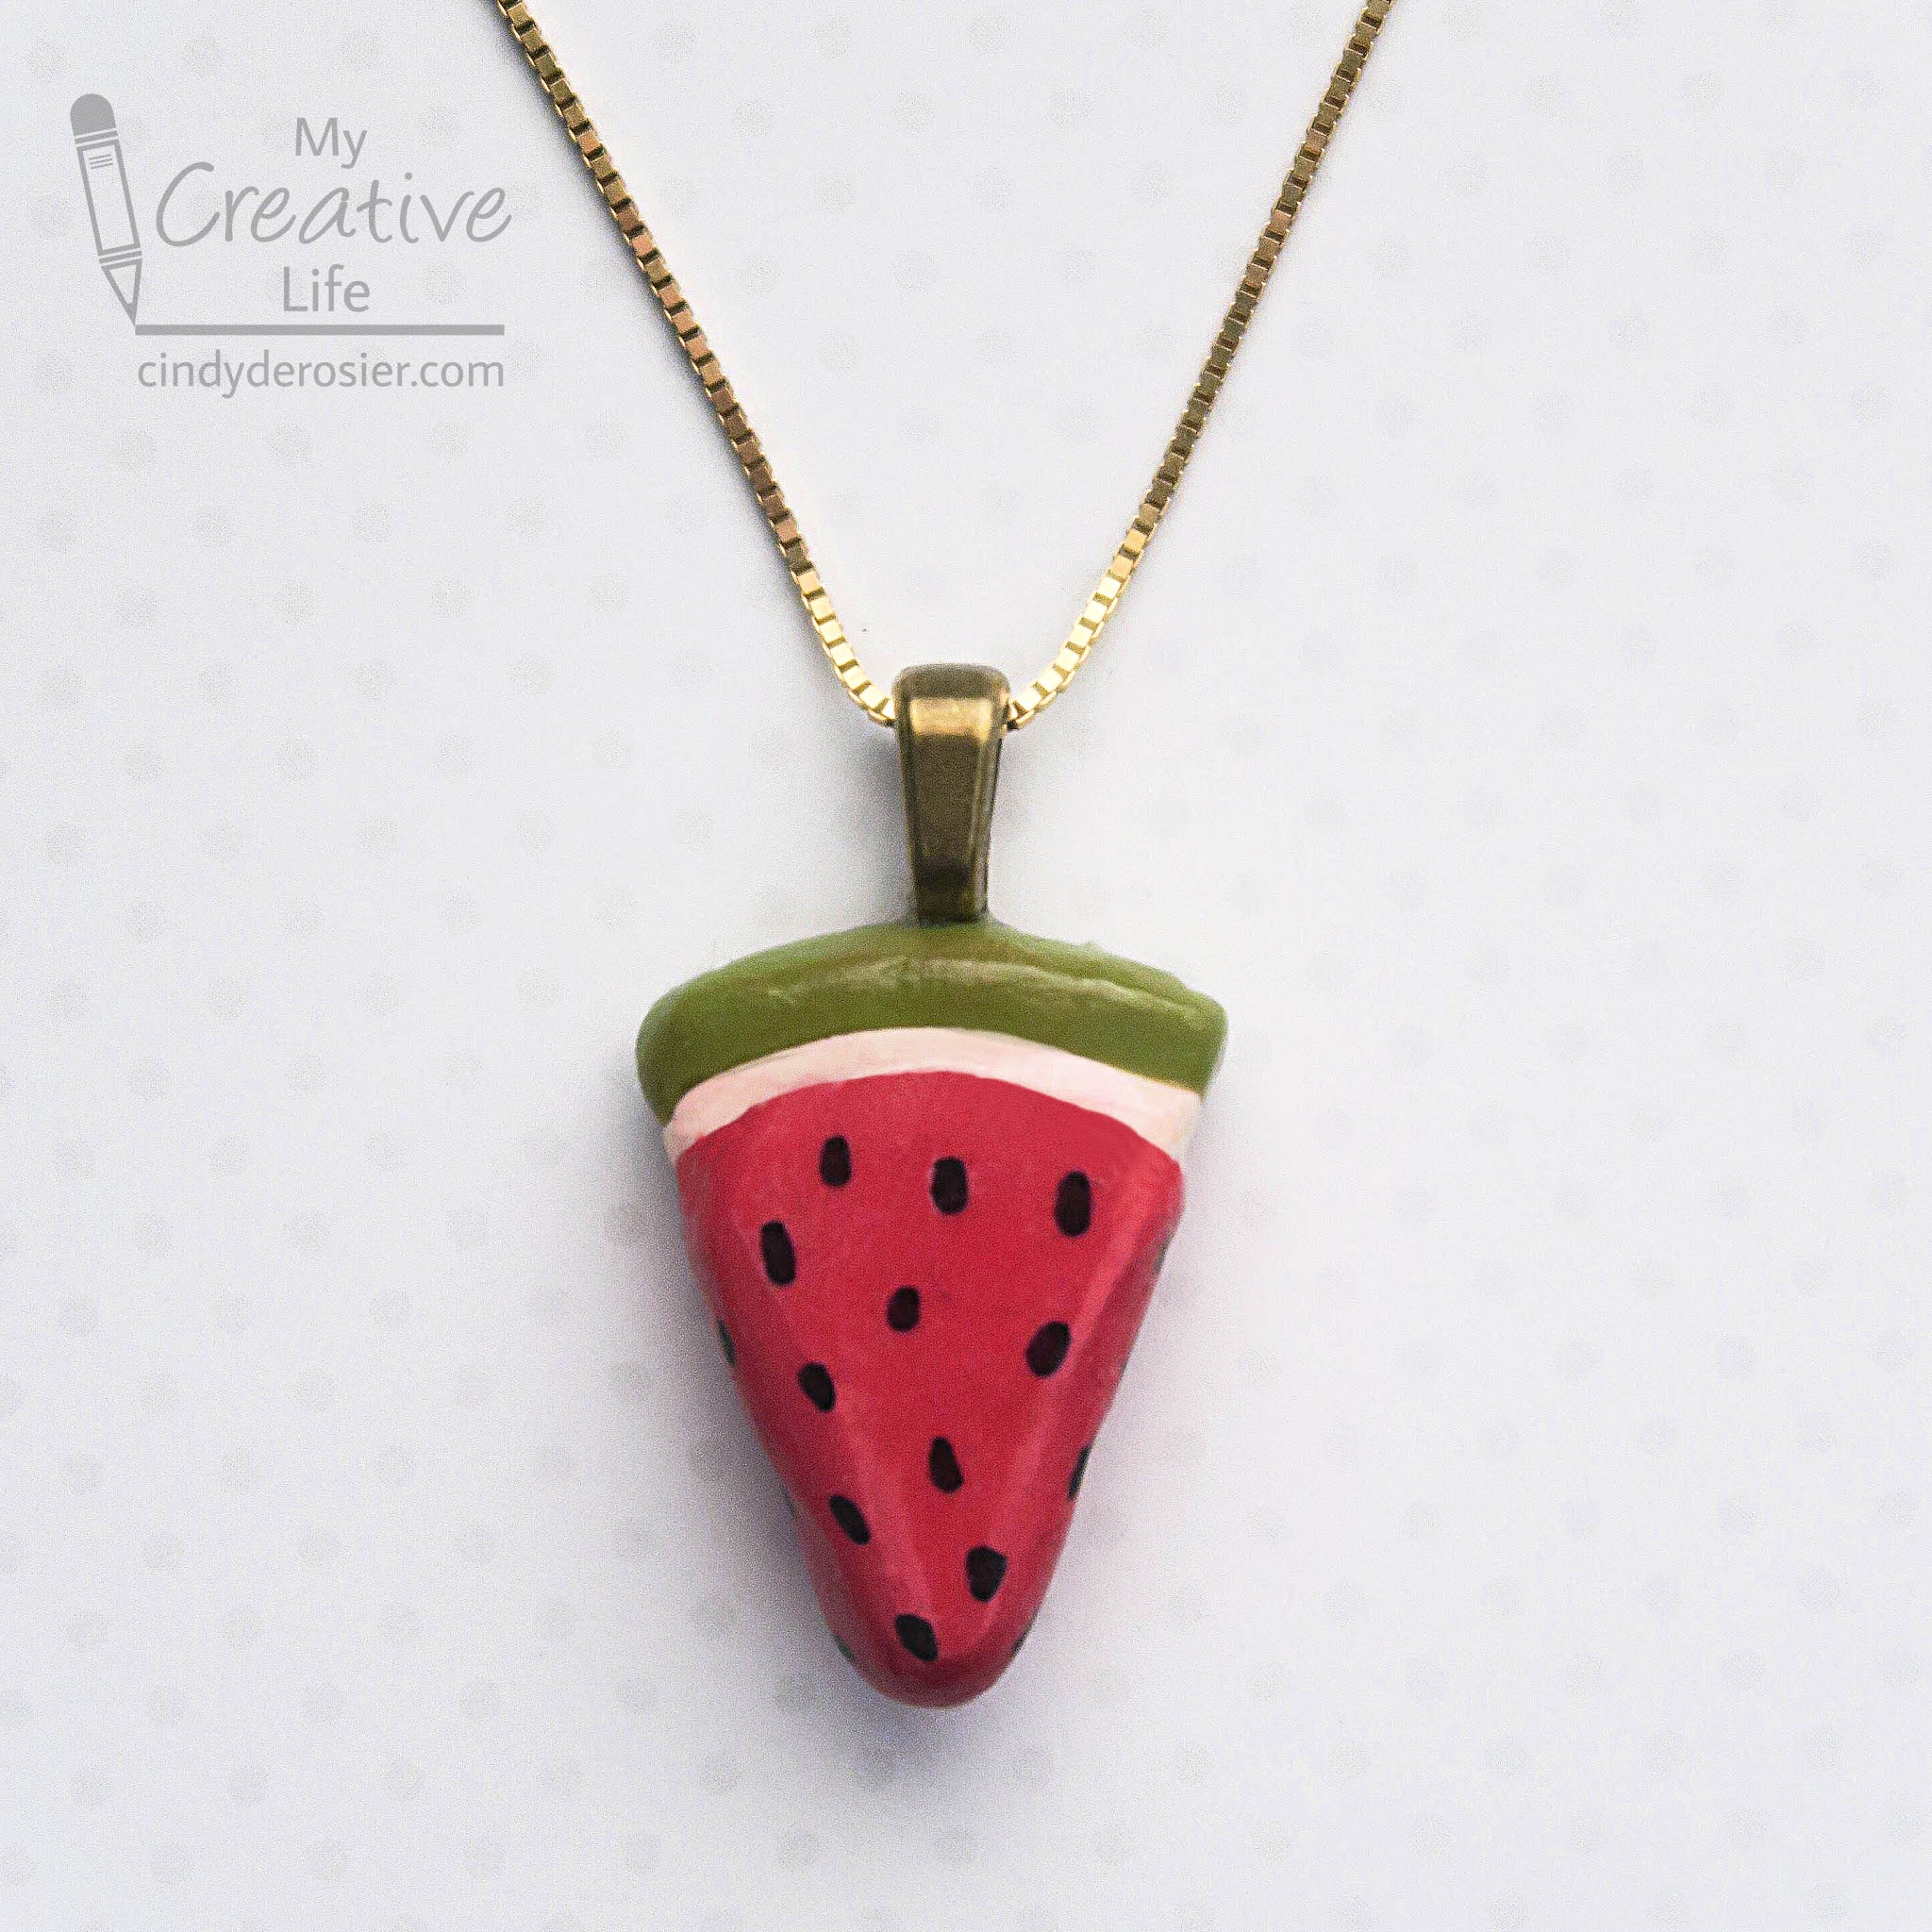
Check out my new necklace! It's easy enough for a child to do, which I know because that is about where my jewelry-making skills are. 


Watermelon Necklace


Materials:


Steps:


Condition the clay by working it until it is soft. Form the red clay into a wedge the size and shape of a slice of watermelon. Add a thin band of white clay across the top. 


Add a thicker band of green clay above the white. Smooth everything until you are satisfied, then bake the clay according to the package instructions. 

When the clay has cooled, use the Sharpie to draw seeds onto the red portion. Baked Sculpey does not need to be sealed, but I chose to add a coat of Mod Podge so that my watermelon would be glossy. Your choice. 

Adhere the bail to the back of the pendant. When the glue is dry, hang the pendant on the cord or chain of your choice.

1/28/20

King Cake Mardi Gras Necklace

The inspiration for today's craft is no mystery! I loved our time in New Orleans and couldn't wait to design something inspired by the colors and glitz of Mardi Gras. I'm really happy with my new necklace. It's super lightweight and comfy to wear. Can you tell what I used to make it? Affiliate links below. 


-------


King Cake Mardi Gras Necklace


Materials:


Steps:


Create three ropes of white Model Magic and place them side by side. 


Twist the bundle of ropes several times, then join the ends together to form a rough circle. If you're not happy with it, try again! Don't aim for perfection though - the irregularities make it look more authentic. 

Set your King Cake aside and let it dry for at least 24 hours. Flip it upside down and let it dry another 24 hours. 

Paint the King Cake with the Camel paint, then add highlights of Harvest Gold in the twists and on top to mimic the look of baked goods. When the paint is dry, use a Q-tip to glob white gesso on the top. Be sure to leave plenty of the 'cake' exposed beneath the 'frosting.'


When the gesso is dry, add Stickles. Alternate between green, yellow, and purple. Make the sections  different sizes like they’d be if you were dropping colored sugar on a real King Cake. 


Let the Stickles dry overnight. Glue the bail onto the back of the King Cake. When it is dry, add a chain and your King Cake is ready to wear!


If you want the real thing, you can make it yourself from scratch. Or, use a handy box mix that comes with everything you need, including the filling, frosting, and baby. This year, Mardi Gras falls on February 25, so you have plenty of time to prepare!

6/3/19

Scrabble Tile Pendants

I love to craft with friends, even when they're 3000 miles away! Jessie, my friend and roommate at Prime Con, lives across the country from me, but that didn't stop us from collaborating on a project: Crocheted Necklaces with Scrabble Tile Pendants. Read on to learn how I made the pendants (affiliate links below), then hop over to Jessie at Home to see how she created crocheted necklaces for each of the pendants I made! Here's a sneak peek of one of the completed necklaces.


---------


Scrabble Tile Pendants


Materials: 


Steps: 

Before getting started, invert your Diamond Glaze (with the lid still on) and set it in a narrow glass or something else that lets it sit upside down. Leave it for at least 30 minutes. Do not shake! 

Select your letters, then set them on a smooth, flat surface. Hold the tip of the Diamond Glaze just above the center of the tile and squeeze gently. Allow the Diamond Glaze to pool toward the edges. If you squeeze slowly, it should make a dome on the tile without spilling over the edge. 


If it gets too close to an edge and isn't reaching one or more of the corners, use a toothpick to gently guide it into place. 


Continue adding Diamond Glaze until you have a dome. Hopefully there are no bubbles (that's why we inverted the Diamond Glaze), but sometimes they show up for no good reason. If they do, gently poke each bubble with a toothpick. Sometimes I use a needle if I have one handy. 

Without moving, jostling, or otherwise disturbing the tile, let it sit for at least 24 hours. It will look opaque at first (like the letter V below) but will dry crystal clear. 


When your tiles are completely dry, turn them over and use Supertite glue to add jewelry bails. I used three different styles of bails for the pendants I made for Jessie and her twins, Kyla and Vada.


Now head over to Jessie at Home to learn how to turn these pendants into gorgeous beaded necklaces!

4/3/19

Using Leftover Diamond Dotz: Flower Necklace

Yesterday I went over the similarities and differences between diamond art kits. One more thing the brands all have in common is that they come with plenty of extra Dotz. Should you keep those leftover Dotz when you finish the kit? Absolutely! I'm going to be sharing lots of craft ideas for using your extra Diamond Dotz, starting with a simple (and very inexpensive) Flower Necklace. Affiliate links below. 


---------


Diamond Dotz Flower Necklace


Materials: 


Steps: 


Use the toothpick to spread a THIN layer of Supertite glue on the front of the bail. With the stylus, position 6 Diamond Dotz around the edges and a 1 of a contrasting color in the center. Gently nudge them until they're perfectly aligned. 


While you have the supplies out, make more than one. Each costs just pennies to make! 


 Let the glue dry completely. Then thread the bail onto a chain and your necklace is ready to wear!