Showing posts with label party. Show all posts

6/10/19

Peanuts Birthday Party

We celebrated Trevor's 13th birthday last Friday with a Peanuts-themed party at the ice rink. It was awesome. 


This is one of the easiest and most fun party themes I've done. The first step was making the invitation. I designed it using PicMonkey. Affiliate links below. 


With the invitations out, I turned my attention to party favors and decor. I started with plain treat cups, then painted each with Folk Art Multi-Surface Paint. I did two coats to get good coverage. When the paint was dry, I used a Sharpie to draw on the details. Can you name each of the characters?   


The top row is Linus, Charlie Brown, and Lucy. The bottom row is Snoopy, Sally, and Peppermint Patty. I filled them with peanuts for the party. They were a hit. 


I'd planned to make Peanuts-themed candy bar wrappers, but I discovered these amazing chocolates from the Vermont Country Store for way cheaper than I could have made them. I bought all that they had (sorry), but hopefully they'll restock them. 

Next, I made a banner featuring the same six characters. I cut triangles from colored cardstock, decorated them with a Sharpie, then used Glue Lines to attach them to yarn. (It's a bunch of chain stitches. I've been practicing since my crochet lesson.)


Here's the completed banner hanging above the cake. 


The cake was really easy to make. Whenever I make a cake that is a different shape than my pan, I cut a piece of paper to the size of the pan, then experiment with how to cut it to get the shape I want. I baked my cake in a 9"x13" pan. To make it into a shirt, I cut a strip off the bottom, then cut that on the diagonal to make two sleeves.  


The sleeves were a little too long, so when I cut the actual cake, I had a piece left over. Good thing, since it allowed me to do some cake quality control. (It passed.) I thought I had cake boards on hand that would fit my cake, but I didn't. So I had to build the cake on a baking sheet.


I used Wilton's gel food colors to get the frosting to just the right shade of yellow. I rolled out Satin Ice Modeling Chocolate between two pieces of parchment and used a sharp knife to cut the zig zag design.   


Far from perfect, but definitely recognizable!


The birthday boy was very happy with how it turned out. Check out the glow of 13 candles! 
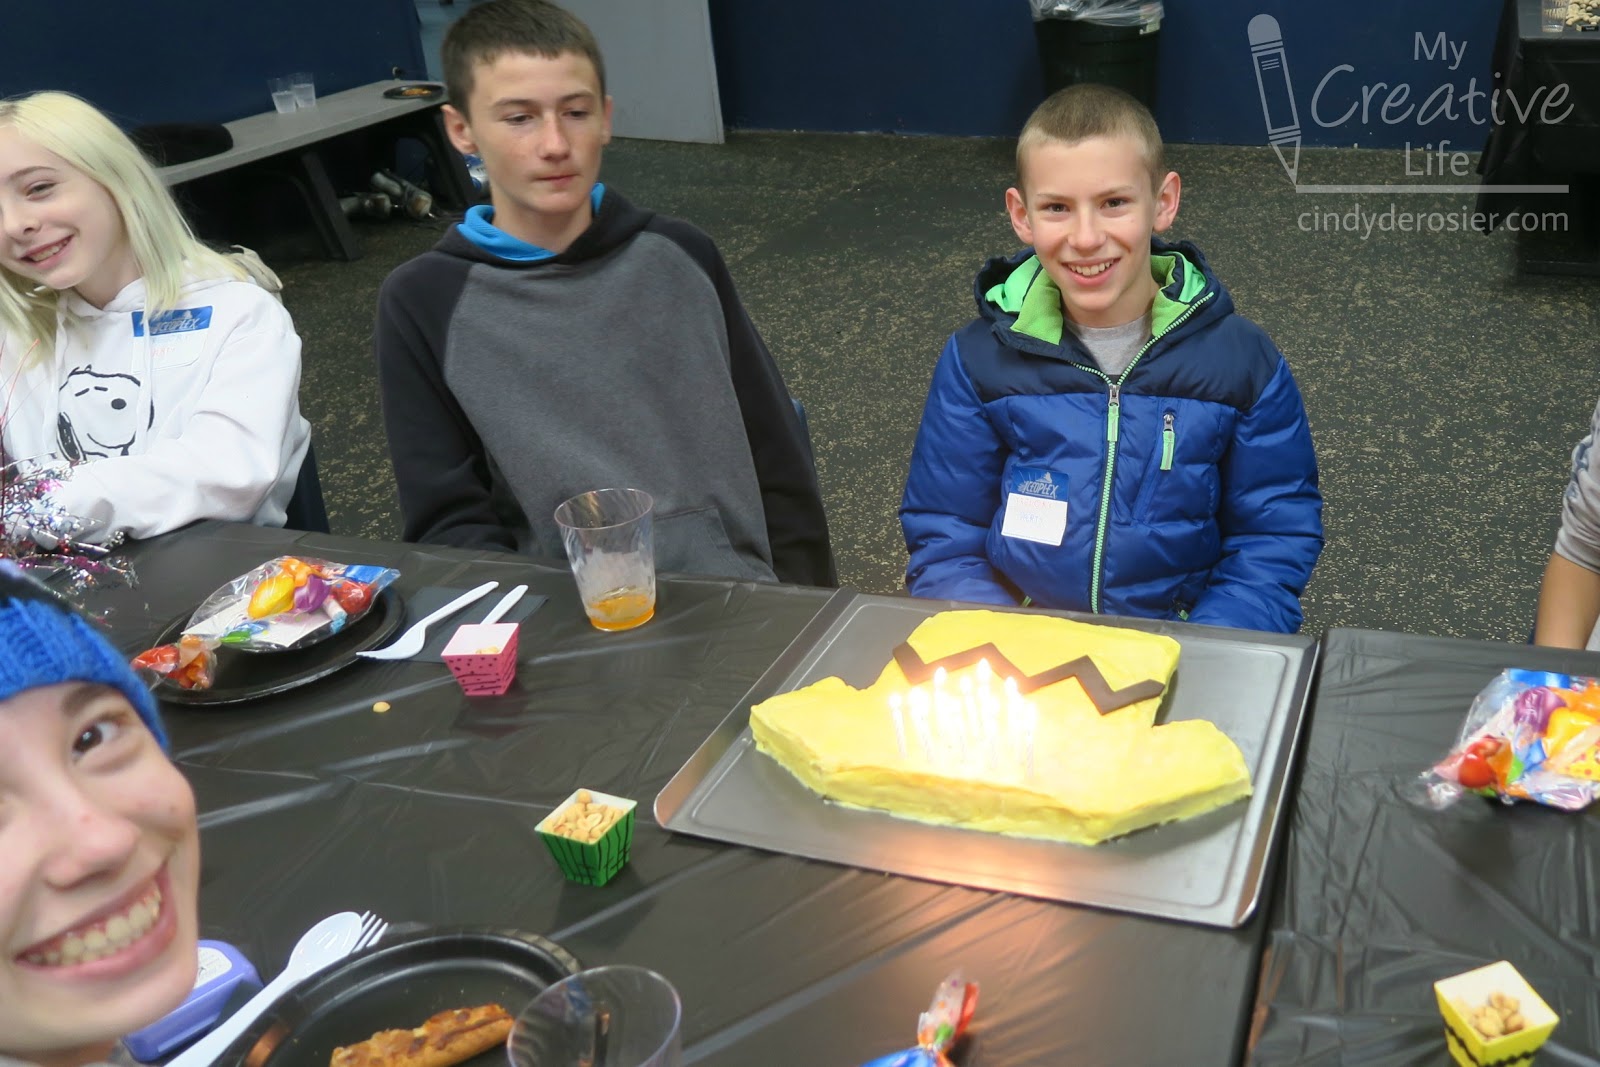

Everyone had a really good time, which is all that matters.


 Happy 13th birthday, Trevor!

10/30/18

Party in a Block

When I shared my I-Spy Game using the Craft Block, I mentioned that I'd be sharing another idea after my nephew's birthday. Timothy turned 18 (!!!) yesterday, so it's time to share his....


Now that my sister's family lives in Idaho, we weren't able to celebrate Timothy's birthday with him (first time ever- sniff). I needed a gift that would be easy to send since I wouldn't be seeing him in person to deliver it. I decided to make him a portable party! The Craft Block is stuffed with everything you need to have a great birthday party - balloons, candles, noisemakers, candy, ribbon, bows, favors, confetti, and money. This would be a great gift for anyone you can't see in person on their special day: college students, members of the military, long-distance family, or pretty much anyone else! Read on to make your own. 


---------


Party in a Block


Materials:


Steps: 


Start by gathering up your supplies.


Drop the items into the Craft Block, one at a time. Use the chopsticks to adjust their positioning. I wanted the swirly top to face outward, so I lowered it in with chopsticks and put it just where I wanted. 


Continue to fill the craft block until there is no more room. Give it a shake to help everything settle, then rotate it to fill in gaps. You want it full so that things don't shift or break in the mail. 


Put the rubber seal on the Craft Block and send your package! It's up to the recipient to figure out how to remove the items! (You can include chopsticks in the package if you want to give them a hint.) Enjoy!

6/7/18

It's Almost Time for the Narwhal Party!

Today is Trevor's 12th birthday! As you might have noticed in the title of the post, we will be celebrating with a narwhal-themed party. Trevor has chosen some really fun party themes over the years and once again, he did not disappoint!

I made the invitation by editing one of the ready-made templates on PicMonkey. It took less than 10 minutes, at least half of which was choosing the perfect colors of blue. Here it is, with the personal information removed:


The template I started with is called "Hanukkah Partaaay." It's 6" x 4", which makes it so easy to print invitations inexpenisely. As you can see, I lightened the blue, moved the text, switched out the larger of the two fonts, added a rectangular overlay, added a narwhal, and topped him with a party hat. Quick and easy! 


Next week I'll share the decorations, cupcakes, and other narwhal-themed touches from the party. Happy birthday, Trevor!