
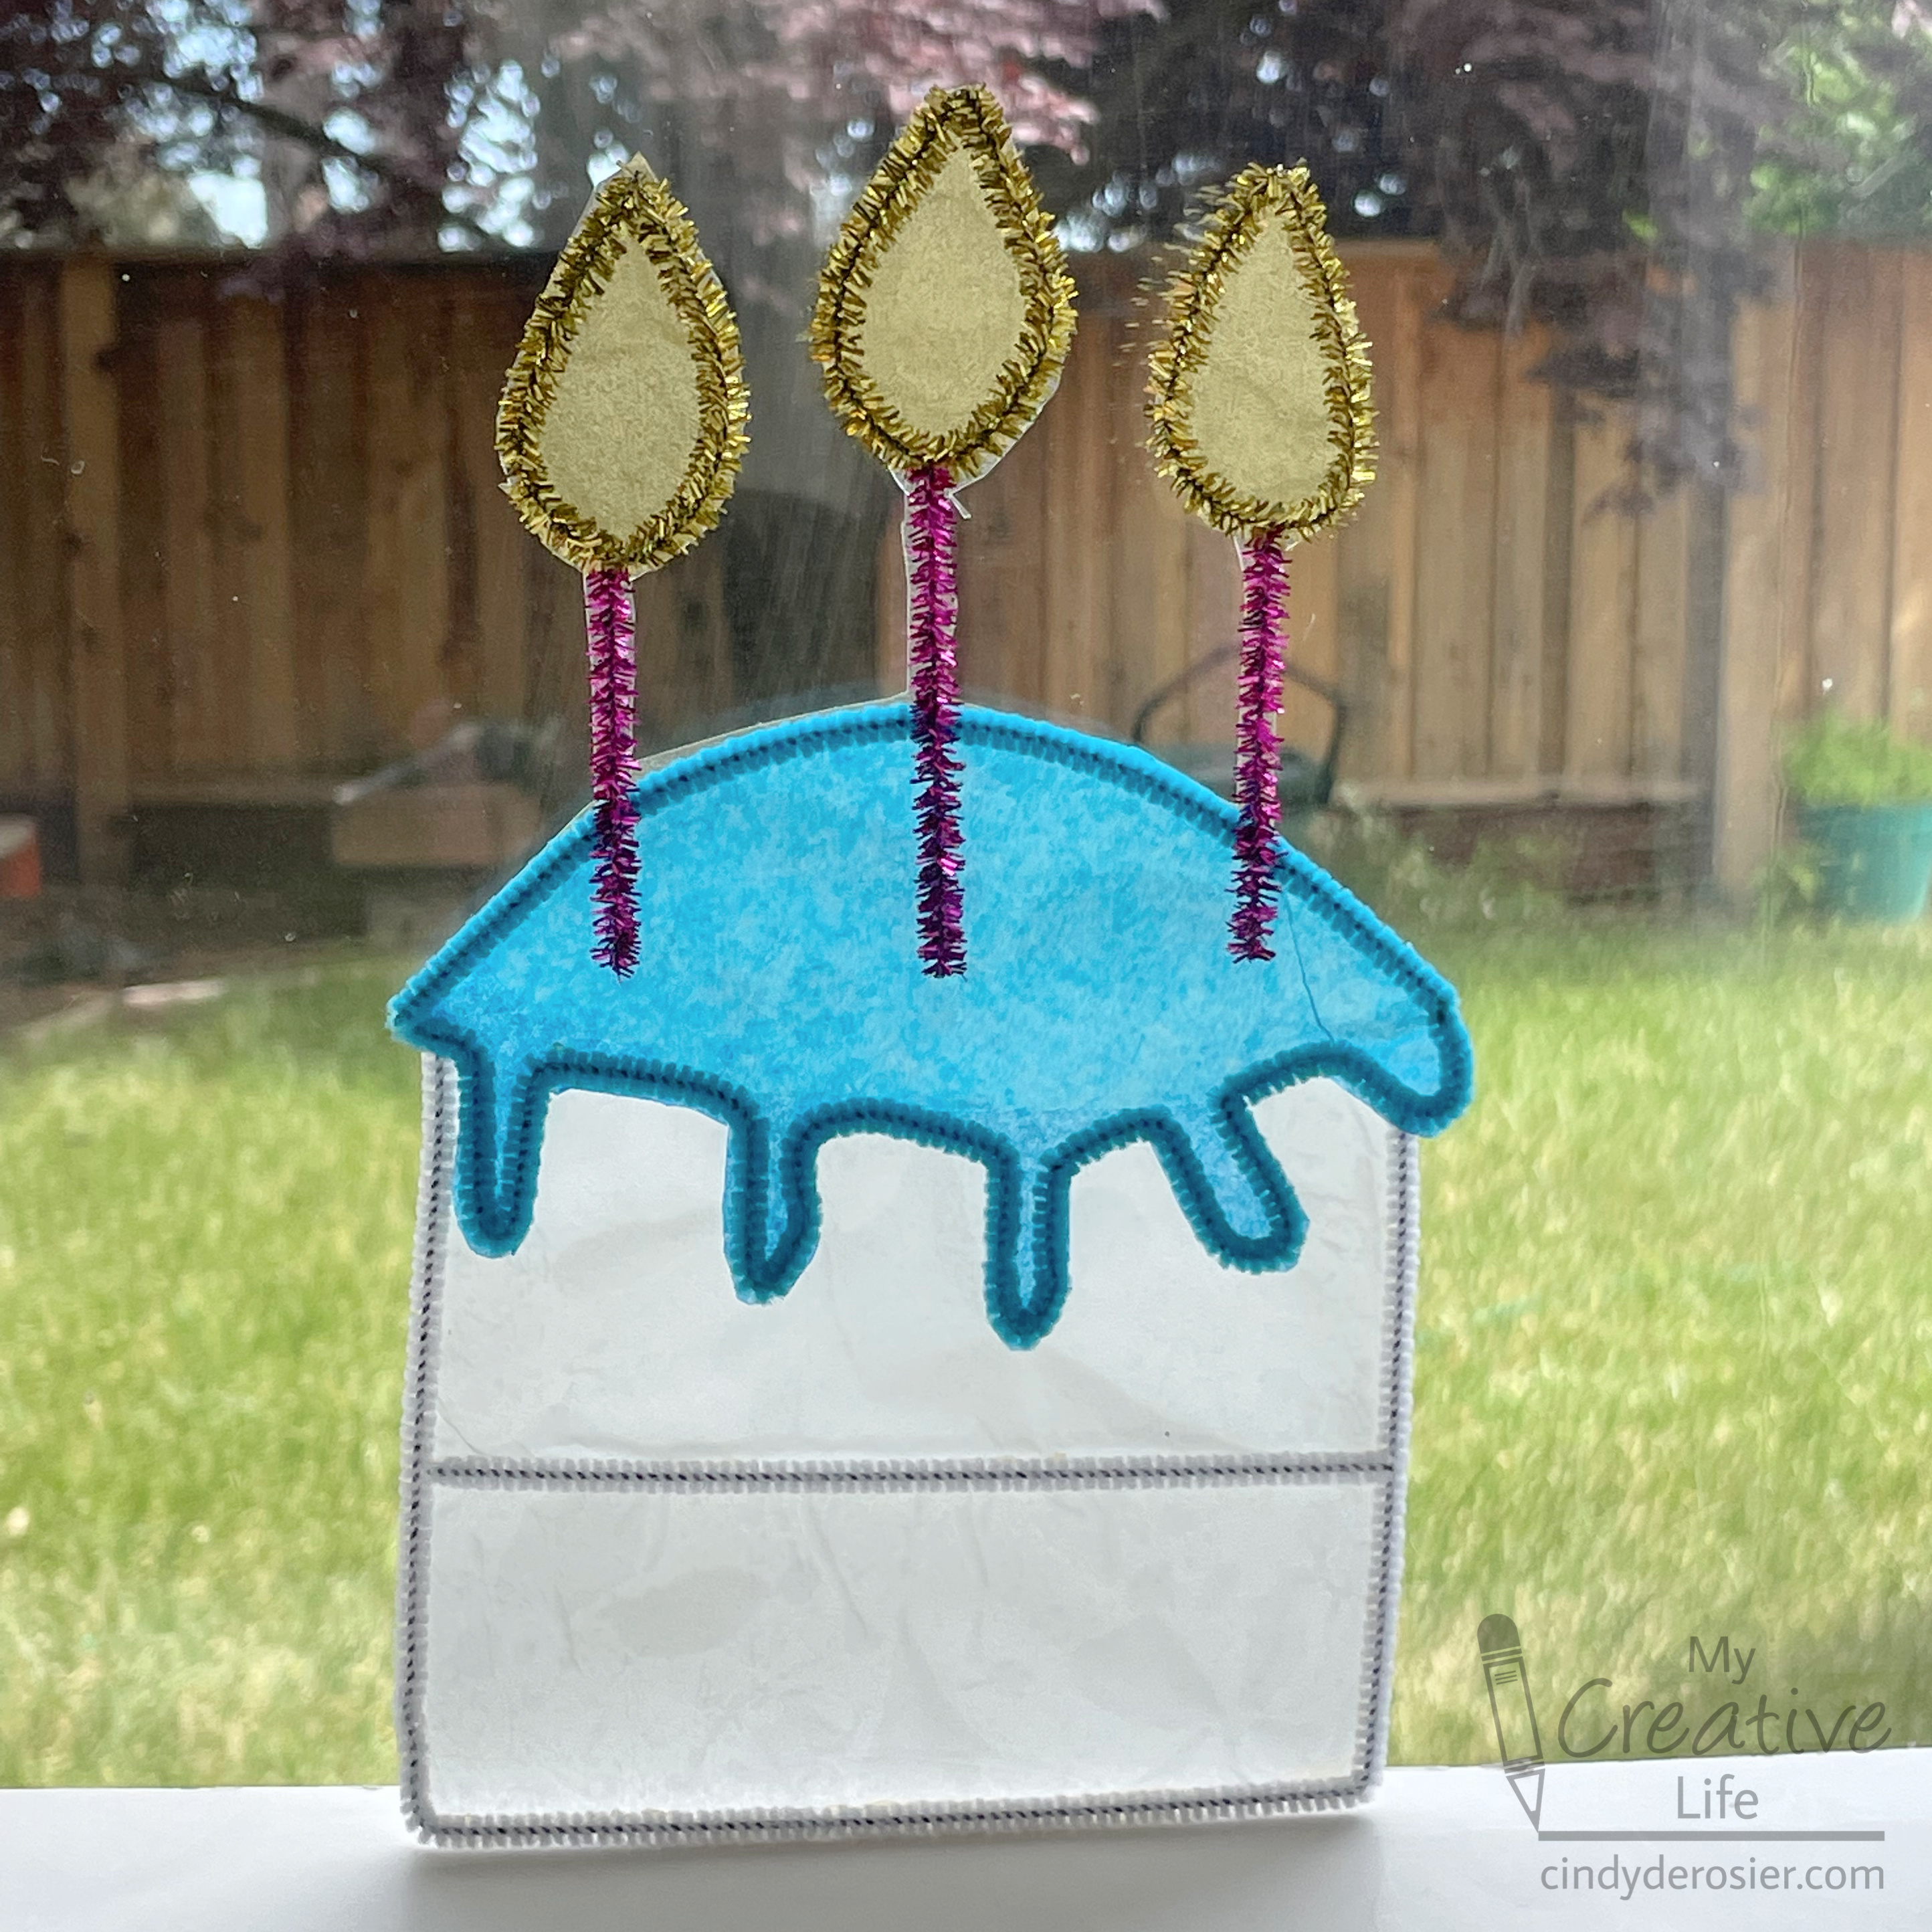
It is so satisfying when I try something new and it works. It took some experimenting to make this sun catcher out of pipe cleaners and tissue paper, but I'm really happy with the results. It looks so pretty sitting in the window. Affiliate links below.

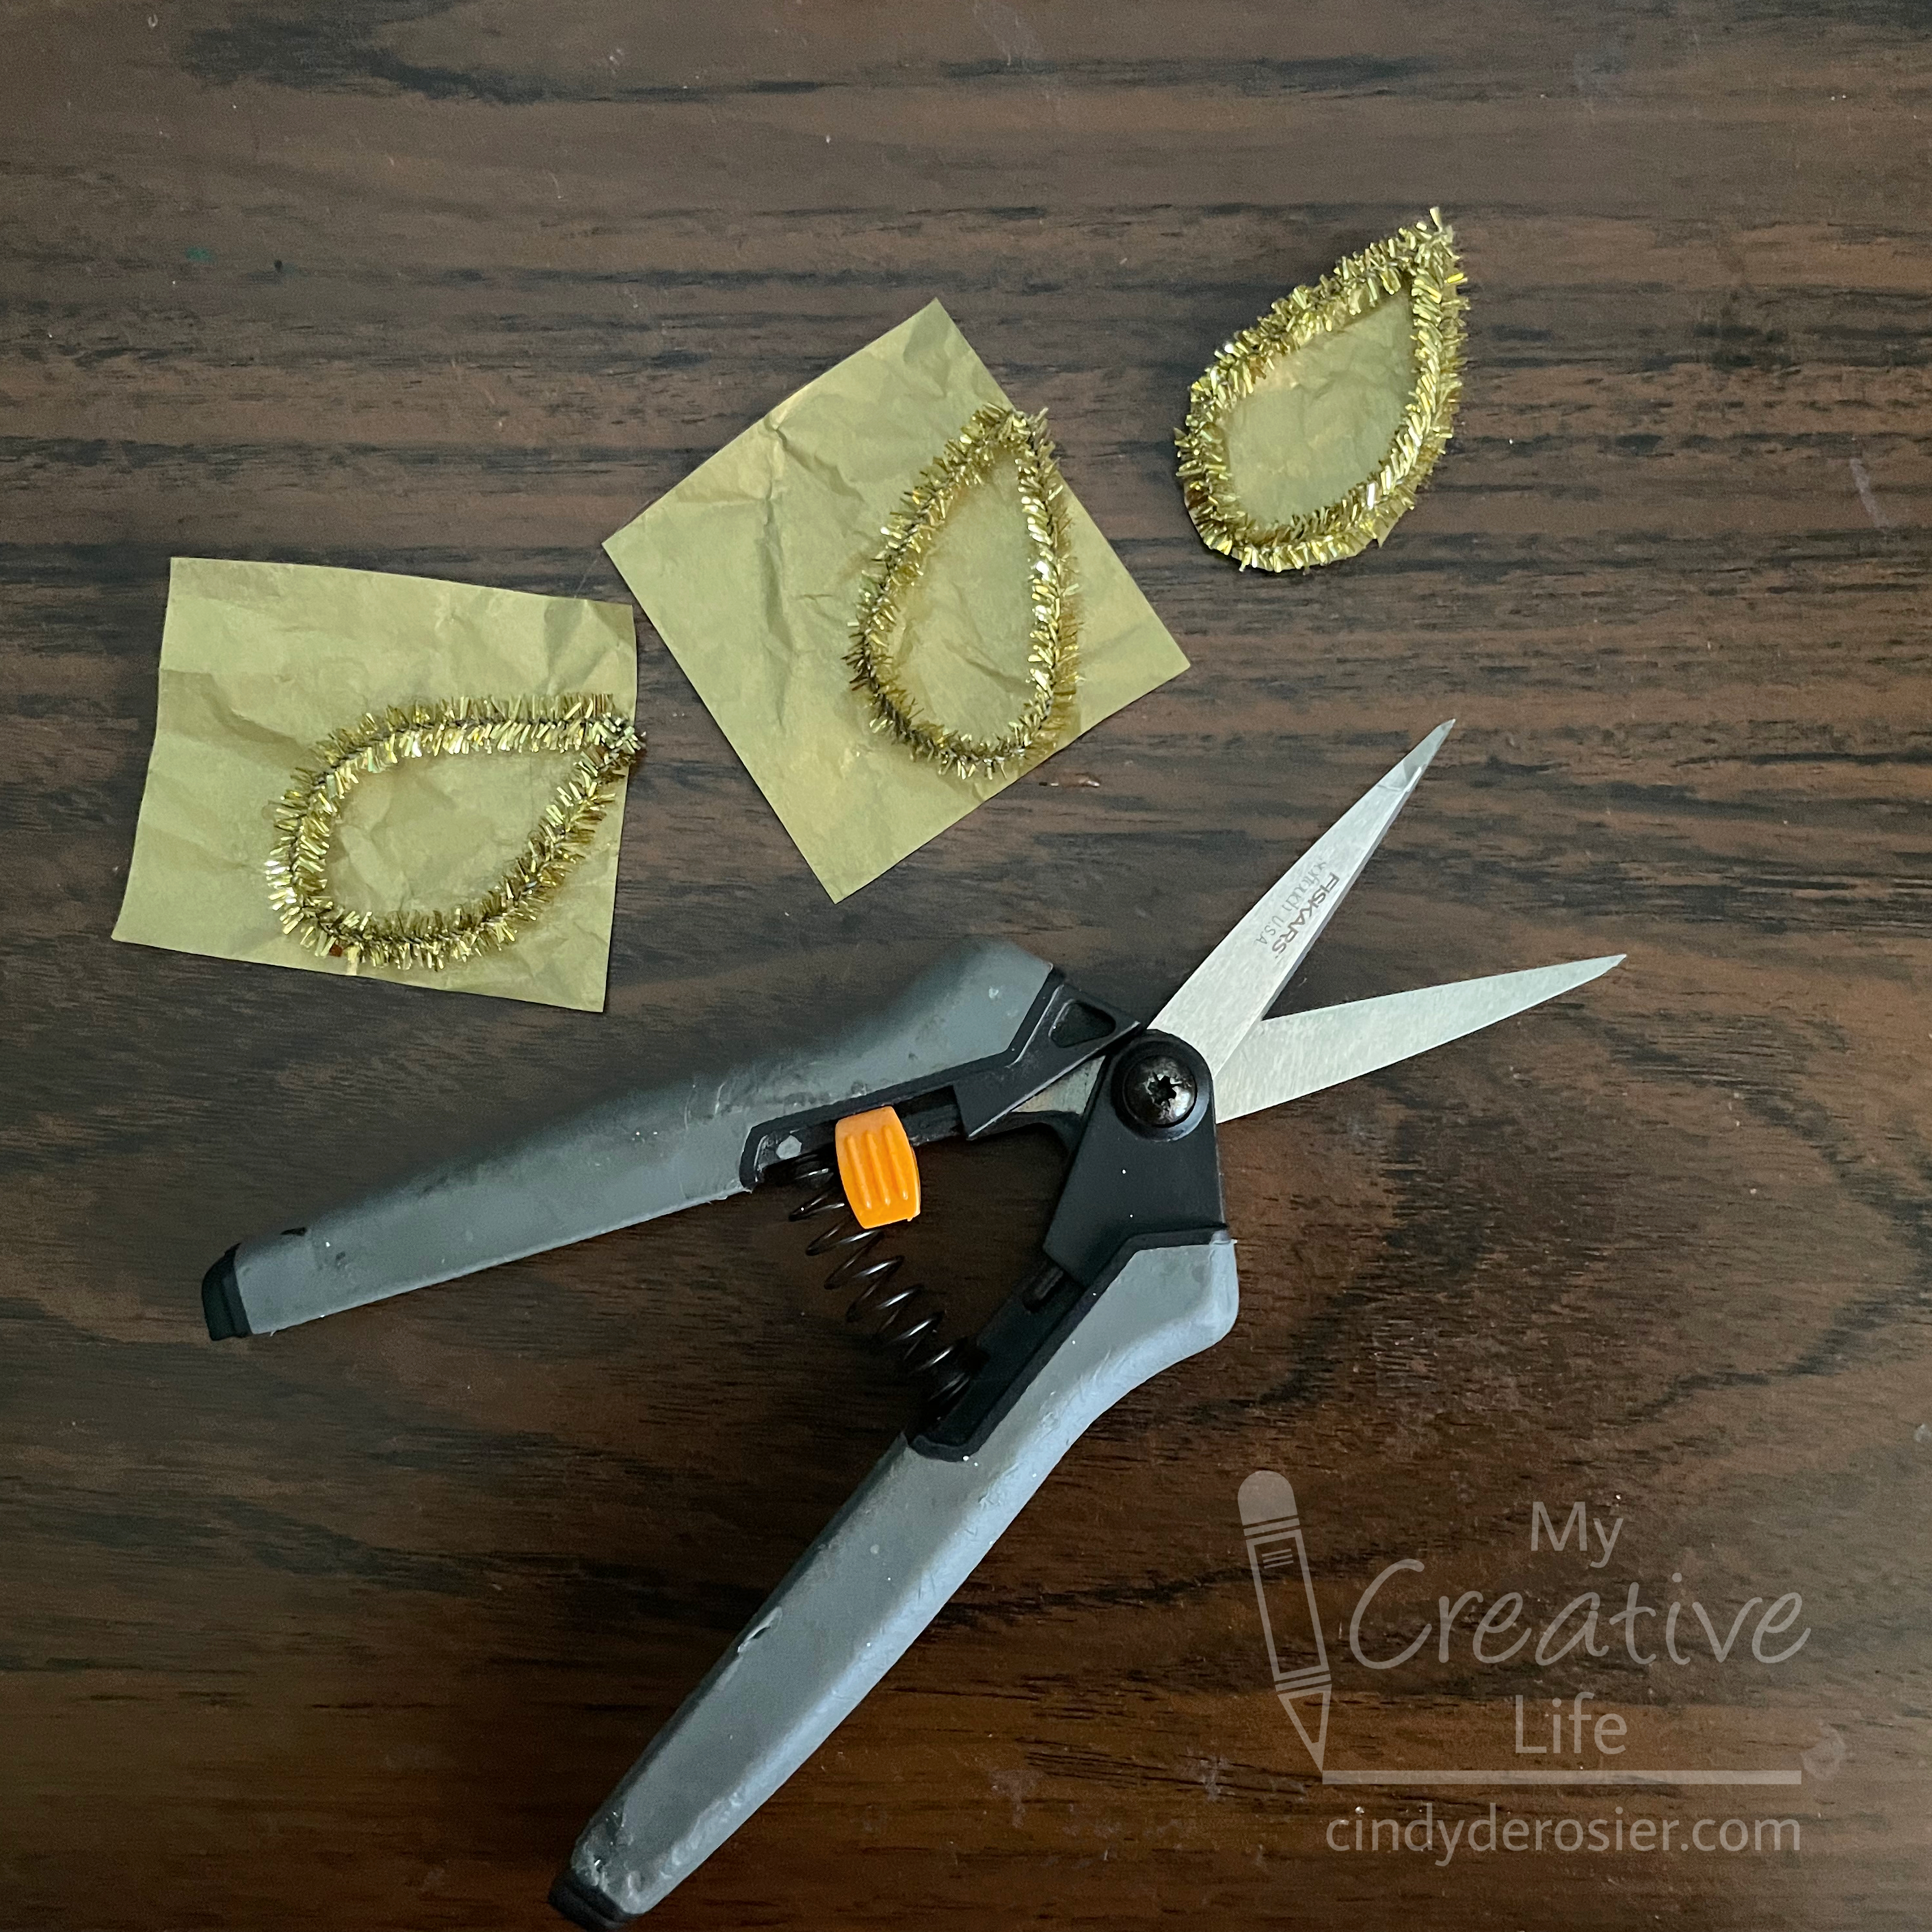
I started with the easiest part of this project, the flames of the candles. Cut a gold pipe cleaner into thirds (use the wire cutters - don't ruin your scissors), then bend each to form a teardrop shape. There's no need to twist the ends together; the bend should hold. You can put a drop of glue between the ends if you want. Put glue onto one side of each teardrop, then place them on pieces of gold tissue paper. Hold them in place for a minute to let the glue set. When the glue is dry, carefully trim away the excess tissue paper.
Pipe Cleaner Cake Sun Catcher
Materials:
Steps:
Use the same technique for the base of the cake and the frosting. For the cake, bend one white pipe cleaner into rough thirds to make a U-shape. Glue this to a piece of white tissue paper. Use a second white pipe cleaner to cut the piece that forms the layer of the cake. Glue it in place.
Bend one blue pipe cleaner into an arc that will be the top of the frosting. Use a second pipe cleaner to make the frosting drips. Unless you are extremely lucky or skilled, the frosting won't fit perfectly on the cake the first time you try. Just make adjustments until it's correct, then glue it to blue tissue paper. Again, hold it in place for a minute while it sets so that it doesn't spring out of position.
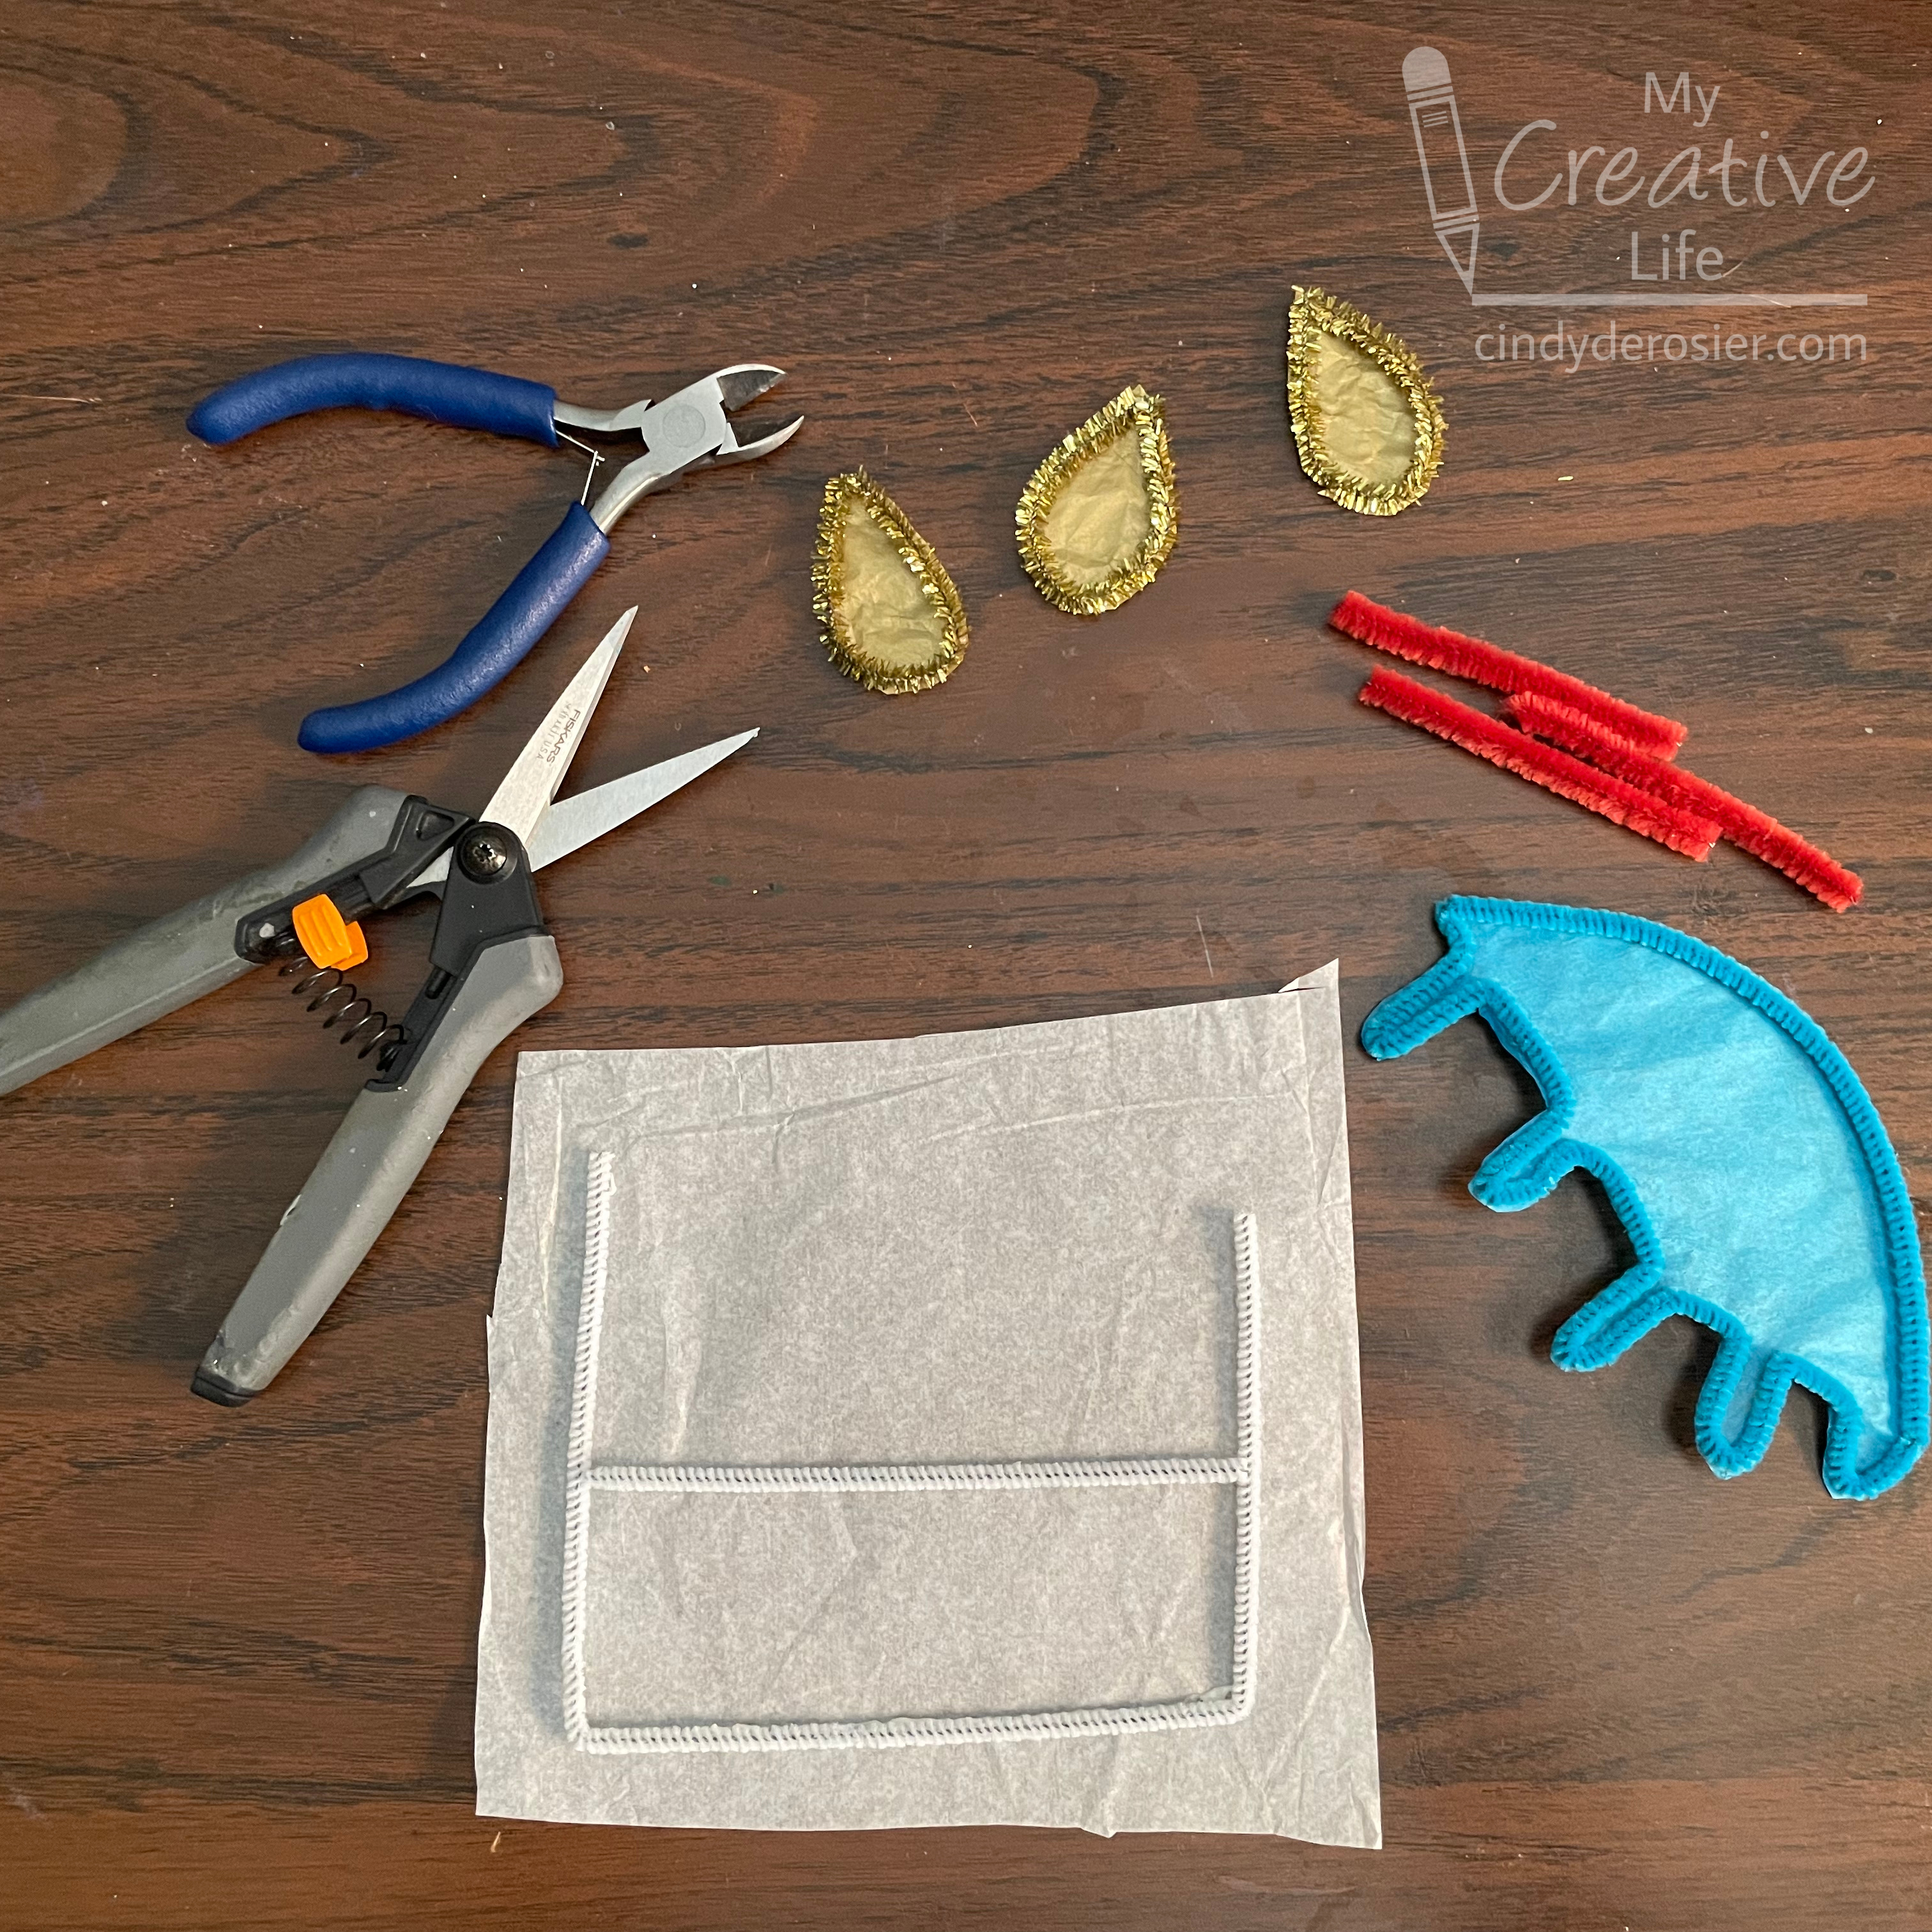
Cut three lengths of pipe cleaner for the candles. As you can see above, I originally planned to use plain red pipe cleaners. I decided purple glitter candles would look better.
Trim the cake and frosting. Fit everything together on the table, then cut a piece of contact paper that is slightly larger than the width and height of the assembled project. Peel away the paper backing with the sticky side of the contact paper facing up. Move the cake base to the contact paper and press it down firmly.

Put glue along the edges of the frosting drips, since they will be touching the cake and not the contact paper. Put the frosting in place. Add glue to the bottom portion of the candles (where they will be touching the frosting) but not to the upper portions (where the contact paper will hold them) and place them where they belong. Then adhere the flames to the contact paper. Let the glue dry completely.
Not all designs will require this, but because the candles have such narrow attachment points, they could flop forward if not better supported. Through experimentation, I found that adding a second layer of contact paper eliminated the problem without affecting the translucency. Do this by peeling away the backing paper on a second piece of contact paper and placing the assembled cake on top of it.
Carefully cut away the excess contact paper.

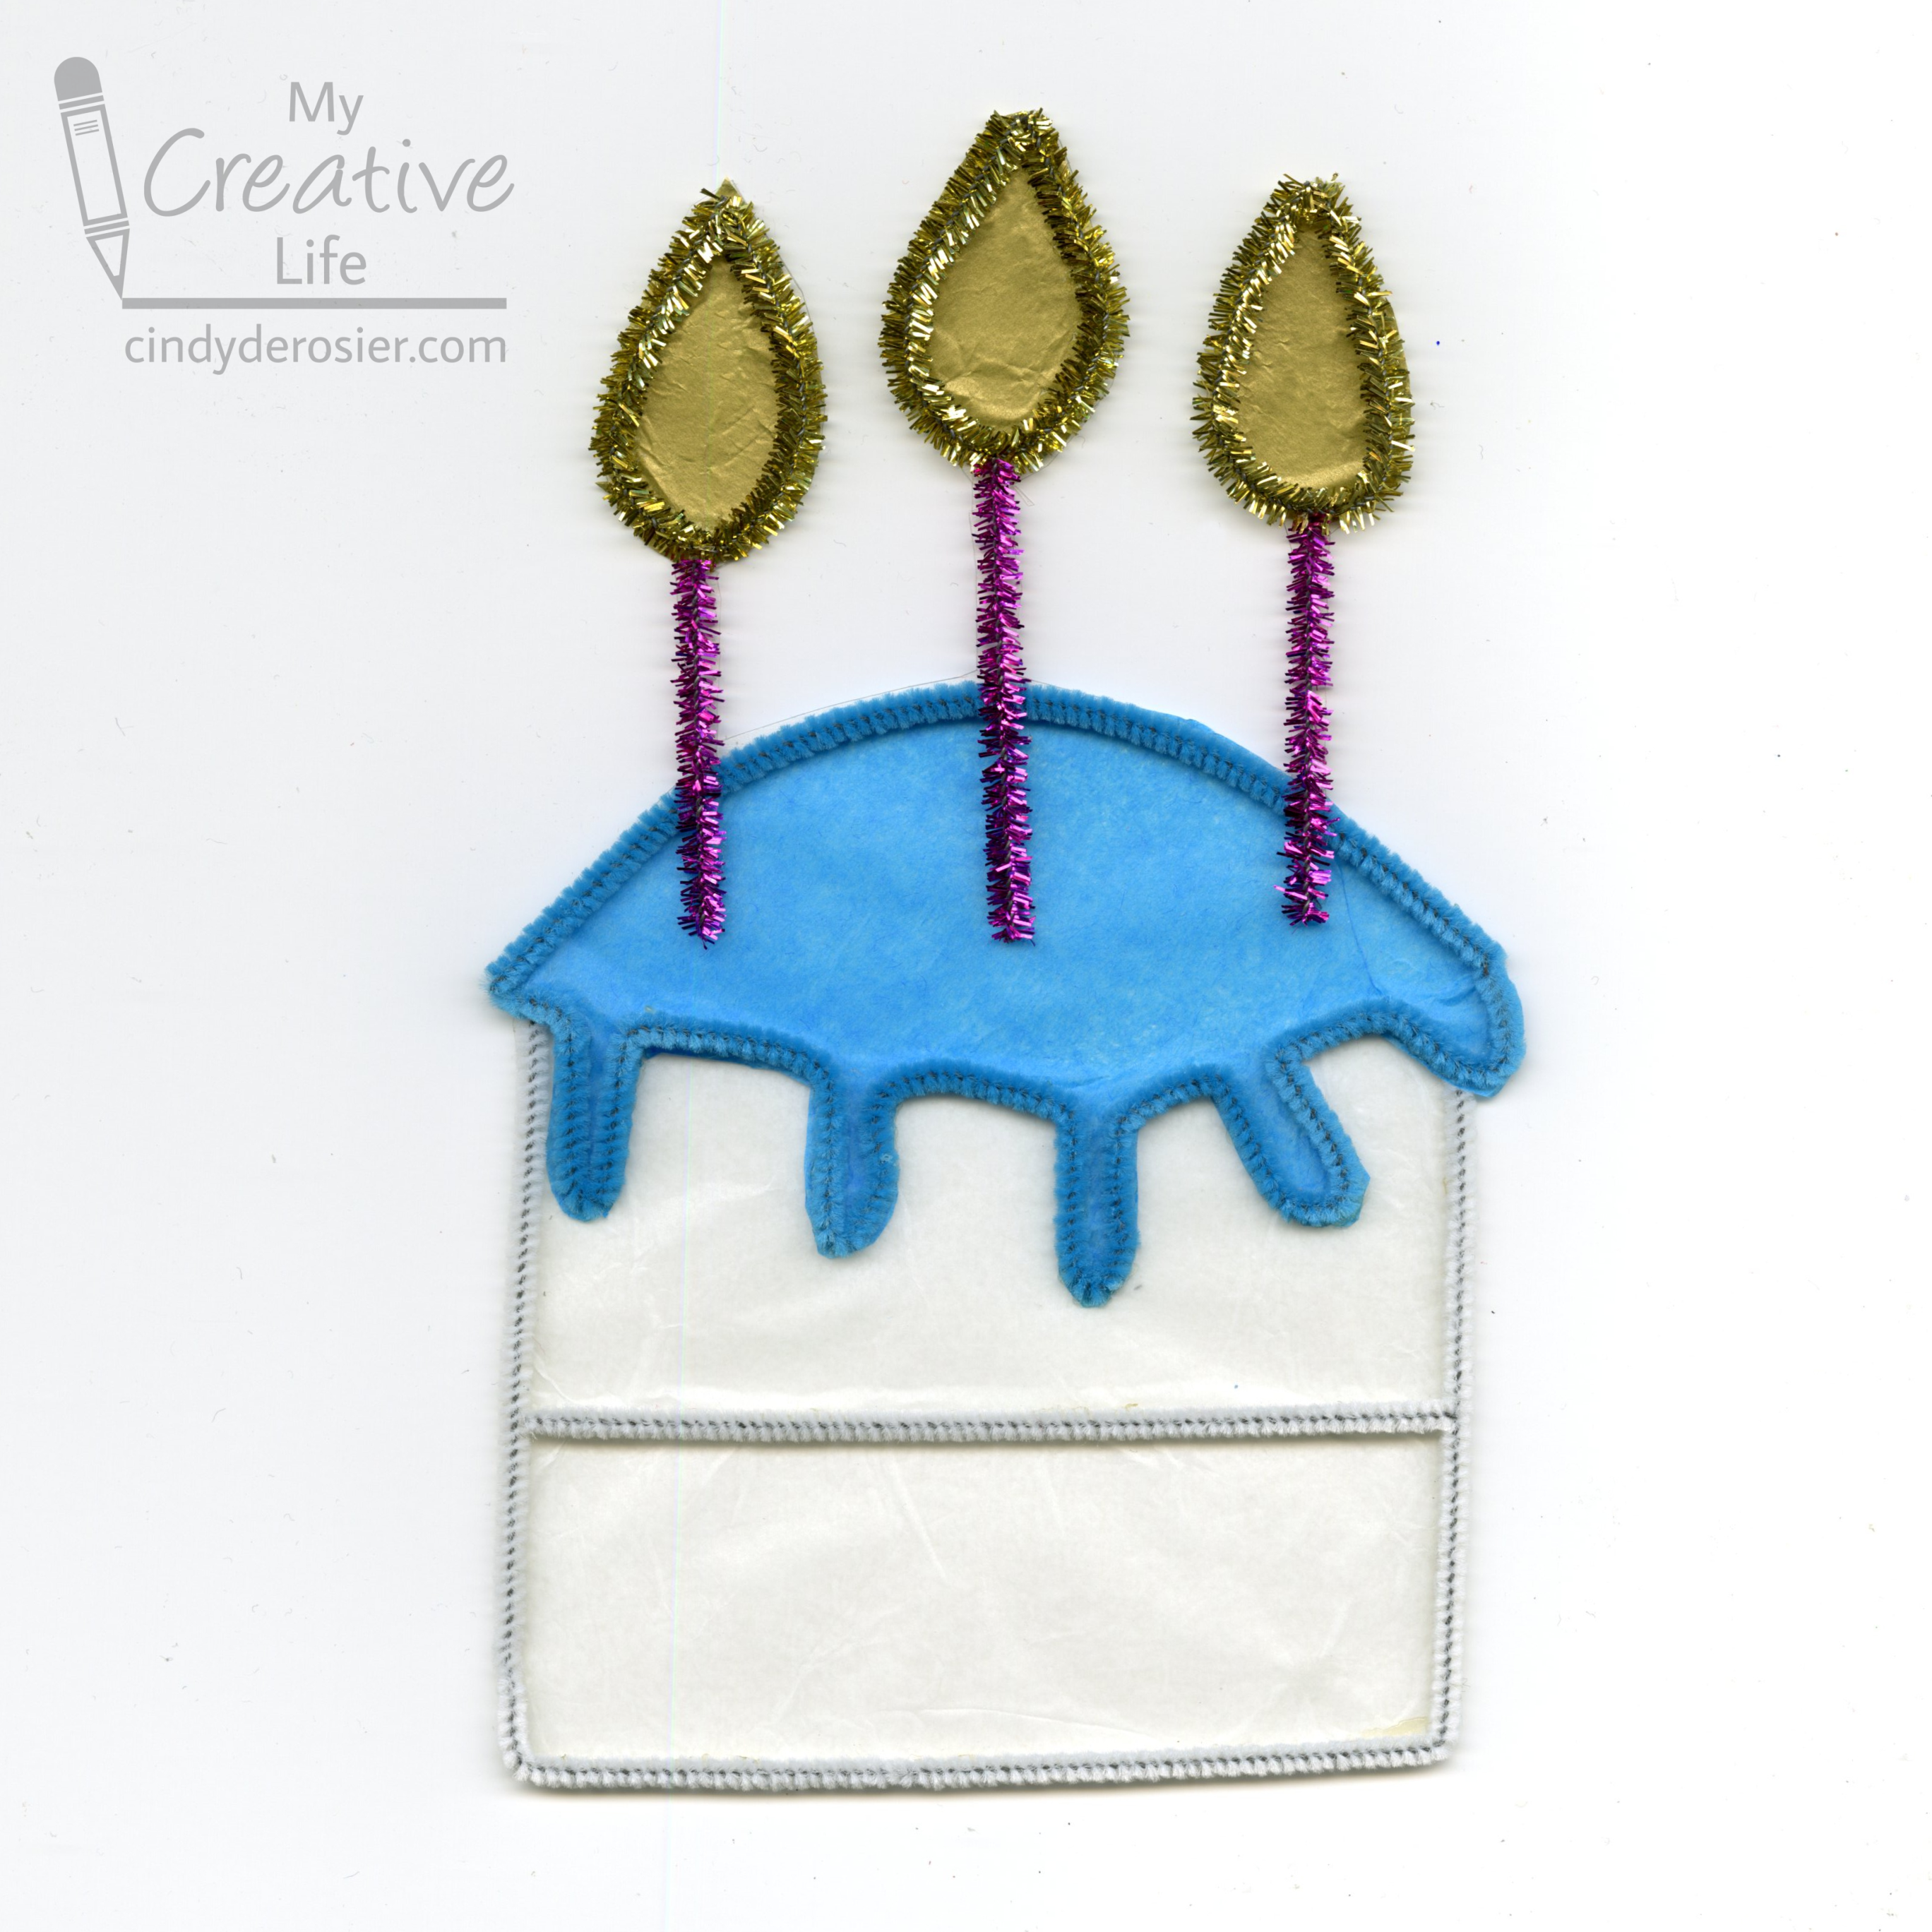
I showed you what it looks like in a window at the top of the post. This is how it looks against white paper.

No comments:
Post a Comment
I moderate comments, so you will not see yours appear right away. Please check back if you had a question; I promise to answer it as soon as I see it. Thank you for taking the time to comment!