Showing posts with label MLK. Show all posts

5/21/21

World Peace in Clay

The World Colors line by Faber-Castell includes more than the fabulous color pencils with blendable skin tones I shared at the beginning of the week. They also sent me their World Colors Modeling Clay. (Affiliate link here and throughout the post.) This fun set has fifteen colors of clay, including six skin tones, seven rainbow colors, and black and white. The package also includes three double-ended tools. 

I played with the clay during a two-hour long meeting (one of the best things about meeting via Zoom is the opportunity for crafty multitasking) and eventually made this:

 
I say 'eventually' because I did a lot of experimental blending and mixing first. The actual project took around 15 minutes. The first thing I did was to create a bunch of different skin tones, which you can see on the bottom right of my work tray. (Which, in a previous life, held something edible from Costco.) Then I did some marbling with the other colors and started what resembles a patchwork quilt. It was so much fun to just play with the colors. It's been a long time since I've used modeling clay.


I put some thought into how to make use of the skin tones I'd created and came up with the idea of the connected hearts encircling the globe, which I'm calling World Peace in Clay. Note that modeling clay does not harden and is intended to be used again and again, which is perfect for kids. If you want to make something permanent, use an oven-bake clay like Sculpey. 


---------


World Peace in Clay


Materials:


Steps:


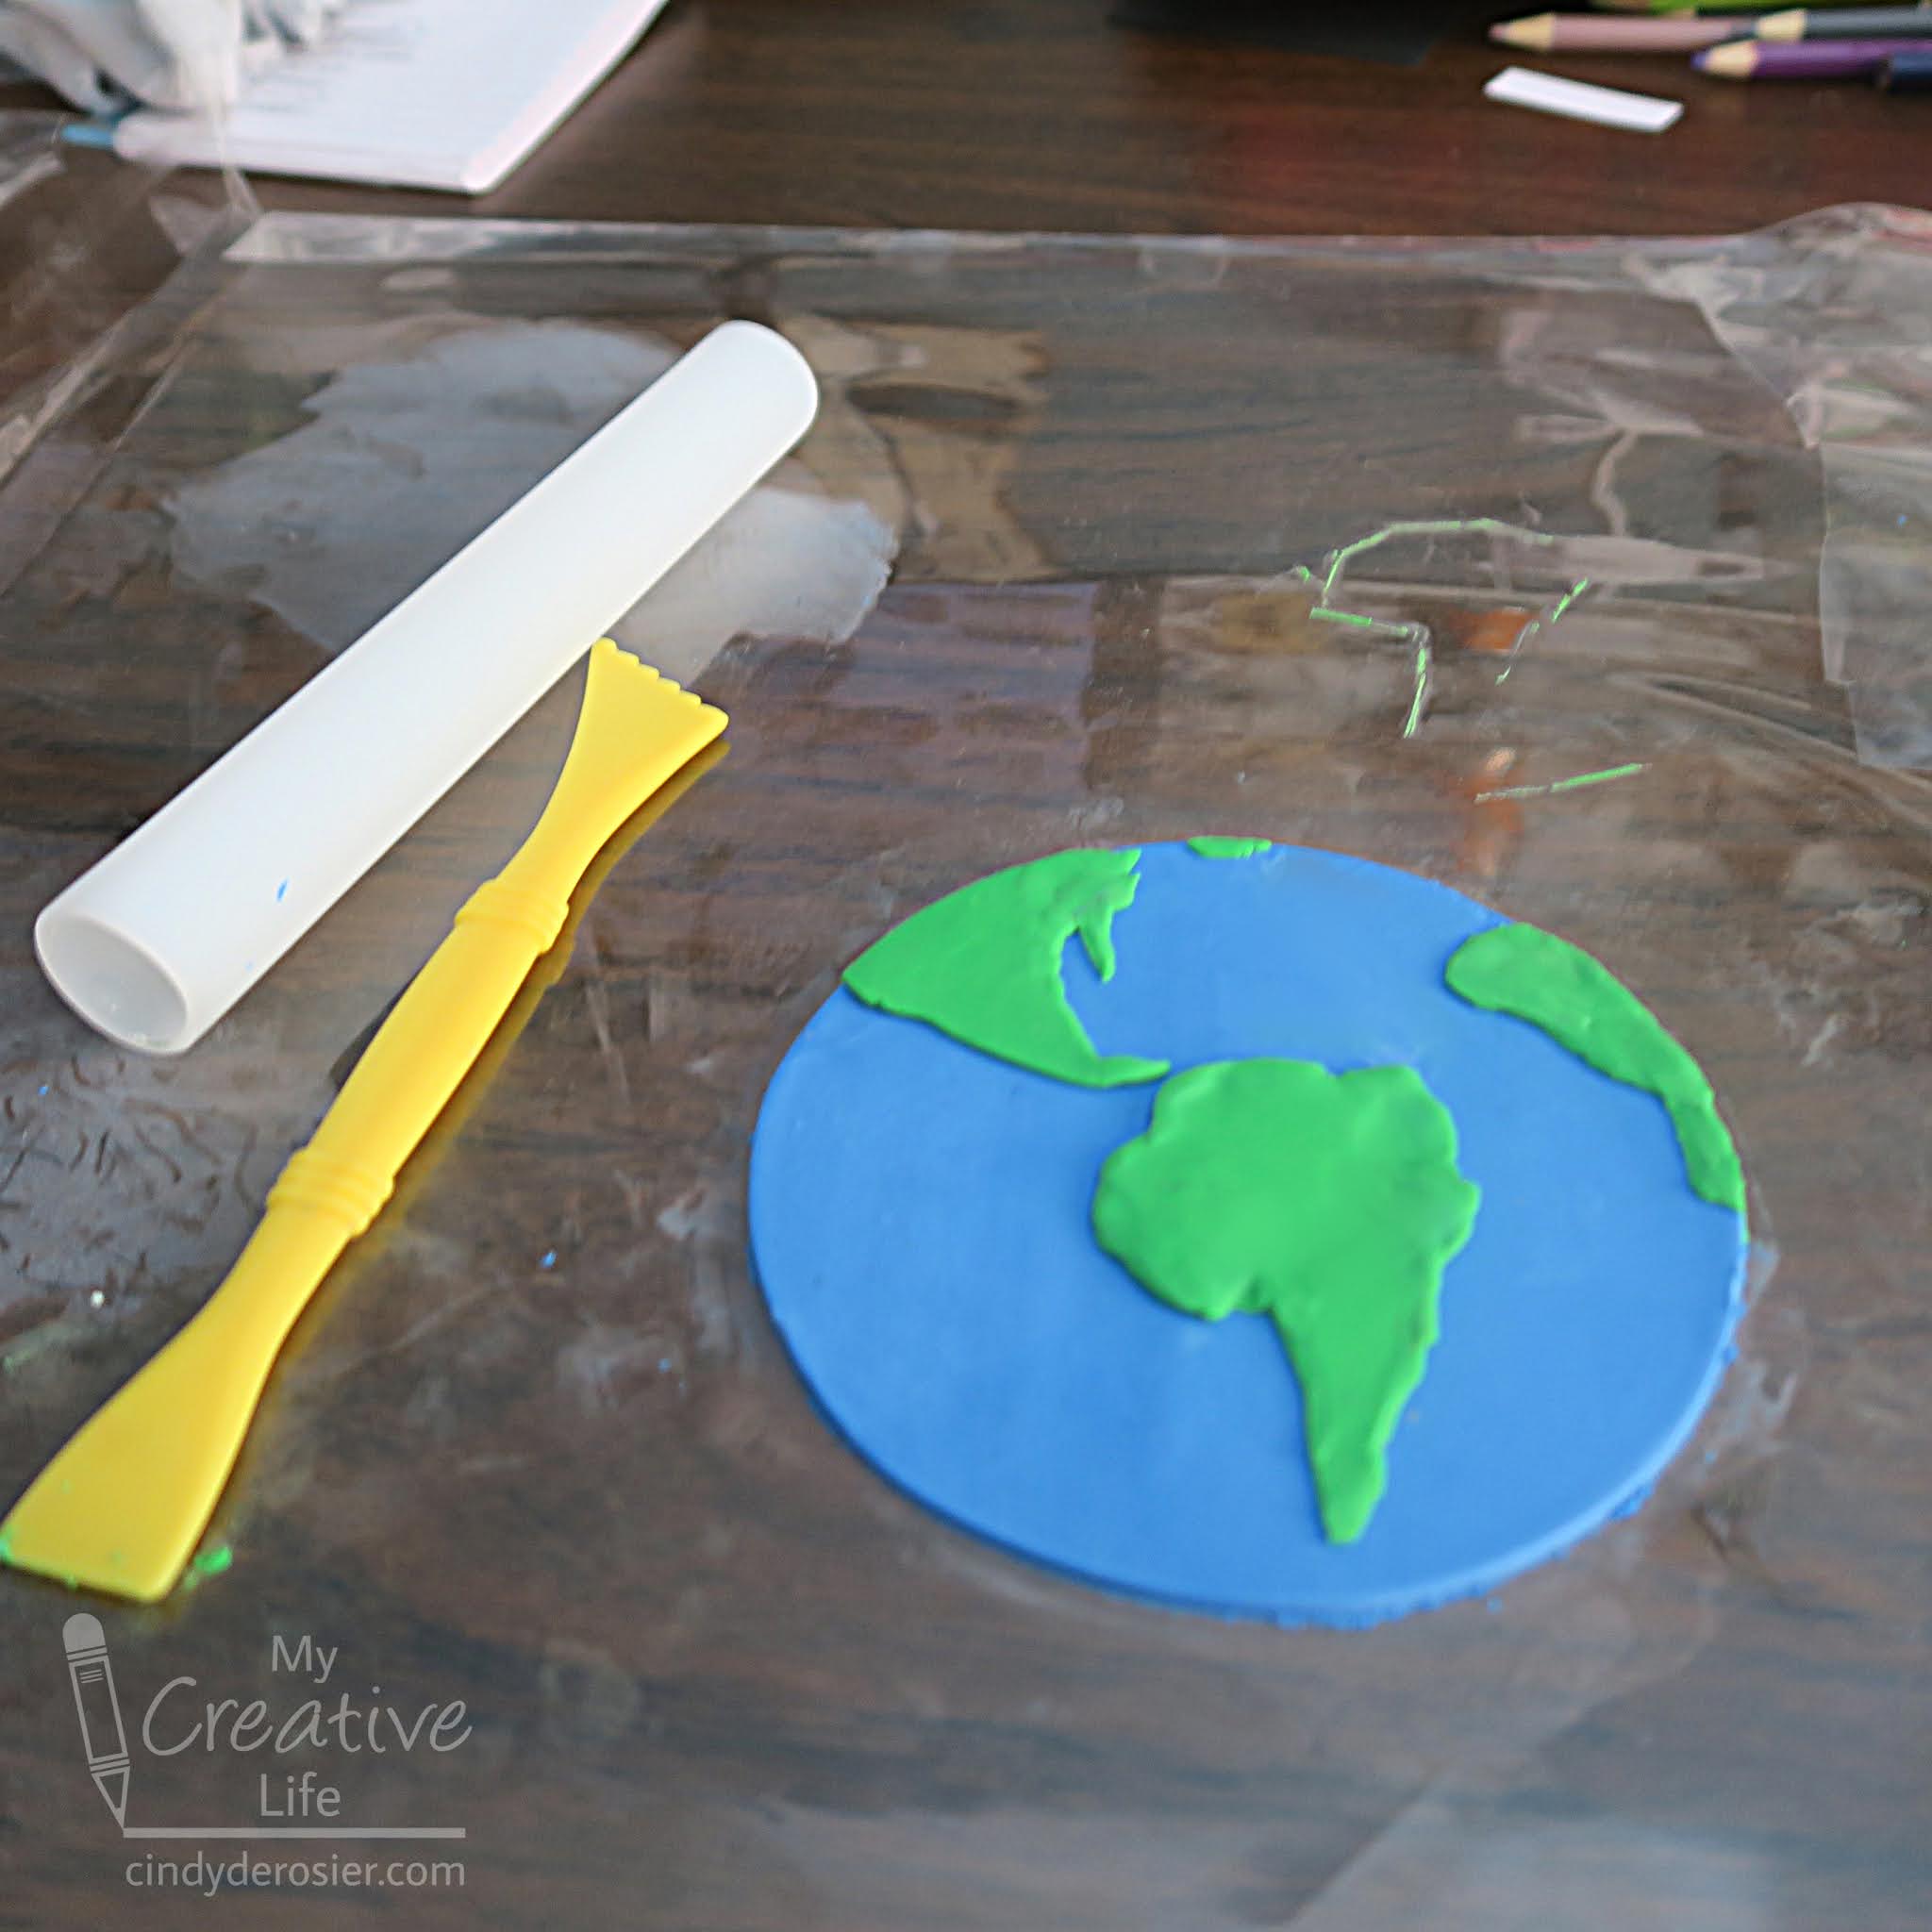
Mix white and blue clay to make the perfect shade for your globe. Roll it out, then find something round that's the size you want the globe to be, and press it into the clay to mark the circle (I used a tupperware bowl). Use the provided tool to cut away the excess clay. 
 
Roll out green clay, then use the tools to shape pieces to look like the continents. No need to be precise - just the approximate shapes. Layer them on the blue circle. 

Roll out each of the skin tones and press the heart cutter into them, one at a time. Then place the hearts onto the globe where the Equator is. 


I love how this turned out. Thank you to Faber-Castell, both for letting me play with this clay and for making the product in the first place. What a wonderful thing that we can now so easily depict all skin tones in our crafts. 

5/17/21

All Colors are Beautiful

The folks at Faber-Castell sent me their World Colors EcoPencil Colored Pencil Set to try (affiliate link here and throughout the post) and I'm happy to report that this set is fabulous! I love how rich and vibrant the colors are. There are 24 single-color pencils in a rainbow of gorgeous shades, but what makes this set particularly great are the 3 double-ended pencils. Each has 2 different skin tones, which can be used as is or blended to make even more shades. There's a handy graphic on the back of the box to show you some of the skin tones you can make by blending. 

I used the World Colors Pencils to make this: 


I love the "class picture" look of this project. It reminds me of the many students that I had the pleasure to teach back in the day. My inspiration for making it came from the packaging itself:


Read on to find out how I made my project.  


---------


"All Colors are Beautiful"


Materials:


Steps:


Cut nine squares of white cardstock. Mine are small (1.5") but you can make them larger if you want. Use the World Colors EcoPencils to draw faces on eight of the squares. Vary the skin tone, eye color, and hair color and style. You can model them on real people or use your imagination. 

When you've completed the eight faces, arrange them in a grid. Use the color pencils to add different background colors to each. 

On the ninth square, use the Sharpie to write "All Colors are Beautiful." Make a rainbow of colors over the title. Place it in the center of the grid of faces. 

Transfer the faces to a piece of black cardstock, leaving a small (1/8-1/4") border between each and around the outside edge. Glue each square to the black cardstock, then trim away any extra cardstock. 

1/13/21

Martin Luther King Jr. Day Puzzle Piece Peace Wreath

It's been almost 58 years since Martin Luther King Jr. shared his dream of the day when his children will "live in a nation where they will not be judged by the color of their skin but by their character." Remember this great civil rights leader with a puzzle piece peace wreath. (Say that 5 times fast!) Affiliate links below. 


Puzzle Piece Peace Wreath


Materials:


Steps:


Cut out a wreath shape from chipboard. Mine is about 8" in diameter, but you can make it as large or as small as you want.

Lay out the puzzle pieces on your wreath to determine how many you will need, then paint them in different skin tones. If you are repurposing a thrift store puzzle rather than purchasing puzzle pieces specifically for crafting, you should add a thin coat of gesso to the glossy side of the pieces before painting them. 


Cut a length of ribbon, tie the ends, and loop it around the wreath to make the hanger. 

When the paint has dried, start gluing the puzzle pieces to the wreath. Write "I have a dream..." on a piece of cardstock and glue it to the front of the peace wreath.