If you have a football fan in your life, you're going to love this football helmet craft! It's fun to do as a team activity, at a sports-themed party, or to make as gifts for football players and fans. You can customize the helmet however you want. Make a replica of the helmet from an NFL, college, or high school team, or design your own from your imagination! Affiliate links below.


.jpg)


As I was painting these, I was thinking about other things you could do with them besides turn them into magnets. Drill a hole into the top and turn them into ornaments. Link them together to make a banner. Or write names on them to use as place settings at a team banquet or party. Lots of possibilities!

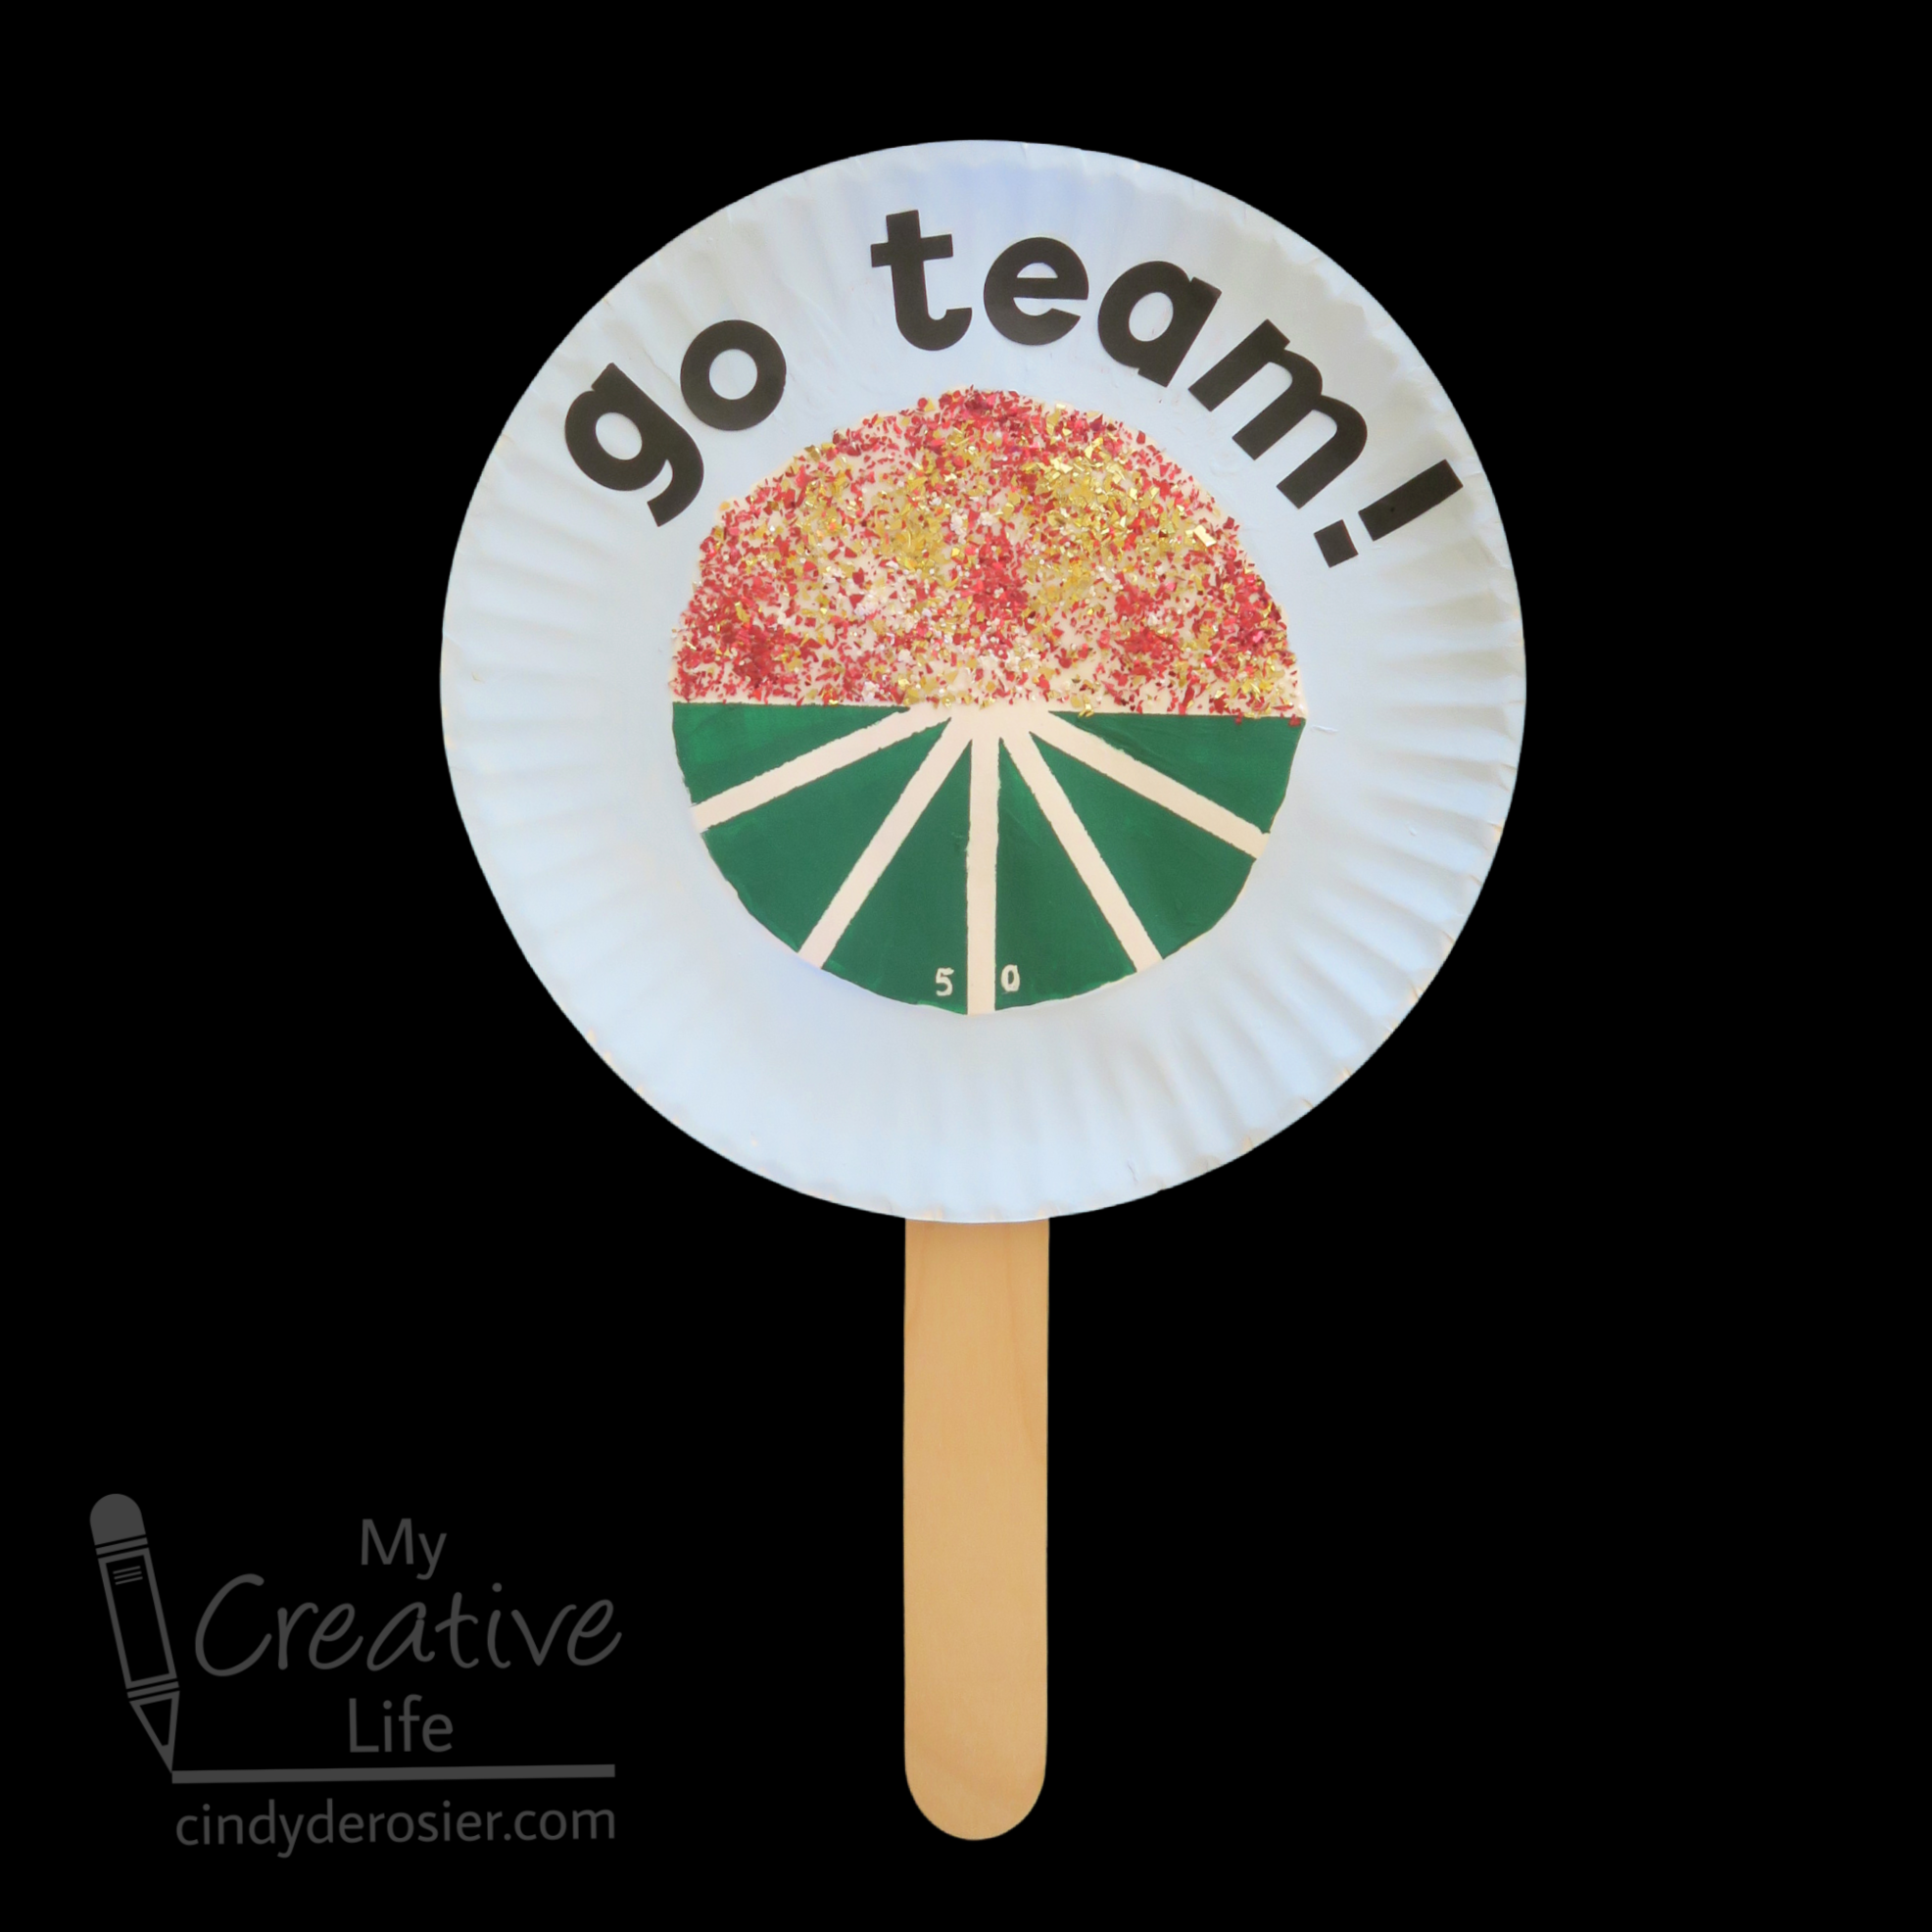
Football Helmet Refrigerator Magnet Craft
Materials:
Steps:
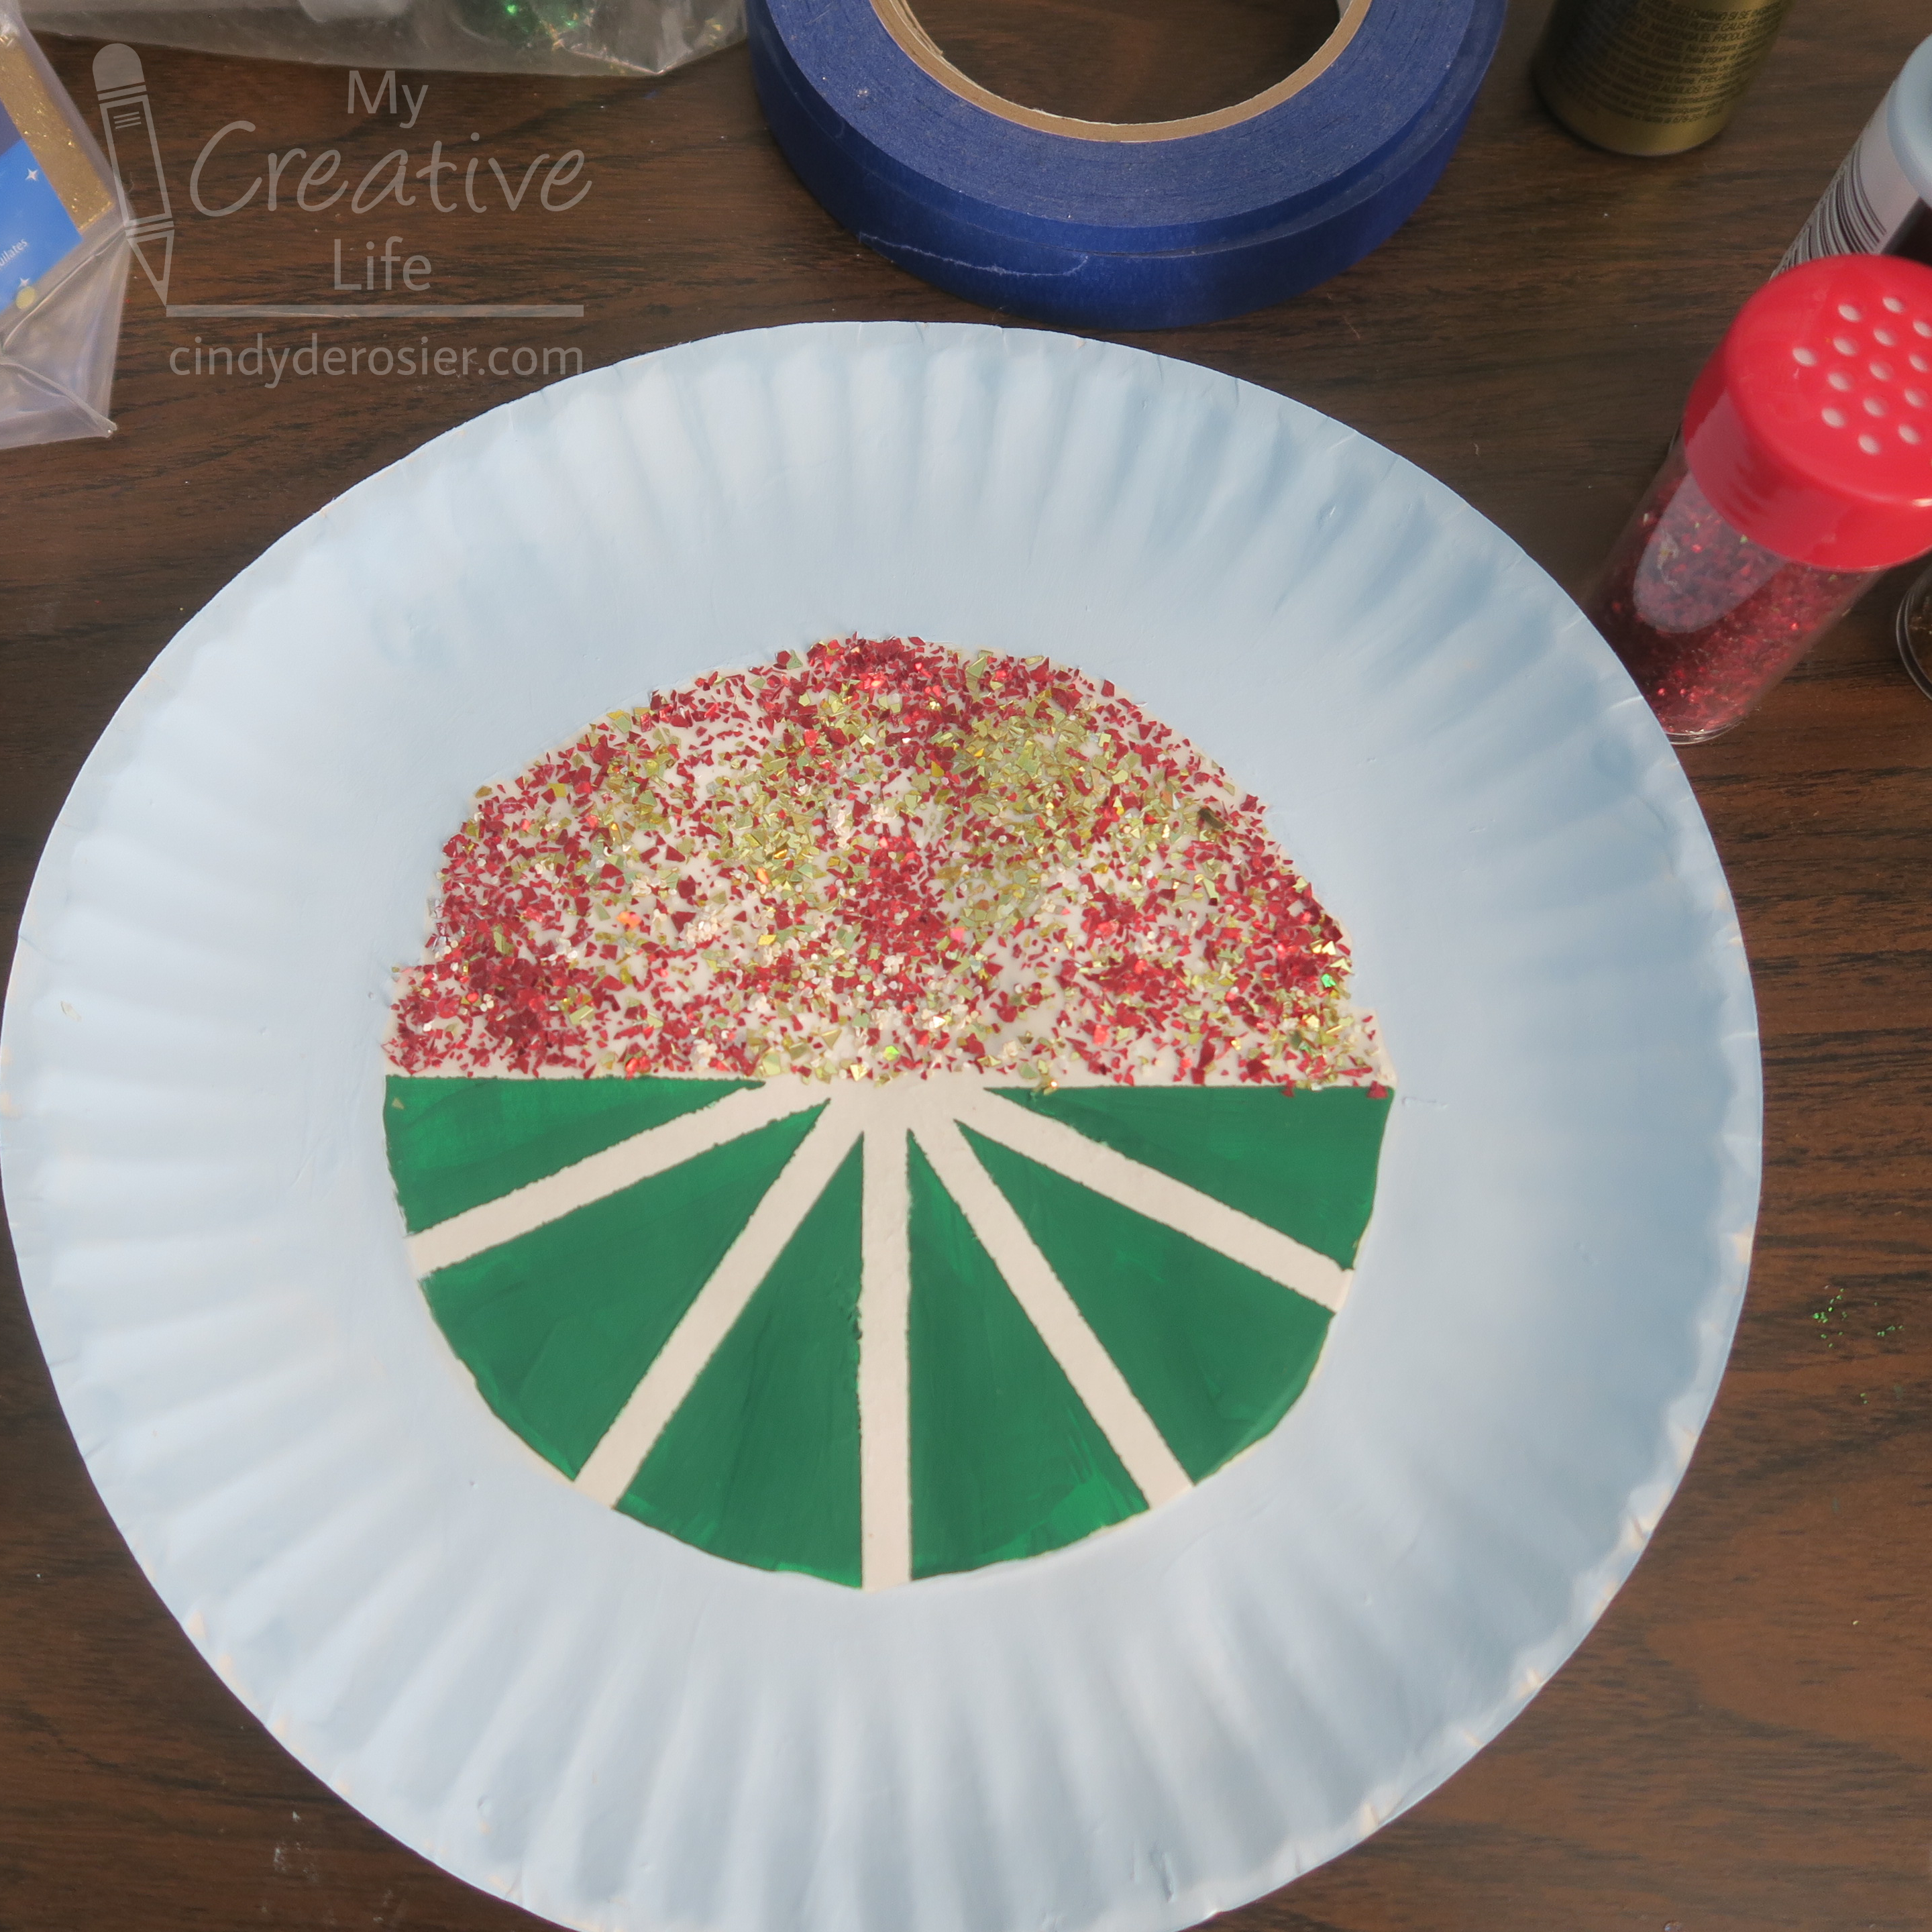
Use a flat brush to paint the base coat for each helmet you are making.

When the paint is dry, you can draw your design freehand. Or, if you need a little help getting the proportions of the logo just right, print out an image of the actual helmet that is the same size as the wooden helmet. Cut around the edges, then use this transfer technique to get the design onto your wooden piece.
Use the liner brush to paint the logo onto the helmet, then paint the facemask in the appropriate color.

The facemask continues onto the body of the helmet. I painted mine freehand, but you can sketch it out first or use the transfer technique again.
If you are going to be putting your magnet on the refrigerator or somewhere else where it could get wet, use the Mod Podge to seal it as soon as the paint is dry. You can skip that step if your magnet is going onto something like an office filing cabinet, where it's very unlikely to get splashed. Finally, apply a magnet to the back of the helmet.
Here's a closer look at each of the helmets I made:

Indianapolis Colts

Cincinnati Bengals

Minnesota Vikings

Green Bay Packers

Cleveland Browns... who famously don't have a logo
As I was painting these, I was thinking about other things you could do with them besides turn them into magnets. Drill a hole into the top and turn them into ornaments. Link them together to make a banner. Or write names on them to use as place settings at a team banquet or party. Lots of possibilities!