6/27/23

California Bear Flag Coaster

I made another flag coaster to go with my United States flag coaster. This one features California's bear flag, which has a fascinating history. Affiliate links below.   


California Bear Flag Coaster


Materials: 


Steps: 


Paint six craft sticks white and one red. Let the paint dry completely. Use a pen to write CALIFORNIA REPUBLIC centered on one of the white sticks. Draw or trace the grizzly bear on a piece of scratch paper, cut it out. Line up the craft sticks and position the bear where it belongs on the flag. Add the star sticker on the left of the second stick from the top. 


Trace around the bear, being careful not to move any sticks out of place. 


Paint the bear and the grass he's standing on. 


When the paint is dry, seal the sticks with Outdoor Mod Podge and let that dry completely. 

Arrange three mini craft sticks vertically on your work surface and add glue. One by one, transfer the painted craft sticks onto this base. 


This is a fun project that can be adapted for many other states and countries. 

6/26/23

What to Do with Dried Acrylic Paint - Make a Coaster!

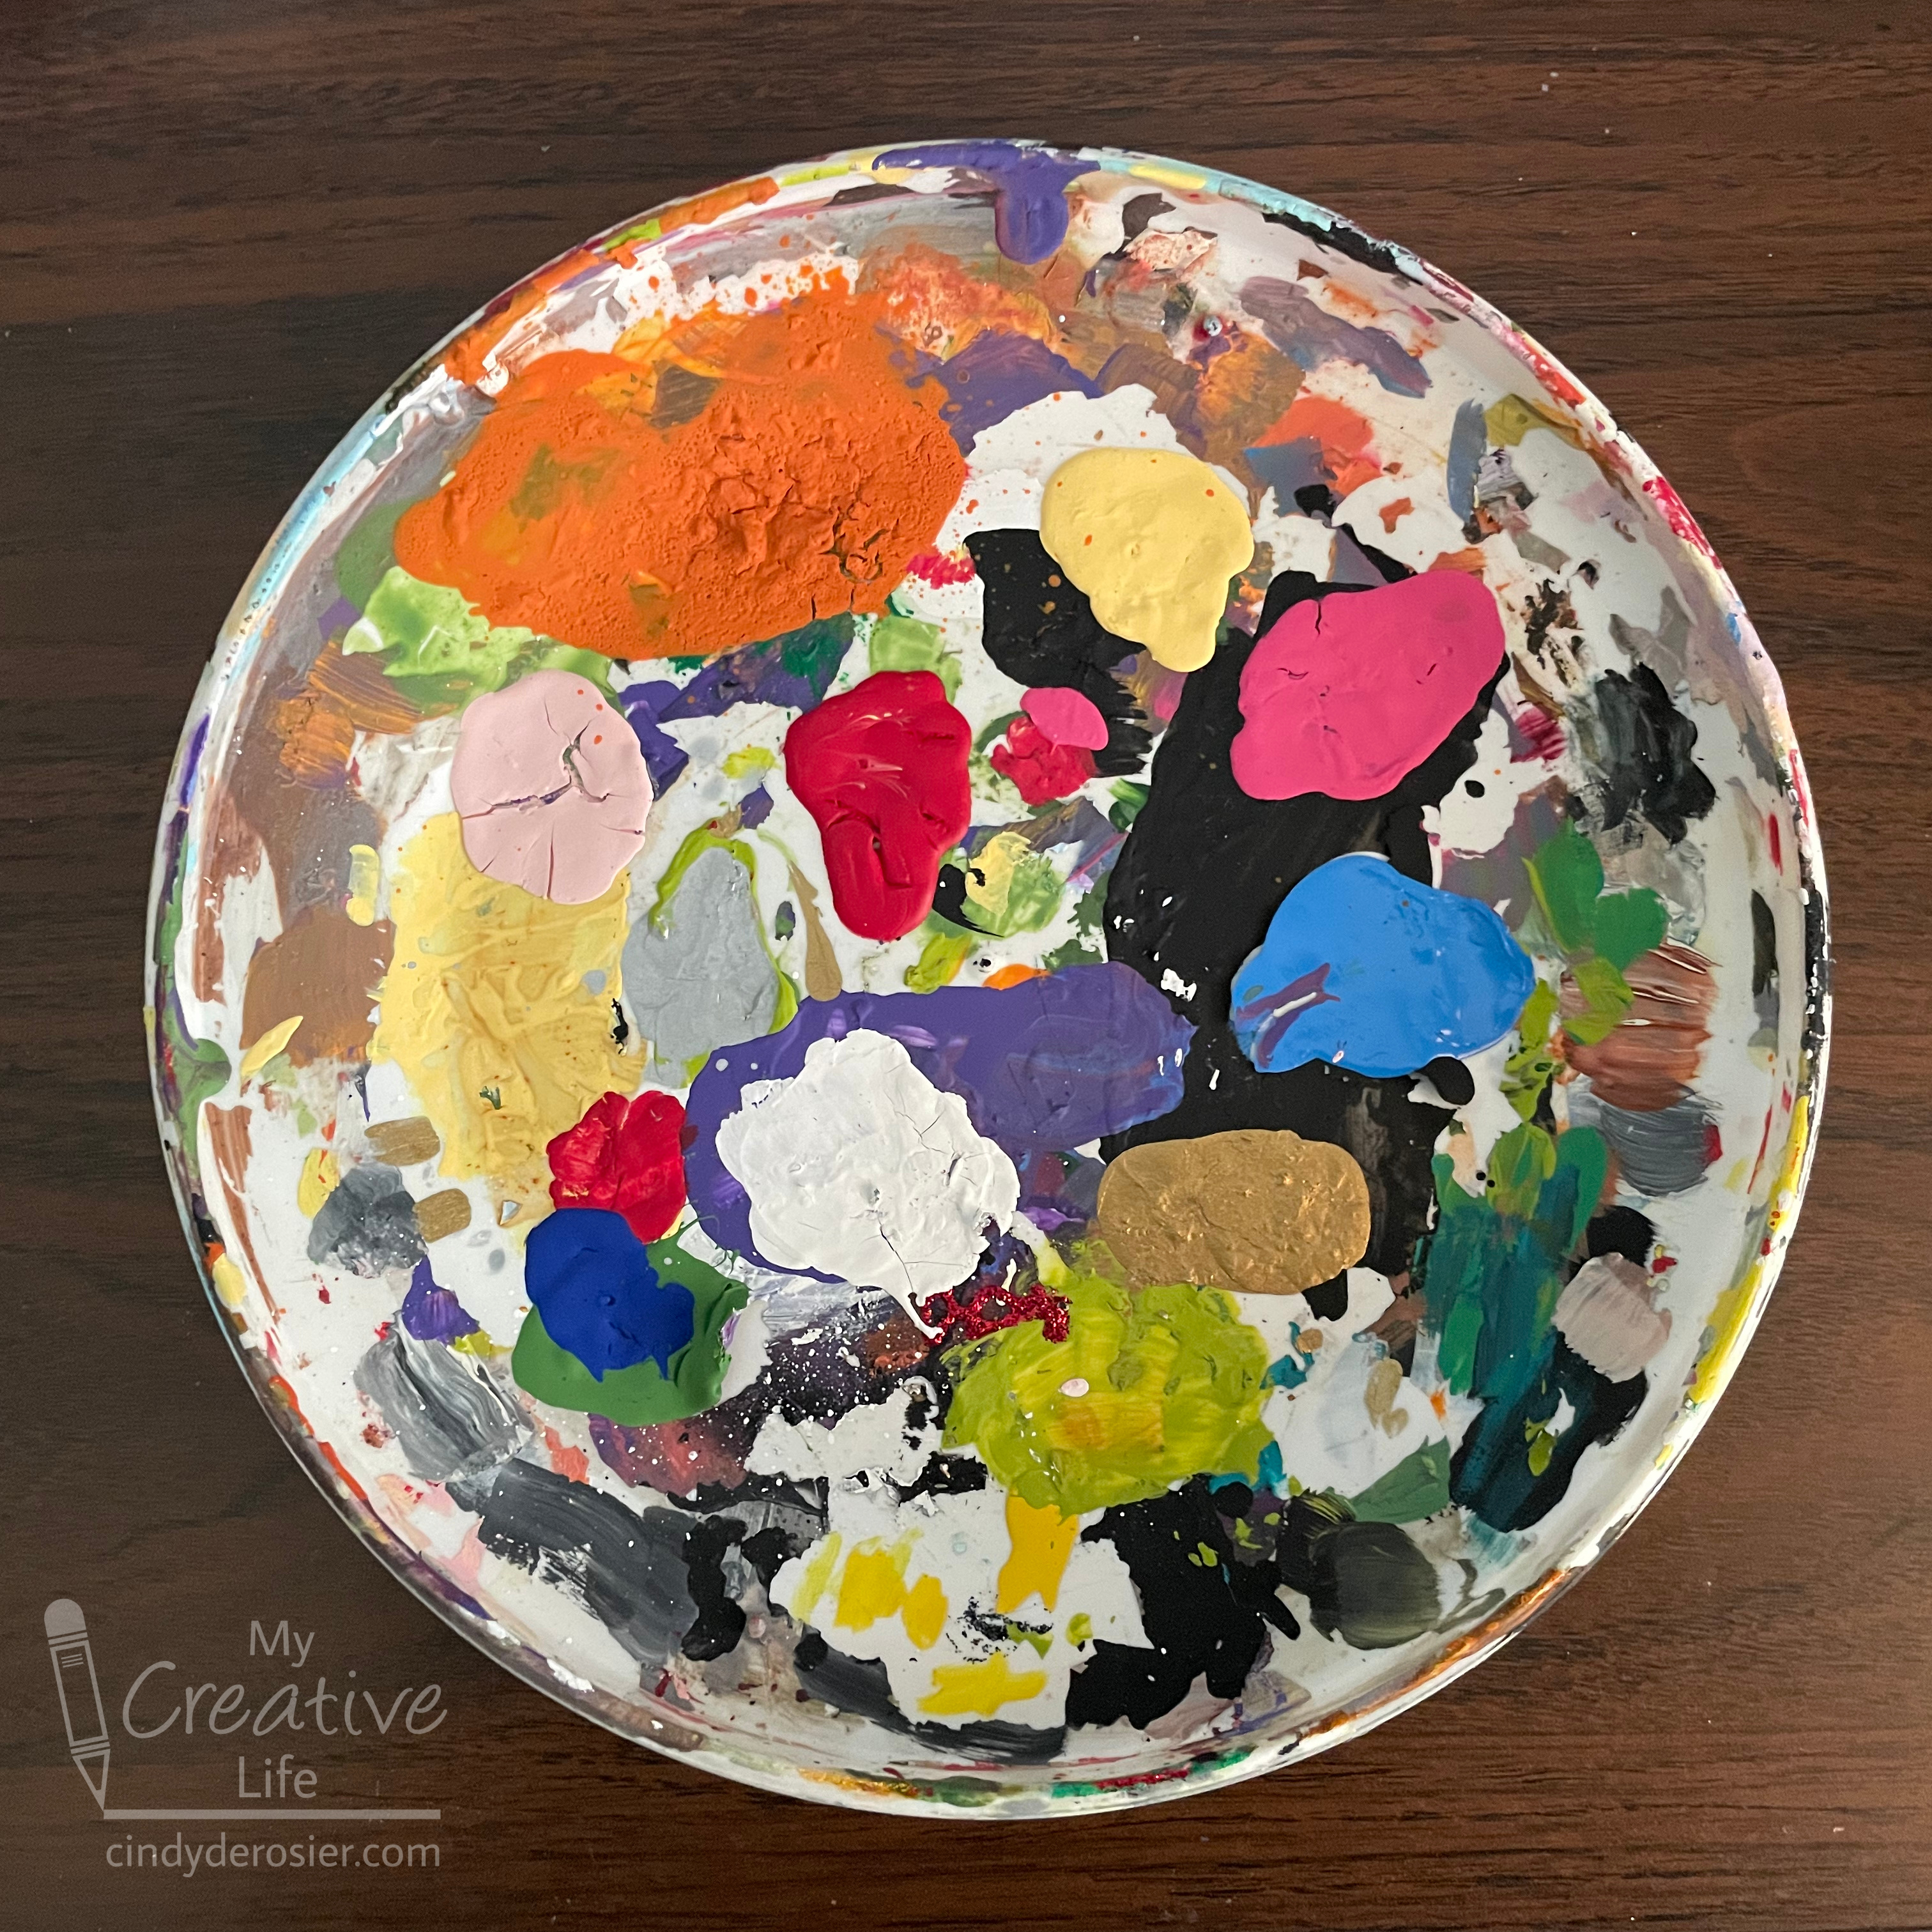
This is a coaster that lives in the craft room. I use it for normal coaster purposes (i.e. drinks), but also as a place to set a paint or glue bottle, a paintbrush, or other messy items. Affiliate links below. 


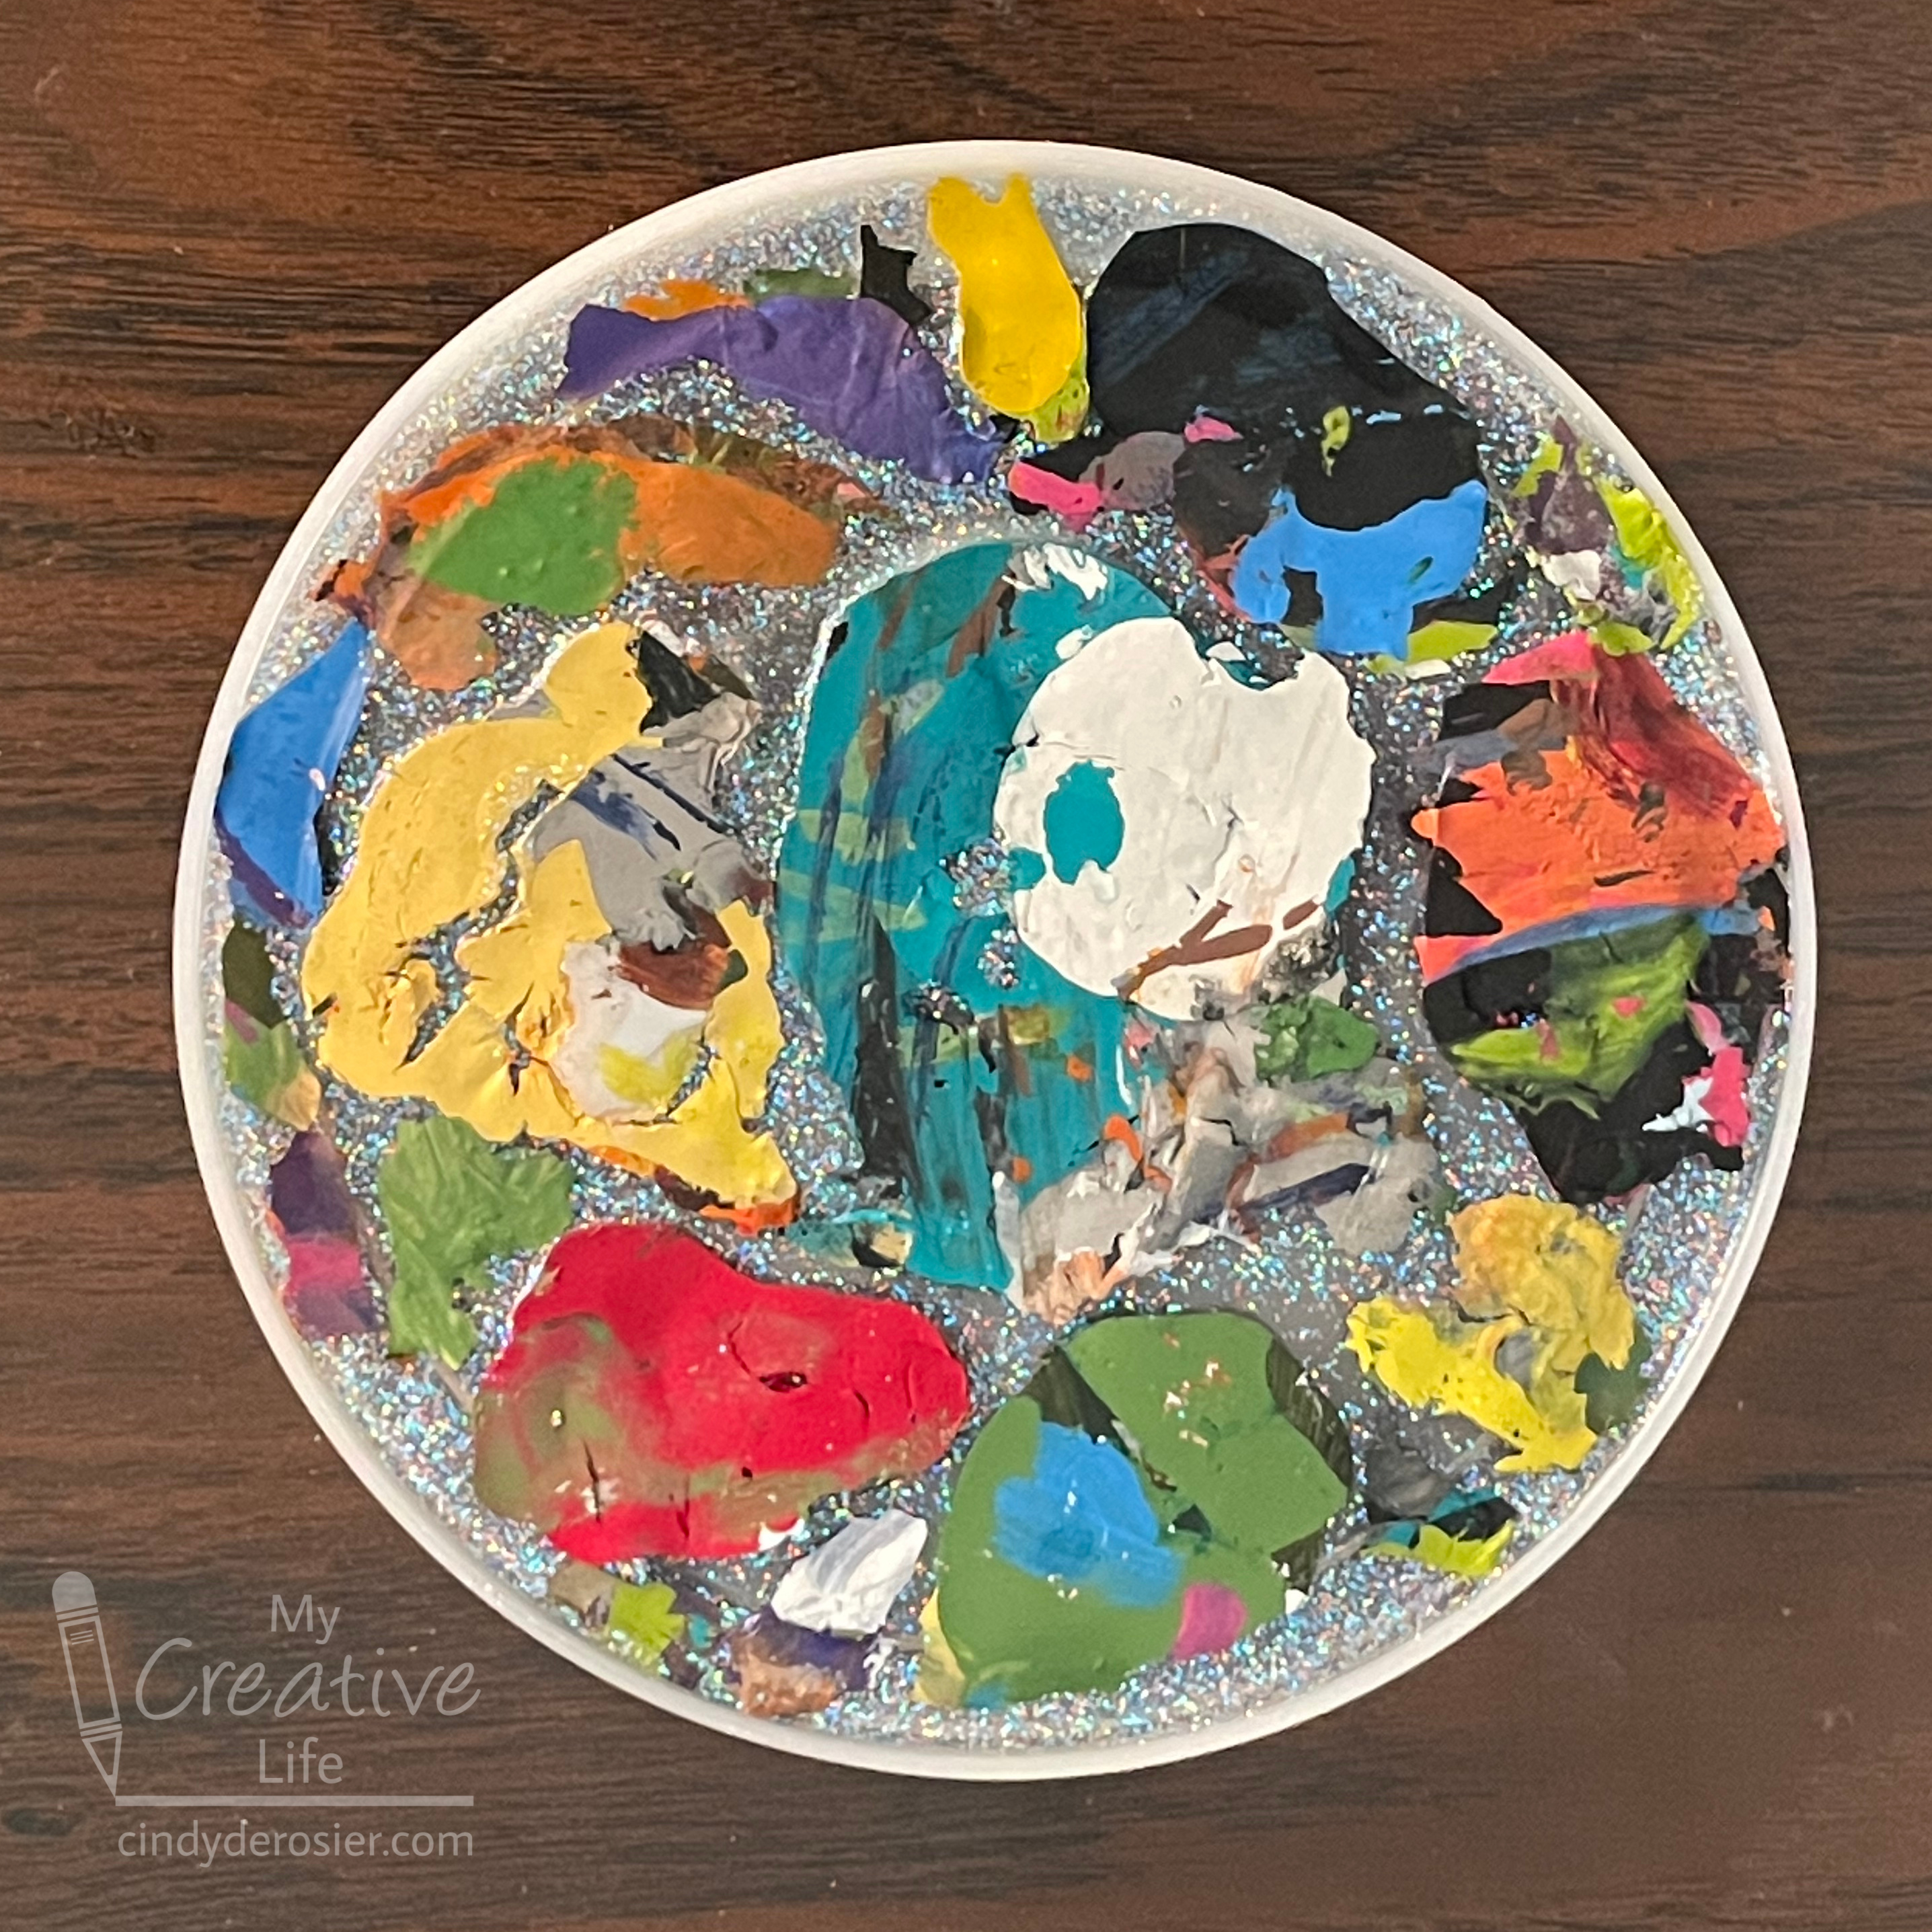
When it gets full, I don't wash it. I peel it. After the paint dries completely, it peels off in colorful chunks. It's extremely satisfying to see the pretty colors on the underside. 


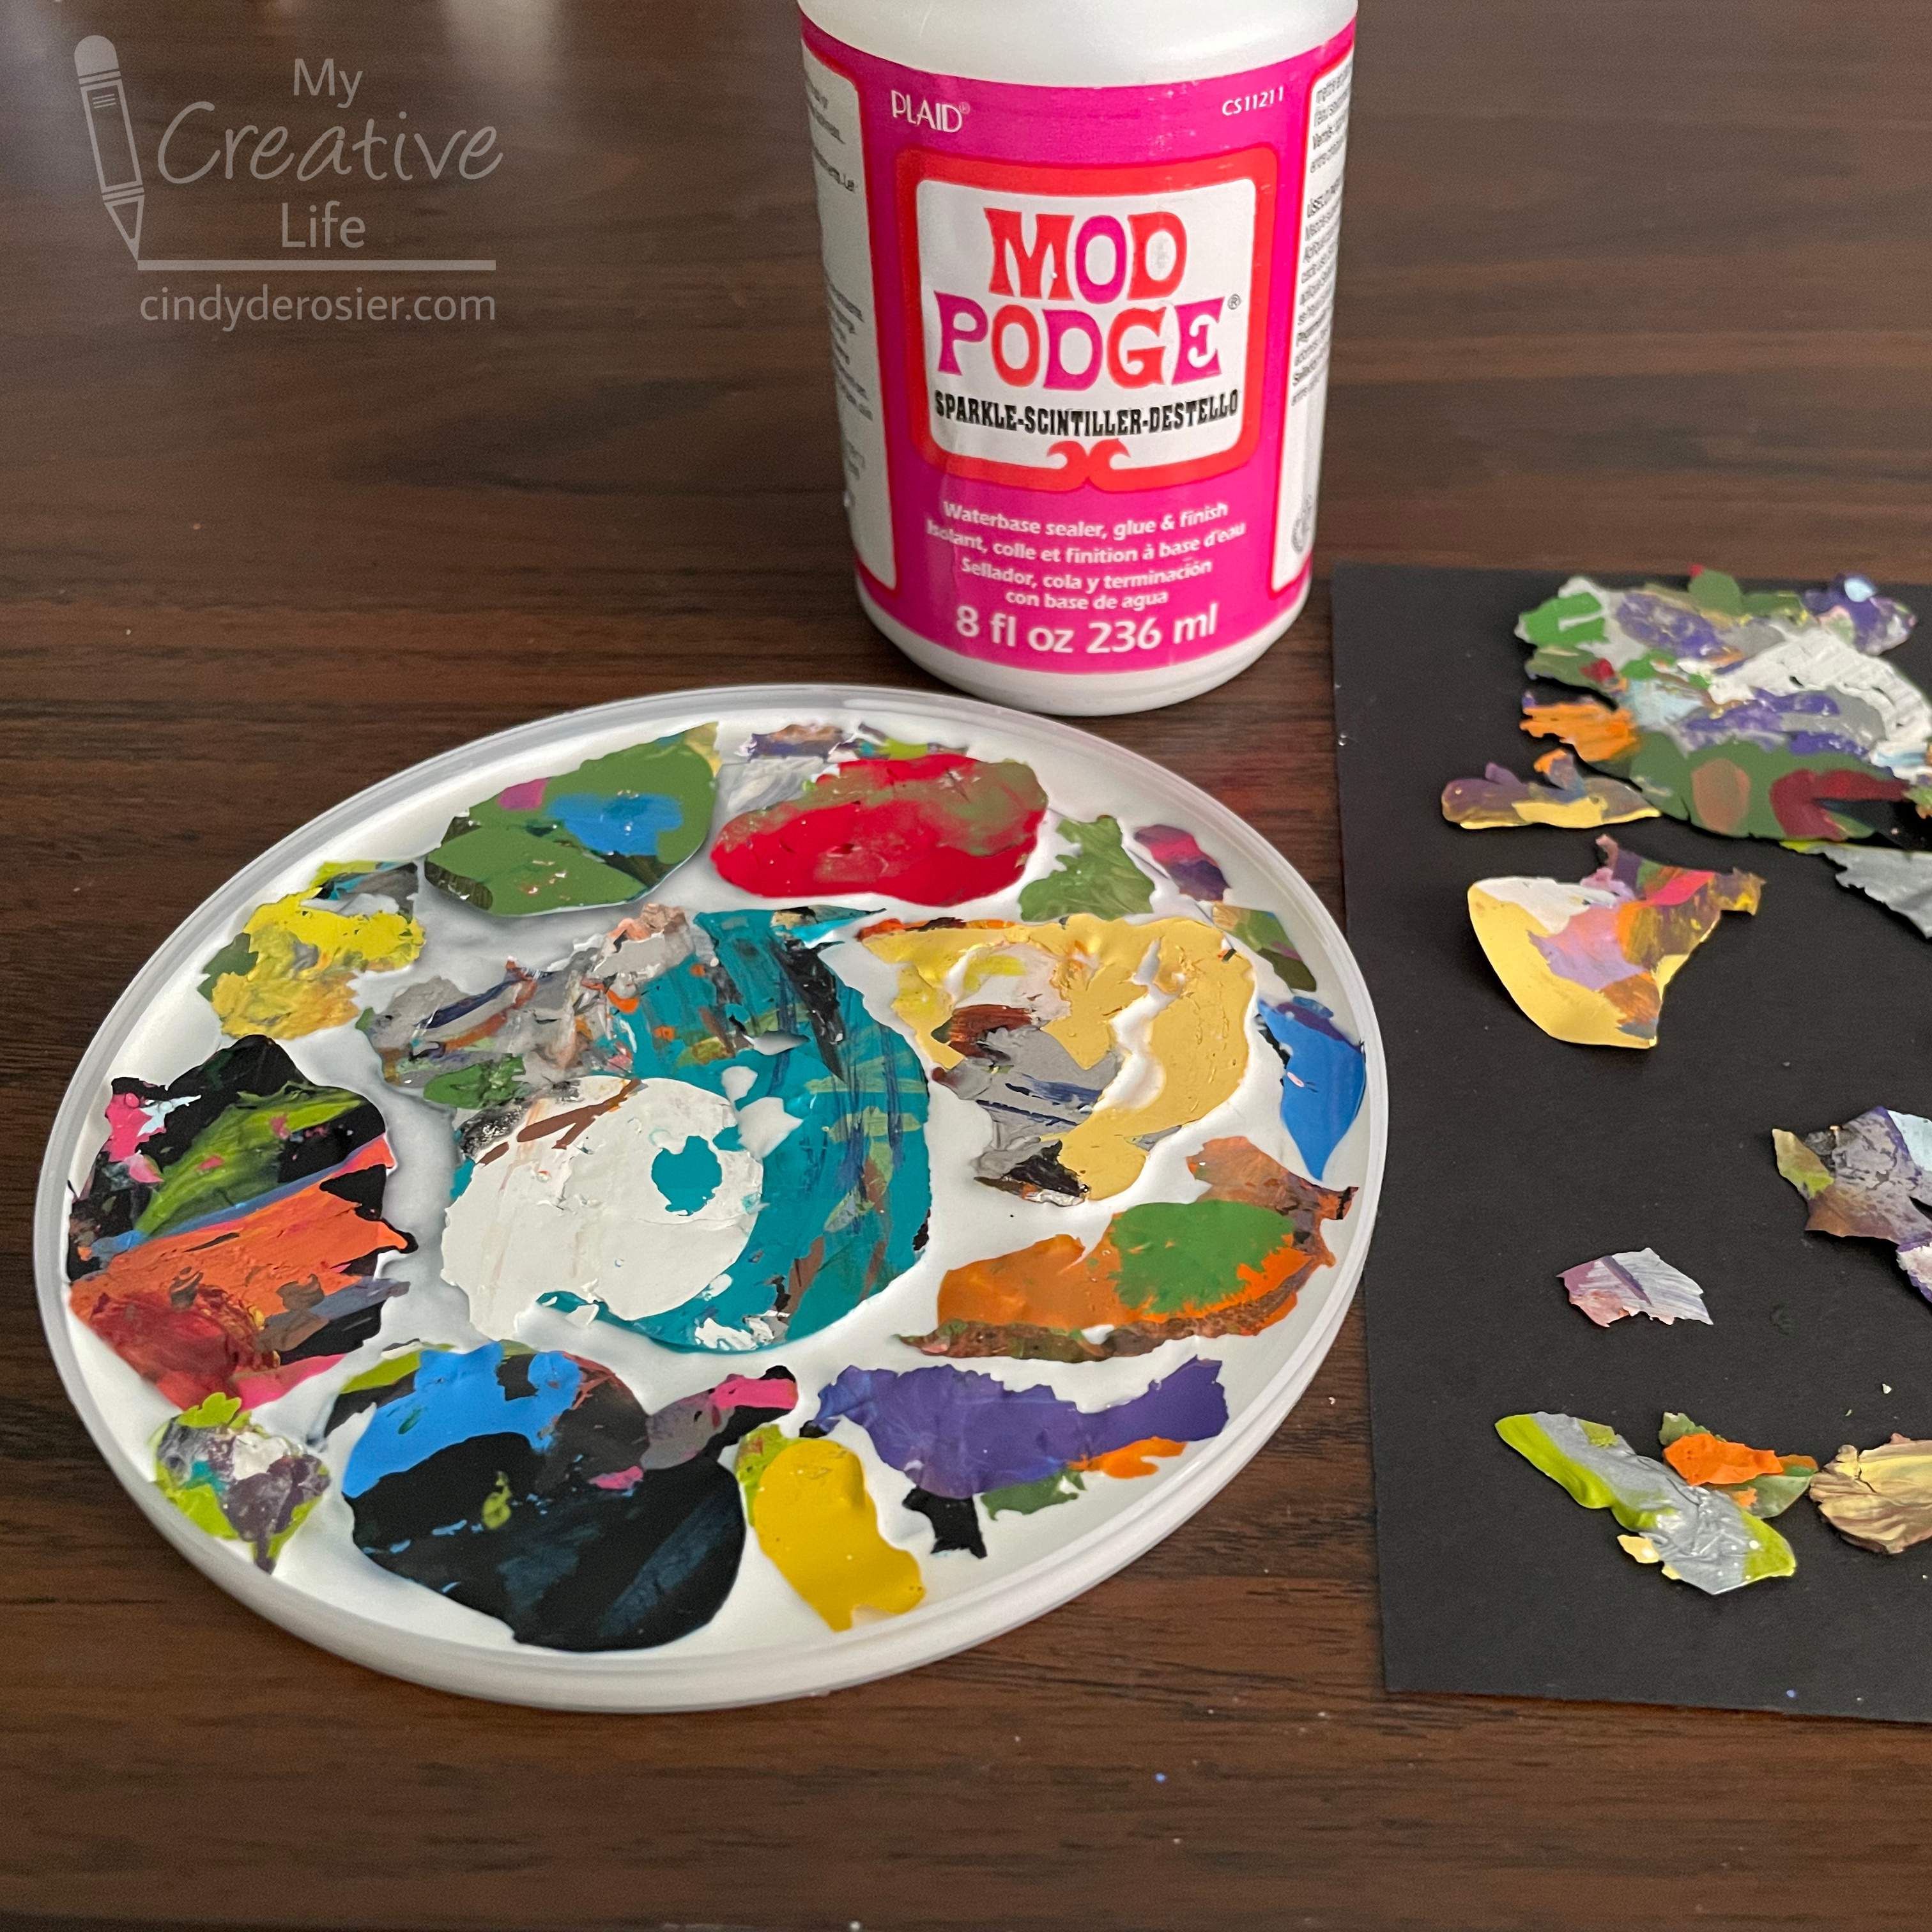
To make my coaster, I took an old plastic lid (off an oatmeal container) and filled it with a generous layer of Mod Podge Sparkle. I started arranging my paint bits in the Mod Podge. 


This is how it looked when I'd filled it in completely. Well, almost completely. I wanted the sparkly Mod Podge to show between the paint pieces. 


It took two full days to dry in a warm room before it was ready to use. I thought about adding a top coat of Mod Podge to seal it in and level the surface, but decided against it. The surface is almost perfectly level (good enough for my purposes) and I don't care if any drips of paint might get on the surface. 

Look at all the sparkle!


I love a functional trash-to-treasure project. Mine lives in the craft room like I said, but it could just as easily solve a problem in a different room. It would make a good plant saucer, for example. You could set condiment bottles on it at a BBQ so that mustard doesn't drip on your table. Lots of possibilities!

6/23/23

Behind the Wheel

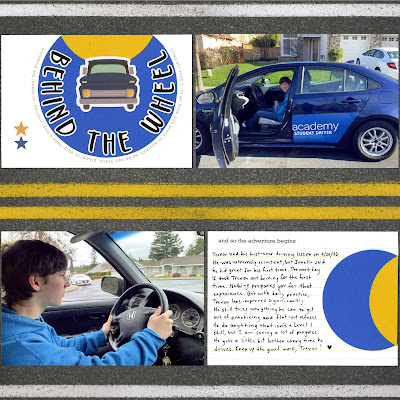
Trevor had his very first driving lesson in February. Of course, I had to document the first time he climbed into the driver's seat! That's the photo on the top right. We did our lesson through Coastline Academy and were very happy with our instructor, Junelle. (If you're looking for driver training, feel free to use my referral code! (#GGCMAGINF2)

After that 2-hour lesson, it was my job to take Trevor out for daily practice. I was not adequately prepared for getting into a car driven by someone with exactly two hours of time behind the wheel. Yikes! Trevor has always been extremely cautious and fortunately that has been the case with driving. With my encouragement, he has improved quickly during our practice sessions. Eventually I was able to snap a photo of him driving from my perspective in the passenger seat, which is the photo on the bottom left. 

Behind the Wheel (affiliate link)

I was so happy to find this road paper by Paper House Productions. Since both of my photos are pointing inward, it looks like traffic on two sides of the double yellow. I'm pleased with how the title came out; I think this is the first time I've done a round title. Did you notice that the circles on my title and journaling blocks line up with the circle of the tire and the steering wheel in the photos? I find that very satisfying. And it sure was nice of Trevor to wear blue in both pictures, as it goes nicely with his instructor's blue vehicle! This was a really fun layout to make. 

I'm counting this for Circles on my BASH-O card. 


Will my next page be travel or stars? I don't know yet, but it will definitely be one of those!

6/22/23

Sparkly 49ers Sign

I rarely work with bling, yet I have an enormous supply of sparkly, glittery things that have been sitting in the craft room forever. Time to use some of it up! This wooden arrow is decorated with gold paint, gold glitter, and leftover Diamond Dotz, It’s super sparkly; the photo doesn’t do it justice.

You may recognize the 49ers logo from a diamond Art kit I completed a couple of years ago. I had enough extra Dotz to make a second logo. Self-adhesive canvas with a printed grid makes it really easy. Affiliate links below. 


Sparkly 49ers Sign


Materials:


Steps: 


Sand the wooden arrow until it is smooth. Add a coat of Treasure Gold. When that is dry, add a generous coat of gold glitter glue. 

Create the logo or design of your choice by applying the Diamond Dotz to the canvas. When it is complete, carefully cut it out with microtip scissors and glue it to the arrow with a strong craft glue.  

6/21/23

19th Anniversary in Grass Valley, CA

Look at me, scrapping our 19th anniversary trip just a few weeks after it happened! We'll ignore the fact that I have plenty of un-scrapped trips from 2022. 

19th Anniversary (affiliate link)

As expected, I got out the punches for this layout. I used a circle punch for the title and two scalloped circles to make the visual triangle. Yea - my first BASH-O for 2023!


I have a little bit of time left before BASH-O ends, so I'm going to keep going and hopefully finish three more pages in order to get a second BASH-O. My choices are: travel, stars, and circles; or family, acrylic paint, and wanderlust. I don't know how wanderlust differs from travel in terms of a scrapbook page. Maybe scrapping about where you want to go instead of where you've been? I'm not sure. Maybe I should just go for the travel, stars, and circles.