3/29/22

Bunny Week 2022: How to Decoupage Napkins onto Coasters

Welcome to Day 2 of Bunny Week 2022!

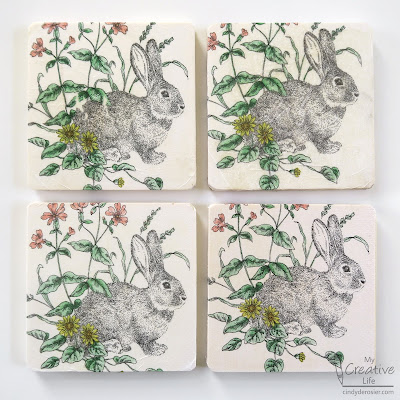
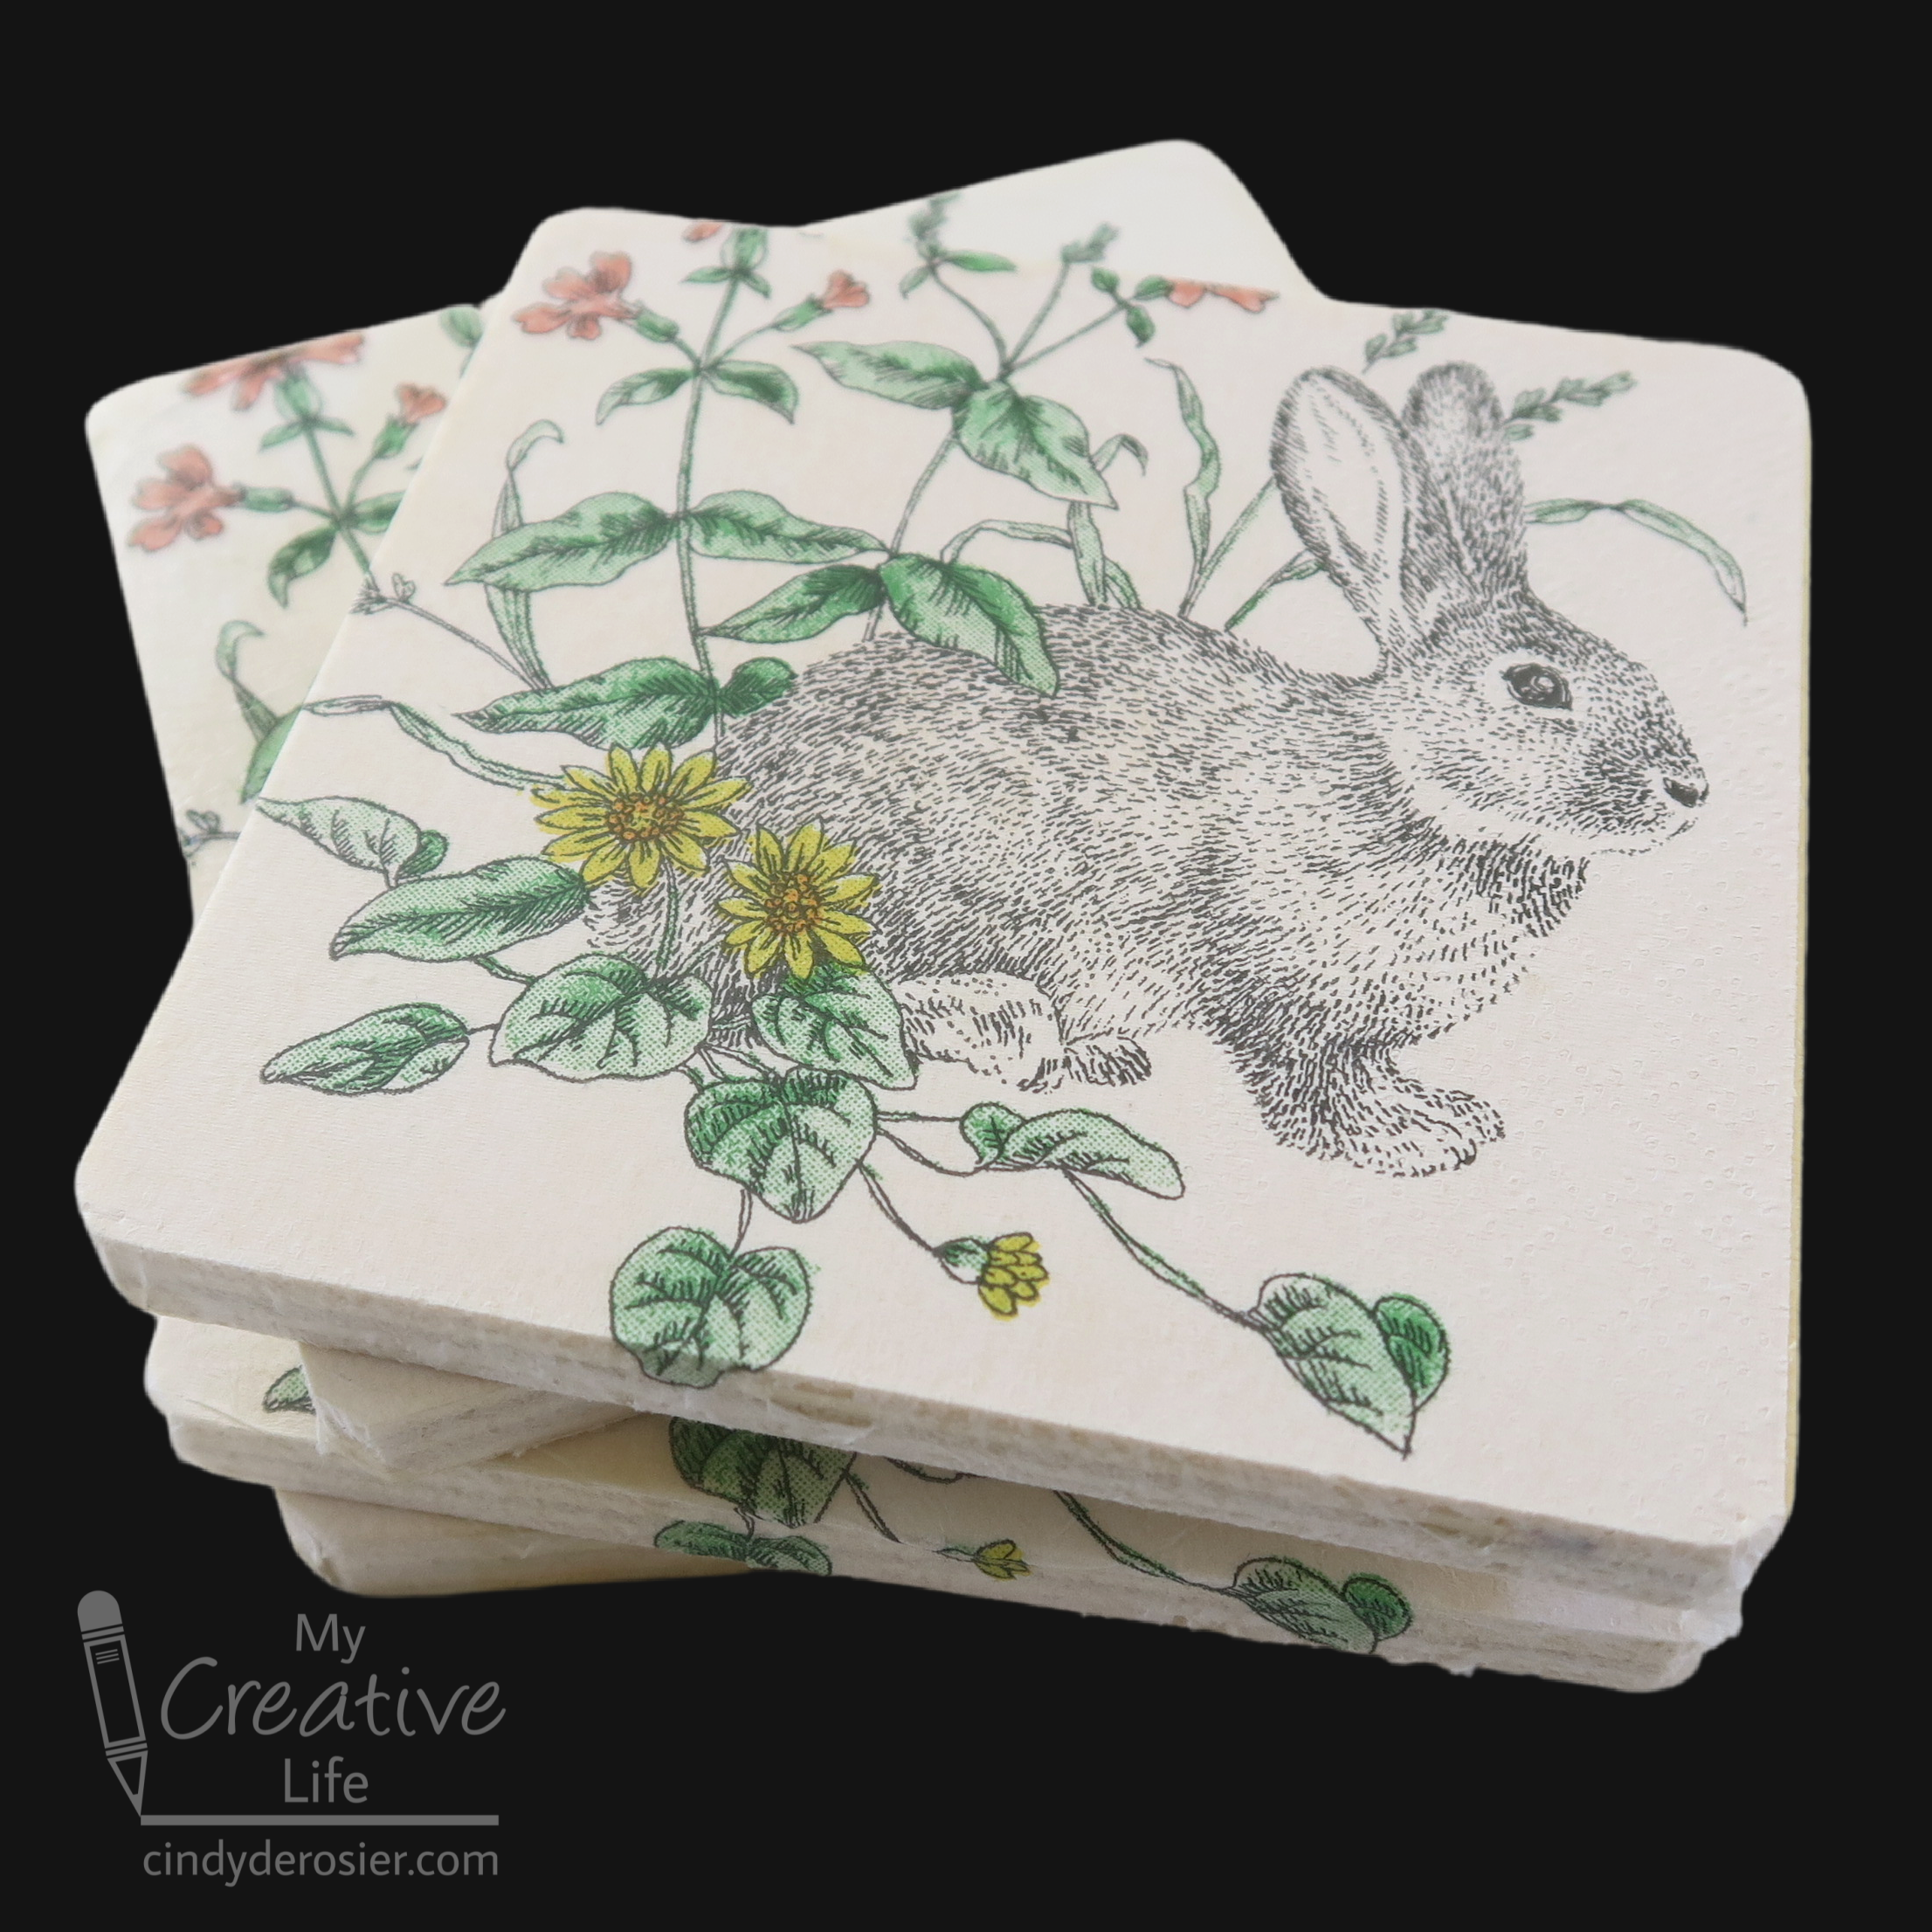
My 50th birthday celebration was everything I'd hoped it would be and more. One of the "and more" details: Suzzi brought beautiful bunny napkins featuring a rabbit that looks just like Trouble. I loved them. I brought the extras home and used a variety of decoupage techniques to make a set of coasters. 

I don't have a lot of decoupage experience. The little I've done has been with patterned paper or fabric, neither of which are nearly as delicate as a napkin. But despite not having done it myself, I've seen a lot of tutorials about the best ways to decoupage napkins. Not surprisingly, what is "best" varies from person to person. I decided to try four techniques I've seen to determine my personal favorites. Affiliate links below. 


---------


Four Ways to Decoupage Napkins onto Coasters


Materials:


For all techniques: 

For certain techniques:

Steps: 


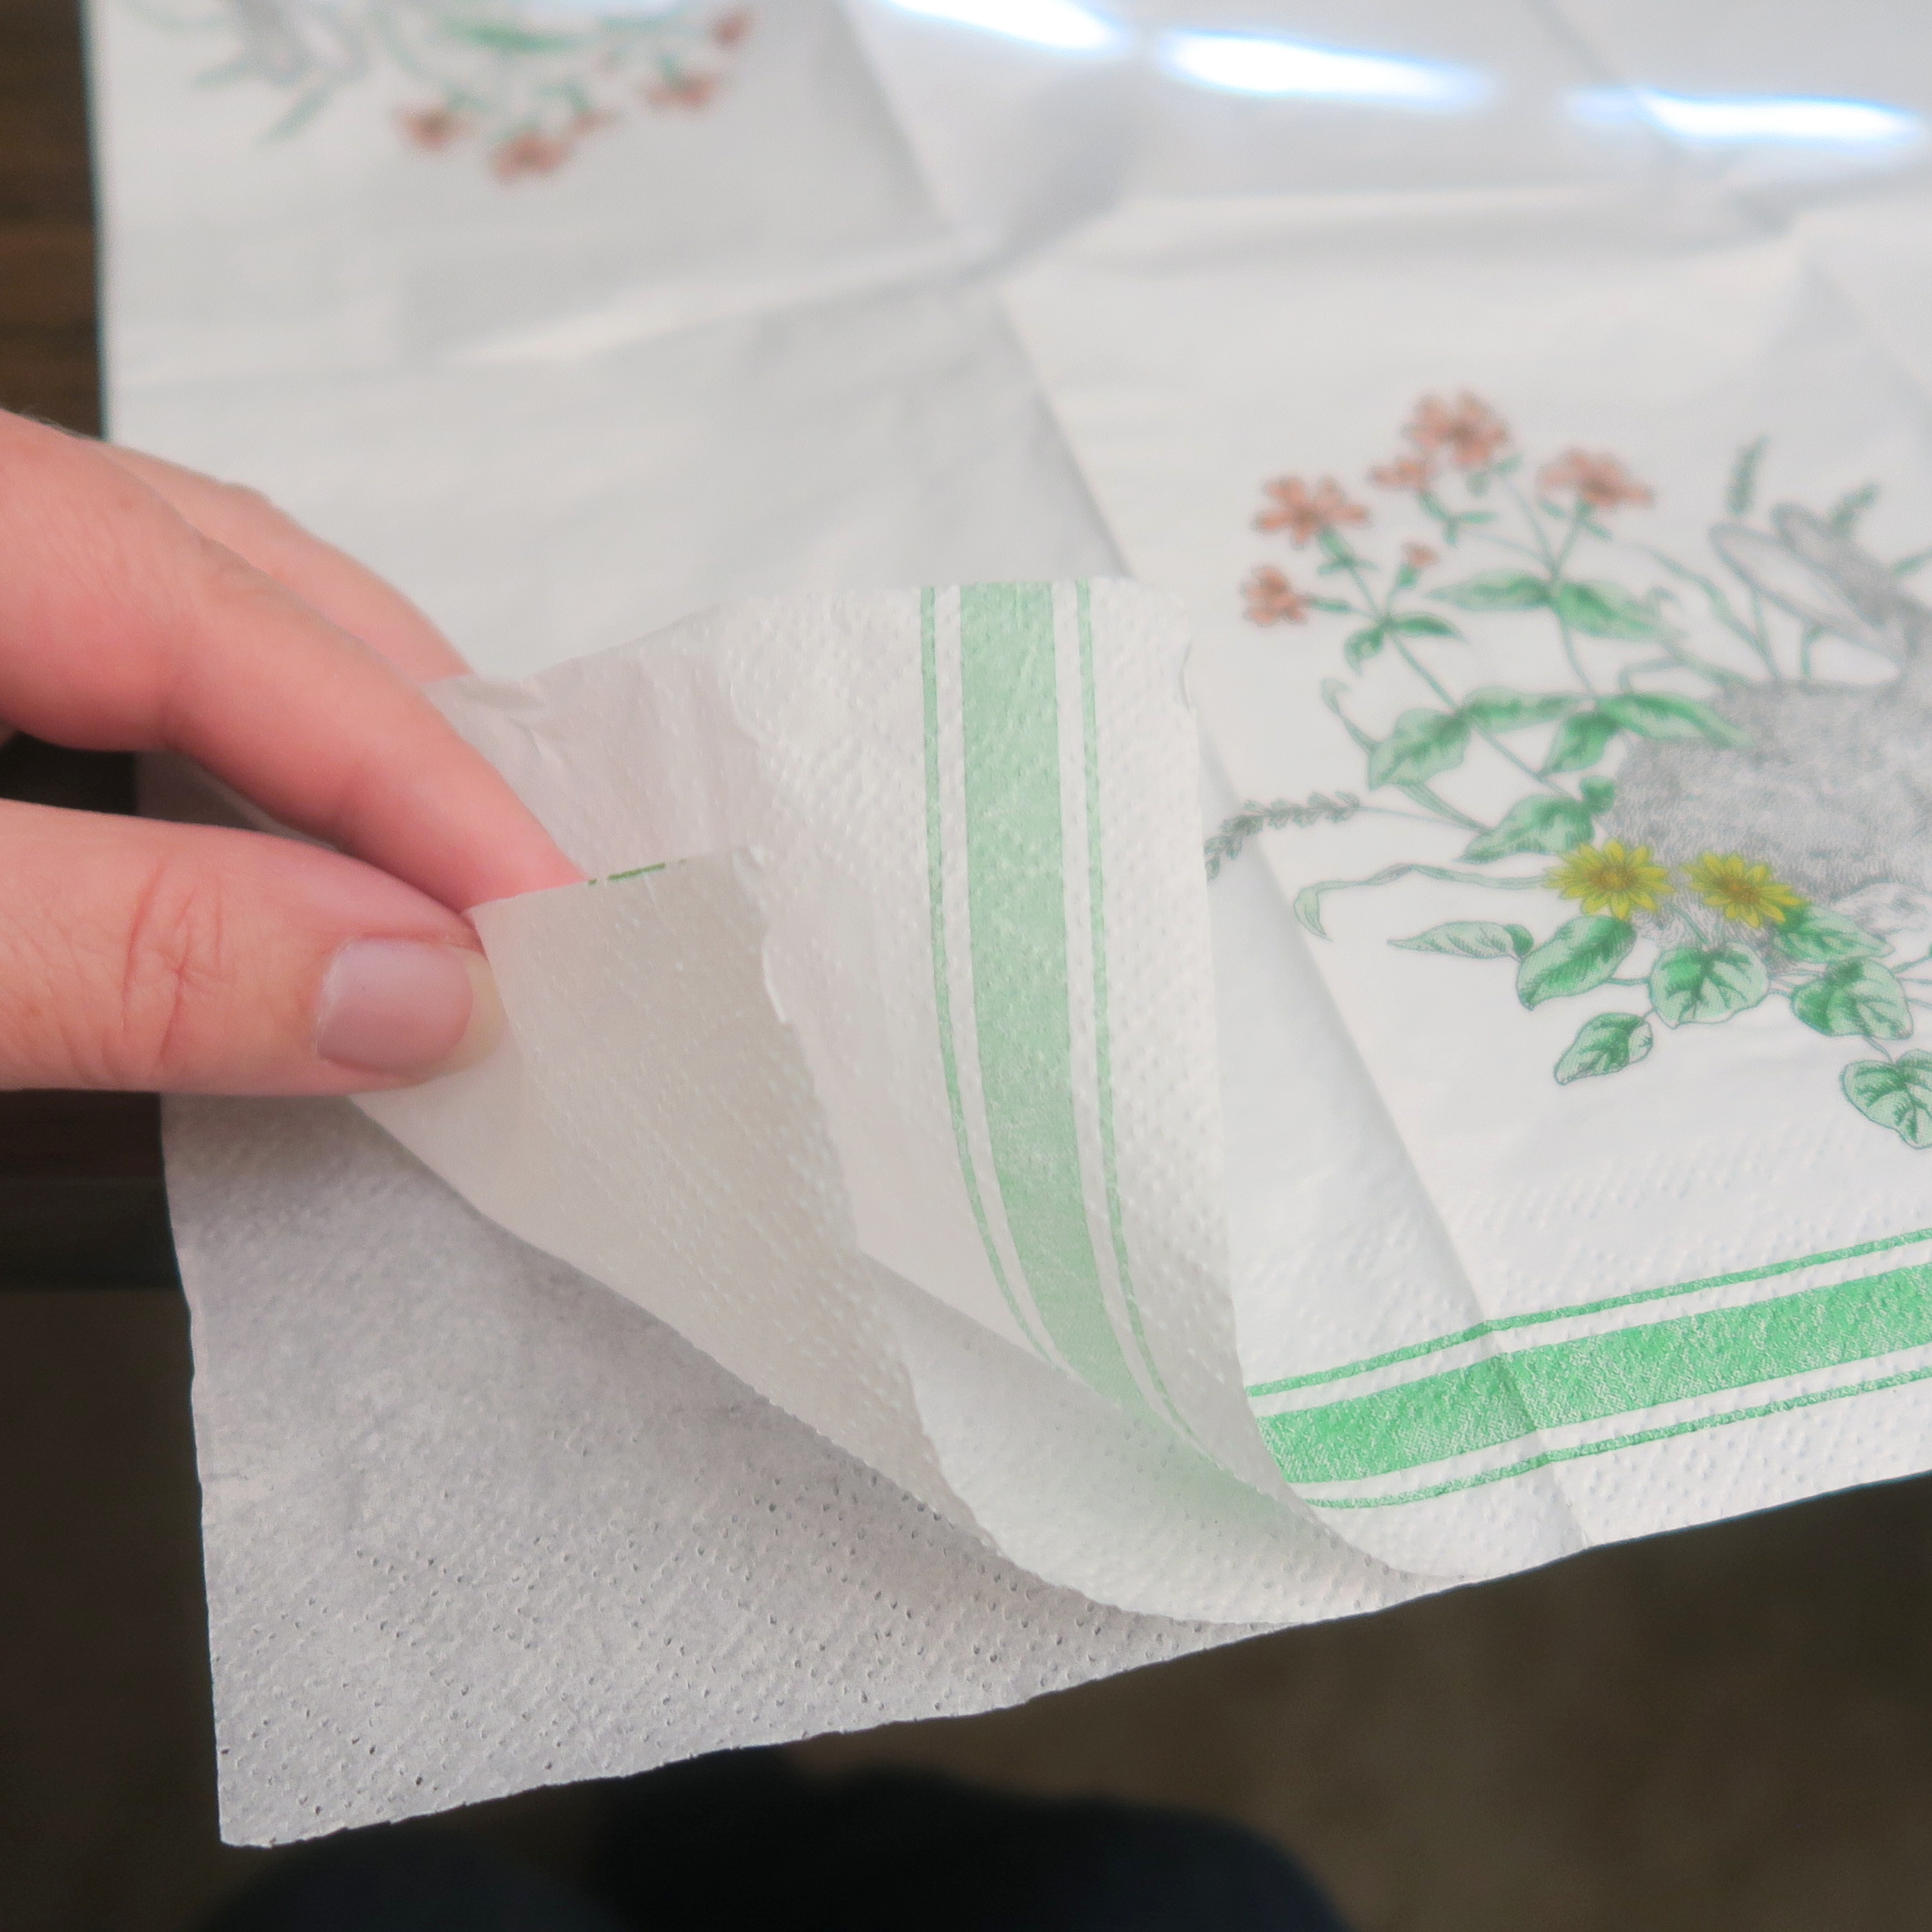
Most napkins are either 2-ply or 3-ply. You will only be using the top (printed) ply. The easiest way to separate the plies of the napkin is to barely moisten your fingers and rub gently at the corner. 

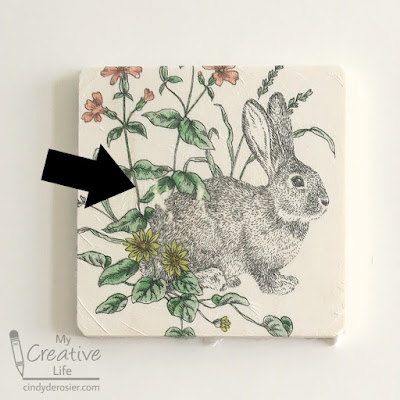
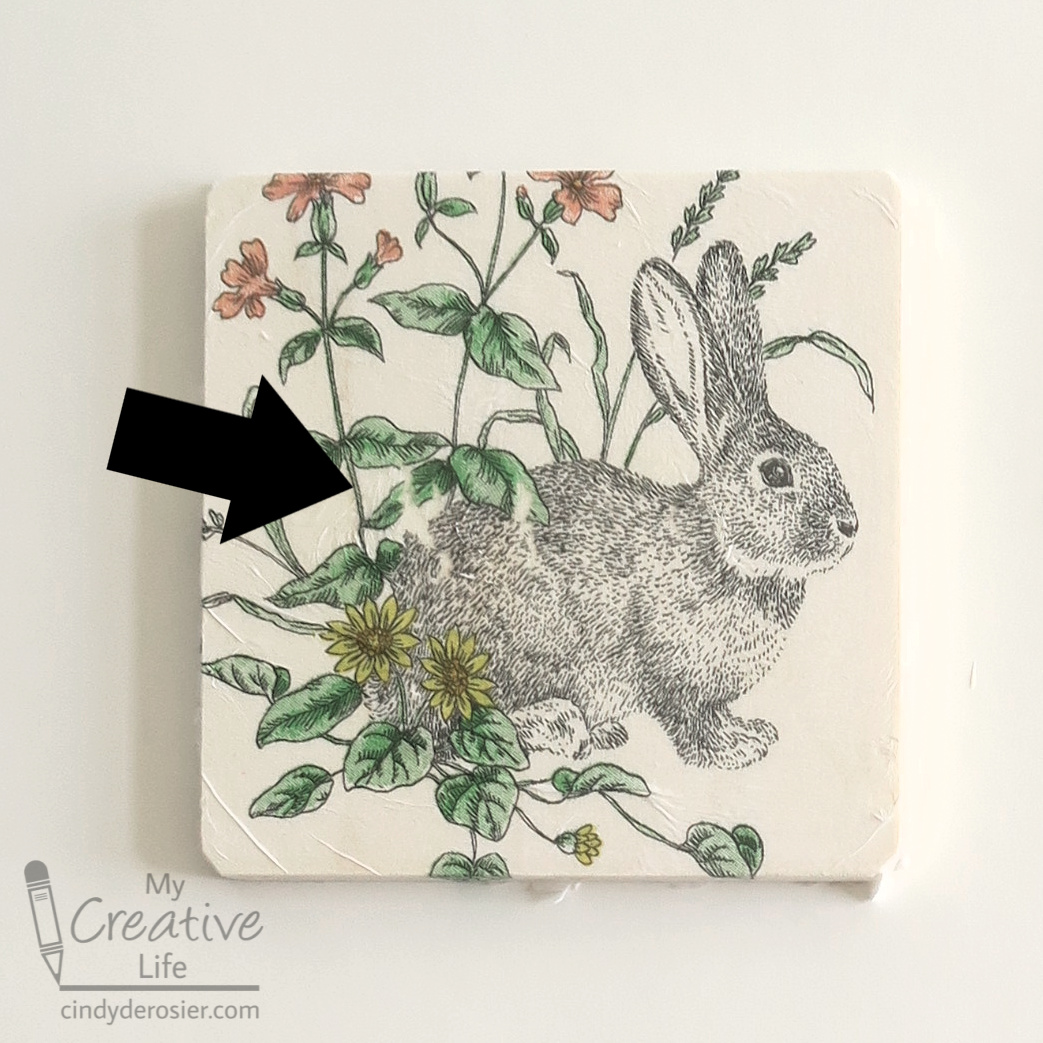
For my first coaster, I used the brush to put a generous coat of Mod Podge onto one coaster, then carefully lowered the napkin onto the surface. Starting from one corner, I gently used my fingers to smooth the napkin. This technique works with heavy paper, but (spoiler alert) it is a terrible method for napkins. As you can see, there are wrinkles I didn't get out (particularly in the bottom left), but the bigger issue is that the napkin started to tear in the center. 

For my second coaster, I started by putting a generous coat of Mod Podge on the coaster. I placed the napkin down, covered it with a piece of plastic wrap, and gently smoothed the wrinkles, starting at the center and working out. When I got to the edges, I added more Mod Podge and gently smoothed each down with the help of the plastic wrap. There was no tearing at all, and only minor wrinkling, so this was a huge improvement over my first coaster. 


Technique #3 was the one I was most excited to try because it just seemed so crazy. I did all the same steps as with #2 (Mod Podge on coaster, napkin on top, plastic wrap over that, smooth out wrinkles, add Mod Podge to edges, smooth down napkin), but then things went an entirely different direction. 


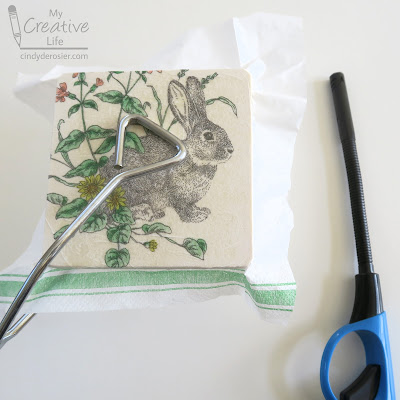
And an entirely different location: outdoors, on a concrete surface. Holding the coaster in my left hand and a lighter in my right, I lit the napkin on fire. The excess burned away, but when it reached the decoupage, it stopped. Sort of. You can see a small amount of singing by the bunny's nose.
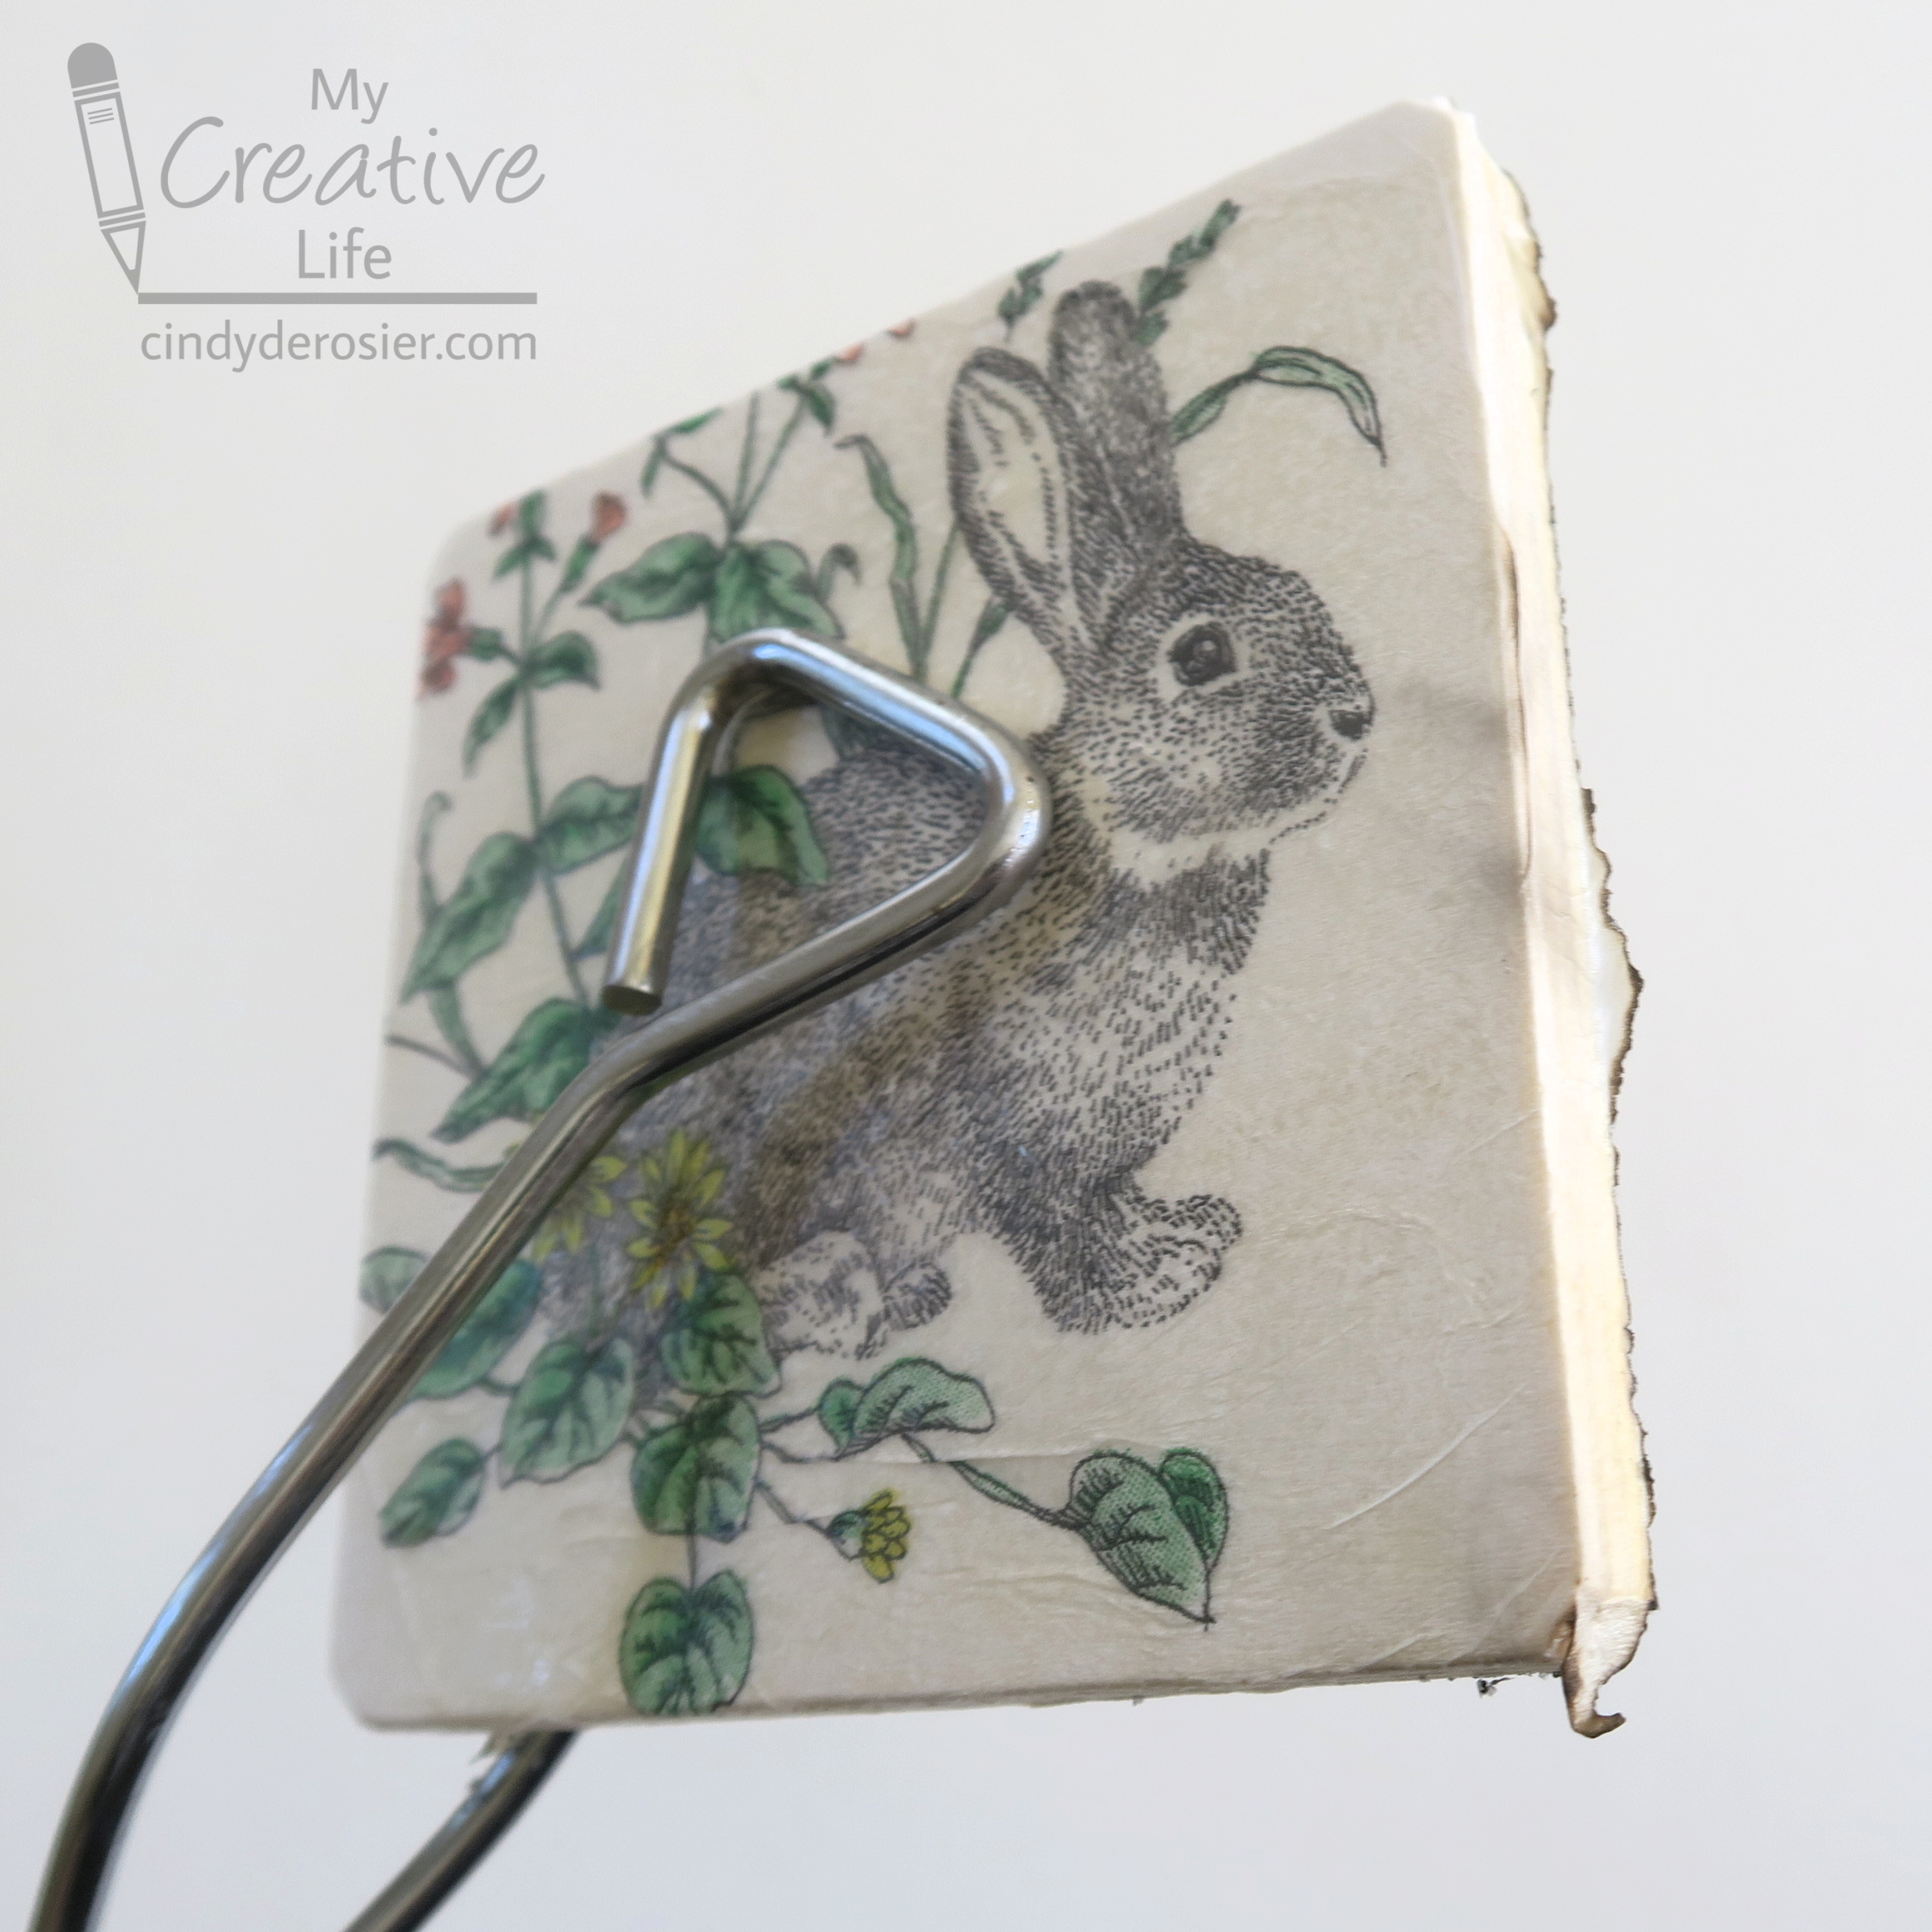

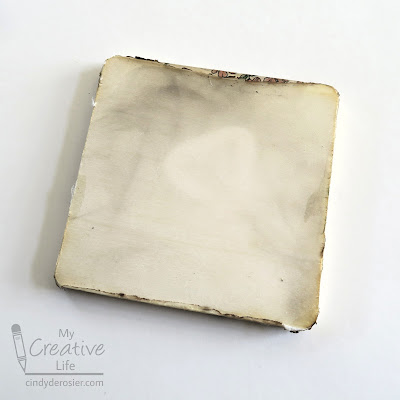
Here's how the back looked. I did not expect the outline of the tongs to show like that. 


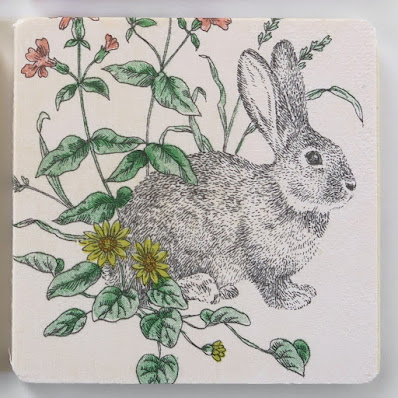
My fourth technique was my favorite by far. Easy alignment, no wrinkles, no stress. I put a generous coat of Mod Podge onto the front and sides of a coaster, then walked away and let it dry completely. When it was 100% dry, I put the napkin on top, covered it with a piece of parchment paper, and used a hot iron to press it. When the top was sealed, I did each side individually. Check it out - it's perfect!


For each of the coasters, I added two topcoats of Mod Podge, allowing the first coat to dry before adding the second. Then I used a file along the back edges to remove any extra napkin (or napkin ashes). Finally, I glued felt squares to the back. 
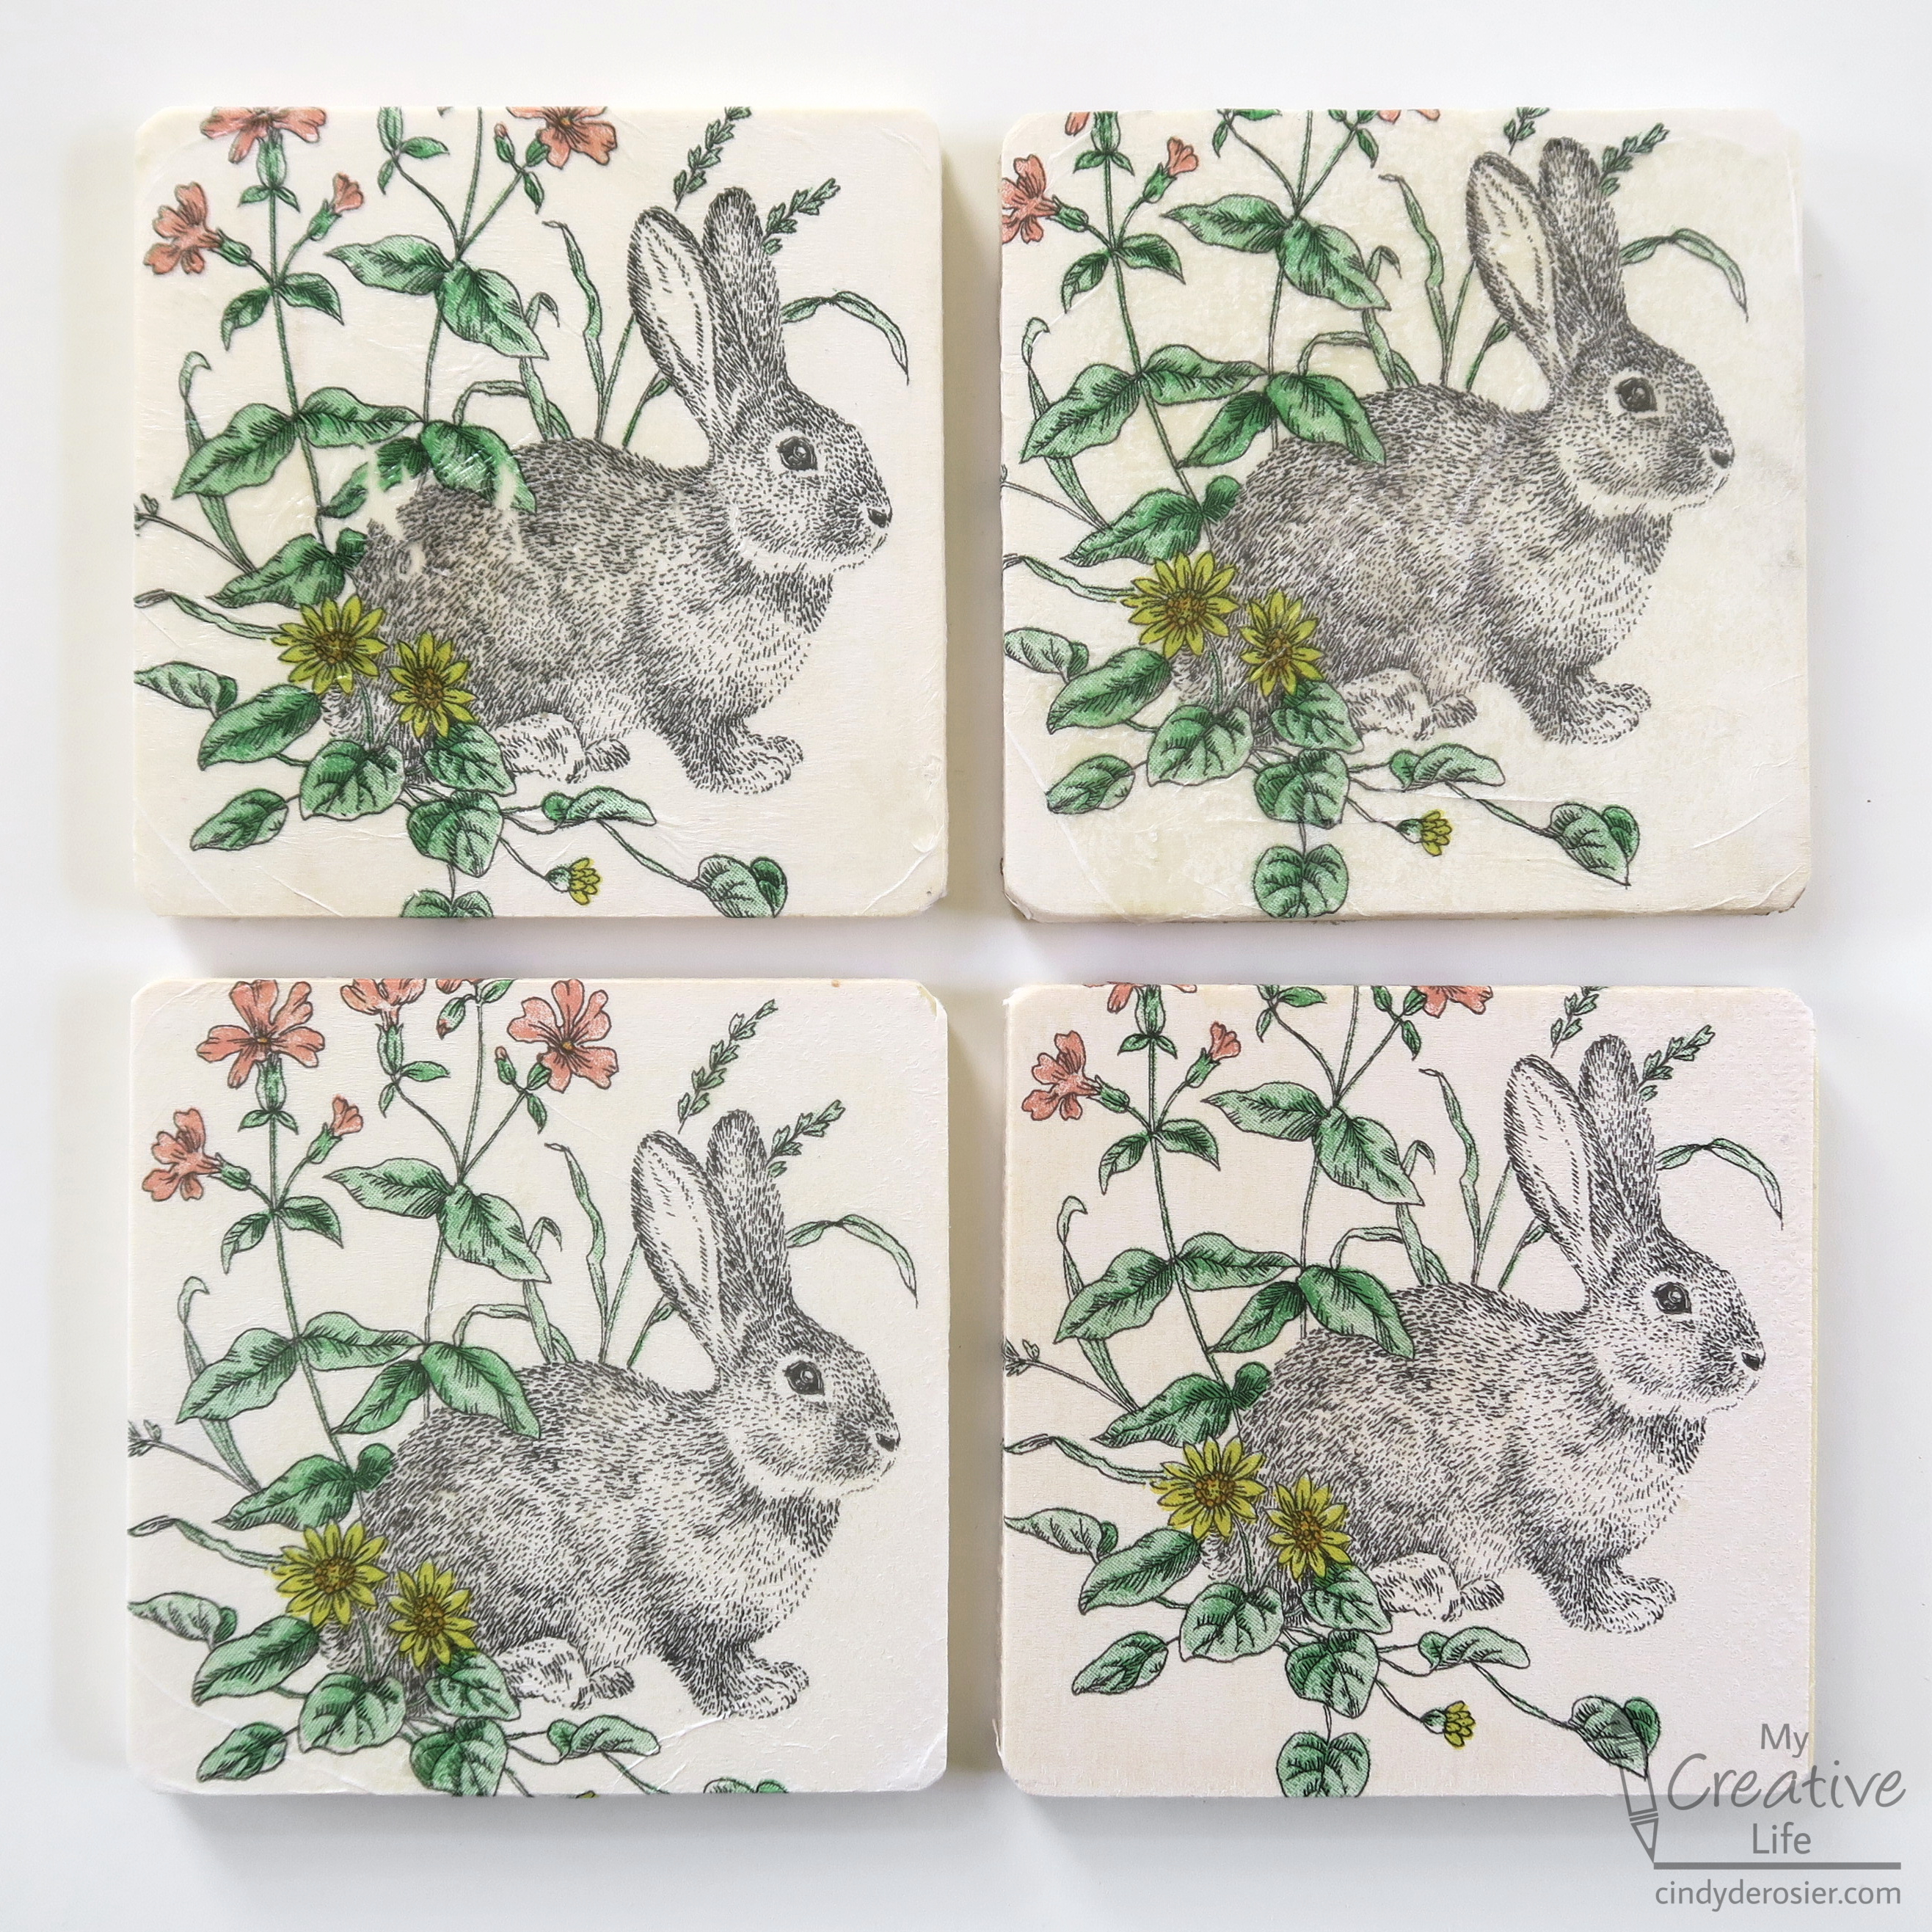

This was such a fun experiment and makes me interested in diving deeper into decoupage in the future!

3/28/22

Bunny Week 2022: Wood Bunny

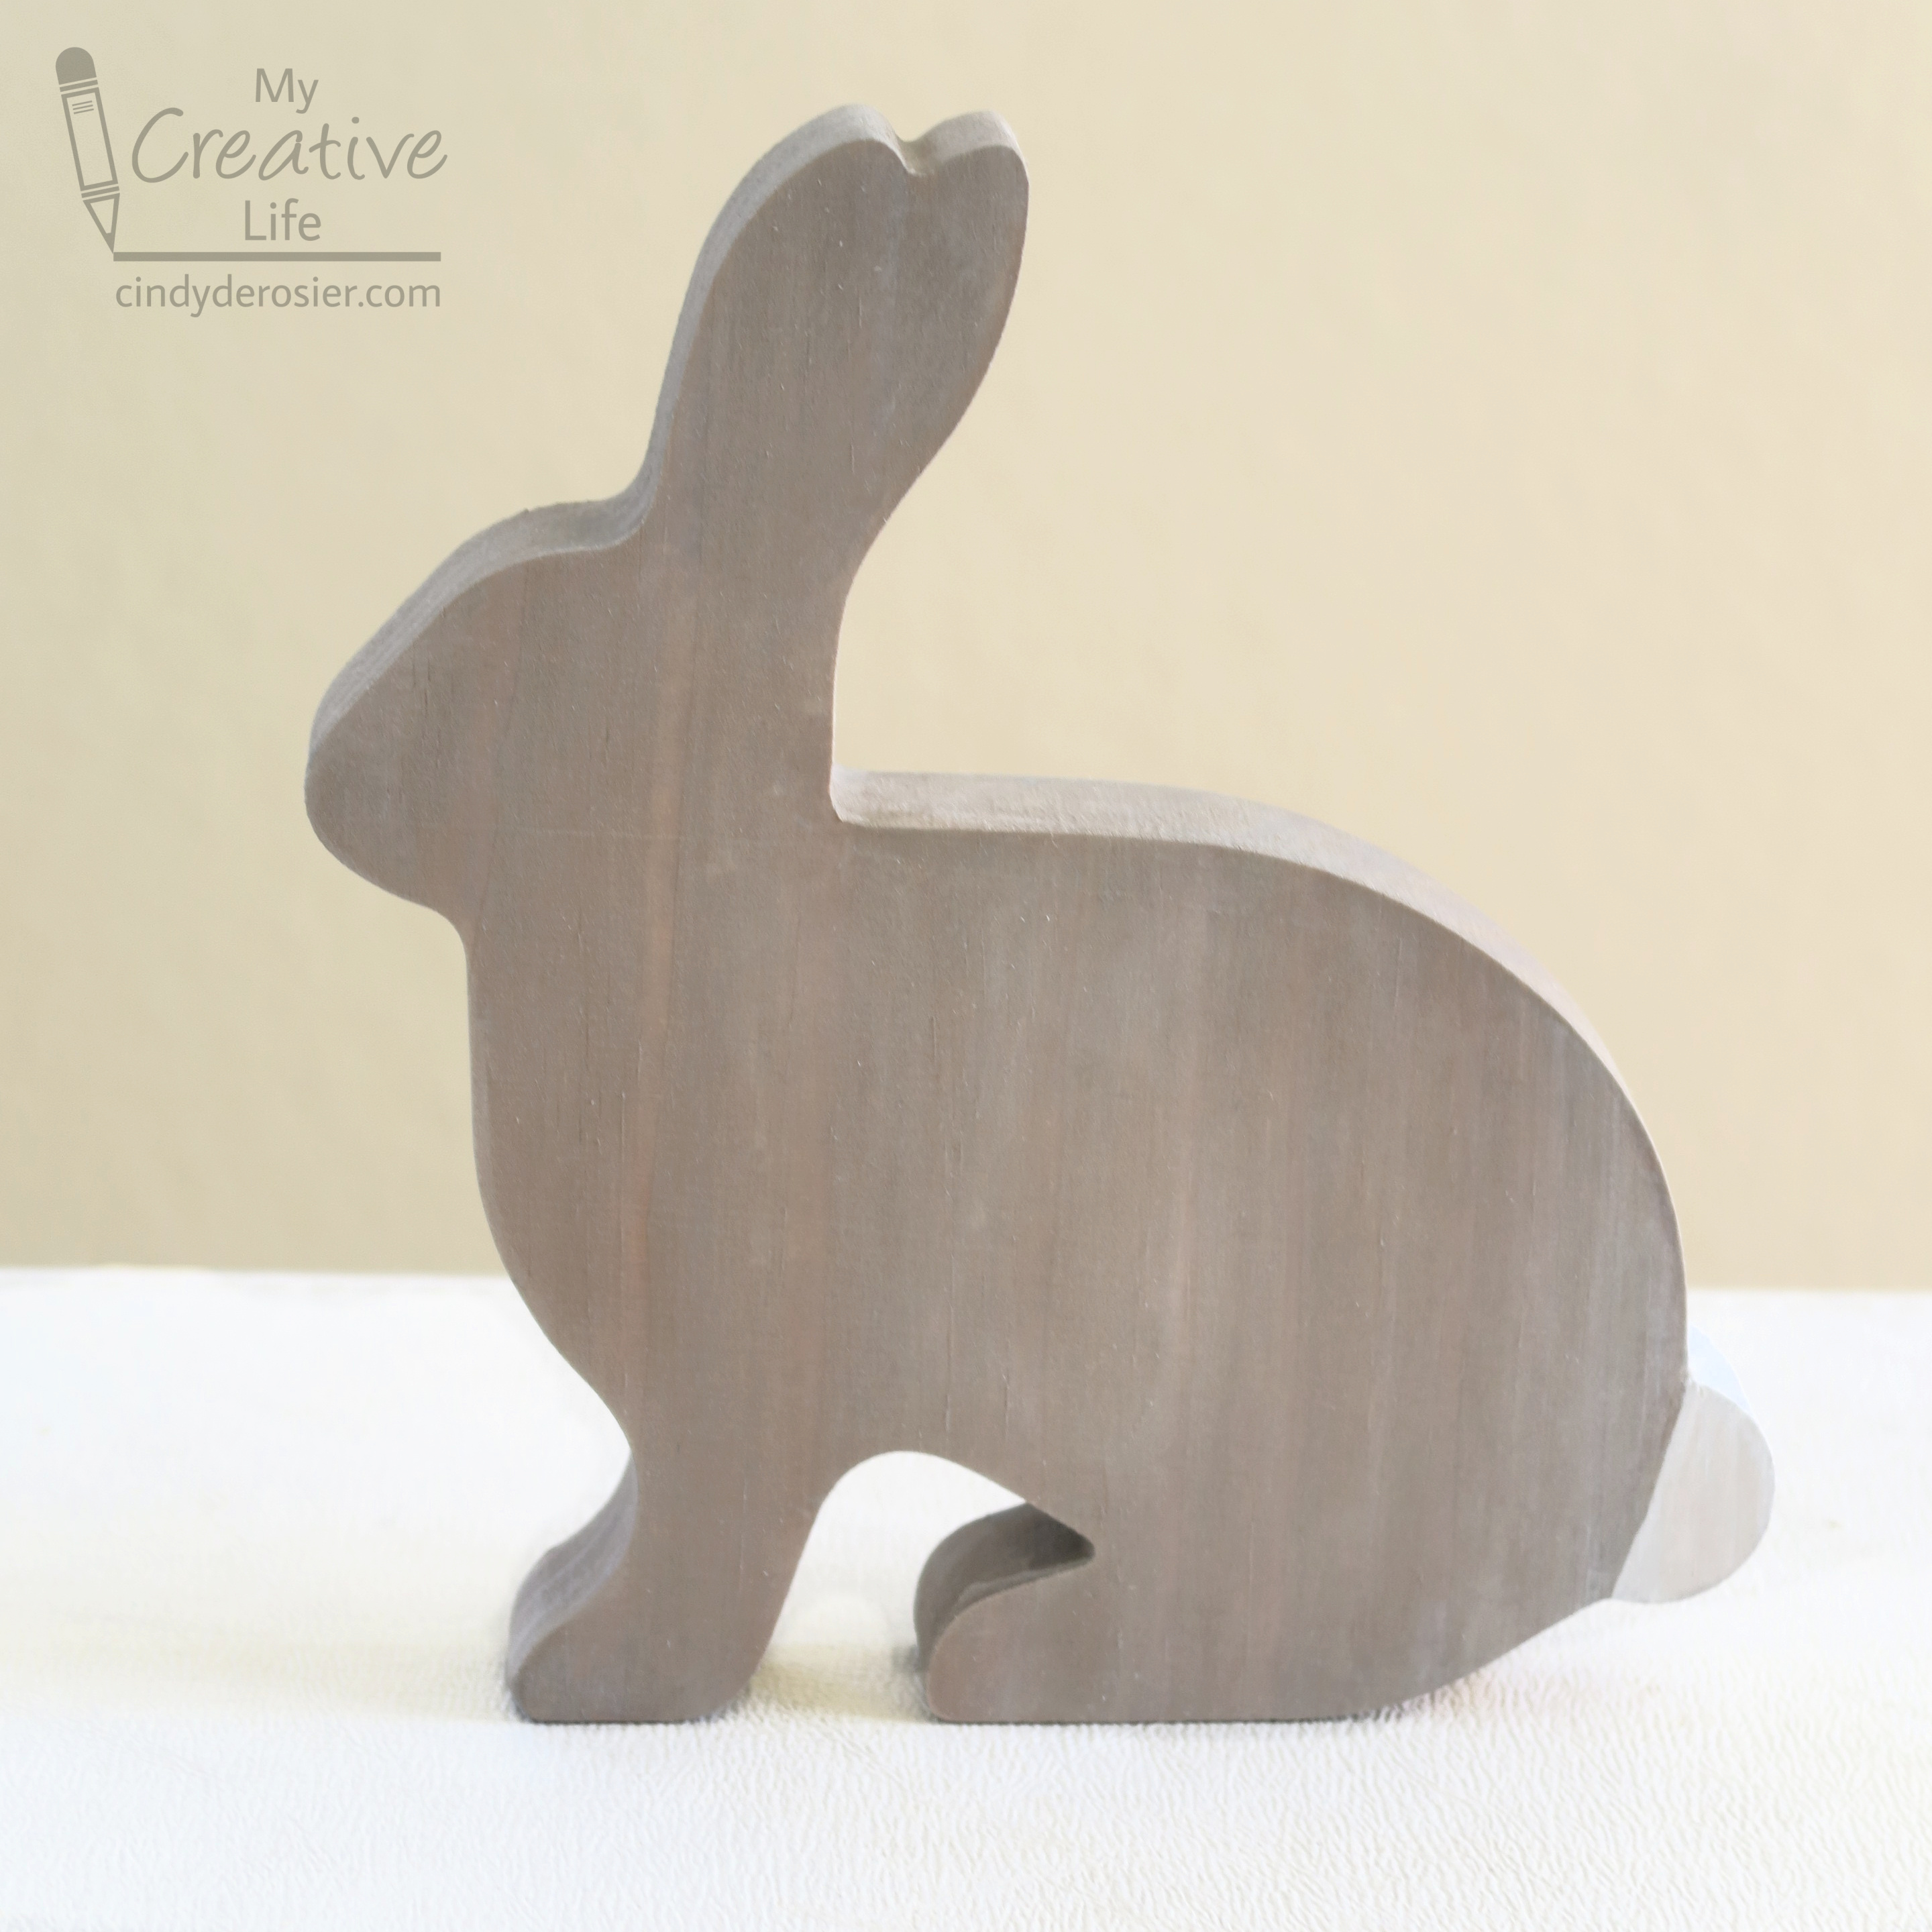
Welcome to Bunny Week 2022! ("It's Like Shark Week, but Fuzzier!") Bunny Week is an annual tradition here at My Creative Life, a time to celebrate All Things Rabbit. I'm starting off Bunny Week with a wooden rabbit. I found it, unfinished, at Target (Easter Wood Bunny Side Profile by Mondo Llama.) With a little paint and patience, I ended up with this: 


Except during the Christmas season when I decorate it with snowmen, our mantel has had the same nine items displayed for well over a decade: a wine bottle engraved with our wedding information, our cake topper, a photo of Steve and me holding Trevor, three of my favorite pictures of Trevor as a baby, a geode, and a potted plant on either end. Nothing representing the fourth member of our family. Now Trouble is represented on the mantel. Trevor thinks I should switch out one of the photos of him with a picture of Trouble, but I pointed out that other pictures of Trouble are visible near the mantel. 


I had two goals in mind when painting the unfinished wood: keep the grain visible and mimic Trouble's unique grey/tan coloring. I started by watering down a reddish brown paint until it was very watery, then used a paper towel to rub it onto the wood like a stain. I covered everything except the tail. I let the paint dry completely, then did the same thing with grey. Finally, I added a layer of white (and covered the tail that time). Together, the three colors make a close match to Trouble's beautiful fur. It's a wonderful addition to the mantel. 

3/25/22

My College Schedules

I am 50 years old. I graduated from college 28 years ago, yet multiple times a month I have a recurring college-related nightmare. In it, I don't know what classes I'm taking that term, what time they are, or where they're located. I spend the whole dream searching for my schedule, or going to the admin building to see if someone can tell me where I should be, or randomly popping into classrooms hoping I'll find something familiar, or realizing I've missed an entire month of Tuesday evening classes because I'd forgotten I had signed up for an evening class. It's maddening.

Oddly, I didn't have these nightmares during college, when I theoretically could have lost or forgotten my schedule and it would actually matter. Instead, my sleeping brain worried about not being able to find my bike. Or that I had a 100 page paper due that day that I'd forgotten about. Or that I couldn't remember my high school locker combination. Sigh. 

During college, it was unlikely I would forget my schedule because I made myself a pretty schedule each quarter, using colored pencils and pens on graph paper. I pinned my schedule in my room, and carried a copy in my backpack. 

Here's my very first one:


As you can see, I took a very light load my first quarter of college (13 units). I took Spanish, Economics, and Public Speaking. Giving myself such an easy first quarter was one of the best decisions I ever made (particularly given that I was regularly traveling as a State Ambassador for 4-H, which took a huge amount of my time) and something I always recommend to high school seniors. College life is a major adjustment, even without the academics. Give yourself time to adjust, then ramp up the units the following quarter if you're comfortable. 

I took Western Civ, Economics, Geography, American Studies, and First Aid during the second quarter of my freshman year. By then, I had figured out all of the "how do I...?" stuff associated with living away from my parents for the first time, had made lots of friends and adjusted well to dorm life, and was ready to challenge myself more academically. 


In the spring of freshman year, I took my third Economics class and my second Western Civ class, along with Psychology and Bio Sci. 


I started my sophomore year with more Economics and more Western Civ, along with Political Science and Religious Studies (Judaism). 


In the winter, I took more Economics, along with Statistics, Calculus, and Forestry (one of my all-time favorite classes). I also took my first PE class, Ballroom Dance. 


I wouldn't meet Steve for another 8 years, but we would eventually meet through ballroom dance. So in a way, this is where it all started. 

In the spring of my sophomore year, I took Economics, Sociology, History, Landscape Architecture, and another dance class. 


I started my junior year with Plant Science, Geology, Human Development, Political Science, and History. I also worked on campus as a Program Advisor. I had staff meetings on Tuesday nights and a one-on-one with my supervisor on Wednesday mornings. 


During winter quarter, I took Agricultural Economics, Geology, and History. The meetings for my job are in green. 


And that's it. Apparently, I stopped making pretty schedules for myself at this point. I find that hard to believe, but I find it equally hard to believe that I would have saved the first eight and thrown away the remaining four or stored them in a different place. But I'm missing Spring 93, Fall 93, Winter 94, and Spring 94, when I graduated with a BA in International Relations. (You thought it was going to be Economics, right? Or Education, since you know I taught elementary school? Nope!) 

For the sake of completeness (and because I know my mom will ask), the rest of my degree included the following: 

Spring 1993: Education, History, Poli Sci, and Healthful Living
Fall 1993: Education, Environmental Studies, History, Nutrition
Winter 1994: Education (x4), Music
Spring 1994: Education (x2), English, History

Thanks for indulging another stroll down Memory Lane. It was a treat to me to find those schedules and all the memories those simple papers contain. 

3/24/22

Pretzel Monarch Butterflies

I've used pretzels to make a butterfly craft before, but that was a savory project suitable for young children. This is a sweet craft, better for preteens and up. I had a lot of fun figuring it out as I went and I'm happy with the end results. Affiliate links below. 


Pretzel Monarch Butterflies


Materials:


Steps: 


Place a sheet of parchment paper underneath a wire rack. Prepare the black candy melts following the directions on the package. For each butterfly, dip two pretzel twists and one pretzel stick into the melted black candy, then transfer them to the rack. I used a sharp knife to make the pretzel sticks shorter; whether you need to do this or not depends on the brand you use. After the pretzels have sat for 30 seconds, transfer them to a different part of the rack so that they don't stick. Let them set completely. 


You'll be melting more black candy, so don't clean that container yet. 

Move the rack, then transfer the pretzels to the parchment paper. Prepare the orange candy melts. I experimented with different methods of filling the holes of the pretzel twists with orange (see failures below). I found the easiest and most effective method was spooning a dollop of melted candy into each opening, then using an extra pretzel stick to push it over the black candy. The goal is to leave a thin border of black between the orange areas. 

In retrospect, I should have used the scribe tool to get rid of the peaks in the orange that the pretzel stick left. 


When the orange has set completely, prepare more black Candy Melts. Use the scribe tool to draw lines of black candy across the orange to mimic the patterns of a monarch butterfly. Symmetry is more important than accuracy, so work on both the left and right wings at the same time so that you end up with matching pairs. Let the black candy set. Don't clean the container or the scribe tool - you'll use both again.  


Prepare a small amount of white Candy Melts in a separate container. Use a clean scribe tool to put dots along the outer edges of the pretzels. Again, work in pairs and focus on symmetry. Let the white candy set. 


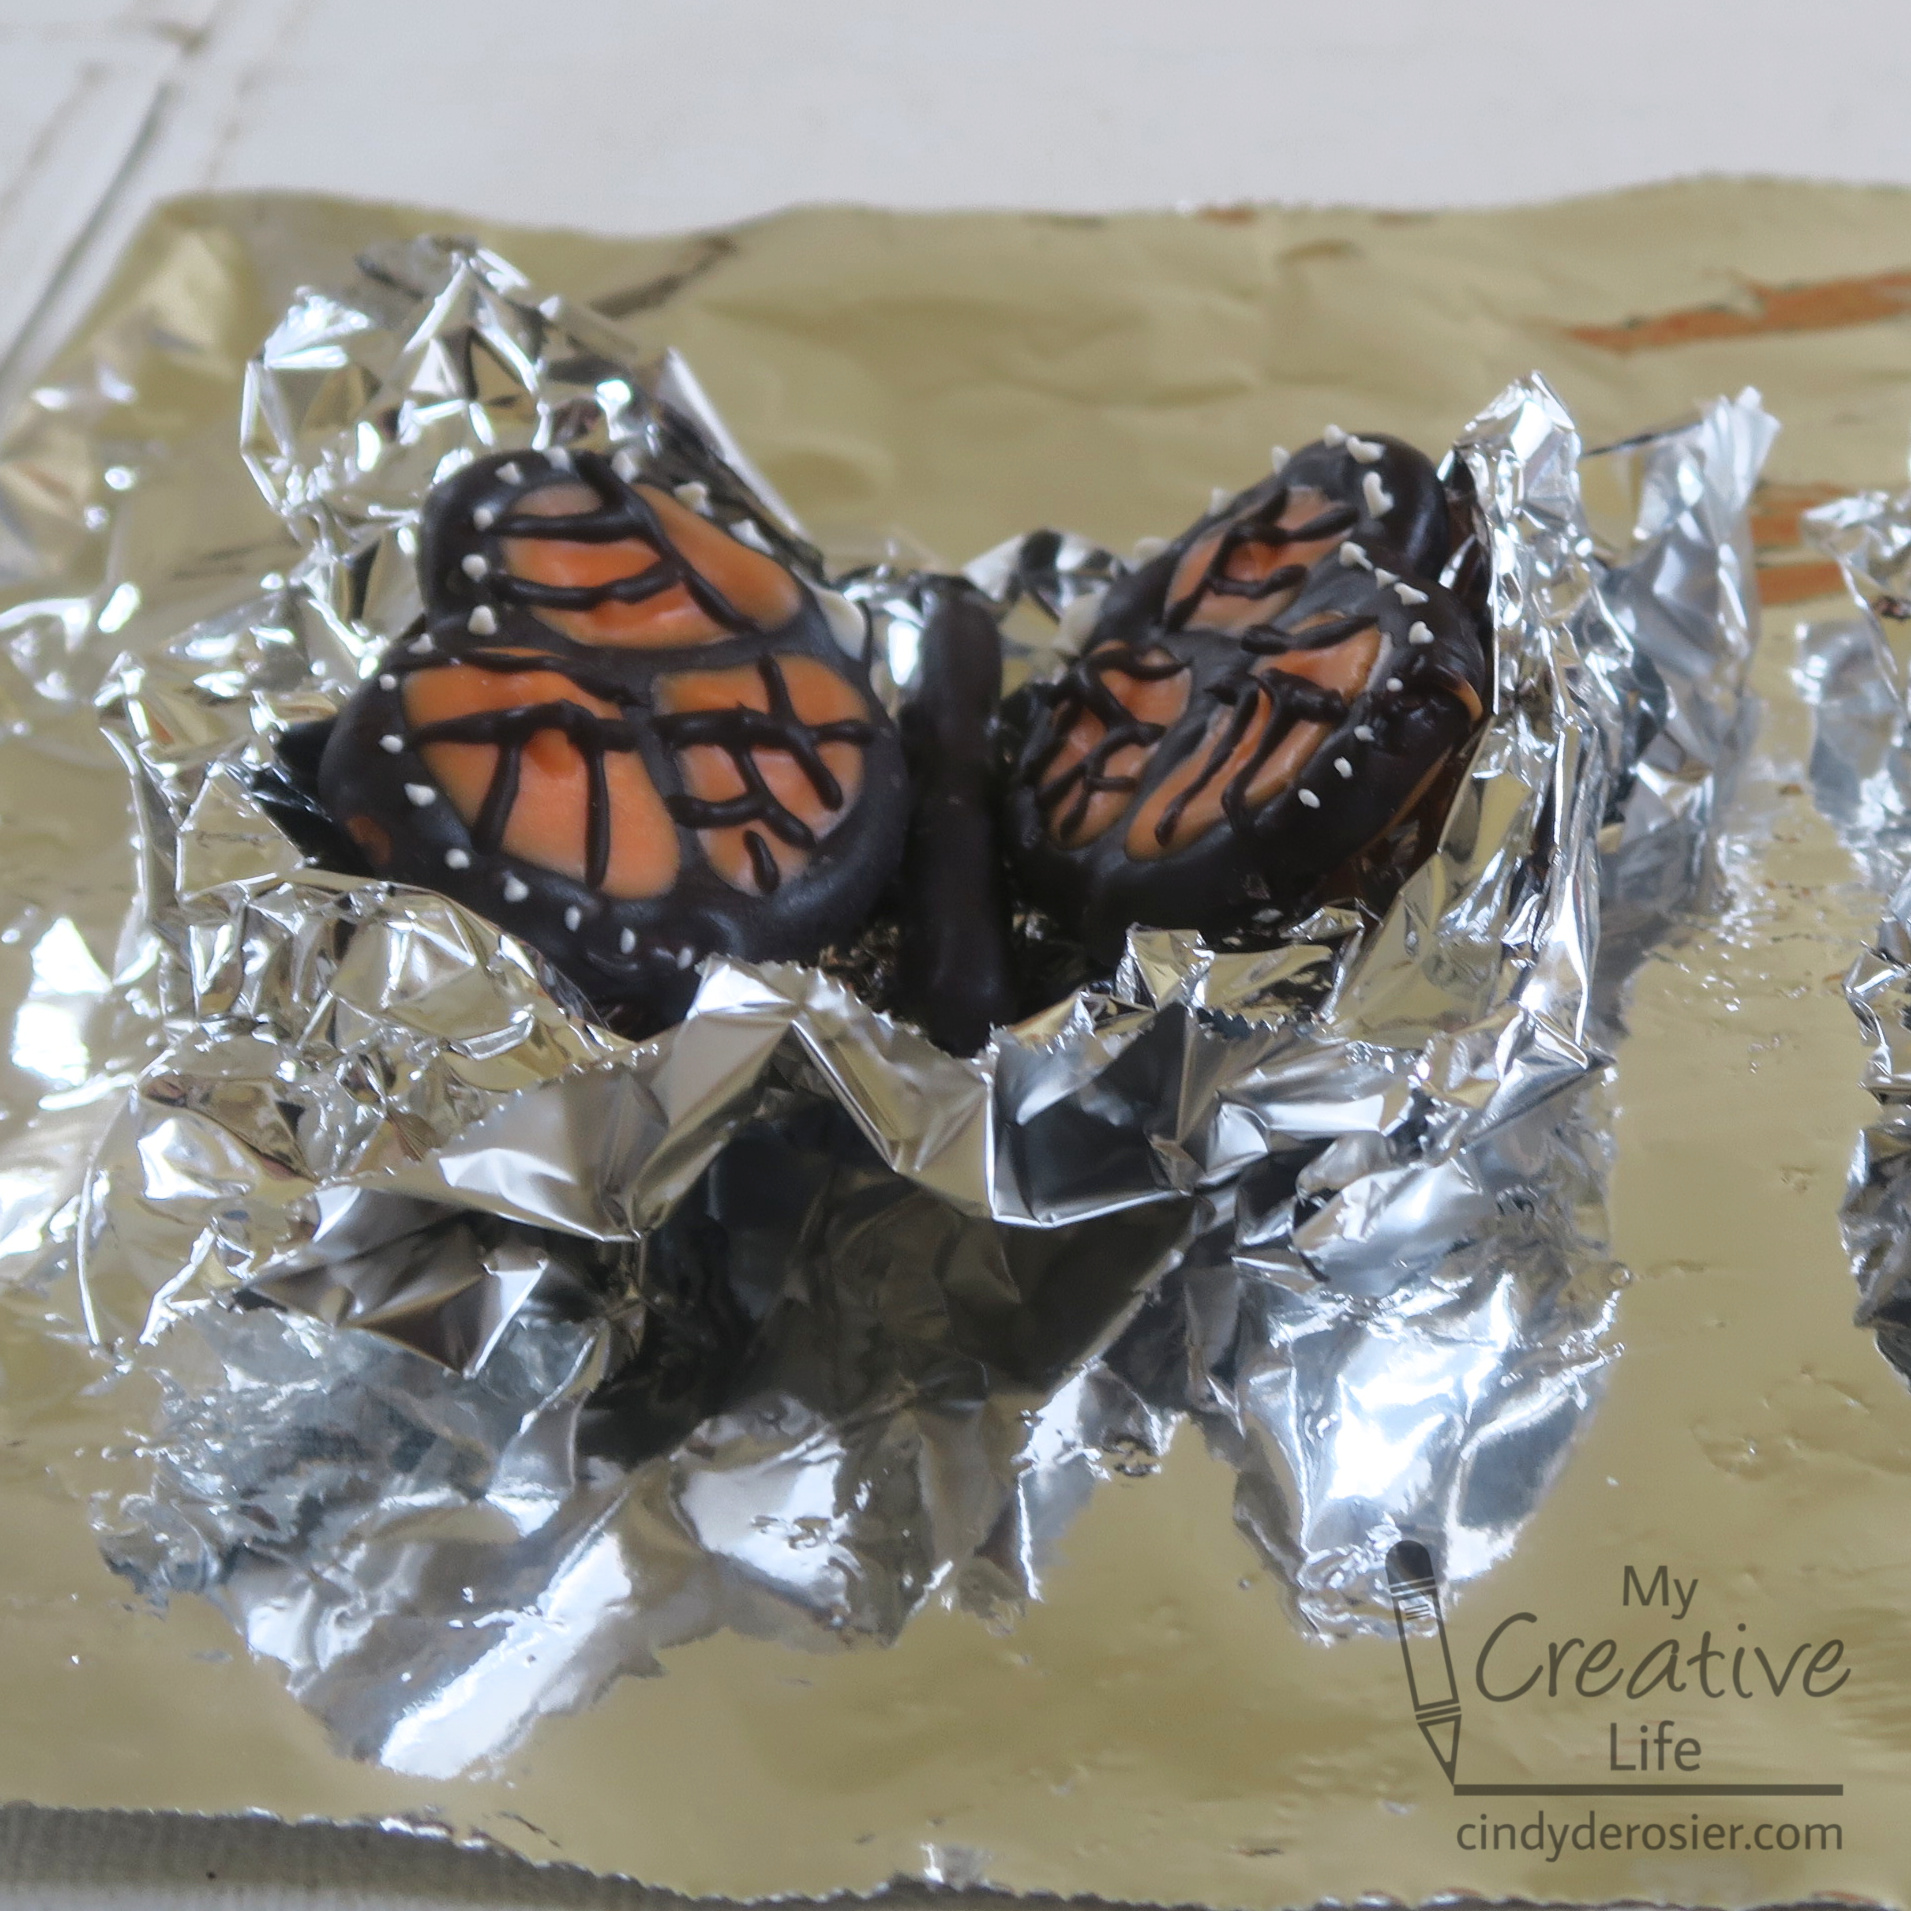
Crumple a small piece of foil into a cradle to hold the butterfly wings in the position you want. Do this for each of your butterflies. Carefully remove the pretzel twists, keeping the stick pretzels in position. Melt more black candy. Working on one butterfly at a time, use the scribe tool to paint a line of melted candy along each side of the stick pretzel, then gently place the pretzel twists back into position.  


Reinforce the wings by adding a bit of extra black candy along the point where the wings meet the body. Let the candy set completely, then remove the butterflies and place them onto frosted cupcakes. 


Happy spring, everyone! Celebrate with a cupcake. 

3/23/22

Colored Pencil Potted Succulents

I finished the colored pencil succulents project I shared last week. Even starting with a greyscale guide, it was a major challenge to match the colors, place the shadows, and get good blends. This was a great way for me to practice, and definitely something I'll be doing again. 


This is my original photograph. Obviously, there are quite a few differences between my coloring and the photograph. But, while it's easy to see what's wrong, I'm also making sure to look at what's right. And what's close. It's all about progress, not perfection. 


Another thing I've learned is that an exercise like this needs good light. I worked on this project exclusively at my desk in the craft room, which doesn't have great light most of the time. I was surprised to see that some of my attempts at color matching were way off, even though they didn't look that different at the time. I'm going to try better bulbs in my overhead light as a first step, but will probably have to invest in a better light source. Blick has a wide variety of artist lamps, as does Amazon (affiliate links), but I'm not sure what's going to work best for my space. I'm open to suggestions!