Showing posts with label chalk. Show all posts

8/29/23

Christmas Tree at Night, Made with Paint Pens

It might be a little early for Christmas crafts, but this idea popped into my head while playing with the Apple Barrel Paint Pens I shared yesterday and I was eager to try it out. It's really easy to do and I love how it turned out! Affiliate links below. 


Christmas Tree at Night


Materials: 


Steps: 


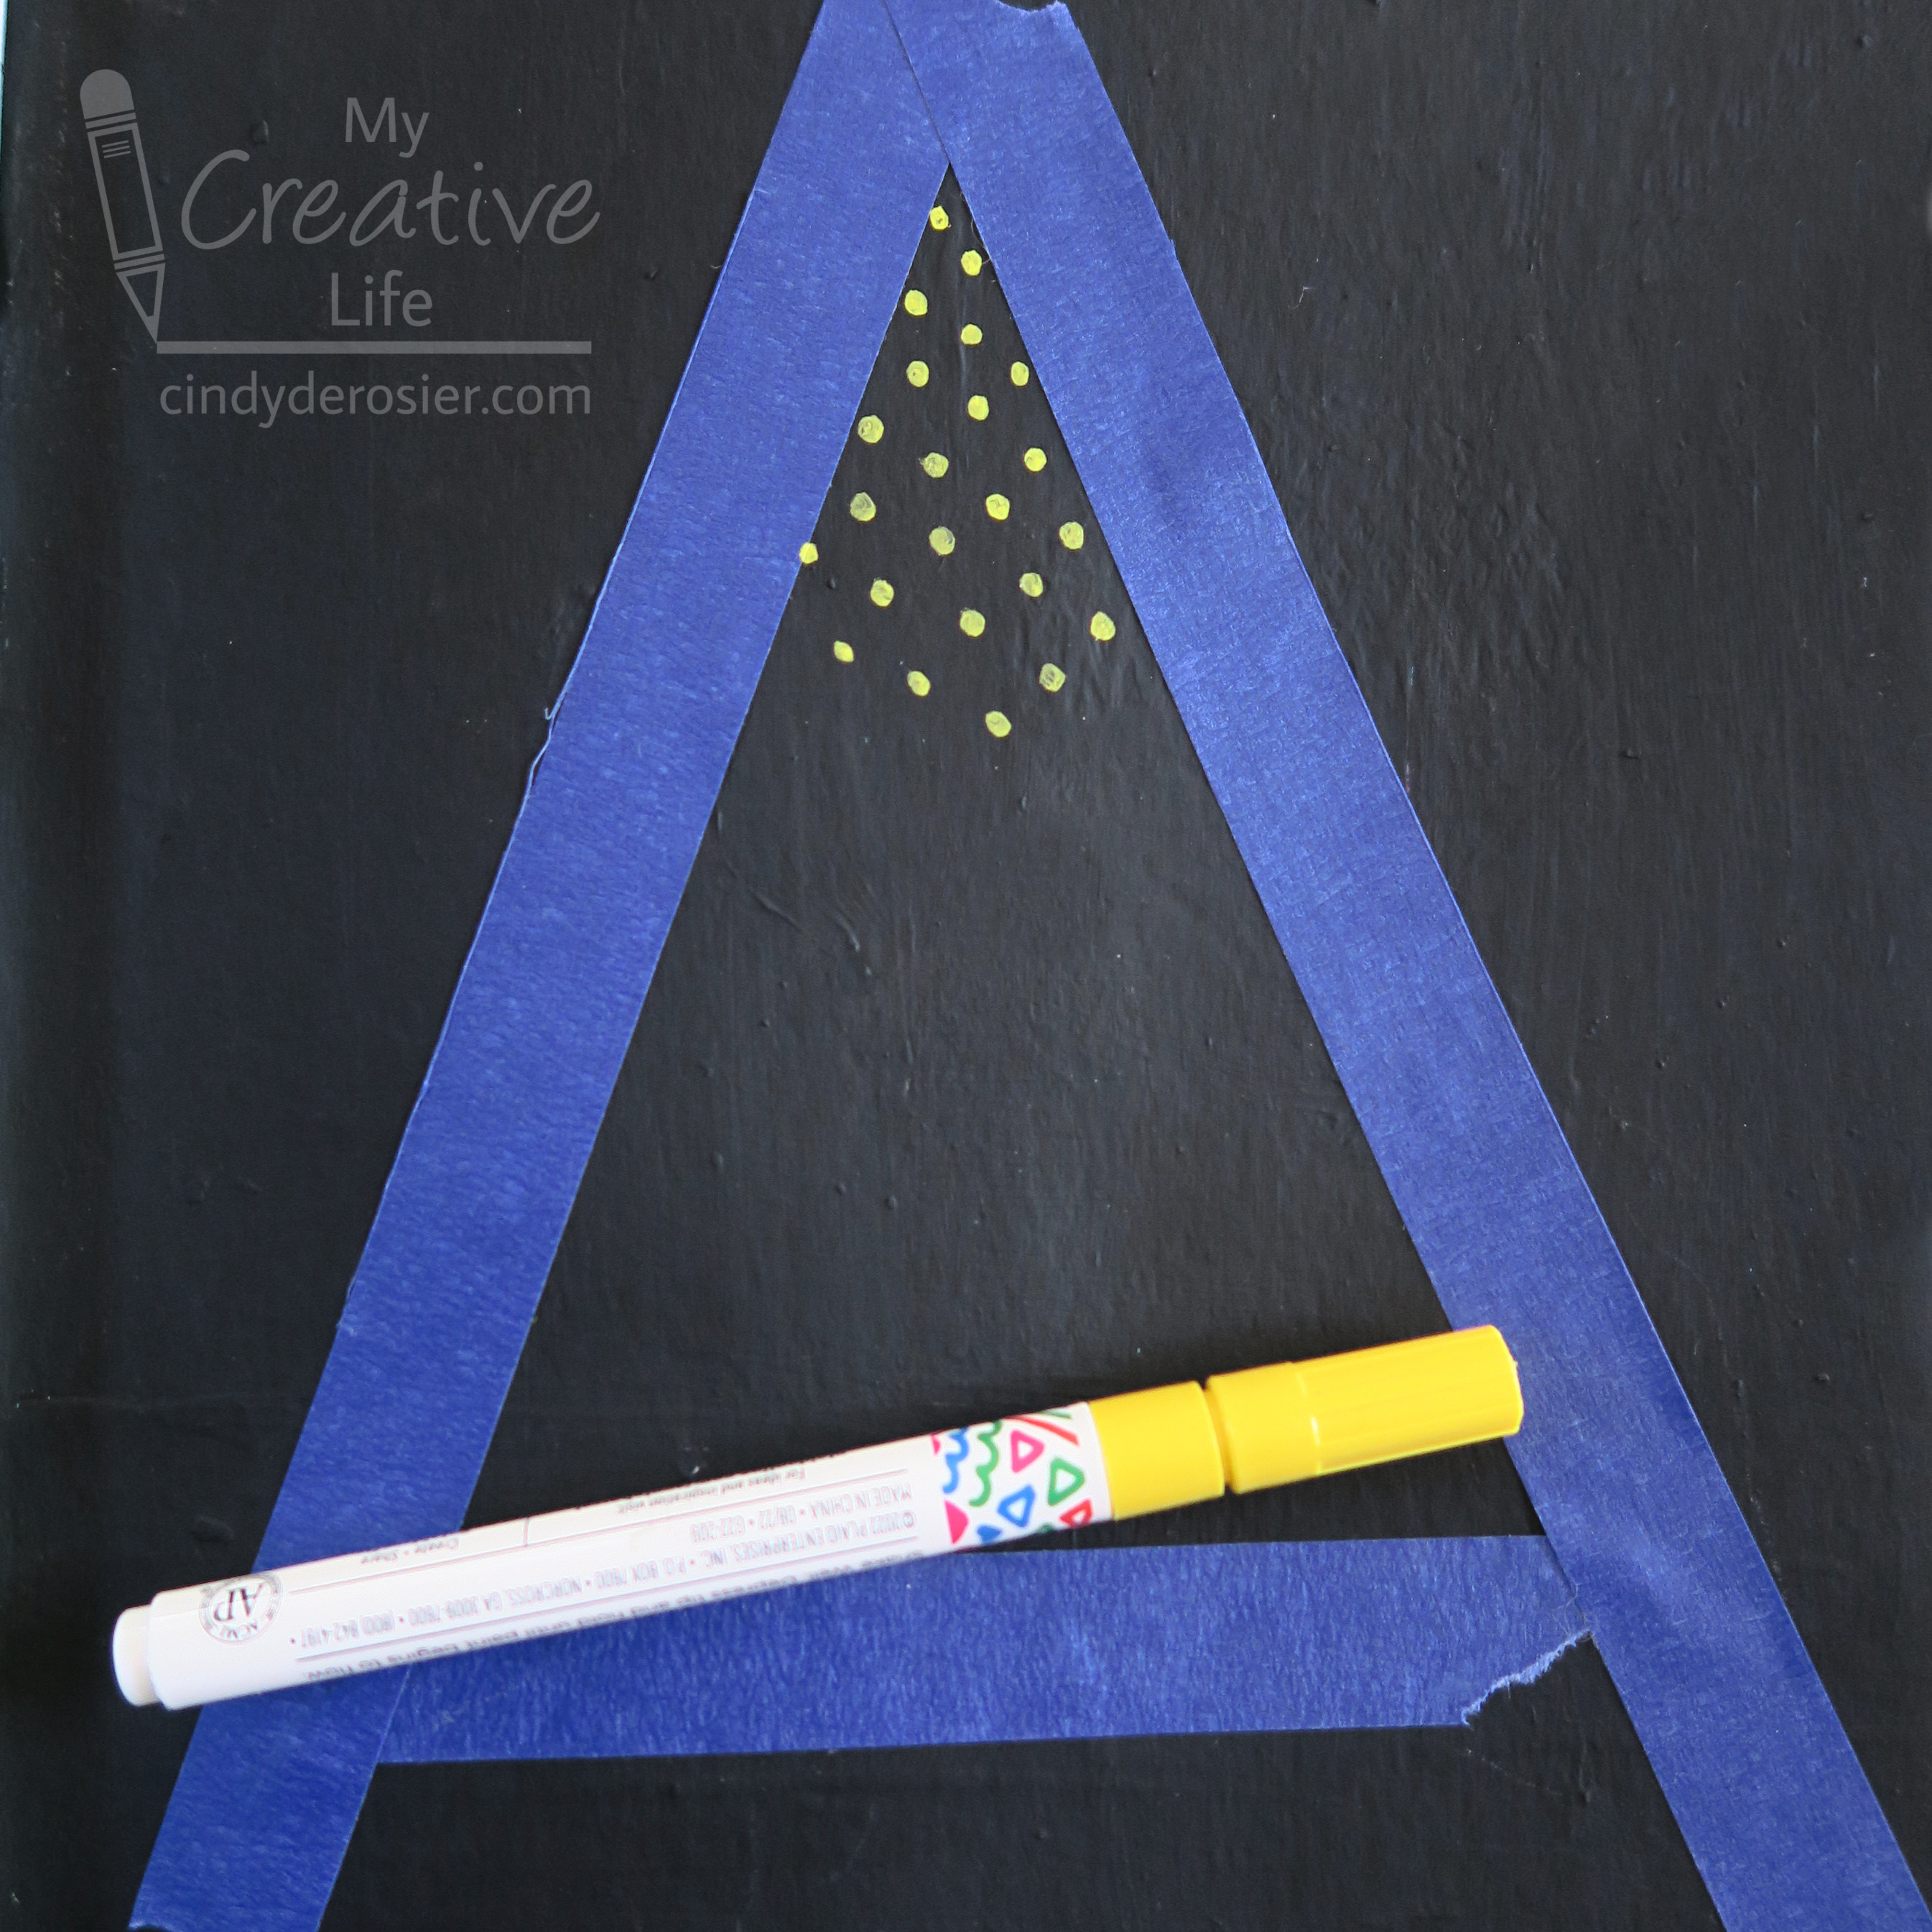
Use painter's tape to form a triangle on the cardstock in the shape of a Christmas tree. Working with one paint pen at at time, add dots of color right up to the edges of the tape. 


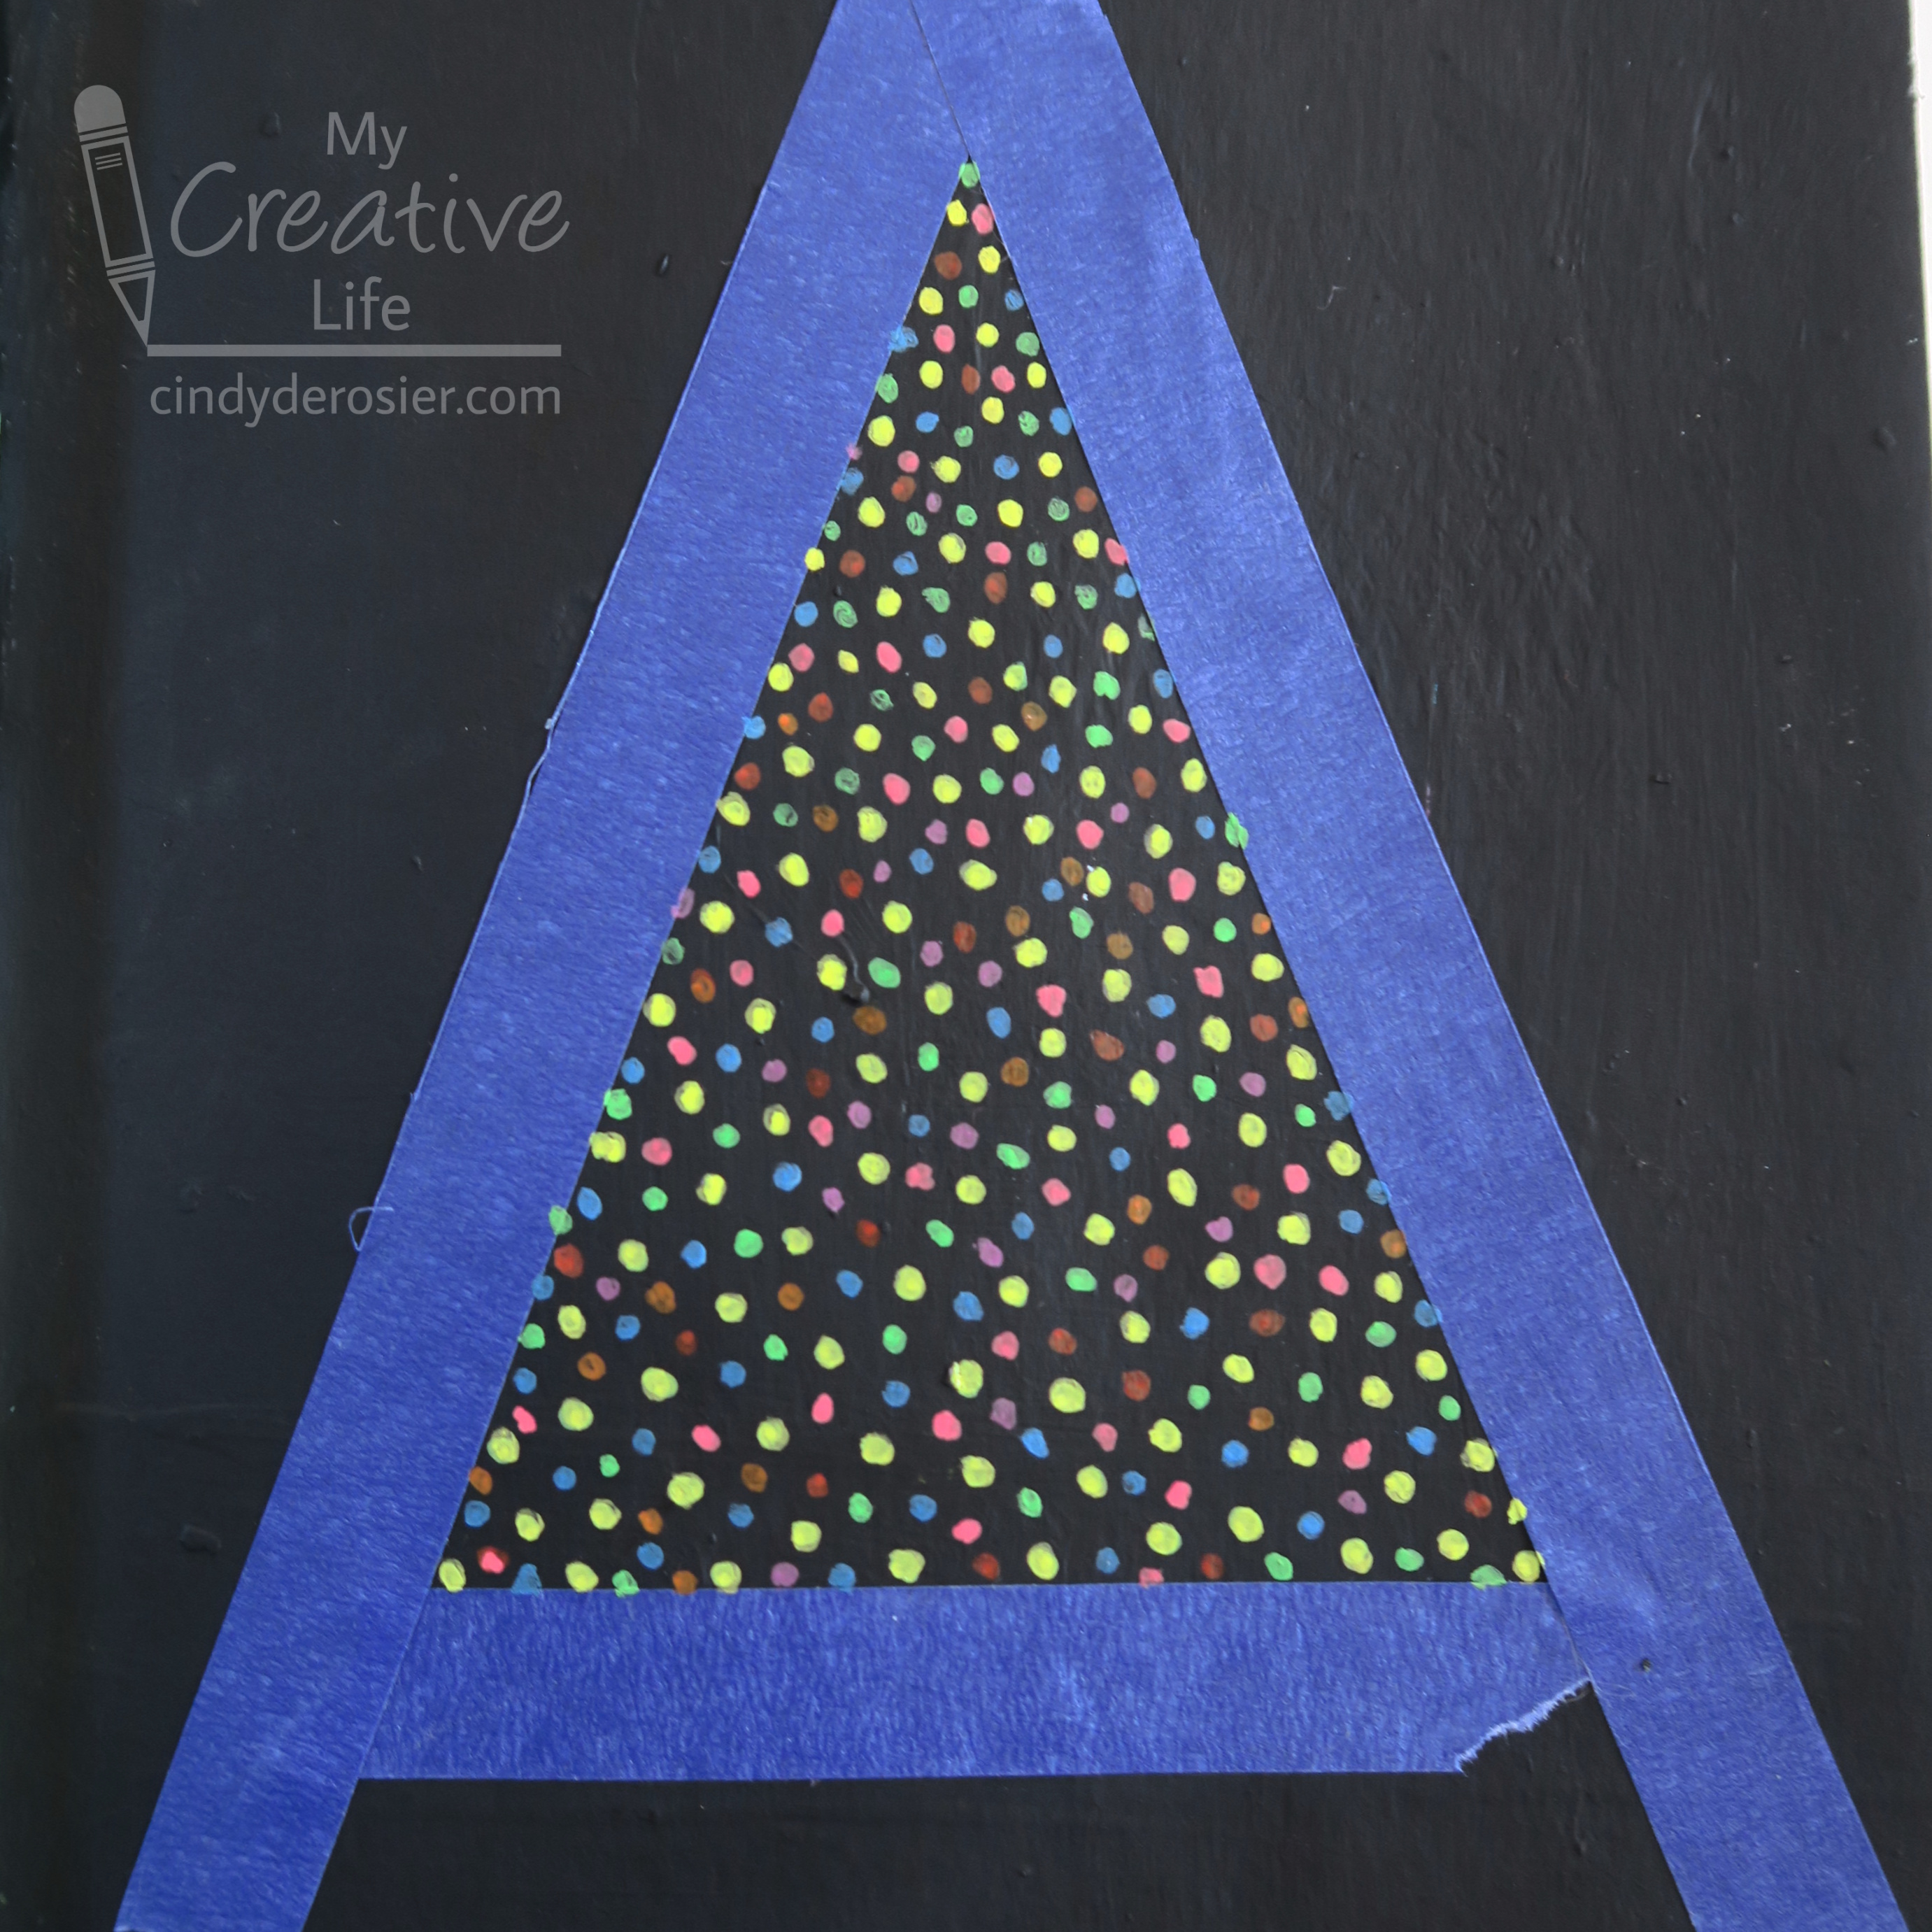
Continue until you have filled in the inside of the triangle. Be sure that you've gone up to the edges with your dots of color. 


Peel away the tape and use the yellow paint pen to draw a star at the top of the tree. When that is dry, use a q-tip to outline the tree with yellow pastel chalk to mimic the glow the lights would be giving off. 


I added a few swipes of chalk under the base of the tree to give a hint of the ground it's sitting on. 


I'm having fun playing with the paint pens. Expect to see more projects featuring them some time in the future!

10/25/21

Mummy Hand

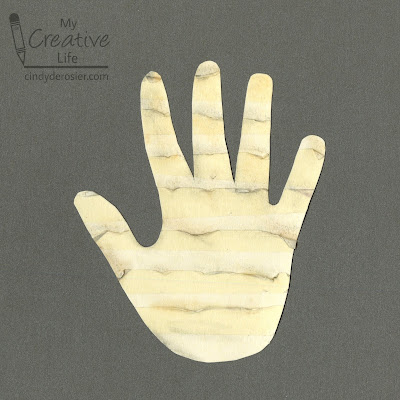
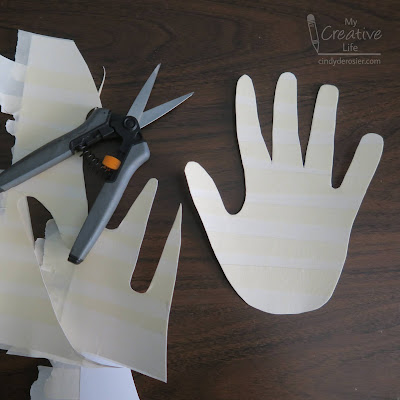
The third in my series of "turn my handprint into a Halloween-inspired hand" is this mummy. It was the quickest and easiest of the three to make. The key is applying the tape before cutting out the handprint so that you don't have to navigate all the fingers. 


Mummy Hand


Materials: 

  • cardstock
  • masking tape
  • scissors
  • chalk

Steps: 


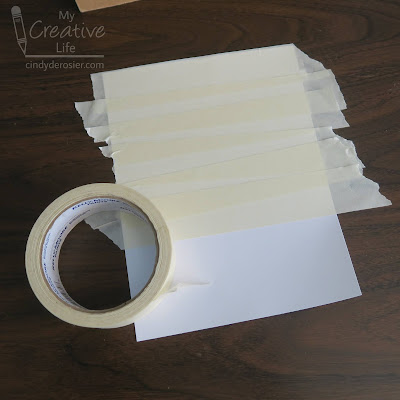
Start with a rectangular piece of cardstock that is slightly larger than your hand. Cover it with overlapping strips of masking tape. Don't line everything up - it looks better the more carelessly the tape is placed. 


Trace your hand onto the taped cardstock and cut it out. 


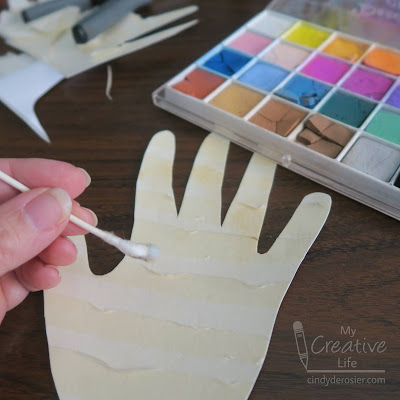
Use your fingernails or the blades of the scissors to rough up the edges of the masking tape. Peel it back in some places. Then add brown, grey, and black chalk to the roughed-up parts where dirt would naturally collect. 


Add some 'dirt' in other areas also. When it is suitably grungy, you're done!


I'm running out of time to add more hands my collection before Halloween gets here. How is it already late October?!

11/27/17

Glue-Resist Sunflower (Or, Look for the Light)

My ultimate goal for my US Travel resource is to feature my recommendations for hotels, restaurants, and attractions for family-friendly travel (along with craft projects, recipes, etc.) for each of the 50 states. It's a big goal and I'm really happy with how it's coming along. I recently updated the Pennsylvania page along with the other states from our October trip

I decided to make a glue-resist sunflower that will go on the Kansas page. Not only was it fun to make, but I learned an important photography lesson in the process!


Some background information: Whenever possible, I scan my finished projects. I'm not a great photographer and the limited daylight and rainy days of November do not help one bit. Unless the object is dimensional, it is so much easier to use the scanner and the results are almost always better. However, I'm careful not to scan things that might dirty, scratch, or otherwise harm my expensive scanner. I didn't want to risk getting chalk dust all over my scanner bed, so I decided to photograph the sunflower instead. 

I took a few photos, picked one, added a watermark, and uploaded it here. I hated the way it looked compared to the real-life version, but I couldn't figure out why. Compare the image below to the one at the top of the post. Can you spot the reason why this one was bugging me so much? 


Hint: Look for the light. 

After staring at it for a few minutes to figure out why it looked so weird, I realized that I'd photographed the sunflower with the light source on the left... the opposite side from where I added the chalk pastel highlights to the artwork. Here is the same image, before I cropped it. 


I learned an important photography lesson. If the artwork has highlights, make sure to photograph it in an orientation that matches where the actual highlights will fall!

---------

Glue-Resist Sunflower


Materials: 


  • black construction paper
  • tacky glue
  • chalk pastels

Steps:


Use the glue to create a design on the construction paper. You can draw it lightly in pencil first or just freehand it like I did. While you can use ordinary white glue, a thicker tacky glue is going to stay in place instead of spreading. Let the glue dry overnight. 


Color in the petals with a yellow chalk pastel. Add red lines at the base of each petal.   


Blend the colors together with your finger. Color the center of the sunflower with browns. Use white to add highlights to the sunflower. (Interesting that I started with the highlights in the lower left... where the actual light was coming into the room... and ended up turning the paper 180°.)


Finally, color the background blue. 


And there you have it, the state flower of Kansas!

8/18/17

Simple Chalk Eclipse Art

Steve and his sister left yesterday for Oregon, where they will meet up with their parents for the solar eclipse. He has been planning this trip for years. To say that Steve likes astronomy would be a gross understatement. Astronomy is as important to him as crafting is to me. Here's a very simple craft that combines both of our loves. It only takes about two minutes, which is about how long Steve will enjoy totality from his viewing spot in Madras, Oregon. Trevor and I will see a partial eclipse (about 75%) from here in the Bay Area. Affiliate links below. 

Chalk Eclipse Art project for kids


---------


Chalk Eclipse Art


Materials:


Steps:


Punch a circle from a piece of cardstock. Put the punched circle in the center of the black construction paper. Trace a heavy chalk line around the circle.


While holding the circle in place, use your finger to pull the chalk outward from the circle. (Easy to do, but difficult to photograph!) You can pull the chalk out as little or as much as you want. Older children may want to incorporate prominences, helmet streamers, coronal loops, the diamond ring, or Baily's beads


Remove the circle to reveal your eclipse!


Will you be viewing the eclipse on Monday? Where will you be? Let me know in the comments!

10/26/15

Glue-Resist Spiderweb

The inspiration for today's project came from this gorgeous watercolor by Kirsten Bailey. She used a masking liquid and watercolors for her spiderweb art. I used completely different materials. Can you guess what they are?


Materials #1 and 2 are watercolor paper and white glue. Use the glue to draw a freehand spiderweb pattern on the paper. Let the glue dry overnight.

 
Use a cotton ball to apply chalk over the dried glue. I used two blues and a purple.


Cut a spider silhouette from black cardstock and glue it on the web. That's all there is to it!